Best Selling Products
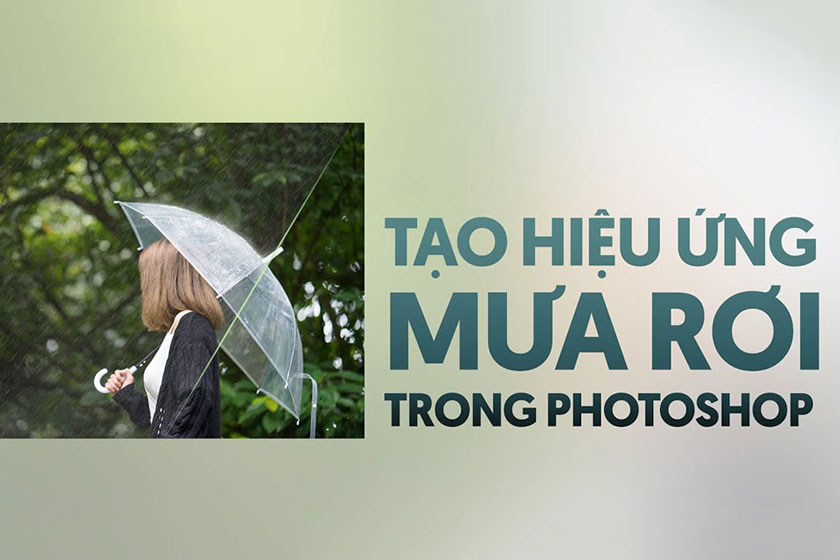
Create rain effect for photos in Photoshop
Nội dung
Taking a photo with the desired rain effect is not simple, but now, with Photoshop, SaDesign will guide you to create a rain effect for photos extremely simply with just 10 steps in this article.

Photoshop is a great technology application that not only helps users design beautiful banners but is also used for professional photo editing. Photos will become more unique and eye-catching when edited with many unique effects available in Photoshop. One of the applications chosen by many photographers is creating rain effects for photos. If you are still wondering whether to create rain effects for photos in Photoshop or not, do not ignore any information in the article below. It will definitely help you give the most accurate answer and help create successful rain effects for photos in the shortest time.
Should I create a rain effect for photos using photoshop?
.jpg)
Currently, there are many professional photo editing software, but perhaps, photoshop is still an effective photo editing and design software suitable for all users from professional photographers to beginners. To create rain effects for photos, many users are wondering whether to use photoshop or not? The answer is yes. Because up to 70% of users asked answered that photoshop brings the most realistic rain effect up to 80-90%. Besides, the process of creating rain effects in photoshop is extremely simple, only in a short time it has brought about efficiency thanks to simple operations. Moreover, photoshop photo editing software is not only suitable for applications on windows but you can also use it on mac. What are you waiting for, why don't you try creating rain for photos with this modern application!
10 steps to create rain effect for photos in photoshop
If you want to create a realistic rain effect using Photoshop, please follow our 10-step sequence below, specifically as follows: Step 1: Open the image file that needs to add a rain effect to Photoshop by selecting File => Open => select the image or use the shortcut key Ctrl + O. Then, click Create a new layer to add a blank Layers. Step 2: Next, select Edit and then click Fill or you can use the quick shortcut key Shift + F5.
.jpg)
Step 3: In the Fill dialog box, select Mode as Normal and select Color to set the tone to black, then click OK to close the windows and fill the entire Layers with color. Step 4: Then continue to click and select Filter => select Noise => select Add Noise.... as described below.
.jpg)
Step 5: In the Add Noise window, select the Noise grain type to apply to the image. You can choose the size from 20 - 30, then click on Gaussian and Monochromatic, and continue to click OK to save and exit the Noise window. Step 6: If you want to change the Noise grain, you can click on Edit => select Free Transform or press Ctrl + T to adjust. Step 7: Now you can completely change the size of the Noise grain by changing the display percentage of the Noise grain or placing the mouse cursor in the corner of the image and then dragging it out to your liking and pressing Enter. Step 8: You continue to select Filter => select Blur => select Motion Blur... In the Motion Blur window, change the tilt of the Noise grain to look more like raindrops, then select to increase or decrease the slider to make the raindrops thinner before clicking OK to close the window. Step 9: The user selects Layers 1 and clicks to change the blending effect of Layers 1 to Screen as shown in the image below.
Step 9 when creating rain effect
.jpg)
Step 10: When you successfully change the Screen blending mode, you will get a picture with a rain effect. But this picture is still quite fake due to the Noise layer. To create a realistic rain effect for the picture, select the Magic Erase Tool => click on the picture to erase the Noise.
.jpg)
With the above information, it has certainly helped you answer the question of whether to create a rain effect for photos with Photoshop or not. Photoshop is the most useful software that you should use, with just 10 simple steps, you can completely create a rain effect for photos without having to attend any courses. If you have any questions or suggestions, please comment below the article so that SaDesign can respond to you as soon as possible.


