Best Selling Products
Create photocopy effect in Photoshop
Nội dung
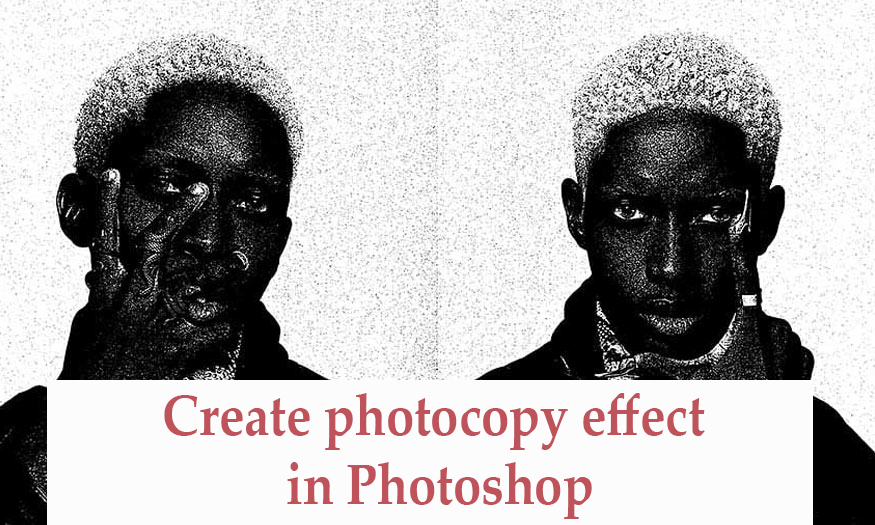
Images printed by photocopiers are characterized by 2 black and white tones, blurred and unclear. You can completely create designs with this photocopy vibe by combining many tools in Photoshop. Let's learn with SaDesign about the steps to create photocopy effects in Photoshop right in the shares below.
1. How to create photocopy effect in Photoshop
The photocopy effect in Photoshop is characterized by black and white and unclear dots. Therefore, we need to combine tools to design to express these.
Step 1: First, we need to open the photo we want to create a photocopy effect in Photoshop. To open the photo, go to File => Open => select the appropriate photo => Open. Or press the shortcut key Ctrl + O, select the appropriate photo and press Open.
Then right click => Convert to Smart Object. This option will allow us to go back and edit the design later.
Next, go to Filter => Filter Gallery to open the Filter Gallery panel.
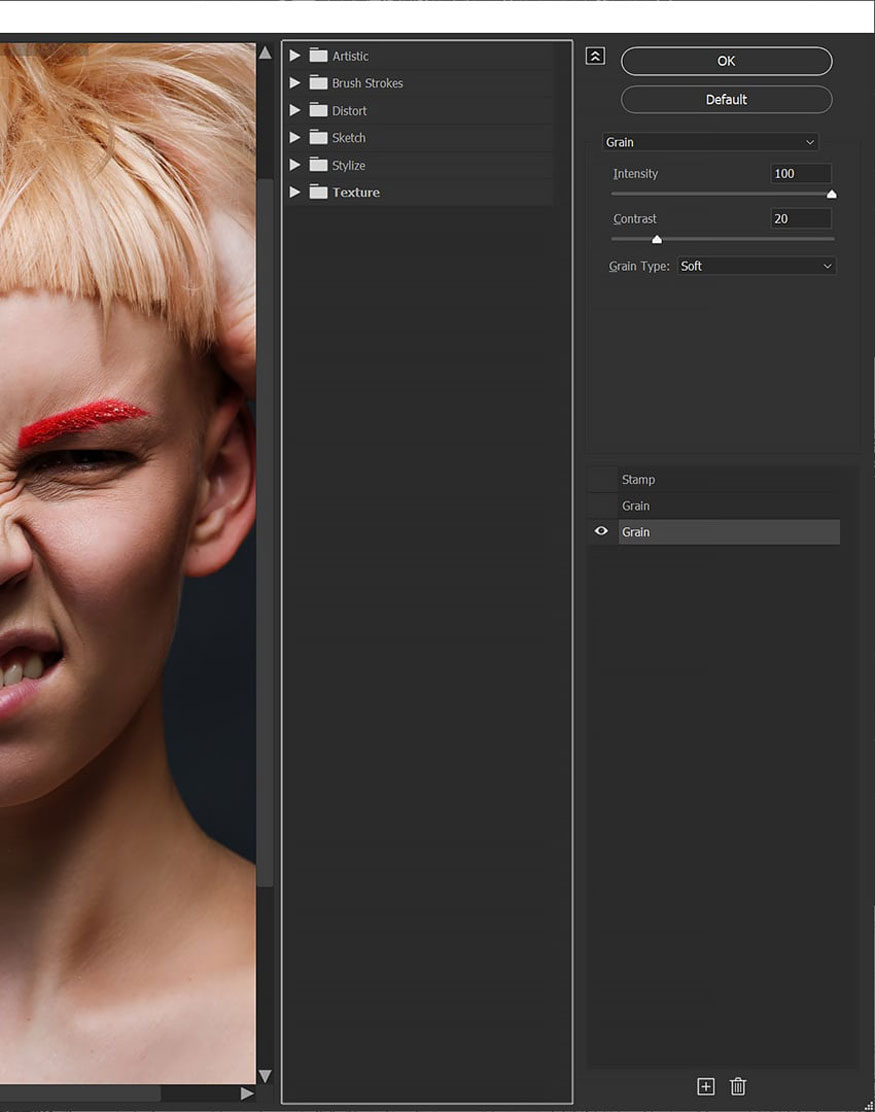
Step 2: In the Textures folder, select Grain. Set the Grain to Intensity 100, Contrast 20, and Grain Type Soft.
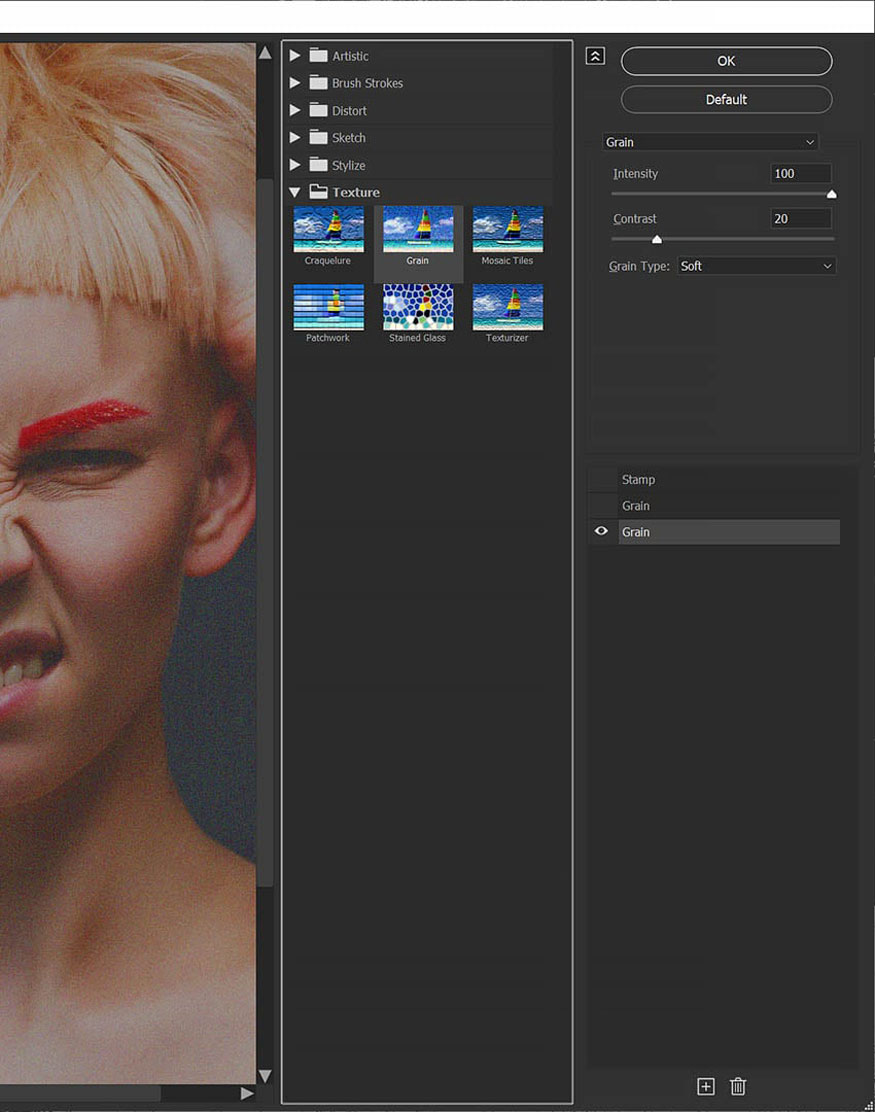
Step 3: At the bottom of the Filter Gallery, add a new Filter Layer using the square icon with a plus sign.
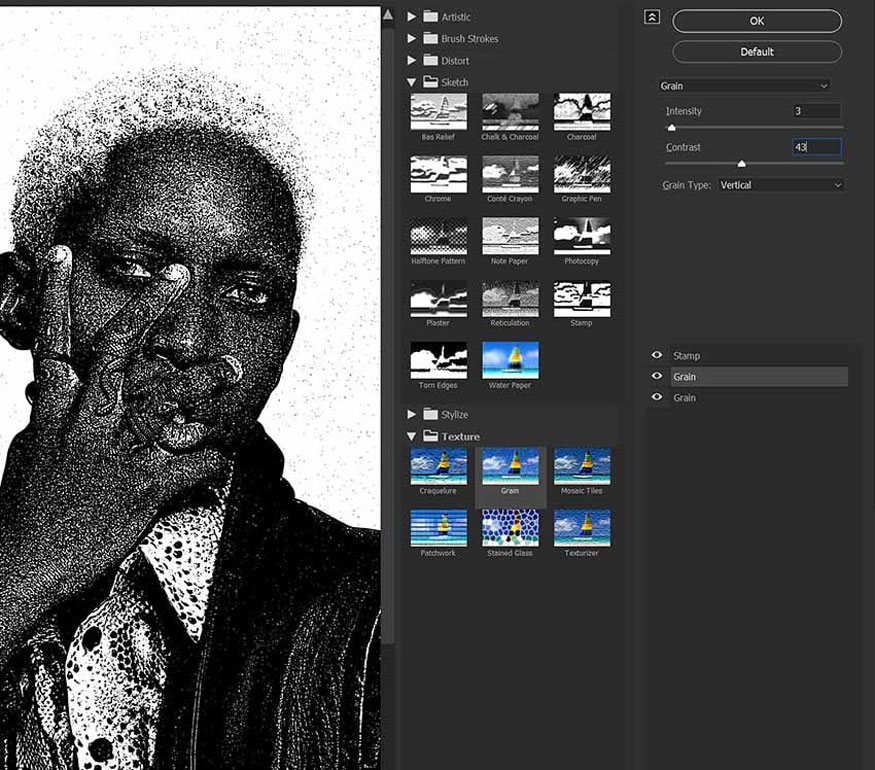
Add a second Grain filter. Set the Intensity to 3, Contrast to 45, and Grain Type Vertical.
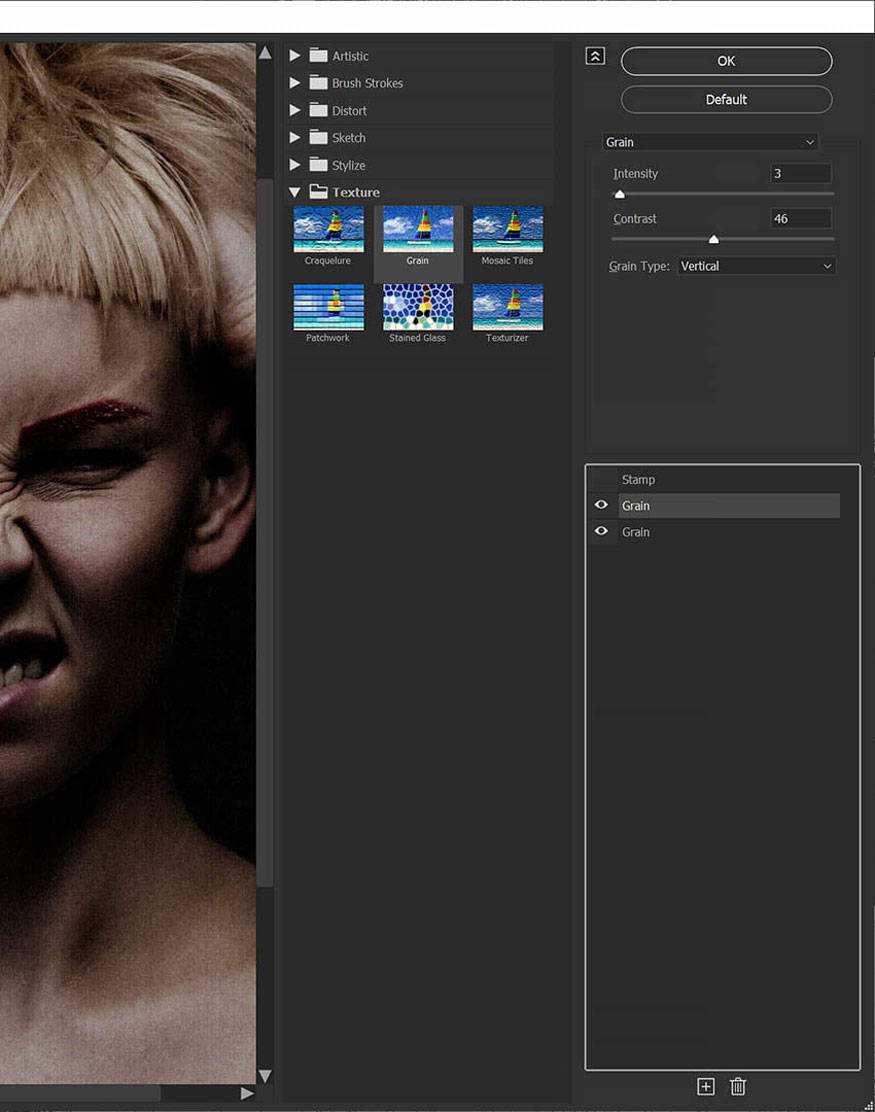
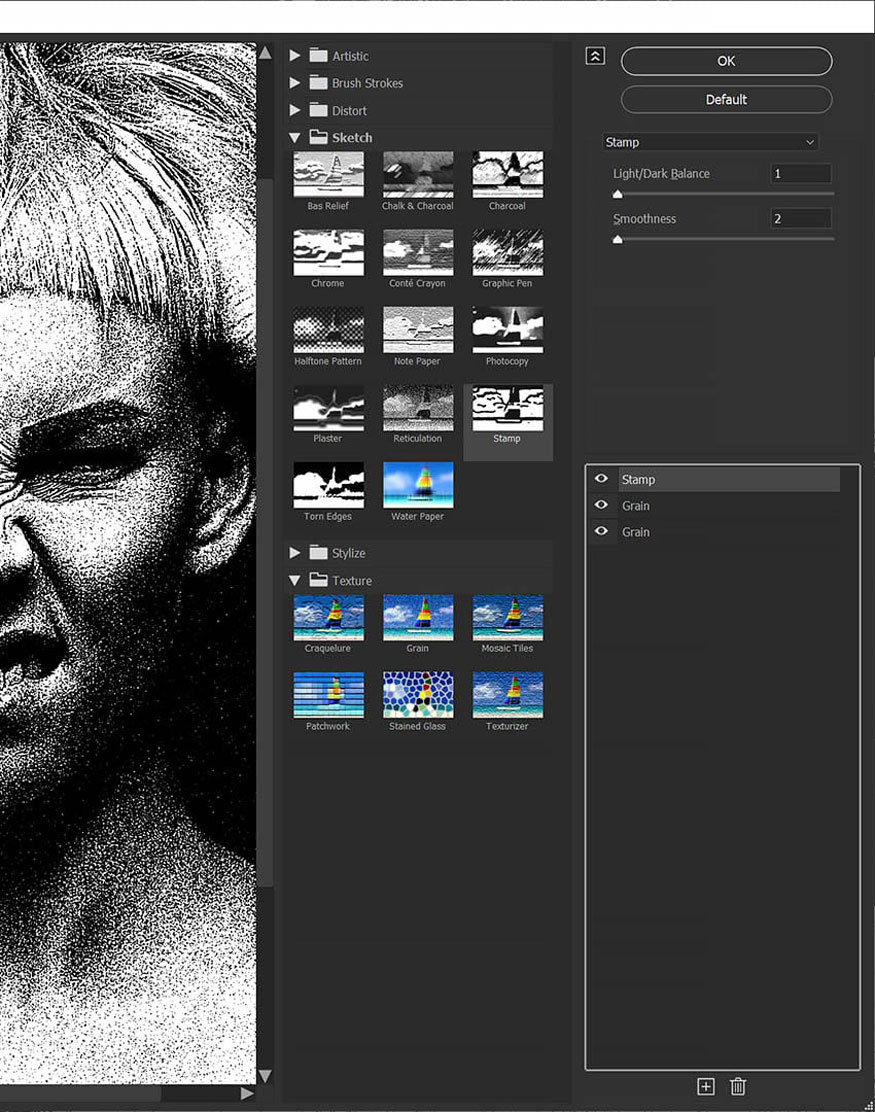
Step 4: Create another Filter Layer and add the Sketch => Stamp filter. Set the Light/Dark Balance to 1 and Smoothness to 2. Press OK.
Step 5: You can add more texture to your image using Photoshop texture overlays. Here I used textures 05 and 09 from the Grunge Texture Overlay pack.
Set the texture layer to Screen and reduce the Opacity to 50% or lower if you want a more subtle effect.

Step 6: To add color, you can create a Color Fill layer above all your current layers. Here I used green with the color code #5dff32 for this layer. Set the layer mode to Darken.

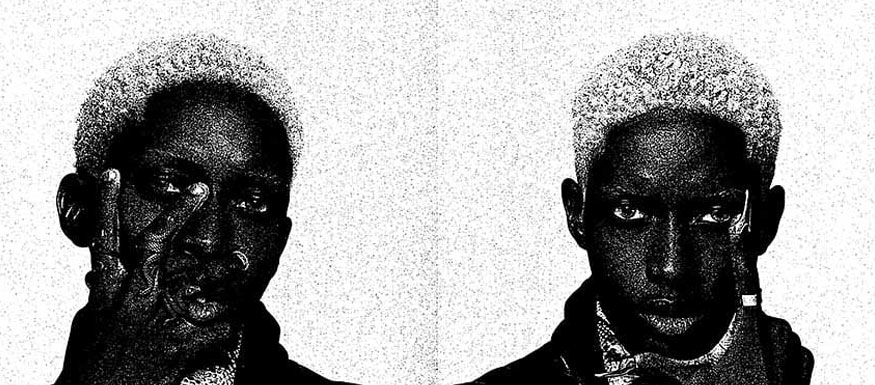
So we have created a photocopy effect in Photoshop. We can see the object stands out in black and white and has some blurry grain.
2. Adjust the contrast for the photocopy effect in Photoshop
To give the design the right vibe, we need to adjust the contrast of the design.
Step 1: Depending on the lighting or skin tone of your subject, you may need to further adjust the shadows of your image when creating a photo effect in Photoshop.
First, copy the Filter Gallery settings to a new image by holding the Alt key on the Filter Gallery smart filter from the first image and dragging it to the new image.
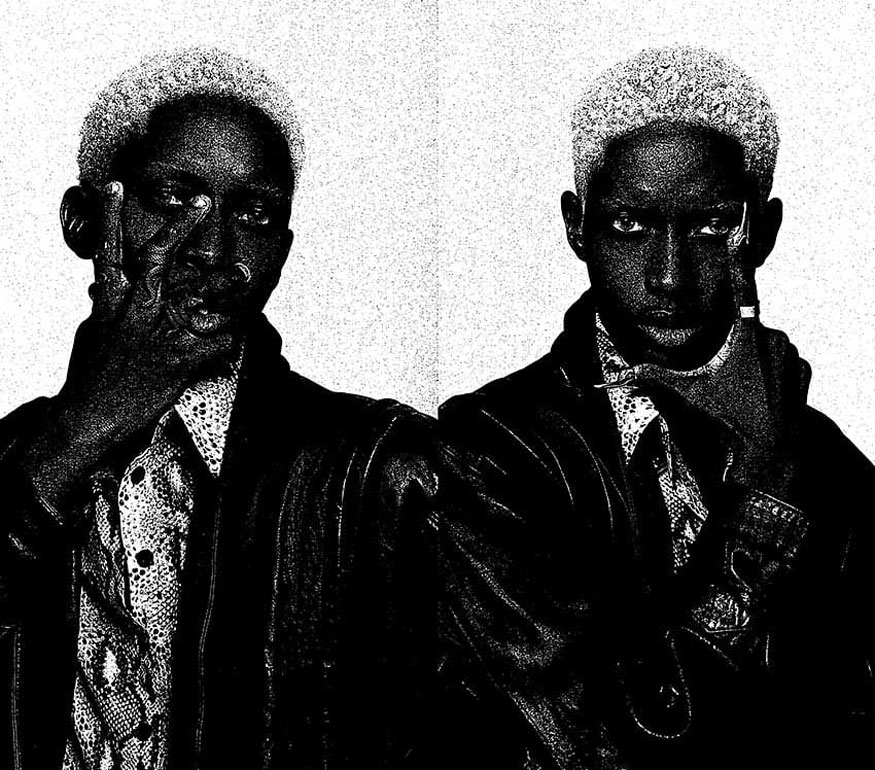
Step 2: Next, you can adjust the Filter Gallery settings to better suit each individual image by double-clicking on the Filter Gallery smart filter and making your adjustments. I reduced the Contrast of the second grain to 43 for this image.
Step 3: To brighten up the shadows, you can go to Image => Adjustments => Shadow/Highlights. In this Photoshop photocopy effect, I increased the Shadows to 4% to help bring out some detail.
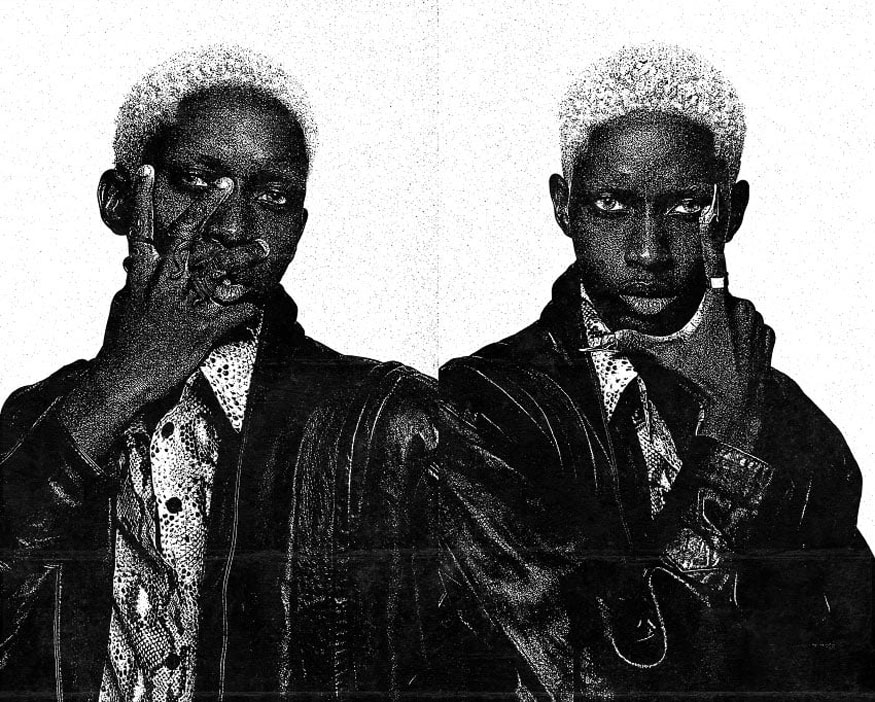
So you have finished customizing the contrast for the photocopy effect in Photoshop. Your design becomes extremely impressive and unique with black and white colors and photocopier-style grain.
Above is a summary of information on the steps to create a photocopy effect in Photoshop. Depending on the image, you can customize different settings. Try several times to get the most satisfactory results.
Installation and support contact information:
🏡 SADESIGN Software Company Limited
📨 Email: phamvansa@gmail.com
🌍 Website: https://sadesign.ai


.png)


