Best Selling Products

Capcut Pro 1 Year
39 USD

Genuine Cheap Canva Pro
39 USD

Upgrade Genuine Office 365
49 USD

Genuine Adobe Illustrator account
99 USD

Adobe Premiere Pro Account
99 USD

Windows 10 & 11 Pro Key
36 USD

Adobe Photoshop Copyright - Full App
120 USD

Freepik Premium Account
59 USD

Plugin Retouch4me
69 USD

Copyright Adobe Lightroom Account
59 USD

Upgrade Duolingo Super
29 USD

ChatGPT Plus Account (GPT-4)
16 USD

Autodesk All App Account Copyright
120 USD

Upgrade genuine Capture One account
120 USD

MidJourney Account
29 USD
Create Realistic Wet Glass Effect in Photoshop
Hello friends, in this video I will share with you how to create wet glasses in Photoshop.
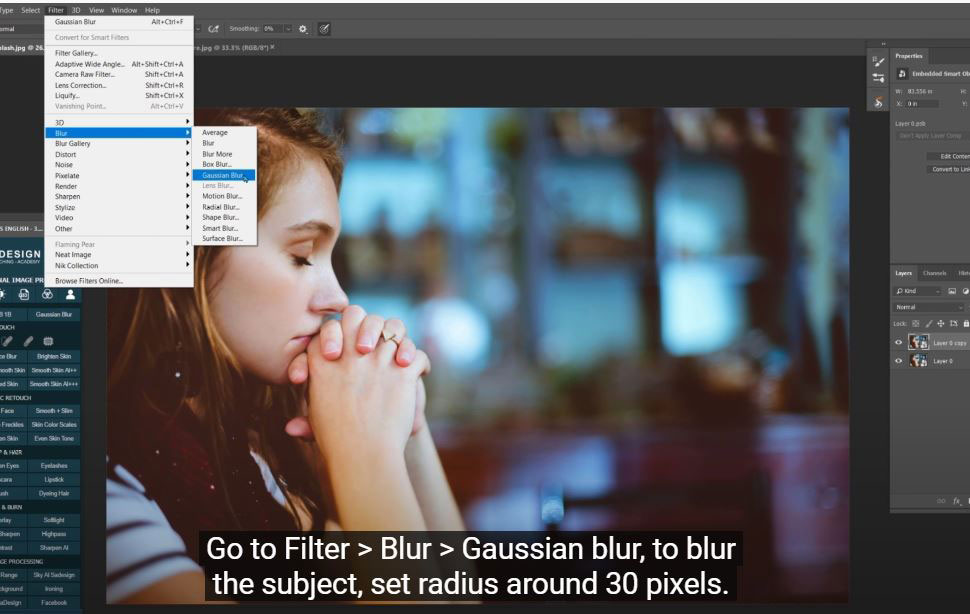
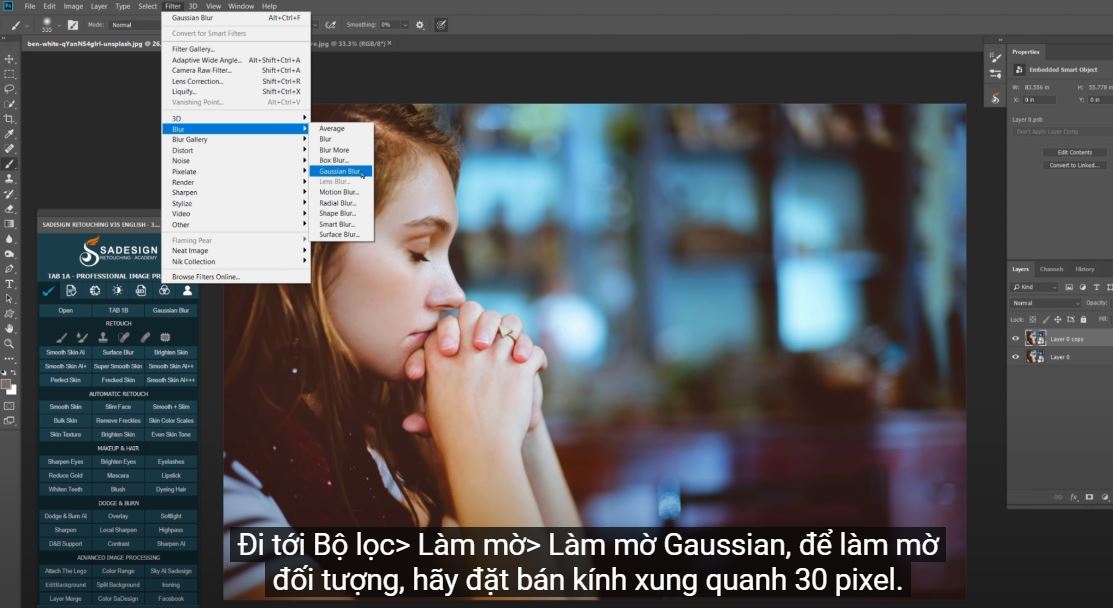
(1). First of all, right click on the background layer, select “convert to smart object” so it can be edited non-destructively and press CTRL or CMD + J to duplicate it. Go to Filters > Blur > Gaussian Blur, to blur the object, set a radius around 30 pixels.
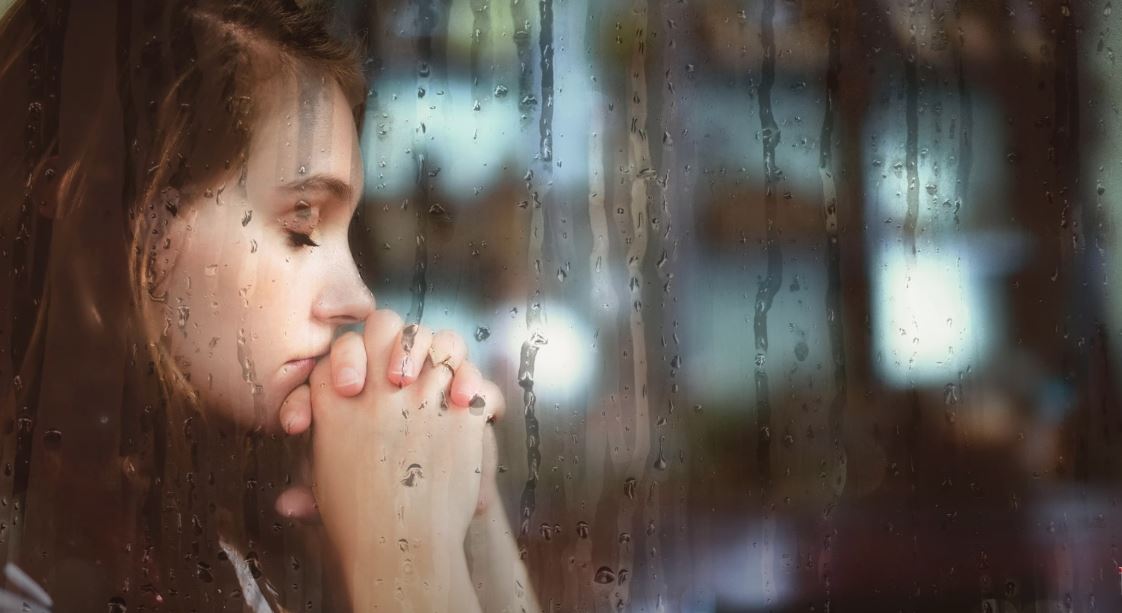
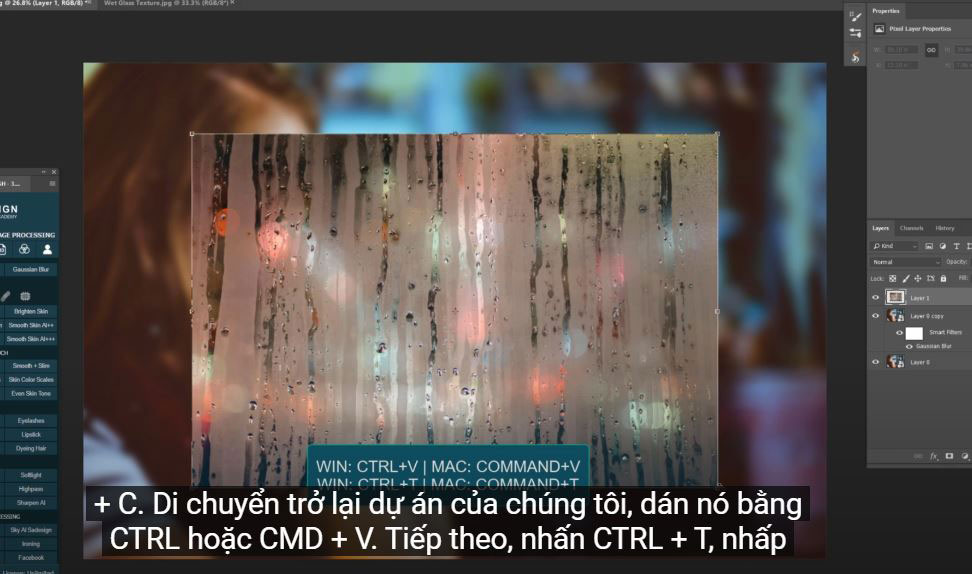
(2). Go to wet glass photo here, you can take any photo you like by downloading it in shutter stock or any available resource. If not, you can download this image at the link in the description. Now we will select the whole picture, press CTRL or CMD + A and copy it with CTRL or CMD + C. Move back to our project, paste it with CTRL or CMD + V. Next, press CTRL + T, click and drag it outward while holding SHIFT and ALT keys to expand the image from the center, then press enter when you are happy with it.
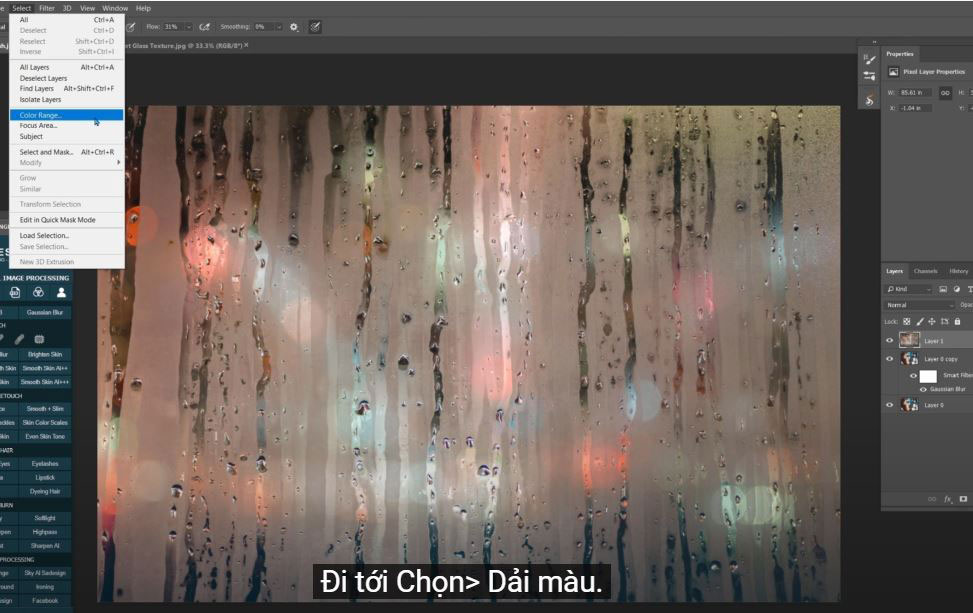
(3). Next we will make texture selection and blur it. Go to Select > Color Range. You must first make sure that the selection preview is “None” and check the “localized color clusters” box. Select the first eyeliner tool and click on the areas where you want to make a selection. Then select the plus eyeliner tool and add the areas you want to blur. Because we have checked "localized color clusters", we have to select all the textures. Make sure not to select on transparent areas.
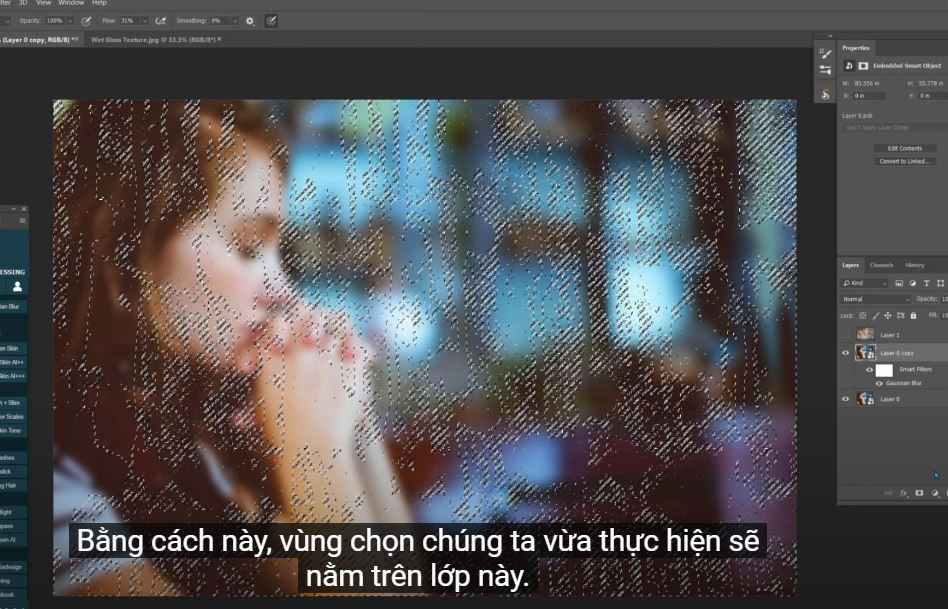
(4). After, the texture is selected. Turn off layer 1 to see clearly. Select layer 0 and add a layer mask to it. This way, the selection we just made will be on this layer.
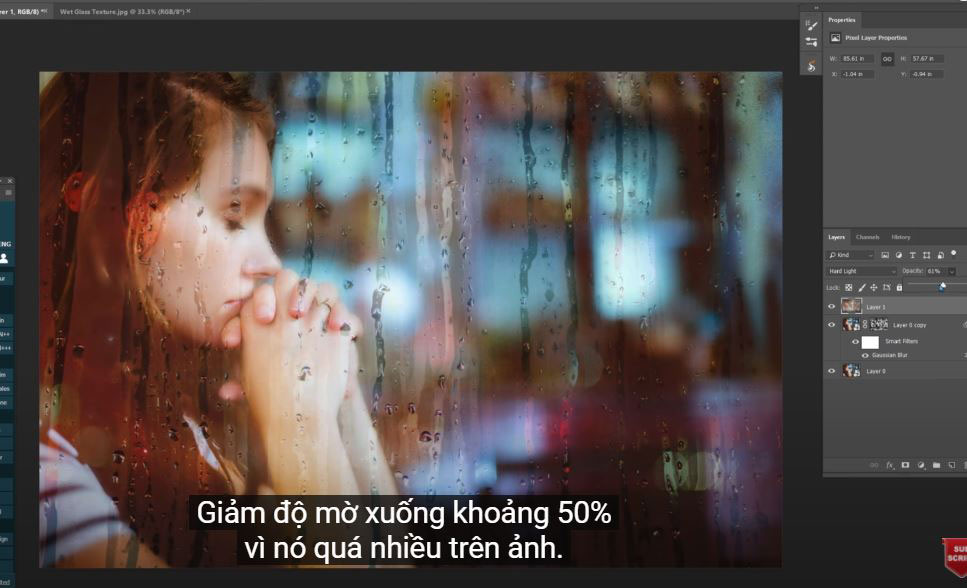
(5). Next, turn layer 1 back on and change the blend mode to hard light. Reduce the opacity to about 50% because it's too much on the photo. If you find the color quite dark, to reduce it, make a Hue/saturation adjustment and lower the saturation to –68. Make sure to select the first small icon to create a clipping mask to the glass. This helps to control saturation that affects only the wet glass, not the subject.
(6). Now there's the background light, so we'll lighten it. To lighten some specific areas, to do that create a Curve adjustment by clicking on the adjustment icon and selecting the curve. Drag the white to the left slightly to lighten it.
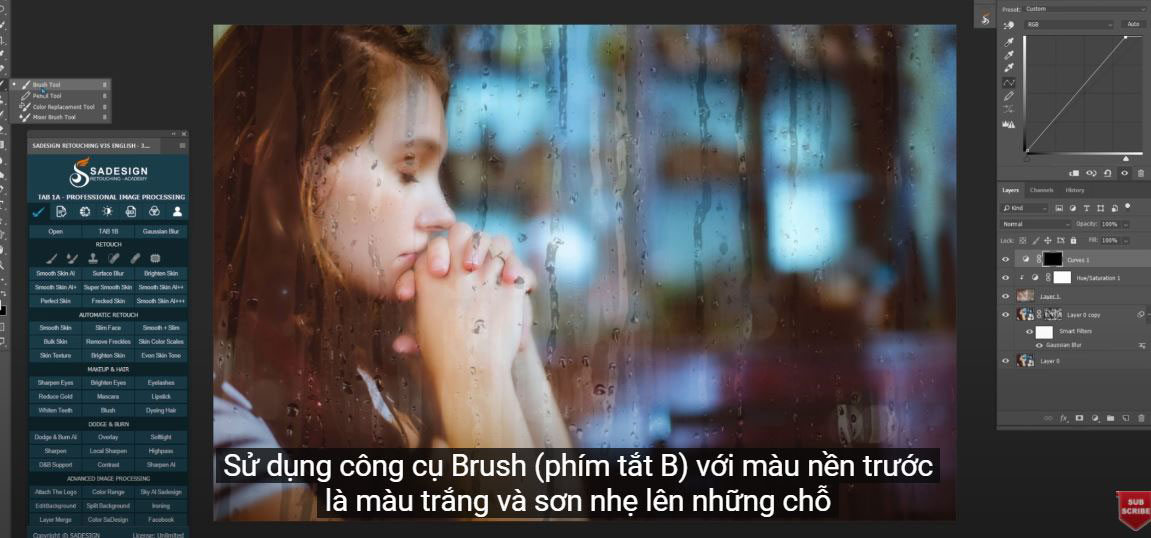
(7). The entire photo is lightened, if you want to apply the effect only to certain areas. Click on the layer mask of the curve layer. Press CTRL + I to turn the mask to black. Take the Brush tool (shortcut B) with the foreground color white and paint lightly on the areas you want to lighten.
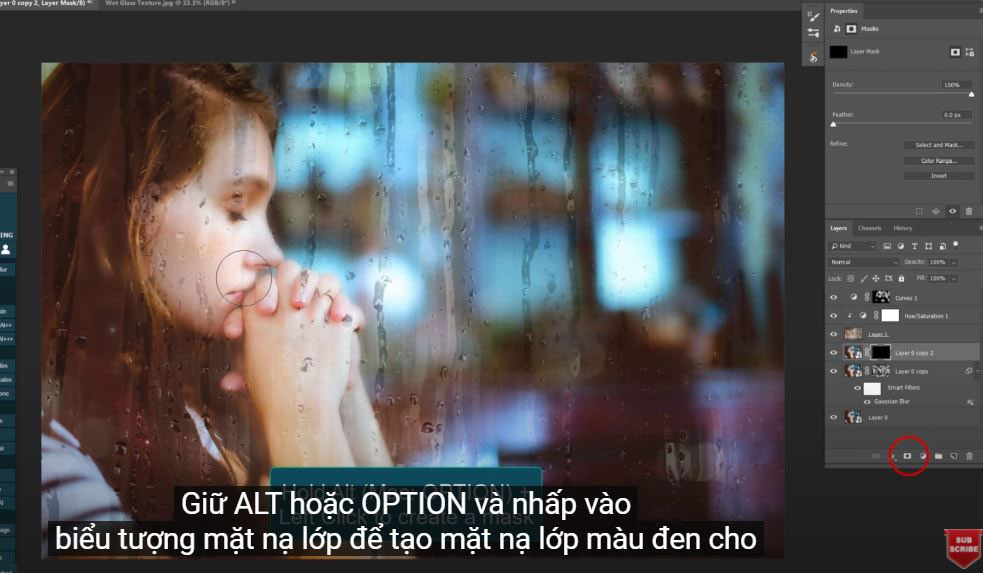
(8). Next, select layer 0 and duplicate it with CTRL or CMD + J, move it under layer 1. Hold ALT or OPTION and click on the layer mask icon to create a black layer mask for it. Using a brush with about 16% flow, paint on her skin
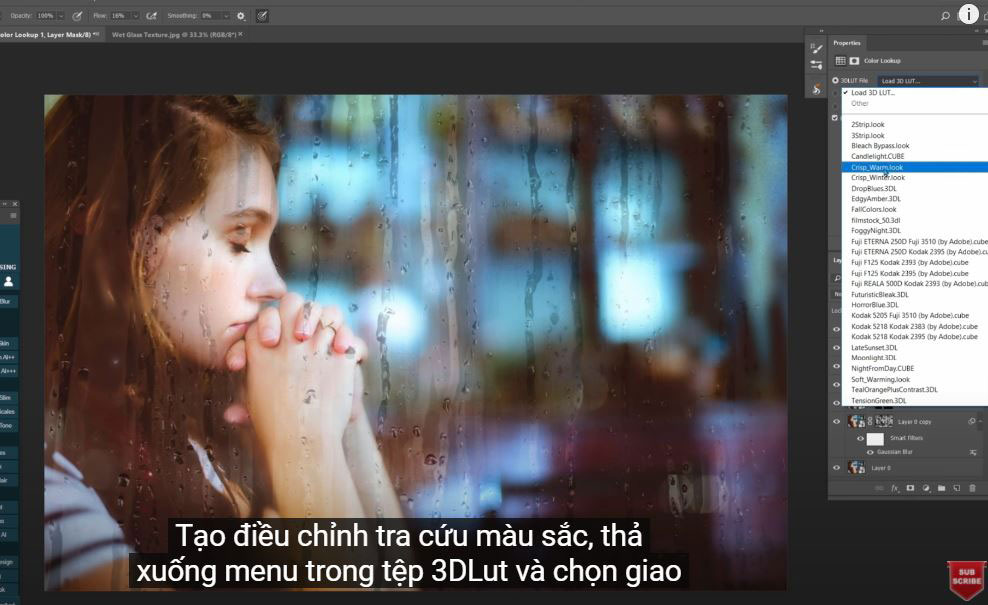
(9). Create a color lookup adjustment, drop down the menu in the 3DLut file, and select the look you want to add a preset color to. "Candlelight.cube" is fine for me. Adjust the opacity to 63% so that the color is not too strong.
(10). Select all the layers and put them in groups for later management. Turn group 1 off and on to see before and after your results. Have fun.

Watch the video here:
REGISTER FOR FREE PHOTOSHOP LEARNING
============================
The most powerful Retouch tool processor
DOWNLOAD:
✅ SADESIGN PANEL ENGLISH: https://sadesign.ai/retouching/
✅ SADESIGN PANEL VIETNAM: https://www.retouching.vn/


VIP Products


Best Selling Products
Capcut Pro 1 Year
39 USD
Genuine Cheap Canva Pro
39 USD
Upgrade Genuine Office 365
49 USD
Genuine Adobe Illustrator account
99 USD
Adobe Premiere Pro Account
99 USD
Windows 10 & 11 Pro Key
36 USD
Adobe Photoshop Copyright - Full App
120 USD
Freepik Premium Account
59 USD
Plugin Retouch4me
69 USD
Copyright Adobe Lightroom Account
59 USD
Upgrade Duolingo Super
29 USD
ChatGPT Plus Account (GPT-4)
16 USD
Autodesk All App Account Copyright
120 USD
Upgrade genuine Capture One account
120 USD
MidJourney Account
29 USD