Best Selling Products

Copyright Adobe Lightroom Account
59 USD

Autodesk All App Account Copyright
120 USD

Genuine Cheap Canva Pro
39 USD

Upgrade genuine Capture One account
120 USD

Freepik Premium Account
59 USD

Adobe Photoshop Copyright - Full App
120 USD

Upgrade Genuine Office 365
49 USD

Windows 10 & 11 Pro Key
36 USD

Capcut Pro 1 Year
39 USD

MidJourney Account
29 USD

Plugin Retouch4me
69 USD

Genuine Adobe Illustrator account
99 USD

Adobe Premiere Pro Account
99 USD

ChatGPT Plus Account (GPT-4)
16 USD

Upgrade Duolingo Super
29 USD
Create softer, deeper lighting with a reflective flash.
Nội dung
- 1. How does reflected flash differ from direct flash?
- 1.1. What is a reflected flash?
- 1.2. Direct flash
- 1.3. Flash reflection
- 2. Tips for using a reflector flash effectively
- 2.1. Ensure the color of the surface and the direction of reflection.
- 2.2. Use a light diffuser or mesh and adjust the light spread.
- 2.3. Notice the white surfaces compared to the reflective surfaces.
- 3. Examples of using reflected flash in event photography
- 3.1. Using reflected flashlights at the year-end party.
- 3.2. Using reflected flashlights at a wedding reception
- 3.3. Tips for taking photos of flowers tossing using flash reflection
Instead of shining light directly onto the subject, reflecting light gives the image more depth and emotion. This article analyzes how to utilize ceilings, walls, and neutral surfaces to significantly improve the quality of light.
Create softer, deeper lighting with a reflective flash.
Instead of shining light directly onto the subject, reflecting light gives the image more depth and emotion. This article analyzes how to utilize ceilings, walls, and neutral surfaces to significantly improve the quality of light.
In everyday photography, events, weddings, or even quick portraits, carrying a bulky studio lighting system is almost impossible. That's why the built-in flash has remained crucial for decades. The problem is that many people are hesitant to use flash because of unpleasant experiences when they first start: harsh light, shiny skin, stiff shadows, subjects looking "flat" and lacking depth. In reality, the fault isn't with the flash itself, but with how we use it. And one of the simplest yet most effective techniques to turn a flash into a beautiful light source is using reflected flash .
Flash reflection isn't a sophisticated technique, nor does it require expensive equipment. With a proper understanding of light, utilizing the surrounding environment, and making appropriate adjustments, you can create soft, natural, and deep lighting anywhere. This article will go from the basics to practical applications, helping you master the effective use of flash reflection and become more confident in any shooting situation.
1. How does reflected flash differ from direct flash?
1.1. What is a reflected flash?
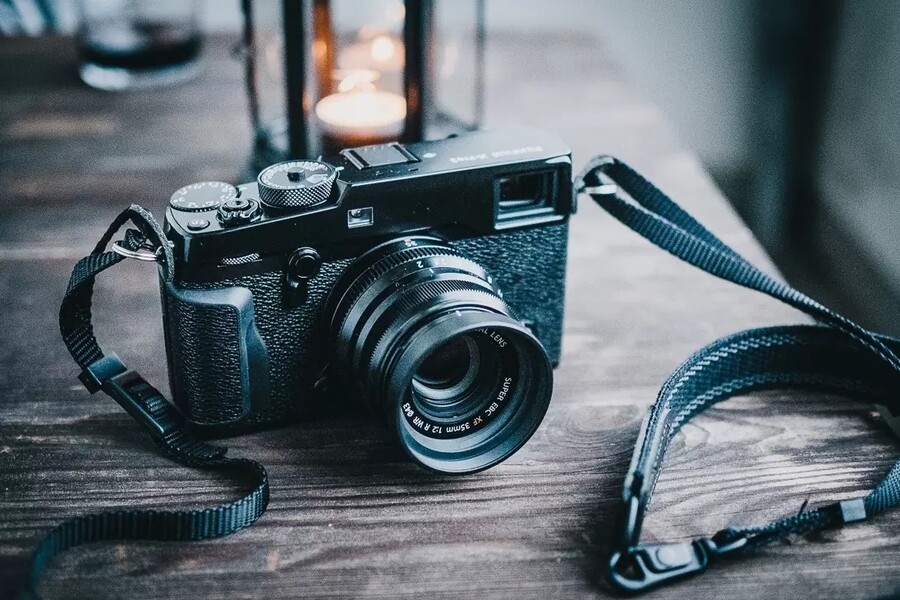
Reflective flash, as the name suggests, is a technique where the flash light is not directed straight at the subject, but instead reflects off an intermediate surface before reaching the subject. This surface could be a ceiling, a wall, or a neutral-colored reflector.
In physics, when light hits a sufficiently large surface, it scatters in many different directions. This makes the light source appear "larger" than the initial size of the flash. In photography, the larger the light source relative to the subject, the softer the light. This mechanism allows the flash to reflect light, creating a much softer, more even, and natural light compared to shining the flash directly into the model's face.
.jpg)
The important point to emphasize is that reflected flash is not dependent on the type of flash. Whether you're using a built-in flash or a high-end external flash, as long as you can rotate the flash head, you can apply this technique. The difference lies in understanding where the light goes, how it reflects, and how it returns to the subject.
In practice, reflected flash is often considered "simulated natural light." When light bounces off the ceiling, its direction closely resembles that of window light or sunlight, creating a pleasant and familiar feeling for the viewer.
1.2. Direct flash
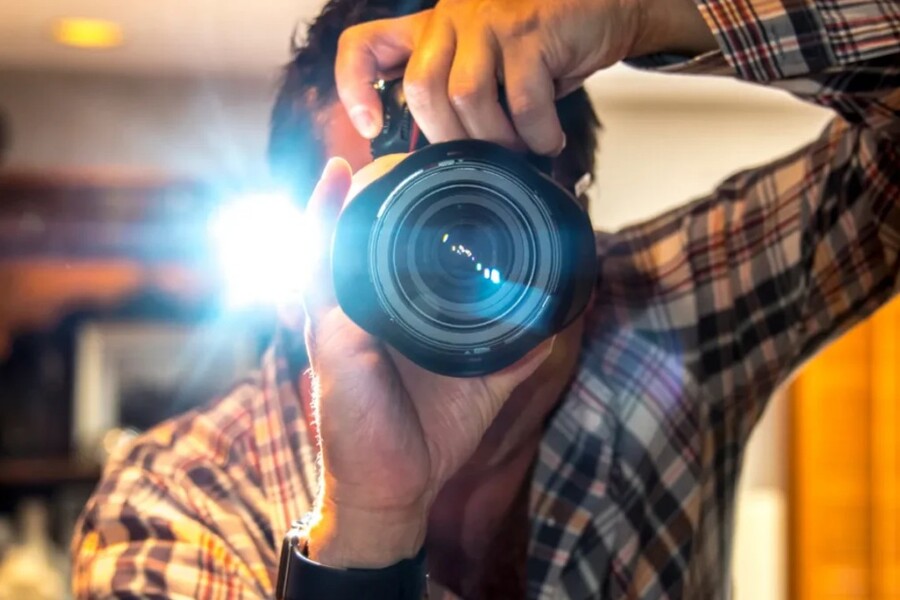
Using a direct flash, that is, pointing the flash directly at the subject, isn't always wrong. In fact, direct flash can create very special effects, especially in fashion, street, or spontaneous snapshot photography. However, to achieve the desired aesthetic effect, direct flash needs to be used correctly and for the right purpose.
For many beginners, the familiar scenario is to attach a flash to the camera, turn it on, and point it straight ahead when shooting in low light. The result is often brighter faces compared to photos without a flash, but the light is harsh, glaring, and lacks depth. Areas like the forehead, nose, and under-eyes are easily overexposed, while shadows behind the subject are very distinct and unnatural.
.jpg)
When we tried using additional diffuser accessories that attached directly to the headlamp, the situation improved somewhat. The light became softer, the glare reduced, but the core problem remained. The light source was still directly on the lens axis, shining straight into the face, causing the light to lack direction, revealing imperfections and making the skin look flat and lacking in volume.
Therefore, in portrait photography, direct flash is rarely the ideal choice unless there is a clear intention regarding the image style.
1.3. Flash reflection
When switching to using a reflected flash, the difference in light quality is almost immediately noticeable. Instead of pointing the flash forward, you rotate the flash head so that the light bounces off the ceiling or onto a neutral-colored surface such as white or gray.
In the absence of a suitable ceiling, a reflective fabric or scrim is a very effective alternative. This white surface acts as a large light source, helping the reflected light become softer and more evenly distributed.
.jpg)
As a result, the subject's face no longer has harsh, unpleasant highlights, the shadows under the chin are softer, and the overall lighting looks natural and pleasant. Further refinement, such as moving the reflector behind the subject, will create a clearer direction for the light, giving the face a better sense of depth and dimension.
Flash reflections not only improve the quality of light, but also help the photo retain a realistic feel, closer to ambient light, instead of having an overly obvious "flash" effect.
2. Tips for using a reflector flash effectively
2.1. Ensure the color of the surface and the direction of reflection.
One of the most important factors when using a reflected flash is the color of the reflecting surface. The reflected light will carry the color of that surface. If you bounce the flash off a ceiling painted yellow, blue, or a dark color, the light hitting the subject will also be tinted accordingly.
The safest solution is always to use white ceilings or reflectors, or at least neutral gray ones. This helps the light retain its natural colors, minimizing color correction time in post-production.
.jpg)
Besides color, the direction of reflection also plays a very important role. In portrait or body photography, the light needs to have a clear direction to highlight the face or body. If you simply shine a light straight down onto the ceiling without planning, the light can become too flat and lack focus.
Tilting the light slightly to the left or right, combined with the right reflection direction, will help to create directional light, producing soft shadows and subtly highlighting facial features or muscles.
2.2. Use a light diffuser or mesh and adjust the light spread.
Once you have a suitable reflective surface, the next step is to control the spread of the light. Most modern flash units allow for zoom adjustment of the flash head. This change in focal length will determine whether the light is concentrated in a small area or spread widely across the reflective surface.
For a soft, even light distribution, you can position the light at a wide angle. Conversely, if you want a more directional light, zooming the light head to focus the light on a specific area of the ceiling or reflector will be more effective.
Additionally, accessories such as light shields or diffusers are very effective at controlling the light beam. In practice, diffusers are often preferred because they are lightweight, easy to install, and do not require a very long reflection distance.
2.3. Notice the white surfaces compared to the reflective surfaces.
Not all reflective surfaces produce the same kind of light. White surfaces tend to diffuse light evenly, creating a soft and gentle feel. This is an ideal choice for portraits, family photos, or any image requiring a calm and soothing atmosphere.
.jpg)
Conversely, reflective surfaces like silver reflectors produce harsher, more directional light. In situations where you need to highlight depth, emphasize muscles, or create a powerful effect, light from a reflective surface proves more effective.
Understanding these differences helps photographers proactively choose the appropriate reflective surface for their shooting purpose, instead of applying one mechanically.
3. Examples of using reflected flash in event photography
3.1. Using reflected flashlights at the year-end party.
In event photography, reflected flash is often seen as a "quick fix" when there's no time to set up lighting. However, in many situations, it's actually the optimal choice.
For year-end parties, the space usually already has lighting from stage lights, DJ lights, or glitter effects. Adding extra ambient lighting isn't always necessary. In this case, reflected flash plays a supporting role, ensuring the subject is well-lit while maintaining the natural atmosphere of the moment.
.jpg)
In situations where there's only one chance to shoot, direct flash carries the risk of harsh light and loss of emotion. Reflected flash, with its softer light, offers greater safety and stability.
When shooting continuously at high flash power, having a removable battery is crucial to reduce recycle time. Regarding the shooting angle, standing higher, pointing the flash upwards and slightly forward helps the light bounce further, evenly illuminating the background and capturing the most impactful moment.
3.2. Using reflected flashlights at a wedding reception
The biggest advantage of using flash reflections at weddings is the speed of setup. In less than a minute, photographers can be ready to work. However, this technique is highly dependent on the space, especially the ceiling and walls.
.jpg)
Because the light source is directly above the camera, the photographer's range of movement is limited. When moving further away, the light decreases significantly, and those closer to the camera will be brighter than those in the background. This might be acceptable when emphasizing the bride and groom, but it's a disadvantage in moments requiring even lighting for the entire group.
To improve this, directing the light upwards and to one side helps to spread the light more widely, reducing the contrast between the light and shadow levels of the people in the frame.
3.3. Tips for taking photos of flowers tossing using flash reflection
In fast-paced action scenes like throwing flowers, controlling the light becomes more challenging. In these situations, you should use a higher flash power, combined with an external battery to ensure a fast recharge rate. Increasing the ISO reduces the load on the flash, allowing for continuous shooting without missing the moment.
.jpg)
The light needs to be reflected widely enough to encompass the entire group in the background, while always controlling the relationship between the flash and ambient light. Equally important, be prepared to eliminate shots with unflattering expressions, because in event photography, the moment and emotion are always key.
Flash reflection is one of the simplest yet most effective techniques in photography. When used correctly, it transforms a small, harsh, and unpleasant light source into soft, natural, and deep light. More importantly, flash reflection doesn't require complex equipment or advanced knowledge; it relies primarily on an understanding of light and the ability to observe the surrounding environment.
Buy


VIP Products


Best Selling Products
Copyright Adobe Lightroom Account
59 USD
Autodesk All App Account Copyright
120 USD
Genuine Cheap Canva Pro
39 USD
Upgrade genuine Capture One account
120 USD
Freepik Premium Account
59 USD
Adobe Photoshop Copyright - Full App
120 USD
Upgrade Genuine Office 365
49 USD
Windows 10 & 11 Pro Key
36 USD
Capcut Pro 1 Year
39 USD
MidJourney Account
29 USD
Plugin Retouch4me
69 USD
Genuine Adobe Illustrator account
99 USD
Adobe Premiere Pro Account
99 USD
ChatGPT Plus Account (GPT-4)
16 USD
Upgrade Duolingo Super
29 USD