Best Selling Products

Autodesk All App Account Copyright
120 USD

Freepik Premium Account
59 USD

Upgrade Genuine Office 365
49 USD

Adobe Premiere Pro Account
99 USD

Capcut Pro 1 Year
39 USD

MidJourney Account
29 USD

Copyright Adobe Lightroom Account
59 USD

Genuine Adobe Illustrator account
99 USD

Plugin Retouch4me
69 USD

Genuine Cheap Canva Pro
39 USD

Windows 10 & 11 Pro Key
36 USD

Adobe Photoshop Copyright - Full App
120 USD

Upgrade Duolingo Super
29 USD

Upgrade genuine Capture One account
120 USD

ChatGPT Plus Account (GPT-4)
16 USD
DaVinci Resolve FAQ: Common Problems and the Best Solutions
Nội dung
- 1. How do I use DaVinci Resolve on two monitors?
- 2. Why do I get an error when importing an MP4 file into DaVinci Resolve?
- 3. How do I output video to a TV screen or dedicated monitor?
- 4. Is it possible to change keyboard shortcuts in DaVinci Resolve?
- 5. How do I fix the broken link or "Media Offline" error?
- 6. Is it possible to transfer a project from Premiere or Final Cut Pro to DaVinci Resolve?
- 7. Where are projects saved in DaVinci Resolve, and how do I transfer them to another computer?
- 8. How do I export a high-quality video in DaVinci Resolve?
This article compiles the most common errors and questions encountered while using DaVinci Resolve. It not only provides solutions but also explains the underlying technical reasons, helping you understand and avoid repeating mistakes.
DaVinci Resolve has transcended the image of a software "just for color grading." Since Blackmagic Design developed Resolve into an all-in-one platform, more and more editors, colorists, independent filmmakers, and professional studios have chosen it as the central tool for their production pipeline.
However, the biggest difference between Resolve and software like Premiere Pro or Final Cut Pro lies not in features, but in design philosophy and workflow. Resolve is built on a cinematic post-production mindset, with very strict standards for color, video signals, codecs, and media management. This gives it superior power, but also creates a certain "barrier" for newcomers.
Therefore, many recurring questions arise within the user community: from using two monitors, errors importing MP4 files, to where projects are saved, and why exported videos appear faded. Without understanding the underlying technical aspects, users easily fall into a state of trial and error, leading to wasted time and reduced efficiency. In this article, SaDesign will answer the most common questions, not only at the "how-to" level but also analyzing "why," helping you build a solid foundation for long-term work with DaVinci Resolve.
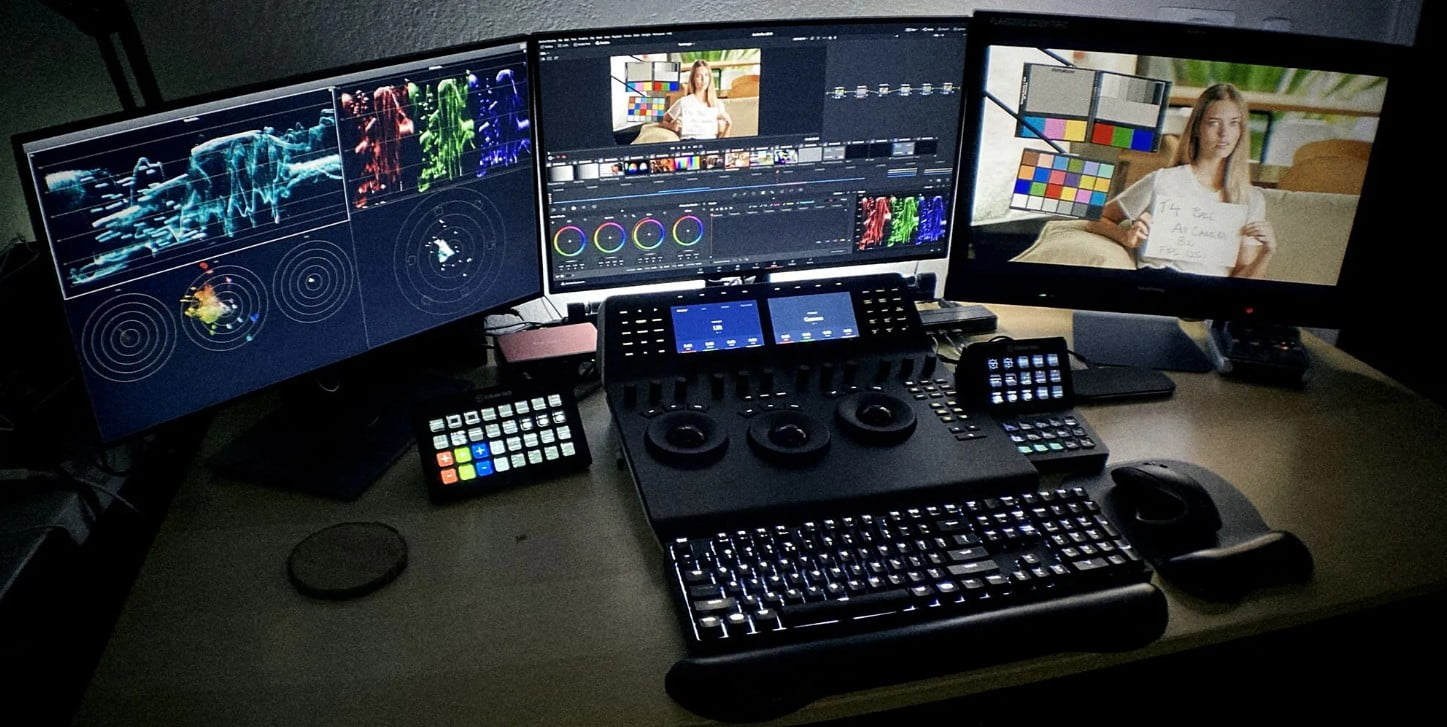
1. How do I use DaVinci Resolve on two monitors?
Working on two monitors is almost standard in professional post-production environments. When editing or color grading, having extra display space allows you to monitor the timeline, viewer, and control panels simultaneously, thereby increasing workflow speed and reducing errors.
In DaVinci Resolve, enabling dual-monitor mode is relatively simple in terms of operation but has a very clear "framework" in terms of interface. You just need to go to the Workspace menu > Dual Screen > On to turn this mode on.
Once activated, Resolve automatically splits the interface between two screens in a way that Blackmagic Design deems optimal for the post-production workflow. Typically, the main screen will contain the timeline, media pool, inspector, and control panels. The secondary screen will display the viewer in a larger size and may also show color measurement tools such as Waveform, Parade, or Vectorscope.
The important point to understand is that DaVinci Resolve doesn't allow users to freely drag and drop individual panels between two screens like Premiere Pro. This isn't a drawback, but rather a design choice. Resolve prioritizes consistency and interface stability, especially in color grading environments where every displayed pixel can influence color decisions.
In practice, this layout is particularly effective when you move to the Color page. The large viewer on the secondary screen helps you focus entirely on the image, while the nodes, scopes, and controls are neatly arranged on the main screen. This closely mimics the workflow of professional color grading labs.
If, during use, your interface malfunctions, panels display incorrectly, or are missing, go to Workspace > Reset UI Layout . This is the quickest way to restore Resolve to its default interface, avoiding the need to reinstall the software.
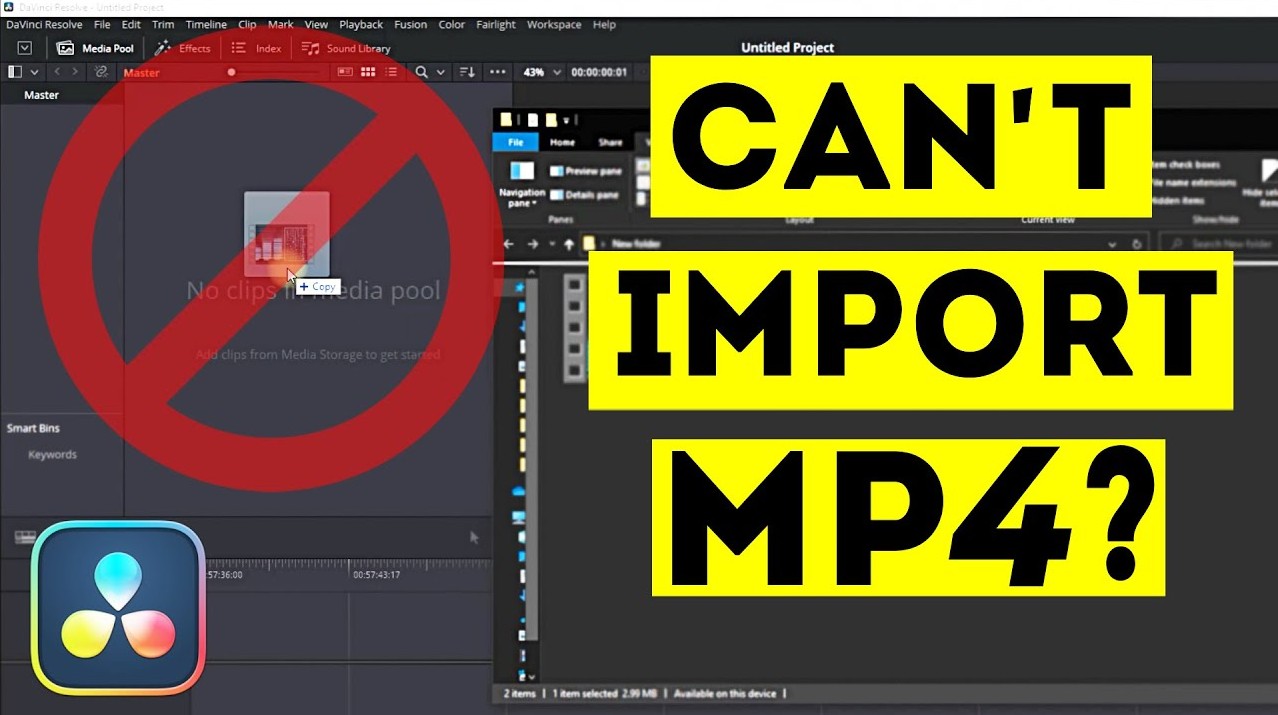
2. Why do I get an error when importing an MP4 file into DaVinci Resolve?
This is perhaps the most frustrating question for new DaVinci Resolve users. Many people wonder why the same MP4 file opens perfectly in Premiere Pro and Final Cut Pro, but Resolve reports an error or doesn't recognize the file at all.
It's important to understand that MP4 is not a codec, but just a container. Inside the MP4 container, there can be many different codecs, the most common being H.264 and H.265 (HEVC). It is the codec inside that is the root cause of the problem.
Technically, H.264 and H.265 use the Long-GOP (Group of Pictures) compression method. Instead of storing full information for each frame, the codec only stores one complete frame, called an I-frame, and then records the changes of subsequent frames as P-frames and B-frames. This compression method is extremely efficient for video playback, but very resource-intensive for video editing.
When you fast-forward, cut, or precisely edit each frame, the software must constantly decode and reconstruct the image from many different frames. This puts a great strain on the CPU, especially on machines without hardware that accelerates decoding. The result is stuttering, lag, import errors, or even crashes.
Another often overlooked cause is Variable Frame Rate (VFR) . Videos recorded from phones, screen recording software like OBS or Zoom often don't have a fixed frame rate. Resolve, like most professional post-production software, is designed to work with Constant Frame Rate (CFR) . When encountering VFR files, Resolve may report errors, import incorrect durations, or cause audio-visual discrepancies.
The most sustainable and professional solution is to transcode before editing. You can use free software like HandBrake or Shutter Encoder to convert MP4 files to editing-friendly codecs like ProRes (on macOS) or DNxHR (on Windows). These are intra-frame codecs, meaning each frame contains complete information, resulting in a much smoother and more stable editing experience. When transcoding, be sure to select the Constant Frame Rate option.
Additionally, DaVinci Resolve also provides built-in tools such as Optimized Media and Proxy. Optimized Media creates high-quality intermediate files for editing, while Proxy creates lower-resolution files to reduce the load on weaker machines. Both help you work smoothly with heavy footage without altering the original files.
From version 14.3 onwards, Resolve has significantly improved its H.264 handling capabilities, especially the Studio version which supports hardware acceleration. However, in a professional work environment, transcoding or using proxies is still a practice that should be maintained.
3. How do I output video to a TV screen or dedicated monitor?
One of the biggest differences between "normal" video editing and professional post-production lies in which screen you view the footage on. Regular computer monitors, no matter how expensive, are still affected by the operating system, graphics card, and color profile. This results in colors not being displayed perfectly accurately.
To properly assess color accuracy, especially during color grading, you need a "clean" video feed output directly from DaVinci Resolve to a color-calibrated reference monitor.
To do that, you need a dedicated video I/O device. Blackmagic Design offers several solutions, the most popular being the DeckLink Mini Monitor 4K for desktops and the UltraStudio Monitor 3G or 4K for laptops and iMacs via Thunderbolt.
After installing the hardware and drivers, simply go to DaVinci Resolve > Preferences > Video and Audio I/O , then select your device in the Monitor Device section. From that point on, the image from the timeline will be output directly to the external monitor, without any interference from the operating system.
In a professional color grading environment, this is almost a mandatory requirement. The color decisions you make are only truly valuable when evaluated on a standard display system.
4. Is it possible to change keyboard shortcuts in DaVinci Resolve?
DaVinci Resolve allows for highly flexible keyboard shortcut customization. This is especially useful for those already familiar with Premiere Pro, Final Cut Pro, or Avid Media Composer and who don't want to relearn everything from scratch.
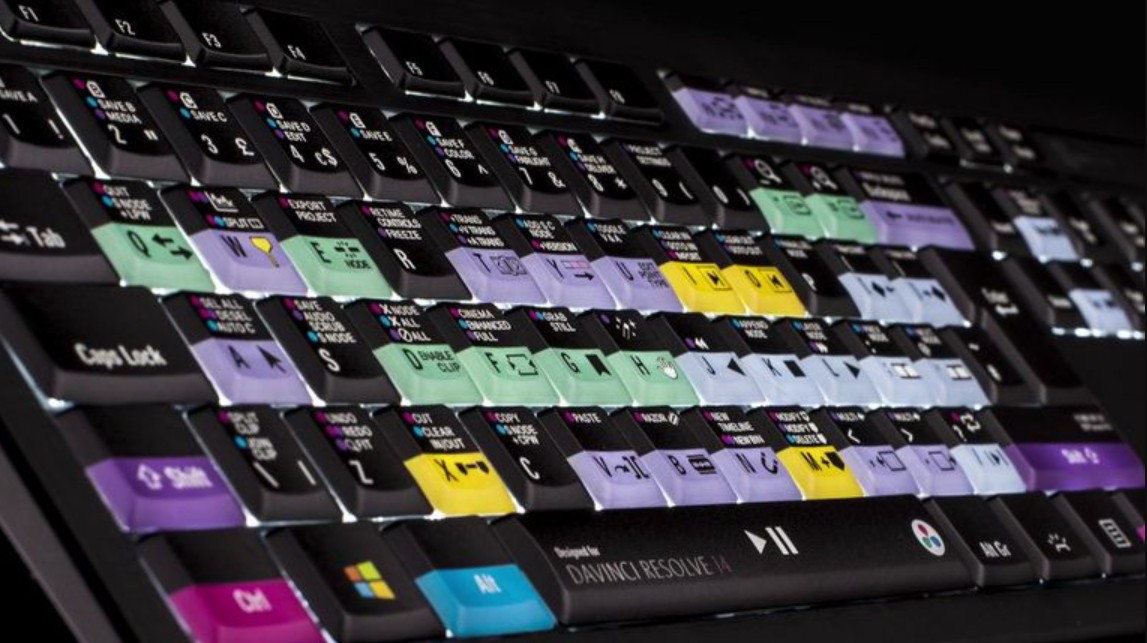
Simply go to DaVinci Resolve > Keyboard Customization to open the shortcut management window. Here, you can view all available commands, quickly search for a specific function, and reassign the key combination as you wish.
A major plus is that Resolve provides built-in keyboard shortcuts modeled after Premiere Pro, Final Cut Pro X, and Avid. This makes the software switching process much smoother, especially for experienced editors.
Additionally, you can save your custom keyboard shortcuts and transfer them to another computer. This is an extremely useful feature in a multi-computer work environment or studio setting.
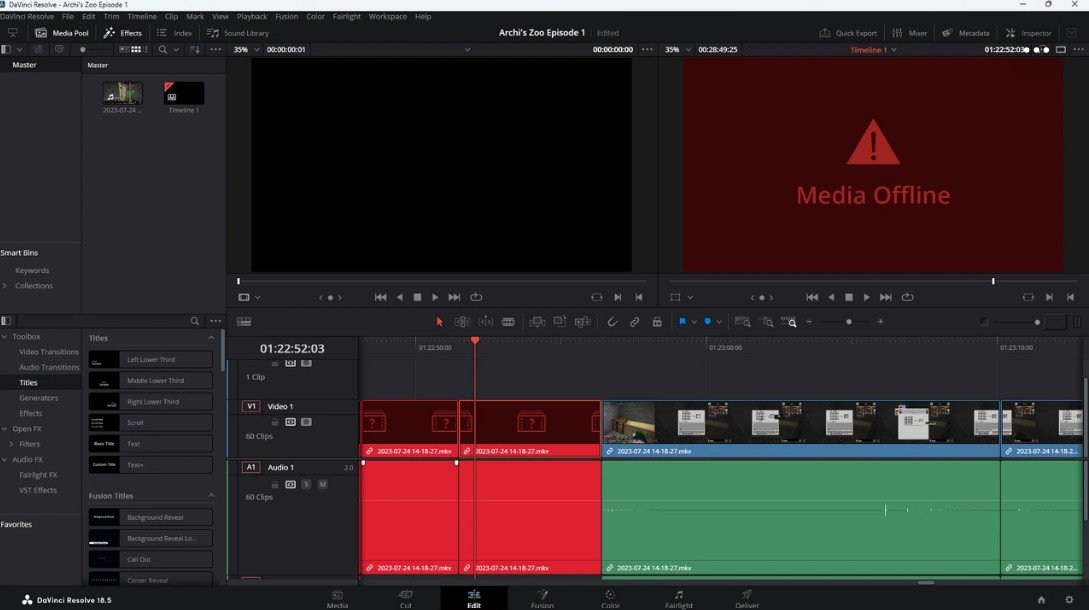
5. How do I fix the broken link or "Media Offline" error?
The “Media Offline” error occurs when DaVinci Resolve can no longer find the original file in its original location. The most common causes are that you have moved or renamed the file or folder, or the external hard drive has been disconnected.
To fix this, go to the Media page, find the faulty clips, right-click and select Relink Selected Clips. Resolve will give you the new path to the original file and automatically relink other files in the same folder.
If you're moving an entire project folder, the Change Source Folder option is incredibly effective. Simply specify the old and new folders, and Resolve will update the paths for hundreds of files at once, as long as the internal folder structure remains the same.
Maintaining a clear and consistent folder structure is the best way to avoid Media Offline errors.
6. Is it possible to transfer a project from Premiere or Final Cut Pro to DaVinci Resolve?
The answer is yes, and this is a very common workflow in the industry. Many editors edit videos in Premiere or Final Cut, then switch to DaVinci Resolve for color grading.
This process is done through file exchanges such as XML or AAF. However, for a smooth conversion, you need to "clean up" the timeline before exporting. Complex effects, titles, speed ramps, or third-party plugins often cannot be transferred correctly through Resolve.
After importing the XML into Resolve, carefully check the timeline, ensuring the cuts are in the correct positions before starting color correction. This is a crucial step to avoid errors later.
7. Where are projects saved in DaVinci Resolve, and how do I transfer them to another computer?
Unlike Premiere Pro, DaVinci Resolve doesn't save projects as a single file. Instead, it uses a database system to manage projects. By default, Resolve creates a local disk database and stores the entire project within it.
To transfer a project to another computer, you can export it as a .drp file or export a project archive (.dra). A .drp file only contains project information, while an archive includes the media, making the transfer much safer and more convenient.
In a professional work environment, exporting the project archive is almost always the best option to avoid missing media errors.
8. How do I export a high-quality video in DaVinci Resolve?
When exporting video, one of the most important but often overlooked settings is Data Levels . This determines your video's signal range and directly affects whether the video appears washed out when viewed on different platforms.
For most final outputs intended for uploading to YouTube, Vimeo, or broadcasting, you should choose Video Levels. Full Levels should only be used when you fully understand your pipeline, such as exporting a master for archiving or sending to the VFX team.
Understanding and properly controlling Data Levels is one of the fundamental skills that helps you avoid many "incorrect color" errors after exporting.Cheap Blackmagic Design DaVinci Resolve Studio Account


VIP Products


Best Selling Products
Autodesk All App Account Copyright
120 USD
Freepik Premium Account
59 USD
Upgrade Genuine Office 365
49 USD
Adobe Premiere Pro Account
99 USD
Capcut Pro 1 Year
39 USD
MidJourney Account
29 USD
Copyright Adobe Lightroom Account
59 USD
Genuine Adobe Illustrator account
99 USD
Plugin Retouch4me
69 USD
Genuine Cheap Canva Pro
39 USD
Windows 10 & 11 Pro Key
36 USD
Adobe Photoshop Copyright - Full App
120 USD
Upgrade Duolingo Super
29 USD
Upgrade genuine Capture One account
120 USD
ChatGPT Plus Account (GPT-4)
16 USD