
Best Selling Products
Capcut Pro 1 Year
39 USD

MidJourney Account
29 USD
Copyright Adobe Lightroom Account
59 USD
Upgrade genuine Capture One account
120 USD
Adobe Premiere Pro Account
99 USD
Genuine Cheap Canva Pro
39 USD

Freepik Premium Account
59 USD
Genuine Adobe Illustrator account
99 USD

Upgrade Duolingo Super
29 USD
Autodesk All App Account Copyright
120 USD
Adobe Photoshop Copyright - Full App
120 USD

ChatGPT Plus Account (GPT-4)
16 USD
Upgrade Genuine Office 365
49 USD
Windows 10 & 11 Pro Key
36 USD
Plugin Retouch4me
69 USD
Detailed guide to using Video Editor 4K for beginners.
Nội dung
- 1. What is a 4K Video Editor?
- 2. Benefits of using 4K Video Editor
- 3. Required configuration for editing 4K video
- 4. Detailed instructions for using Video Editor 4K
- Step 1: Prepare the video and materials.
- Step 2: Create a new editing project.
- Step 3: Cut, splice, and arrange the video.
- Step 4: Adjust color and lighting
- Step 5: Add effects and transitions
- Step 6: Insert text, subtitles, and audio.
- Step 7: Export the video in 4K resolution.
- 5. Common mistakes when editing 4K video and how to fix them.
- 6. Tips for editing 4K videos to make them look more beautiful and professional.
- 7. Who should use Video Editor 4K?
- 8. Conclusion
The demand for high-quality video editing is increasing, especially among those who frequently create content on TikTok, YouTube, Facebook, or Instagram. A beautiful video not only needs sharp images but also harmonious colors, clear sound, and natural transitions. This is also why Video Editor 4K is attracting a lot of attention, thanks to its ability to support high-resolution video editing, providing a realistic and professional visual experience. If you want to learn how to use this tool, this article from Sadesign will guide you step-by-step from preparation and editing to exporting a complete 4K video.
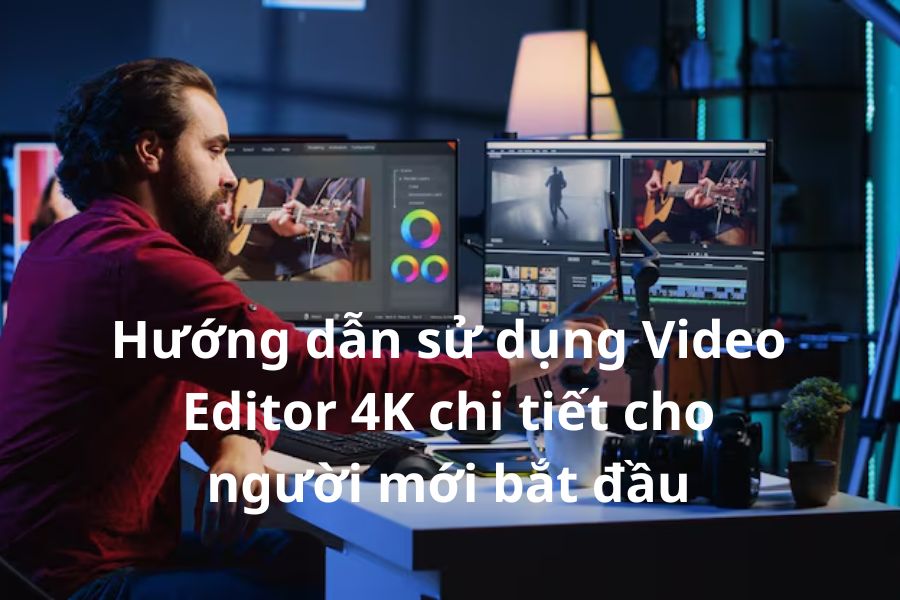
1. What is a 4K Video Editor?
4K Video Editor refers to software or tools for editing videos that support processing and exporting content in 4K resolution. With a common image size of 3840 x 2160 pixels, 4K video has four times the number of pixels of Full HD 1080p, allowing for a wider range of detail in the frame.
4K video editing tools typically offer the necessary features to transform raw footage into finished content. Depending on the software, you can use functions such as cutting and splicing, adding effects, color correction, voiceovers, subtitle insertion, and playback speed adjustment.
Some of the standout features of Video Editor 4K include:
-
High-resolution support: Retains more image detail, suitable for travel videos, advertisements, product introductions, and creative content.
-
Flexible editing: Allows you to cut, merge, and arrange video clips according to your ideas.
-
Customize colors: Adjust brightness, contrast, and saturation for a more visually appealing image.
-
Audio integration: Add background music, sound effects, or voiceovers to liven up your videos.
-
High-quality video output: Supports selecting appropriate resolution, format, and frame rate.
However, not all tools labeled "Video Editor 4K" have all of these features. You should check the supported input and output resolutions before making a choice.
2. Benefits of using 4K Video Editor
4K video editing is more than just upscaling the resolution. When done correctly, it improves the image quality of the content, creating a more professional feel and enhancing the viewer's experience.
Here are some notable benefits:
-
Sharp and detailed images: 4K resolution helps to clearly show even the smallest details in the frame, especially useful for videos of landscapes, products, or portraits.
-
Freely crop and zoom: High-resolution video allows you to crop or zoom at a reasonable level while maintaining good image quality.
-
Enhanced content quality: Synchronized processing of colors, lighting, and effects results in a more aesthetically pleasing video.
-
Compatible with multiple platforms: Can create videos for YouTube, TikTok, Facebook, or high-quality presentation projects.
-
Enhance creativity: Users can combine multiple layers of images, sounds, effects, and motion to create their own unique style.
Another advantage is that 4K video can easily meet the storage and playback needs on large-screen devices. This is a suitable option if you want to build a high-quality video library for long-term use.
3. Required configuration for editing 4K video
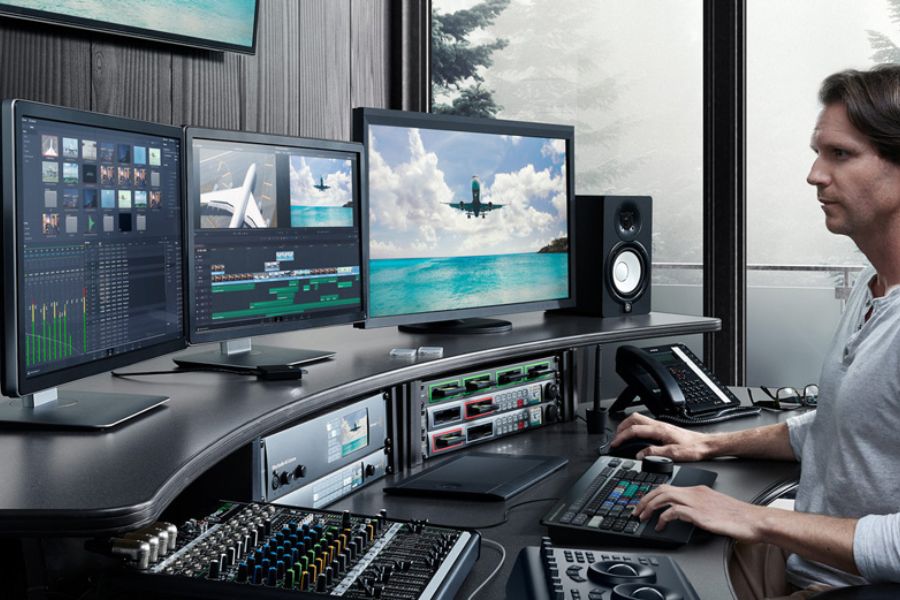
Before you begin, you should check the specifications of your computer or phone. 4K videos contain a large amount of data, so processing them usually consumes more resources than Full HD videos.
For computers, you can refer to the following configuration:
This is a reference configuration, not a mandatory requirement for all software. Projects with many effects, video layers, or complex color corrections may require a more powerful configuration.
Some things to keep in mind when preparing the equipment:
-
Prioritize using SSDs to increase data read and write speeds.
-
Make sure your computer has enough space to store the original video and project files.
-
Update your graphics card drivers to minimize errors during processing.
-
Close unnecessary applications to free up RAM.
-
If your computer has average specifications, use the Proxy feature for smoother editing.
4. Detailed instructions for using Video Editor 4K
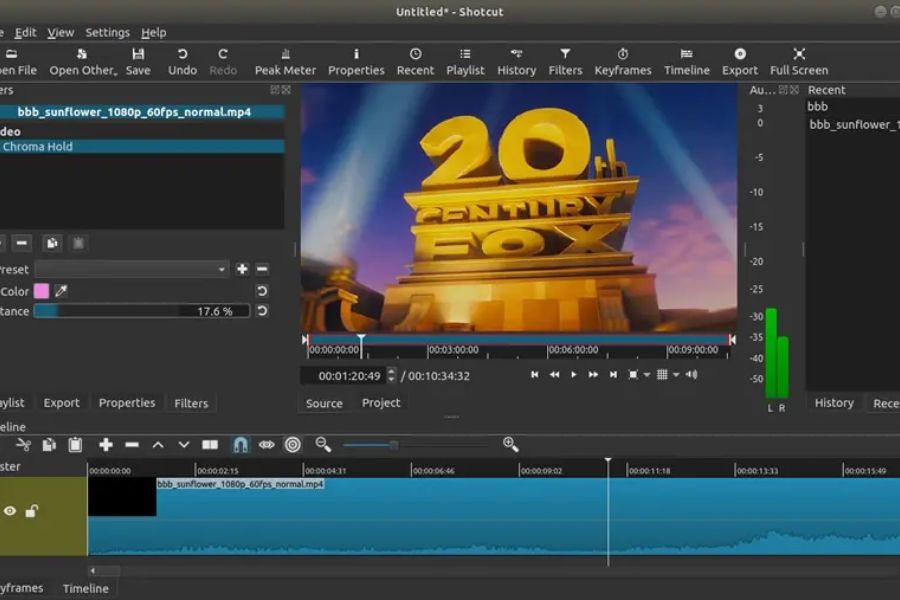
To create a complete video, you don't need to master all the features right away. Start with the basics, then gradually upgrade your editing skills as you become familiar with the software interface.
Step 1: Prepare the video and materials.
First, gather all the video clips, images, background music, and sound effects you need. Having all the materials prepared makes the editing process smoother and avoids repeated searches. You should categorize the files into groups such as original video, illustrative images, sound, and logo. If you're working on a long project, give your files clear names for easier management. Additionally, check the resolution and format of the input video. If you want to export 4K video, it's best to use a 4K source to preserve more image detail.
Step 2: Create a new editing project.
After opening the Video Editor 4K software, create a new project to begin editing.
At this step, several important parameters need to be set:
-
Project Name: Give your project a name that's easy to find.
-
Resolution: Select 3840 x 2160 pixels if you want to create a 4K video.
-
Frame Rate: Select a frame rate that matches the original video, usually 24, 25, 30, or 60 FPS.
-
Aspect Ratio: Choose the aspect ratio according to your intended use, such as 16:9 for YouTube or 9:16 for TikTok.
Once completed, you can switch to the editing interface and import the prepared files.
Step 3: Cut, splice, and arrange the video.
This is a crucial step that determines the rhythm and storytelling of the video. Drag the video clips onto the Timeline, then arrange them in your desired order.
Here are some basic operations you need to know:
-
Cut out any unnecessary or shaky/blurred footage.
-
Combine the footage in a logical sequence.
-
Adjust the duration of each segment.
-
Use the Split tool to divide a video into multiple parts.
-
Arrange images and videos on different Timeline layers.
Don't try to retain all the original footage. A video with concise content and smooth transitions is usually more engaging than one that is too long and lacks focus.
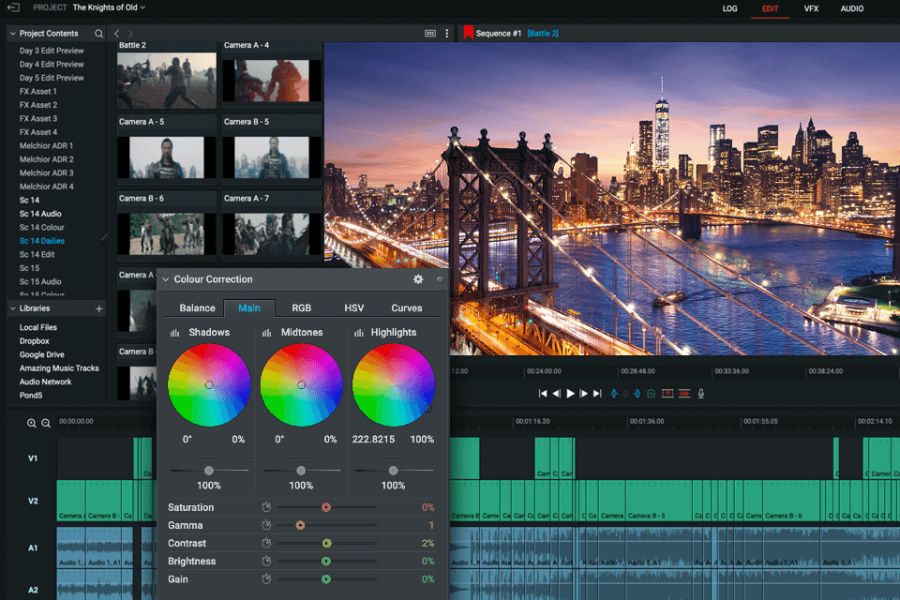
Step 4: Adjust color and lighting
After completing the editing, you can begin adjusting the colors to make the video look more harmonious. This step helps to add depth to the images and create a unique style for the content.
Commonly used parameters include:
-
Brightness: Adjusts the overall brightness of the image.
-
Contrast: Increases or decreases the contrast between bright and dark areas.
-
Saturation: Adjusts the color saturation.
-
Temperature: Customize the color tone to be warm or cool.
-
Exposure: Controls the level of exposure of the image.
You should adjust each parameter moderately, avoiding making the colors too vibrant or losing detail in bright or dark areas. If the video has many different shots, try to balance the colors between the segments.
Step 5: Add effects and transitions
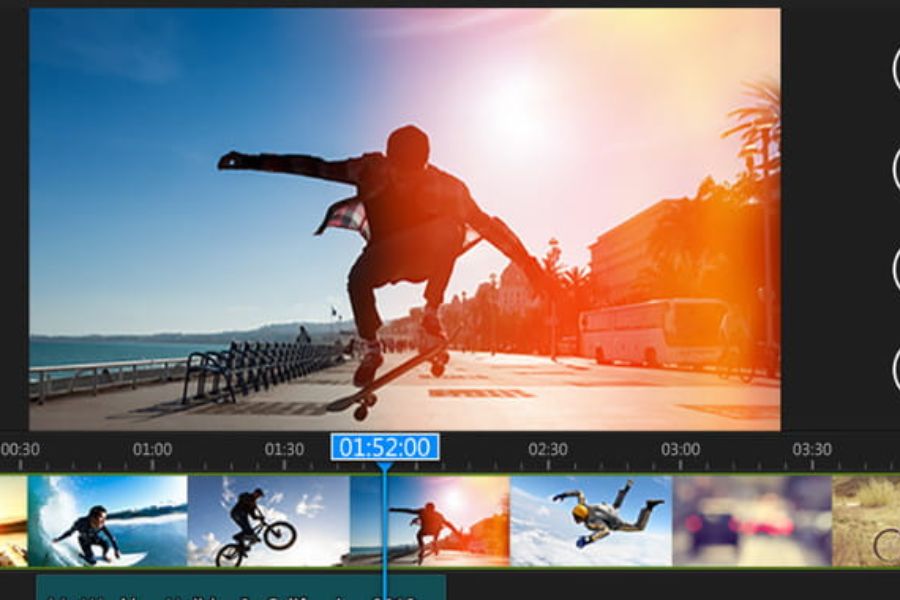
Effects help make videos more lively, while transitions create a connection between segments. Most video editing software today provides a library of effects for users to choose from.
You can try some popular effects:
-
Fade In and Fade Out are used to create a gentle opening or closing effect.
-
Use Zoom In and Zoom Out to create emphasis.
-
Blur is used to blur images as desired.
-
Transitions are used to connect different shots.
-
Speed Ramp is used to create the effect of changing movement speed.
However, avoid using too many effects in a single video. Choose movements that are appropriate for the content to maintain a natural feel and prevent viewers from getting distracted.
Step 6: Insert text, subtitles, and audio.
A quality video is incomplete without sound and illustrative information. You can add a title, subtitles, brand logo, or short text to convey your message more clearly.
When editing audio, keep the following in mind:
-
Choose background music that matches the video's theme.
-
Adjust the volume so the music doesn't drown out the voice.
-
Remove background noise if the software supports it.
-
Add sound effects at points that need emphasis.
-
Check for spelling errors and subtitle display timing.
For videos posted on TikTok or Reels, short, easy-to-read subtitles will help viewers grasp the content even without the sound on.
Step 7: Export the video in 4K resolution.
Once you've finished editing, go to the Export or Render section to export the video. This is the final step, but it directly affects the quality of the final file.
You can refer to the following settings:
The actual bitrate may vary depending on the content, motion, and codecs used. If you want a smaller file size, you can choose H.265, but you need to ensure your playback device supports this format. After exporting, open the video to check the sharpness, color, sound, and transitions. If you find any errors, you should go back to the project and edit it before uploading.
5. Common mistakes when editing 4K video and how to fix them.
When using Video Editor 4K, beginners may encounter several problems that make editing time-consuming. Most errors stem from device configuration, project settings, or incompatible file formats.
Some common errors and how to fix them:
-
Video stuttering or lagging during editing: Reduce preview quality, close background applications, or use a proxy to reduce the load on your computer.
-
The exported video is not in 4K quality: Check the resolution in the Export settings to avoid accidentally selecting Full HD.
-
Color discrepancies after export: Check the color settings, HDR, and color space between the original video and the software.
-
Audio out of sync: Check frame rate, audio format, and resynchronize Timeline layers.
-
Rendering time is too long: Turn off unnecessary effects, use hardware acceleration if supported, and check hard drive space.
If the software frequently crashes unexpectedly, save your project periodically and update to the latest version to minimize the risk of data loss.
6. Tips for editing 4K videos to make them look more beautiful and professional.
Besides mastering the basics, you can apply some small tips to improve video quality. Simple changes in image, sound, and content layout can sometimes make a huge difference.
-
Create a structure before editing: Determine the beginning, main content, and ending to ensure the video has a clear narrative flow.
-
Prioritize image quality: Use a well-lit filming source, minimize shaking, and avoid excessive zooming.
-
Maintain color consistency: Avoid constantly changing the color tone between shots unless intentional.
-
Sound optimization: Combining voice acting, background music, and effects in a balanced way.
-
Pay attention to the aspect ratio: Choose the correct size according to the upload platform to avoid losing content when displayed.
-
Save multiple versions of the project: Keep the original file for easy editing when changes are needed.
Specifically, you shouldn't confuse exporting video in 4K resolution with upscaling video to 4K. If the original source is of low quality, selecting 4K resolution during export won't automatically restore all lost detail. To improve the image quality, you'll need to use specialized resolution upscaling tools if your software supports them.
7. Who should use Video Editor 4K?
Video Editor 4K is suitable for a wide range of users, from beginners to professional content creators. Depending on your needs, you can utilize different features to save time and improve the quality of your final product.
-
Content creator: Edit TikTok, YouTube Shorts, and Reels videos with sharp visuals and engaging content.
-
Online business owners: Create product introduction videos, capture close-up details, and build brand promotional content.
-
Vlogger: Editing travel videos, lifestyle videos, and everyday moments.
-
Media professionals: Producing promotional videos, company introductions, or content for marketing campaigns.
-
For film enthusiasts: Preserve high-quality footage and freely express your creativity in your own personal style.
If you only need to edit short videos, you can start with software that has a simple interface. Conversely, more in-depth projects will require tools that support multiple image layers, color correction, and better audio processing.
8. Conclusion
Video Editor 4K is a useful option for those who want to improve image quality and create more polished videos. From preparing materials, setting up the project, cutting, editing, color grading, to exporting the file, each step contributes to a complete final product. If you're just starting out, you should familiarize yourself with the basic operations before trying advanced effects. Practice regularly, experiment with different editing styles, and choose settings that are suitable for your equipment to create beautiful, sharp, and professional 4K videos.










VIP Products

Best Selling Products
Capcut Pro 1 Year
39 USD
MidJourney Account
29 USD
Copyright Adobe Lightroom Account
59 USD
Upgrade genuine Capture One account
120 USD
Adobe Premiere Pro Account
99 USD
Genuine Cheap Canva Pro
39 USD
Freepik Premium Account
59 USD
Genuine Adobe Illustrator account
99 USD
Upgrade Duolingo Super
29 USD
Autodesk All App Account Copyright
120 USD
Adobe Photoshop Copyright - Full App
120 USD
ChatGPT Plus Account (GPT-4)
16 USD
Upgrade Genuine Office 365
49 USD
Windows 10 & 11 Pro Key
36 USD
Plugin Retouch4me
69 USD