Best Selling Products
Copyright Adobe Lightroom Account
59 USD
Adobe Premiere Pro Account
99 USD
Adobe Photoshop Copyright - Full App
120 USD
Upgrade Genuine Office 365
49 USD

Freepik Premium Account
59 USD
Genuine Cheap Canva Pro
39 USD
Genuine Adobe Illustrator account
99 USD

Upgrade Duolingo Super
29 USD
Autodesk All App Account Copyright
120 USD
Windows 10 & 11 Pro Key
36 USD
Plugin Retouch4me
69 USD

MidJourney Account
29 USD
Capcut Pro 1 Year
39 USD
Upgrade genuine Capture One account
120 USD

ChatGPT Plus Account (GPT-4)
16 USD
DNG or RAW: Which Is the Optimal Format for Your Photo Collection?
Nội dung
You are planning a long trip, perhaps days of strolling through the city, an afternoon by the sea, or a night hunting for the aurora in the mountains of Iceland. The question is which format will help you keep everything your eyes see and reproduce it on screen as faithfully as possible. For many photographers, the answer lies in shooting RAW. But when you begin to organize and store thousands of photo files, another question appears: should you keep the camera manufacturer''''s original RAW files or convert to DNG? This article analyzes both formats thoroughly, from their technical nature, advantages and disadvantages, and practical applications to how to choose the one that suits your working style.
1. RAW image files
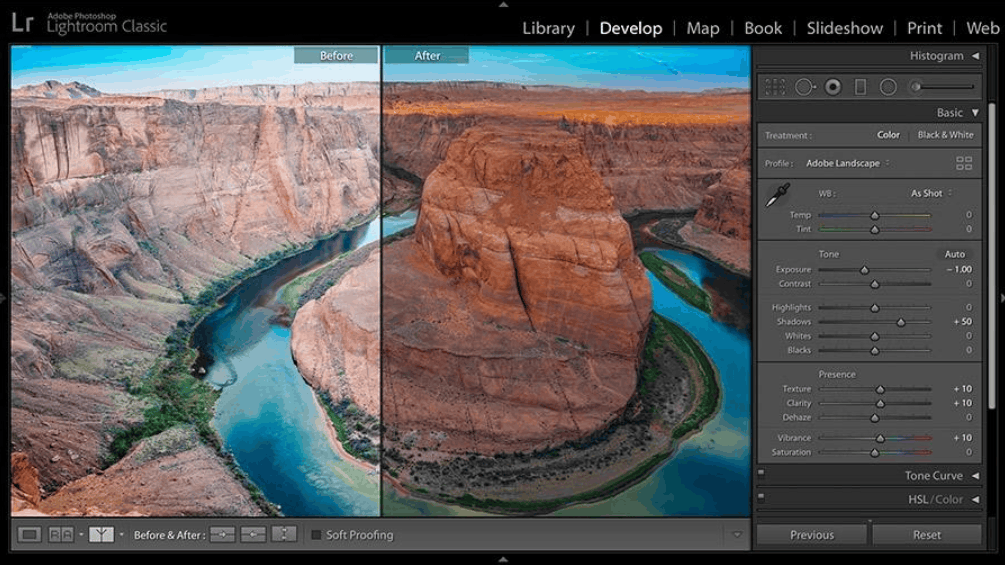
RAW is unprocessed data, recorded directly from the camera's sensor without any intervention from the image processor. Unlike JPEG, which has already been compressed by the camera and had a series of algorithms applied such as white balance, contrast enhancement, noise reduction, or sharpening, a RAW file retains all the information the sensor captured, including shadow detail, highlight information, and full color depth. It is precisely this data integrity that makes RAW the standard for those who want absolute control over the result at the post-processing stage.
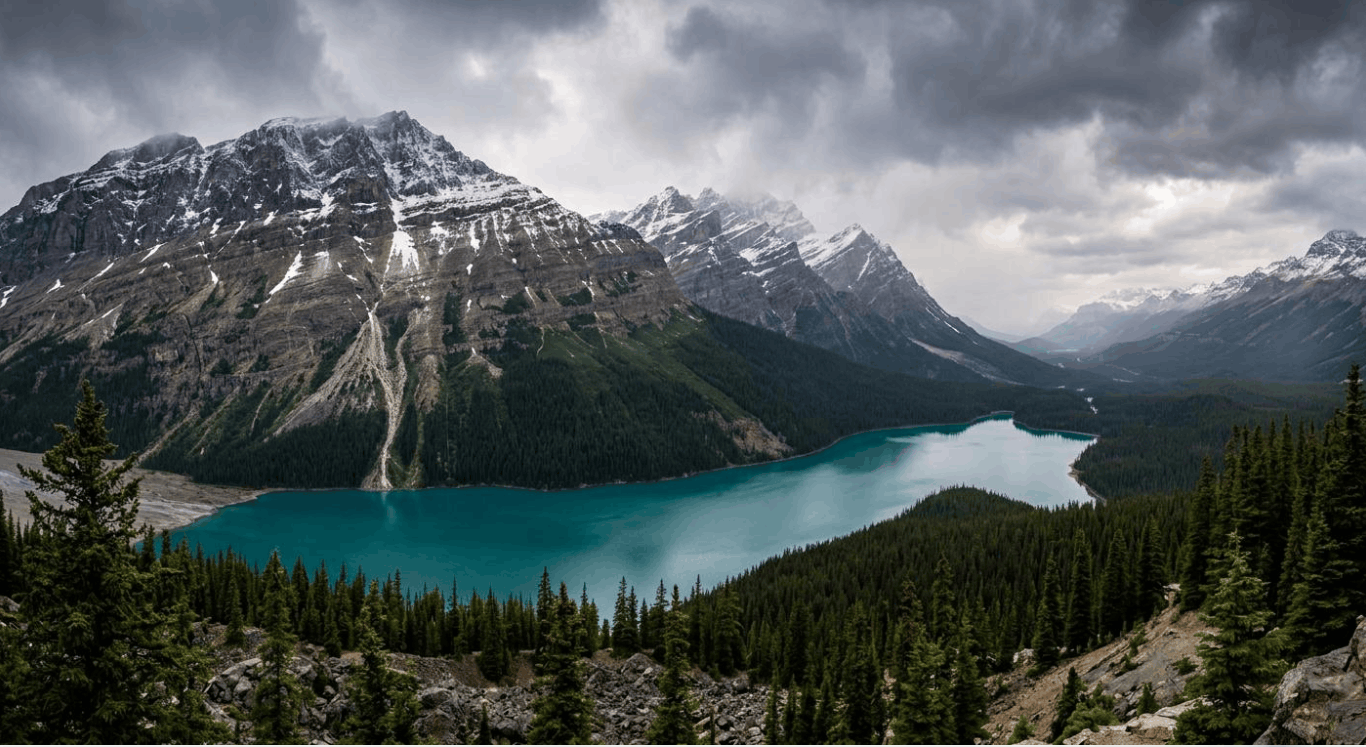
To see the value of RAW clearly, imagine a portrait session by a window, where cool daylight mixes with the warm glow of a desk lamp. In this situation, the model's skin easily turns bluish or reddish, and if you shoot JPEG, correcting it naturally is almost impossible. With RAW, you can fine-tune skin tones precisely at the editing stage without losing the natural look. Similarly, when handling shadow areas created by the desk lamp, RAW data lets you pull back detail that a compressed format has already discarded.
1.1 Benefits of shooting RAW
The important question is how much control RAW gives you. Professional photographers often find the answer in complex shoots where the lighting changes unpredictably. But semi-professional shooters also have plenty of room to refine their own style, from capturing the beauty of nature to keeping the decision over every highlight and shadow area.
The first benefit is the maximum tonal range. RAW files store far more data than compressed formats, so you have a lot of room to maneuver when editing. Typically, RAW images are recorded at 12 or 14 bit depth, equivalent to thousands of brightness levels per color channel, while JPEG has only 8 bits with 256 levels.
The second benefit is non-destructive editing. You can change the exposure, recover highlight detail, or shift the white balance without permanently altering the original file. All adjustments are saved only as instructions, so you can always return to the original state.
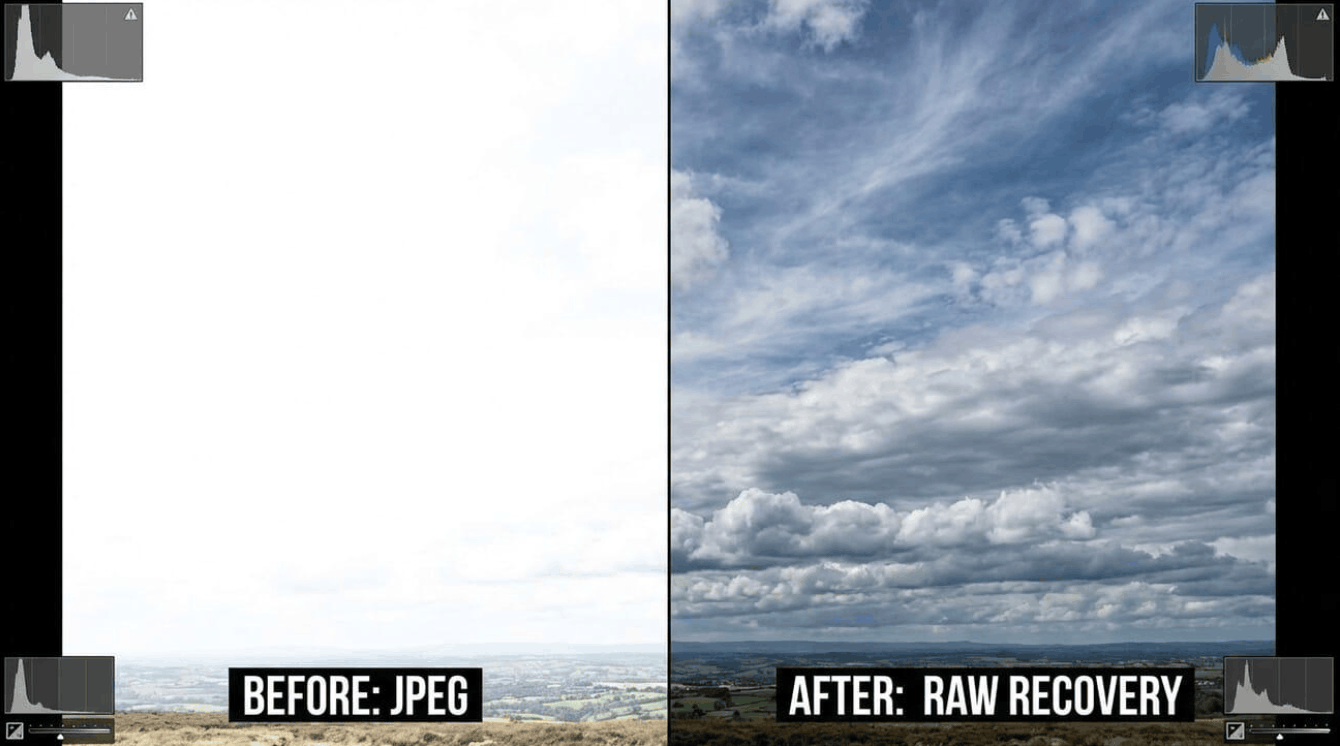
The third benefit is better ability to rescue photos. Blown-out skies or shadow areas that have lost detail often still have useful information inside the RAW file, and you can pull them back. With JPEG, those areas are usually lost permanently.
The fourth benefit is full color data. RAW retains every shade the sensor recorded, not trimmed by color space or compression. This is especially valuable when you need to convert images to wide color spaces, for example when making high-quality prints.
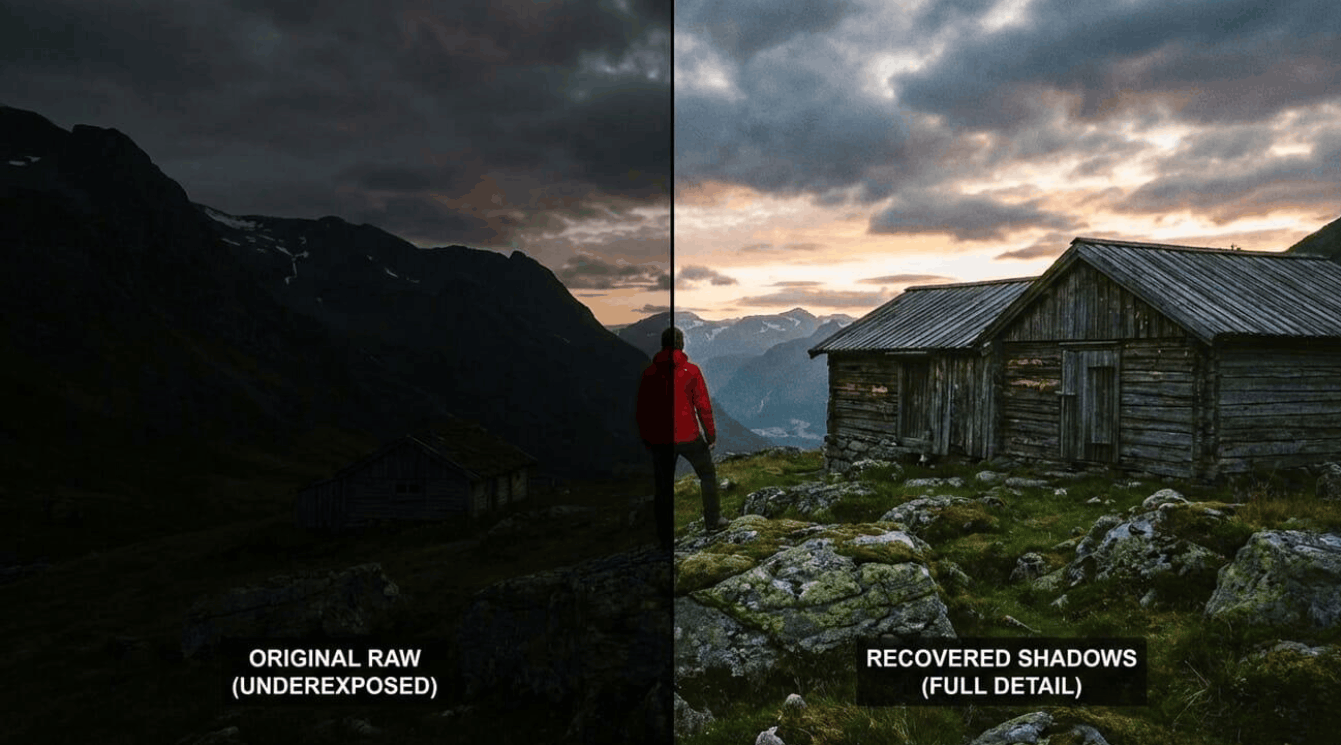
If your luggage is ready, prepare for photos with high contrast and open up more colors than any standard compressed file allows. A little work with a RAW editor will help you unlock your favorite color palettes.
1.2 Limitations of the RAW format
Alongside the advantages, RAW also comes with some notable inconveniences. First is file size. RAW files are typically three to five times larger than JPEG, so memory cards fill up faster, copying takes longer, and hard drives also need larger capacity. You will need an SD card fast enough for continuous writing, especially when shooting bursts or recording behind-the-scenes footage and vlogs.
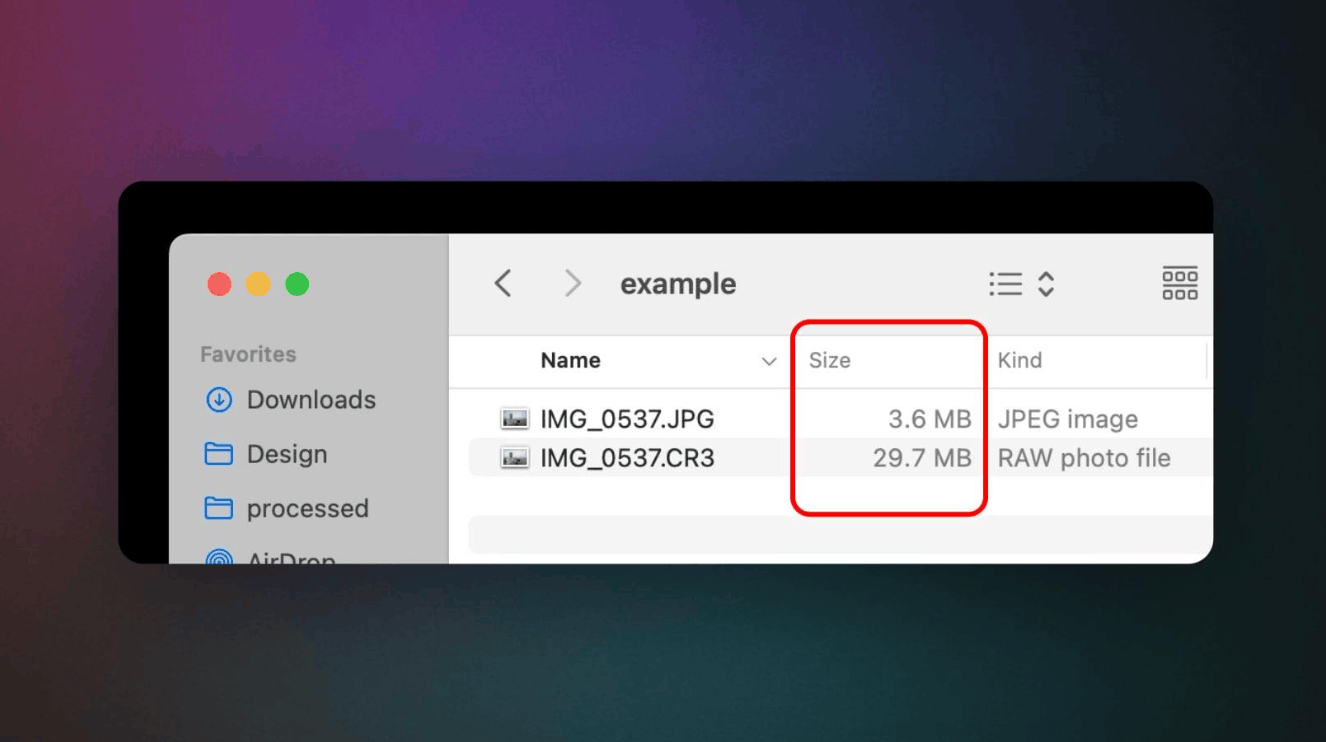
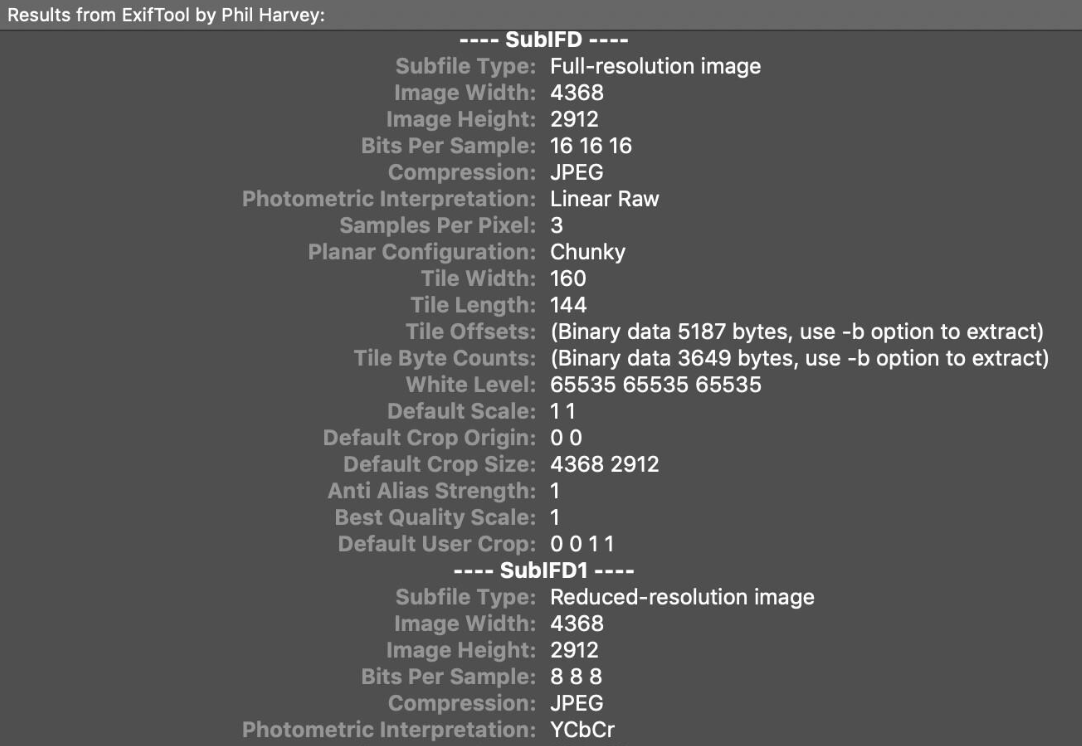
The second limitation lies in the proprietary nature of the format. Each camera brand has its own RAW format, such as Canon's CR3, Nikon's NEF, Sony's ARW, or Fujifilm's RAF. When a new camera model is released, image processing software needs to be updated to read its files. A bigger risk appears when the manufacturer stops supporting a product line or the software you are using stops being updated, in which case a long-standing photo archive may have difficulty being opened and processed. Many photographers have found themselves in this situation with less popular editing platforms.
The third limitation is that RAW files cannot be used directly. You cannot open them with an ordinary photo viewer, cannot easily send them straight to clients, and cannot post them directly online. Every RAW file needs a post-processing step to become a finished image. In addition, many programs store editing changes in separate accompanying sidecar files, and if these files are lost during moving or backup, all the editing effort may be lost with them.
2. Introducing the DNG format
DNG, short for Digital Negative, is a format created with the goal of building a standardized "container" for RAW image data that any software can read. This format was introduced by Adobe in 2004 as a solution to the situation where every camera brand has its own file type.
Many people wonder whether DNG and RAW are the same. In terms of the nature of the image data, the answer is almost yes, since both contain raw information from the sensor. The difference lies in the outer "container", that is, how the data is organized and packaged. With DNG, this structure is standardized and public. The format's technical specifications are widely published, and any software developer can use them without paying a fee. The core value of DNG therefore lies in the assurance of long-term accessibility.
Keep in mind that, whichever format it is in, RAW data still has to go through an interpretation stage and be exported in a dedicated editor. This is the boundary between raw technical data from the sensor and a viewable image result. It is at this step that post-processing software turns the raw file into a usable photo for your collection.
2.1 Four outstanding advantages of DNG
DNG lets you store all source files in the same format, which is convenient for cataloging and building an archive that can be used for many decades. This is especially useful for long-term projects such as a photo book series or a research project. Whichever brand of camera you use, DNG remains the common ground that can unify all sources.
The first advantage is broad compatibility. Almost every professional application, from Lightroom to open-source programs, can open DNG files without obstacles. Many smartphones also shoot directly to DNG, and this format has become the common language between mobile devices and computers.
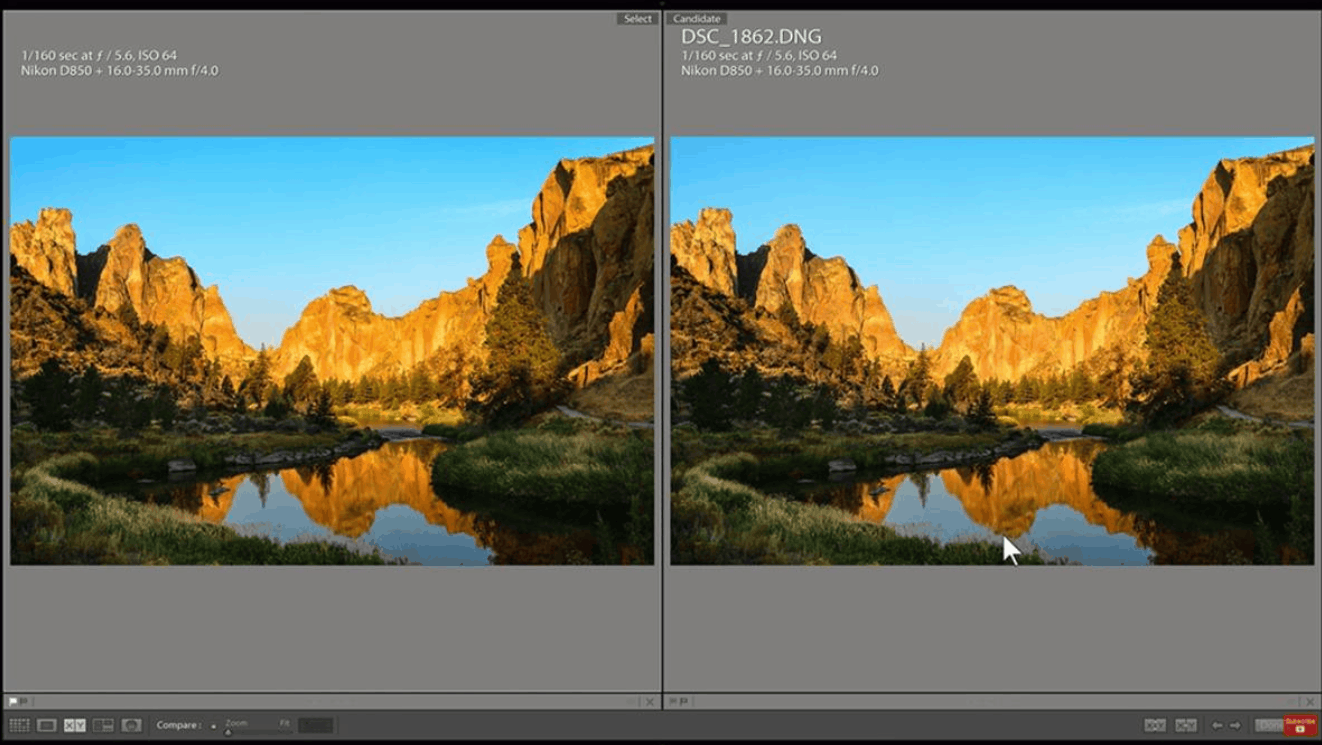
The second advantage is smaller file size. DNG files are typically about 15 to 20% lighter than proprietary RAW files, thanks to a lossless compression mechanism, so image quality is preserved. When a photo library reaches tens of thousands of files, the storage saved is a significant figure.
The third advantage is built-in embedded metadata. XMP information is stored right inside the DNG file, so you do not need accompanying sidecar files, which are very easy to lose. A single file carries both the image and the editing settings.
The fourth advantage is an open specification. Because the format is publicly published, it does not depend on the support or existence of a single manufacturer. Your photo library will not be threatened if a brand goes out of business or changes its policies.
This universality removes many technical barriers and helps you work smoothly across platforms. You can move from one editor to another, even compare Luminar with Lightroom, without worrying about data loss. Finally, once you have chosen a platform to stick with, DNG remains ready for every subsequent migration.
2.2 Limitations of DNG
DNG also has its own drawbacks, and you should weigh them before making a decision. The most obvious issue is the conversion step. Importing photos and converting to DNG takes more time than simply copying the original RAW files onto a drive. This is noticeable when you process thousands of photos at once after a long trip or a big event.
Some camera brands embed proprietary data into RAW files, such as noise reduction profiles or lens correction information. Not all of this data is preserved after conversion to DNG. This sometimes affects the appearance of the photo in software that needs exactly that information, especially software developed by the camera manufacturer itself.
Finally, although DNG is an open standard, remember that Adobe is the party behind it and its main supporter. Some photographers are not comfortable depending on a format tied to one company, even though the specifications are public. Consider your own comfort level with a brand's policies when you evaluate the benefits of DNG.
3. Practical applications of DNG files
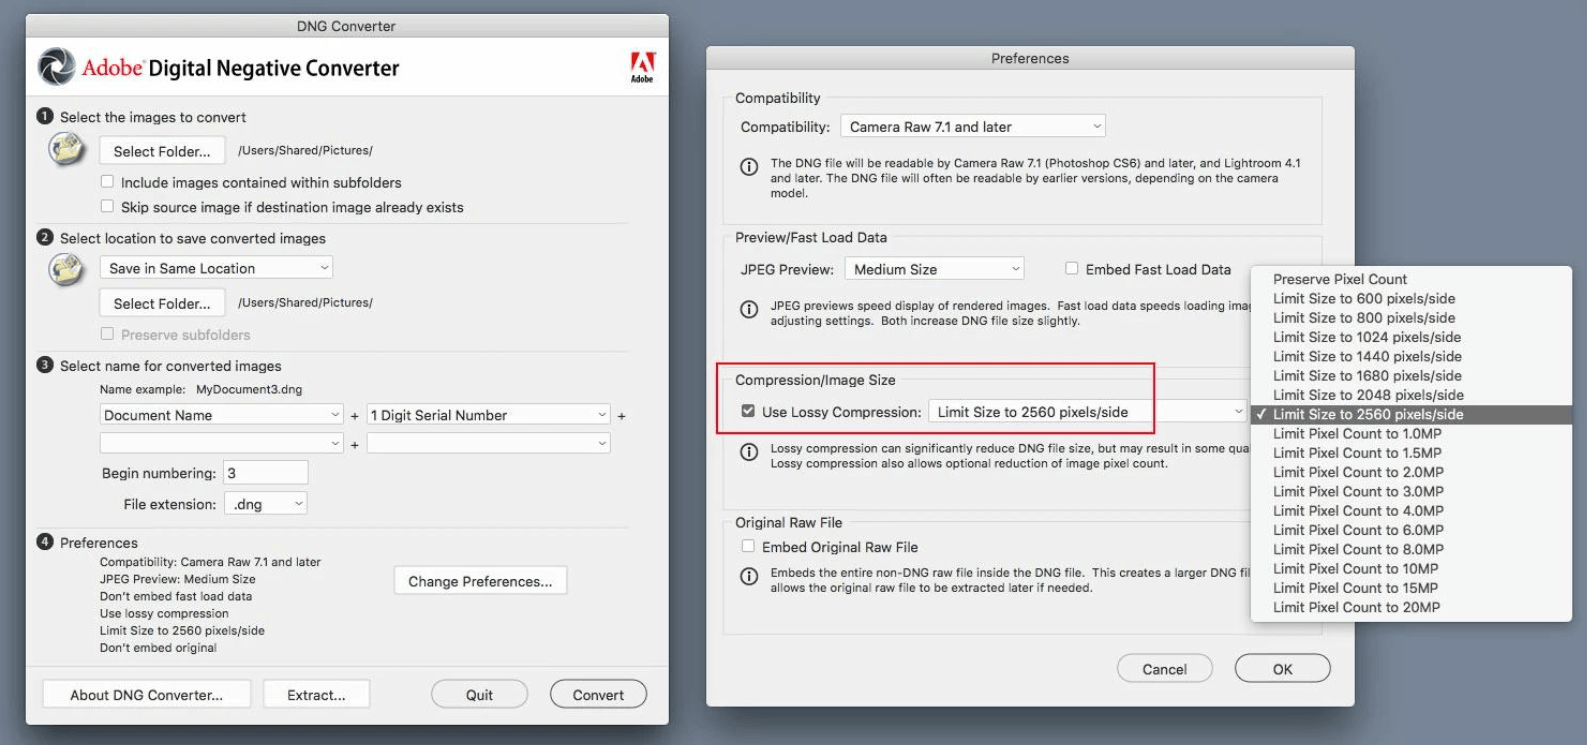
DNG acts as a "universal translator" for the photography community. It is especially useful when you shoot with a brand-new camera that your current software has not yet had time to support. Instead of waiting for an update, you can convert the files to DNG with a free conversion tool and continue working immediately. In addition, instead of a pile of small accompanying files, you only need to send a single fully packaged file. This significantly reduces the risk of files failing to open or losing color settings during handover to colleagues, editors, or clients.
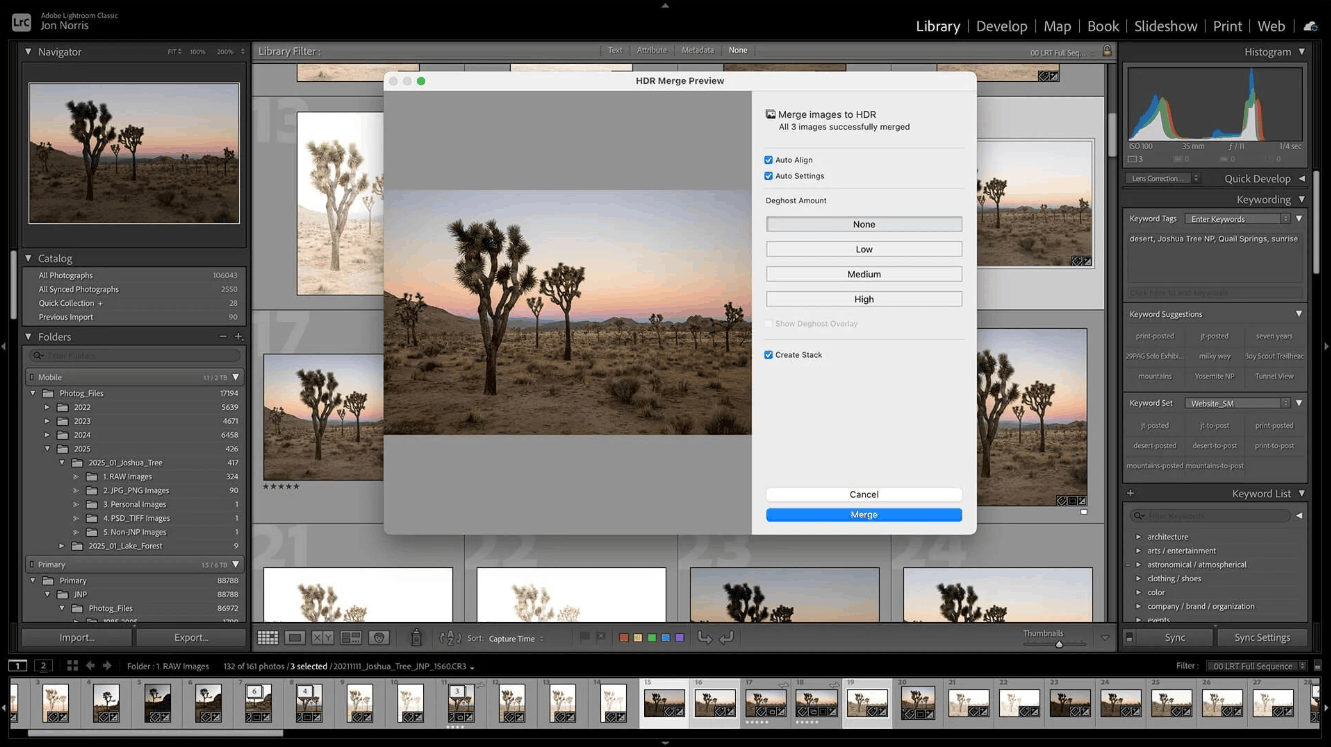
HDR is another application area for DNG. Many HDR merging tools export the final result as DNG, because this format handles a wide tonal range well and is still compatible with many platforms. This approach keeps all the light data from multiple frames in a single stable file, which you then continue editing like an ordinary RAW file. It pushes your creative workflow further and provides a solid foundation for edits that carry your personal mark, so you can look back at every detail of a sunset as many times as you like.
In addition, DNG is also a familiar choice in mobile photography. Many camera apps on phones allow shooting to DNG, giving you high-quality raw data right in your pocket and carrying it straight into the post-processing workflow on a computer. For those who work in teams or with many different devices, having a common format also makes the workflow more consistent.
4. Choosing between DNG and RAW
This decision is a balance between immediate convenience and the certainty that your frames can still be opened many years later. If you are still undecided, rest assured that both approaches have their supporters, and the right choice depends on your working style and personal priorities. The important thing to remember is that both DNG and the original RAW fully preserve image quality.
In terms of file size, proprietary RAW is larger, while DNG is about 15 to 20% smaller. In terms of software compatibility, proprietary RAW is tied to each camera model, while DNG is universal. In terms of metadata, proprietary RAW usually uses sidecar files, while DNG embeds it in the file. In terms of manufacturer-specific data, proprietary RAW keeps it intact, while DNG retains only part of it. In terms of long-term storage, proprietary RAW depends on manufacturer support, while DNG relies on an open standard.
For those who work in only one camera ecosystem and one editing platform, the original RAW format is a perfectly reasonable choice. The workflow is faster, you do not need an extra conversion step, and you lose nothing in quality. Conversely, if your photo library is growing larger, or you care about future accessibility, the extra time for converting to DNG is a worthwhile price.
Many experienced photographers choose to combine both. They shoot in the original RAW format to optimize working speed, especially in high-intensity shoots, then select and convert the best frames to DNG for long-term storage. This approach both maintains efficiency in shooting and copying and protects the important photo library against changes in technology and the software market. Whichever approach you choose, the key is still to have a consistent, carefully backed-up workflow, so that every captured moment retains its full value over the years.








VIP Products

Best Selling Products
Copyright Adobe Lightroom Account
59 USD
Adobe Premiere Pro Account
99 USD
Adobe Photoshop Copyright - Full App
120 USD
Upgrade Genuine Office 365
49 USD
Freepik Premium Account
59 USD
Genuine Cheap Canva Pro
39 USD
Genuine Adobe Illustrator account
99 USD
Upgrade Duolingo Super
29 USD
Autodesk All App Account Copyright
120 USD
Windows 10 & 11 Pro Key
36 USD
Plugin Retouch4me
69 USD
MidJourney Account
29 USD
Capcut Pro 1 Year
39 USD
Upgrade genuine Capture One account
120 USD
ChatGPT Plus Account (GPT-4)
16 USD