Best Selling Products

Genuine Cheap Canva Pro
39 USD

Genuine Adobe Illustrator account
99 USD

Freepik Premium Account
59 USD

Upgrade Duolingo Super
29 USD

Autodesk All App Account Copyright
120 USD

Plugin Retouch4me
69 USD

Upgrade genuine Capture One account
120 USD

Adobe Premiere Pro Account
99 USD

Upgrade Genuine Office 365
49 USD

MidJourney Account
29 USD

Copyright Adobe Lightroom Account
59 USD

ChatGPT Plus Account (GPT-4)
16 USD

Adobe Photoshop Copyright - Full App
120 USD

Windows 10 & 11 Pro Key
36 USD

Capcut Pro 1 Year
39 USD
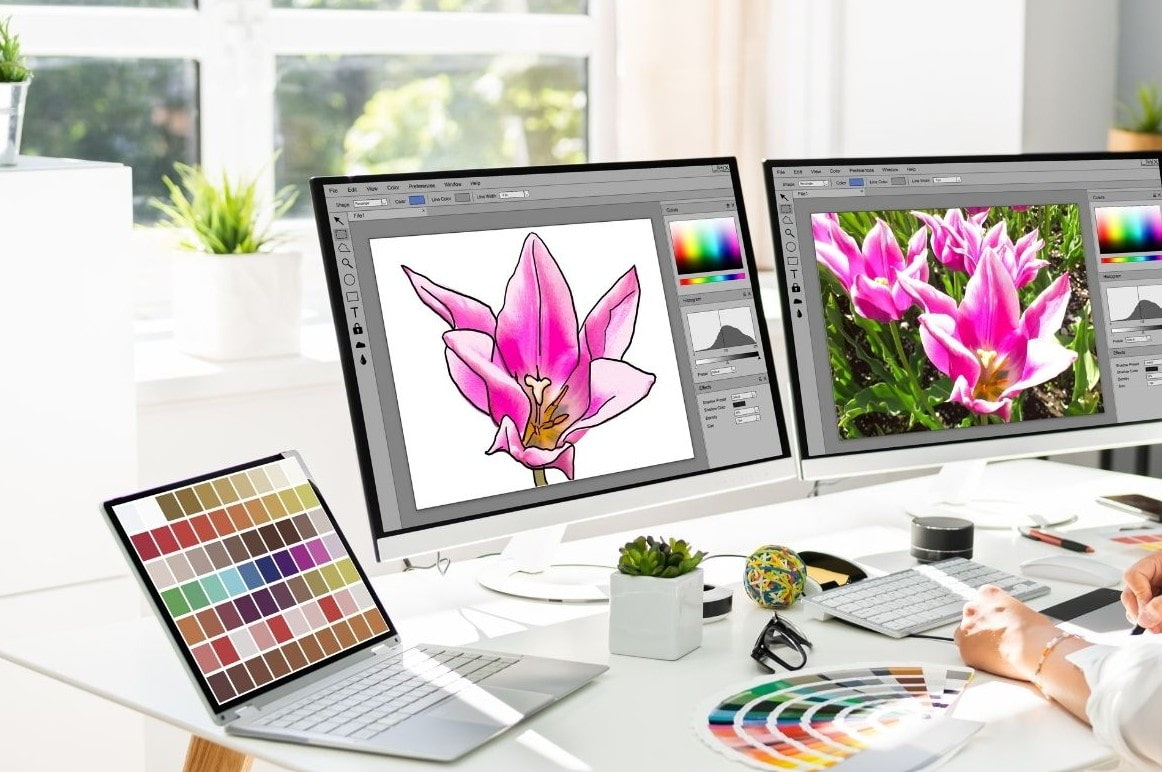
Explore the Art of Color Blending in Photoshop
Nội dung
- 1. Learn About Color Blending In Photoshop
- 2. Tools and Methods of Color Blending in Photoshop
- 2.1. Gradient Tool: Tool to Create Smooth Color Transitions
- 2.2. Layer Blending Modes: Layer Blending Modes
- 2.3. Brush Tool: Paint Brushes and the Art of Color Adjustment
- 2.4. Opacity and Fill: Controlling Color Intensity
- 3. Applications of Color Blending in Photoshop
- 3.1. In Photography
- 3.2. In Graphic Design
- 3.3. Trong Digital Painting
- 4. Conclusion
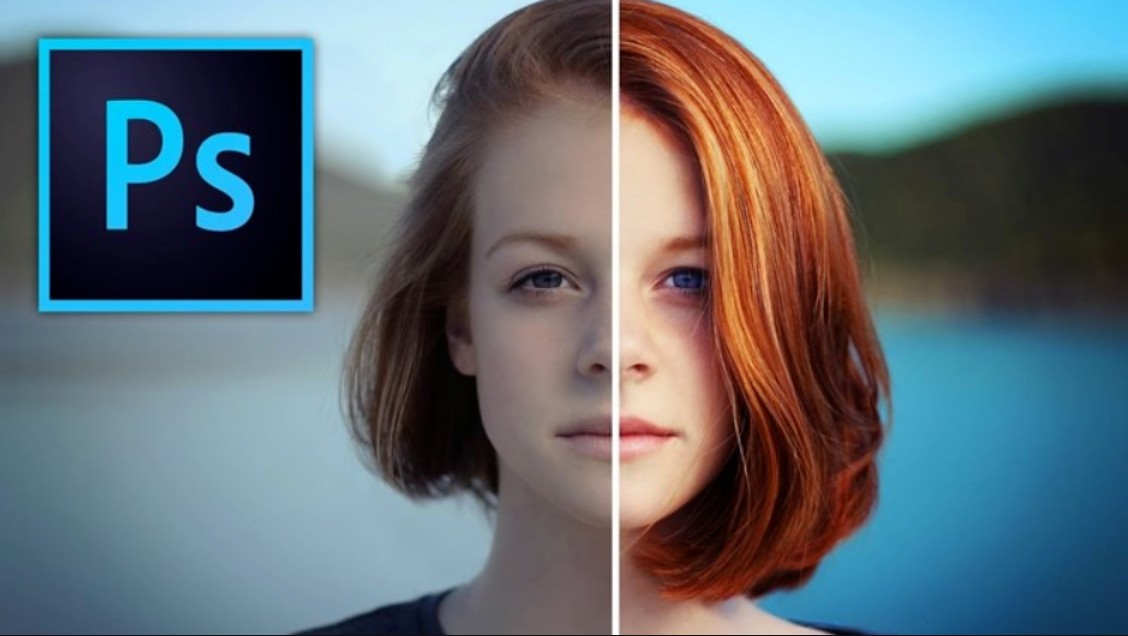
Color blending in Photoshop is a technique of blending colors to create depth, light and emotion for the photo. This article will guide you in detail on how to use blending tools to make your photos more vivid and artistic.
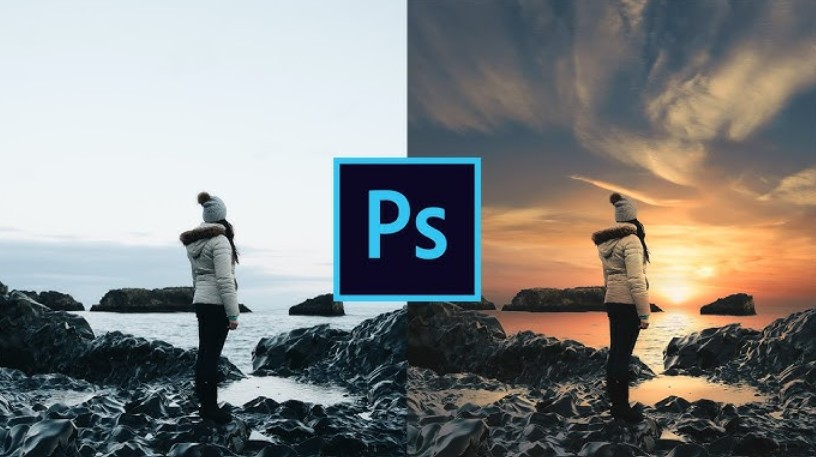
A photo can be taken with the right composition and lighting, but if it lacks the harmony between the tones, the work can easily become dry and lack depth. This is where the color blending technique in Photoshop appears.
For those new to Photoshop, the concept of “color blending” can sometimes sound complicated. However, color blending is not just for professional designers. Whether you are a photography enthusiast, a marketer who wants to create beautiful visuals for your campaign, or simply someone who wants to make your photos more impressive, understanding and mastering color blending techniques will open up a world of creative inspiration.
This article will help you fully understand the concept of color blending in Photoshop, grasp the most popular color blending tools and methods , and explore the practical applications of this technique in image creation and design . Let's start the journey to decode this fascinating "art of color blending".
1. Learn About Color Blending In Photoshop
Blending colors in Photoshop is the process of combining and adjusting different layers of colors to create a smooth, natural or unique color transition effect according to the designer's creative intention. Simply put, blending is the way you make colors "harmonize" instead of "overlapping" each other. When blended correctly, the photo will become balanced in light, soft in tone and convey emotions more subtly.
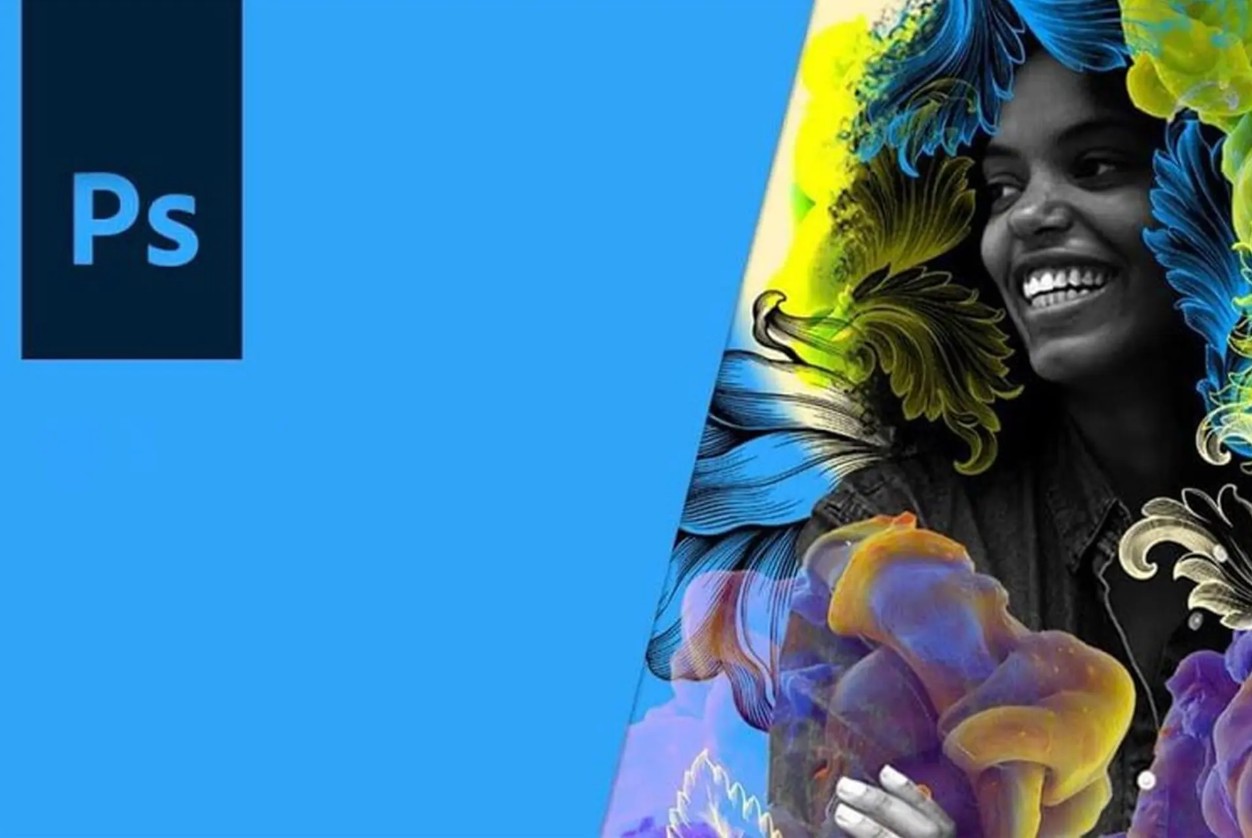
In Photoshop, the color blending process is done through many different tools such as Gradient Tool , Brush Tool , Layer Blending Modes or Opacity – Fill . Each tool takes on a separate role, but all aim at the common goal of creating a blend between layers of color and light.
Color blending is not only used in photography to recreate emotions or smooth light, but also appears very commonly in graphic design, when designers want to create gradient backgrounds, light effects, shadows or harmonious color combinations for the composition. Especially in digital painting, color blending is the "soul" of each work, because it helps artists express depth, tonal transitions and material feel vividly.
At its core, color blending is the process of adjusting the relationship between hue, brightness, saturation, and contrast of image layers. A good blender not only understands the tools, but also has a keen “eye for color.” Knowing when to soften, when to increase contrast, and how to make the light in an image look natural while still being striking.
2. Tools and Methods of Color Blending in Photoshop
Blending colors is a harmonious combination of technique and emotion, and to achieve that, Photoshop provides a series of powerful tools to help you create smooth, natural color effects. The four most core tools in color blending include the Gradient Tool, Layer Blending Modes, Brush Tool, and the Opacity – Fill adjustment duo. Here is how each tool works and the role they play in creating subtle color transitions.
2.1. Gradient Tool: Tool to Create Smooth Color Transitions
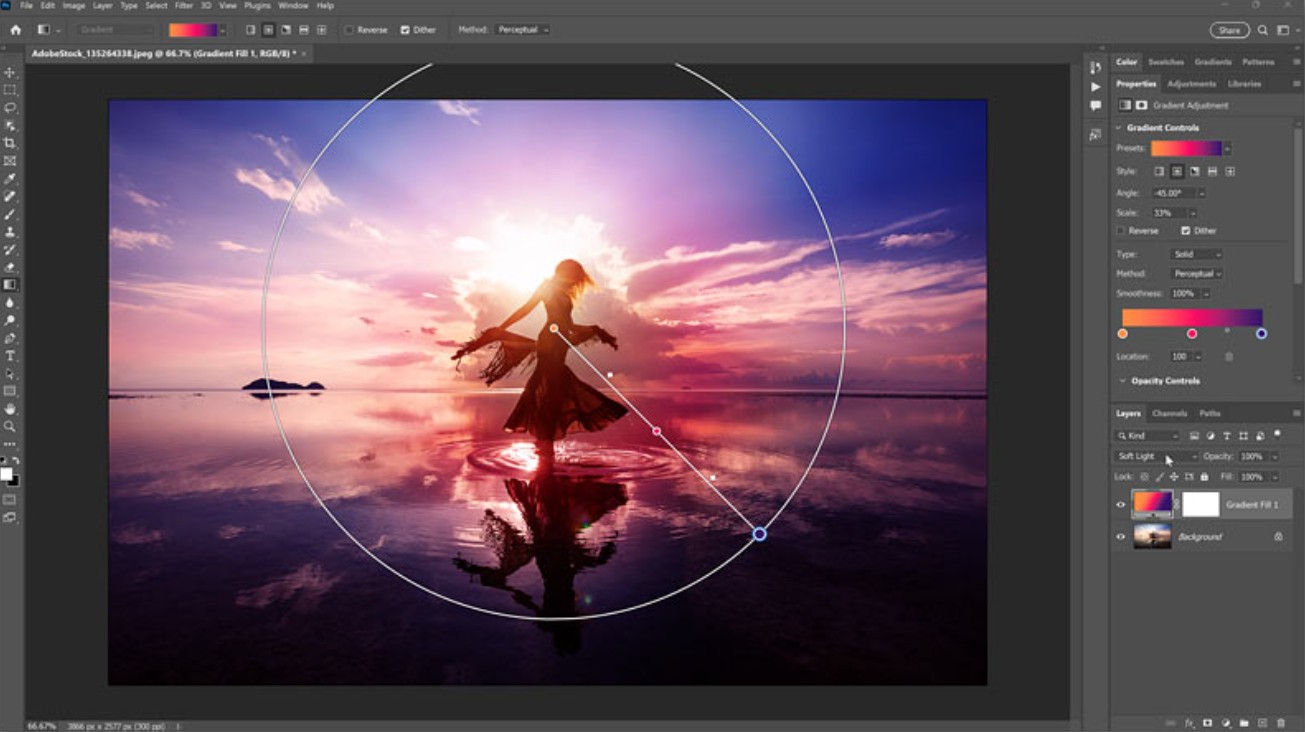
The Gradient Tool is the first tool that Photoshop learners should be familiar with when starting to blend colors. It allows you to create soft transitions from one color to another, creating a natural and deep feeling. This tool is especially useful when you want to simulate light, create a gradient background for a design, or add a transition effect to a photo.
To use the Gradient Tool, simply select the tool with the keyboard shortcut G , then open the gradient options panel in the top options bar. Here, you can choose from an existing gradient or create your own by adding color points and adjusting their position on the slider. Once you have selected the color you want, drag your mouse from the start point to the end point to create a gradient in that direction. The length and direction of the drag will directly affect the smoothness of the gradient.
Gradients are not only a simple background tool, but also an extremely effective light blending tool. When you combine gradient layers with blend modes like Soft Light or Overlay , you can naturally lighten or darken areas of your photo. For example, adding a light orange gradient in Soft Light mode can make your photo warmer, while a light blue gradient can create a cool, soothing feeling.
The Gradient Tool's versatility makes it an indispensable tool for color blending, especially when you want to create soft lighting or harmonious highlights and shadows without losing image detail.
2.2. Layer Blending Modes: Layer Blending Modes
If Gradients are the tools that help you create smooth color transitions, then Blending Modes are the elements that bring “magic” to your photos. Each blending mode is a different way for layers of color to interact with each other. When you change the blending mode, Photoshop calculates how the pixels of the layer above affect the pixels of the layer below, thereby creating a unique visual effect.
In the Layers panel , the Blending Mode menu is located just above the layer list. There are over 20 different blending modes, divided into groups like Normal, Darken, Lighten, Contrast, Color, and so on. Each group works on its own principles.
For example, Multiply darkens colors, adding depth or creating natural shadows. Screen , on the other hand, brightens colors, often used to simulate light or brighten dark areas in a photo. Overlay combines the two, increasing contrast without losing detail. Soft Light, meanwhile, creates a soft, hazy glow that’s perfect for blending portraits or landscapes.
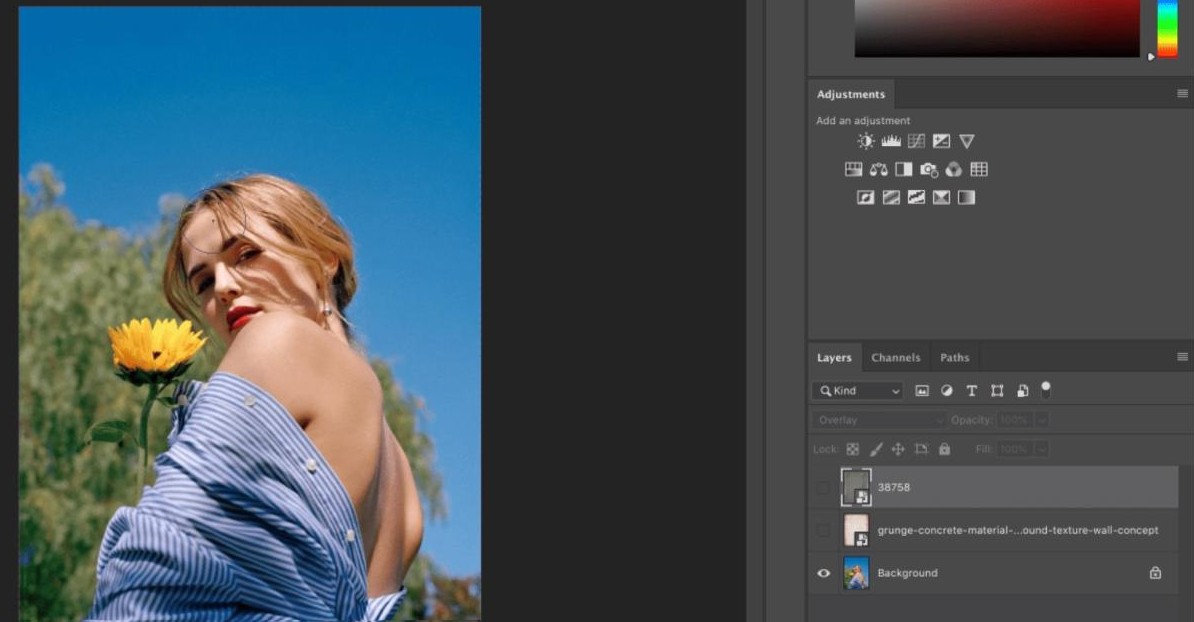
When blending colors, understanding how each blend mode works will help you better control the mood of your image. An outdoor photo can be made brighter and more vibrant by adding a layer of yellow light in Overlay mode or become more nostalgic with a layer of brown in Soft Light mode.
Designers often combine different Blending Modes to achieve the best effect. They might use a Multiply layer to darken the background, add a Screen layer to brighten the subject, and finally use an Overlay to balance the overall lighting. It is this combination that creates each person's own blending style.
2.3. Brush Tool: Paint Brushes and the Art of Color Adjustment
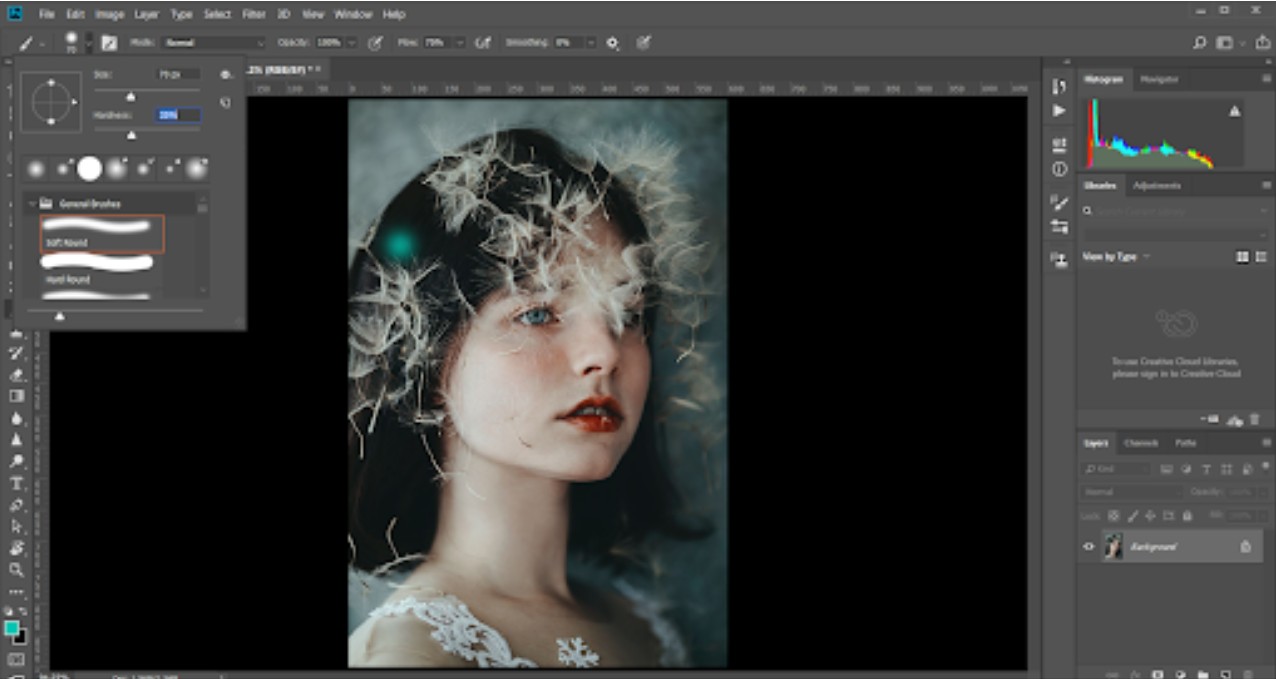
While Gradient and Blending Modes help you with the big picture, the Brush Tool is your tool for fine-tuning the details. Using the Brush in combination with blending modes allows you to “paint” subtle shades of light and dark into your image, giving it more depth and a more natural feel.
To use it effectively, select the Brush Tool with the keyboard shortcut B , choose a soft brush, and reduce the Opacity to around 10–30%. This will cause each stroke to blend slightly into the background, giving you more control over the amount of color transition. You can choose a blending mode for the brush like Soft Light , Overlay , or Color , depending on your goal.
For example, if you want to brighten the skin on your face, you can choose a white brush, Soft Light mode and lightly paint on the area that needs to be brightened. Conversely, to create shadows, choose a black brush and reduce the opacity to low. Thanks to this manual control, you can "control the light" in a completely natural way, not as stereotyped as automatic filters.
Interestingly, brushes are not only used for photo editing, but also as a great color blending tool in digital painting. Artists often create many different layers of color and use brushes to blend them, creating soft surfaces, realistic lighting effects, and a vivid material feel. When done right, the brush blending technique can simulate skin texture, sunlight, fog, or even light reflecting off metal in a surprisingly realistic way.
2.4. Opacity and Fill: Controlling Color Intensity
In Photoshop, Opacity and Fill are two elements that help you control the transparency of your color layer, which in turn affects how the layers blend together. Although they seem similar, they work differently and each has its own role in color blending.
Opacity adjusts the transparency of the entire layer, including the color and any accompanying effects. Fill , on the other hand, only affects the base color of the layer without changing the blending effect. Therefore, lowering the Fill can help you retain the light effect of the blending mode while still softening the color tone.

When you're creating a lighting effect using Overlay mode, reducing the Opacity can dull both the light and the details. But reducing the Fill will keep the light natural while softening the colors. This difference is useful when you need to fine-tune the blend without losing the real feel of the light.
3. Applications of Color Blending in Photoshop
Color blending is a technique that can be applied in many different creative fields from photography, graphic design, to digital painting. Each field has its own way of applying it, but they all have the same goal: to bring emotion and depth to the work.
3.1. In Photography
In photography, color blending is often used to recreate the mood of a photo. For example, a photo taken in the morning might be blended in light blue tones to evoke a sense of freshness and peace, while a photo taken at sunset might be blended in orange tones to evoke a warm, nostalgic feeling.
Color blending is also used to correct lighting, brightening shadows or reducing the harshness of sunlight. By controlling individual tones, the editor can highlight the subject while maintaining a harmonious overall look. When done right, color blending can transform an ordinary photo into an emotional work of art that is both realistic and artistic.
3.2. In Graphic Design
In graphic design, color blending plays an important role in building style and visual identity. Posters, banners or website interfaces that use appropriate color blending often create a more professional and attractive feel.
A good example is modern gradient designs , where colors blend smoothly to create a sense of movement, energy, and youthfulness. Color blending also helps designers create visual depth, soft lighting, and three-dimensional effects.
3.3. Trong Digital Painting
For digital artists, color blending is the fundamental skill to “breathe life” into the work. This process helps create smoothness between tones, especially in portraiture, human skin, landscapes or reflected light.
Artists often combine several layers of color, each with a role: a base layer to direct light, a secondary layer to add complementary tones, and a final layer to refine the lighting details. Accurate blending gives depth to shapes, realistic lighting, and more clearly conveys emotions.
4. Conclusion
Blending colors in Photoshop is not just a photo editing technique, but an art of controlling emotions with color. It requires the practitioner not only to master the tools, but also to understand light, color and how they interact with each other. When you understand how to use Gradient, Brush, Layer Blending Modes or Opacity – Fill, you are not only manipulating techniques, but also “repainting the emotions” of the photo with color. A photo can tell a different story, depending on how you blend.


VIP Products


Best Selling Products
Genuine Cheap Canva Pro
39 USD
Genuine Adobe Illustrator account
99 USD
Freepik Premium Account
59 USD
Upgrade Duolingo Super
29 USD
Autodesk All App Account Copyright
120 USD
Plugin Retouch4me
69 USD
Upgrade genuine Capture One account
120 USD
Adobe Premiere Pro Account
99 USD
Upgrade Genuine Office 365
49 USD
MidJourney Account
29 USD
Copyright Adobe Lightroom Account
59 USD
ChatGPT Plus Account (GPT-4)
16 USD
Adobe Photoshop Copyright - Full App
120 USD
Windows 10 & 11 Pro Key
36 USD
Capcut Pro 1 Year
39 USD