Best Selling Products

Upgrade Genuine Office 365
49 USD

Upgrade genuine Capture One account
120 USD

Freepik Premium Account
59 USD

Plugin Retouch4me
69 USD

Autodesk All App Account Copyright
120 USD

ChatGPT Plus Account (GPT-4)
16 USD

Capcut Pro 1 Year
39 USD

Genuine Adobe Illustrator account
99 USD

Upgrade Duolingo Super
29 USD

Adobe Photoshop Copyright - Full App
120 USD

Adobe Premiere Pro Account
99 USD

Genuine Cheap Canva Pro
39 USD

Windows 10 & 11 Pro Key
36 USD

Copyright Adobe Lightroom Account
59 USD

MidJourney Account
29 USD
Golden Hour Phone Photography Tips: 5 Secrets To Getting Photos As Beautiful As A Professional Camera
Nội dung
Golden hour is the ideal window of time for creating photos with soft light, warm colors, and rich emotion.
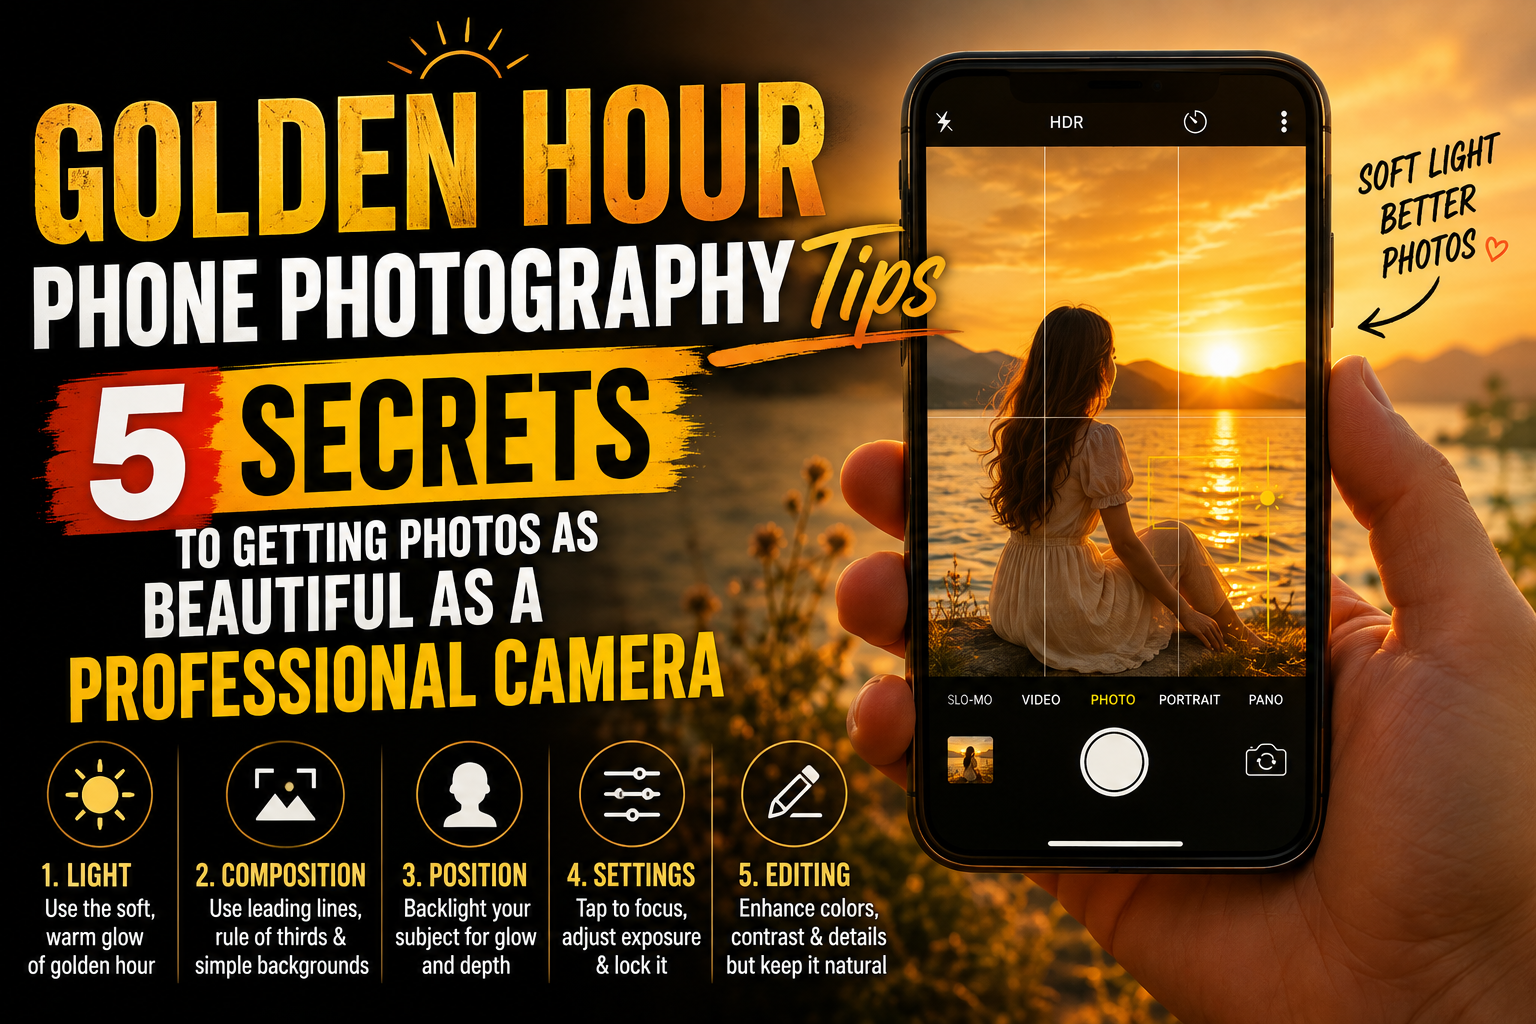
1. Use Manual Settings To Control Light
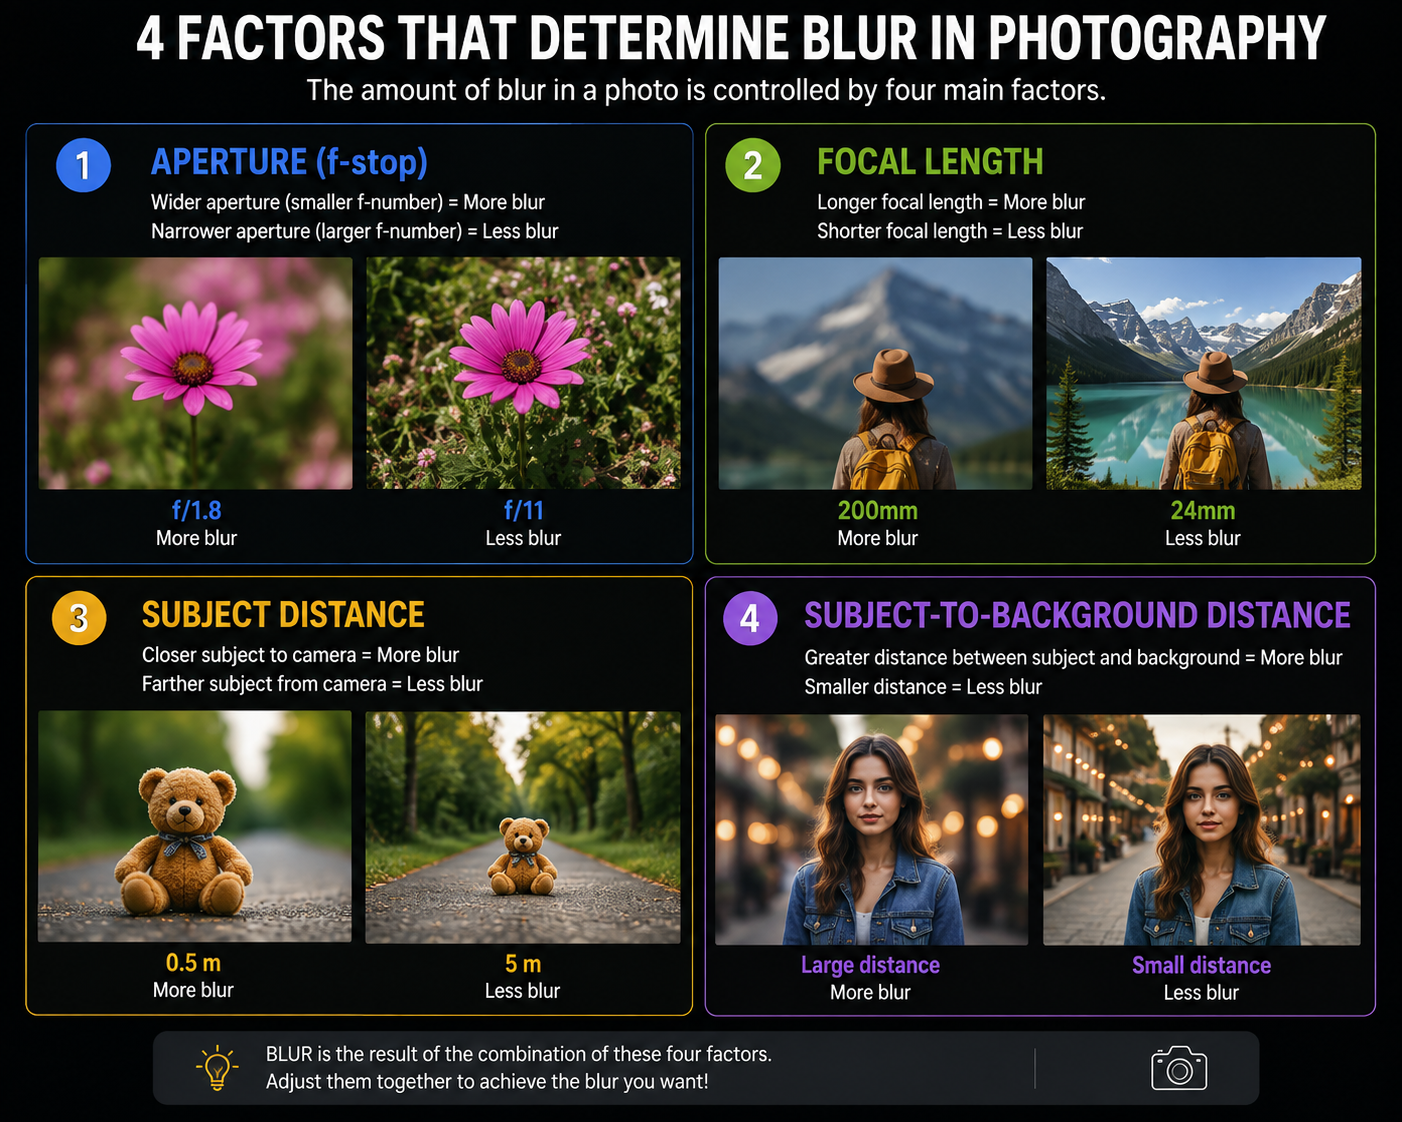
Most smartphones today come equipped with a Pro or Manual mode, allowing users to adjust shooting parameters instead of relying entirely on automatic mode. This is a very useful feature when shooting during golden hour, since the light at this time tends to change continuously and has fairly high contrast.
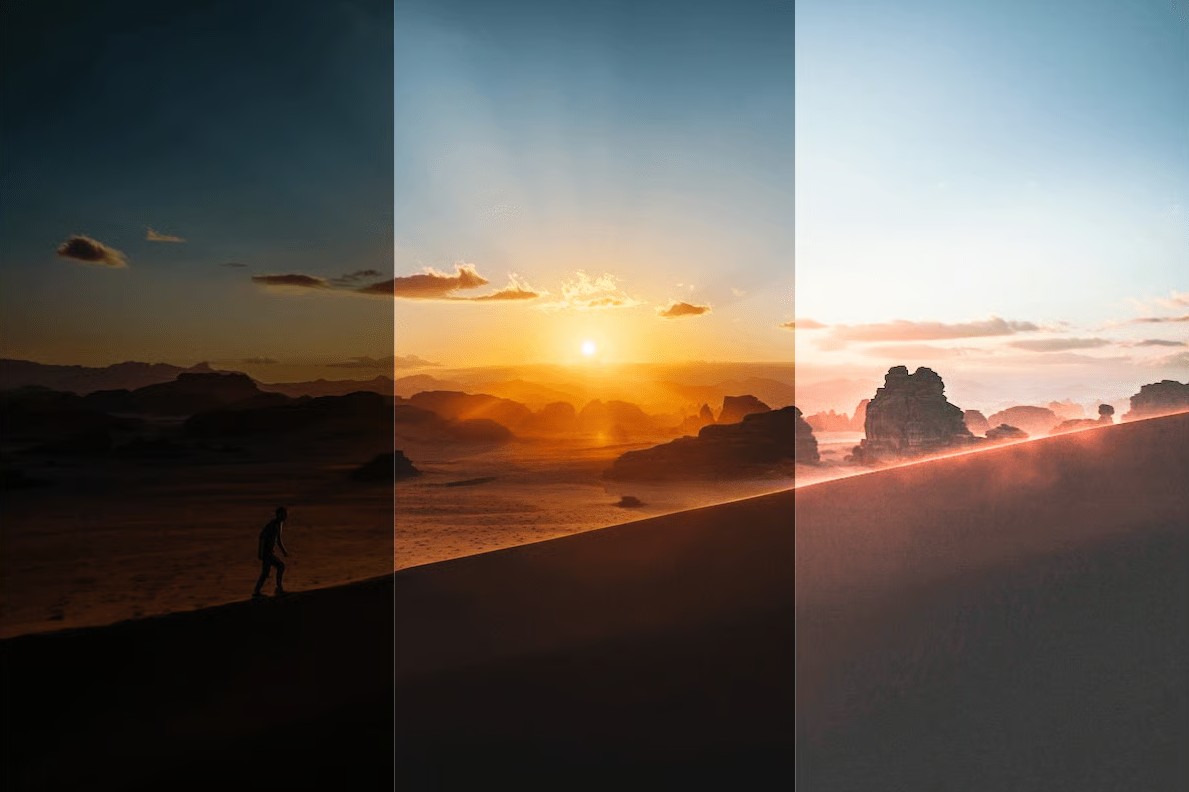
When using manual mode, you can adjust the Exposure to avoid a blown-out sky or an overly dark subject. If you want to preserve the color of the sky, slightly lower the exposure before pressing the shutter. Conversely, if shooting a portrait and you want the face to be brighter, you can slightly increase this value, but you still need to make sure the bright areas don't lose detail.
ISO is also a parameter worth paying attention to. In golden hour lighting conditions, you should keep the ISO low to limit grain noise and ensure image quality. In addition, adjusting the White Balance helps control color temperature more accurately. If you want to preserve the distinctive golden tone of golden hour, avoid letting the phone auto white-balance, since the AI system will sometimes reduce the warm tones that are the very appeal of the scene.
Getting used to manual mode may take a bit of time, but it's the most effective way to control image quality instead of letting the phone decide every parameter on its own.
2. Turn On HDR To Balance Bright And Dark Areas
One of the biggest challenges when shooting golden hour photos is the difference in light between the sky and the subject. If you meter for the face, the sky can easily become overexposed. Conversely, if you prioritize keeping the sky's color, the subject will become dark and lack detail.
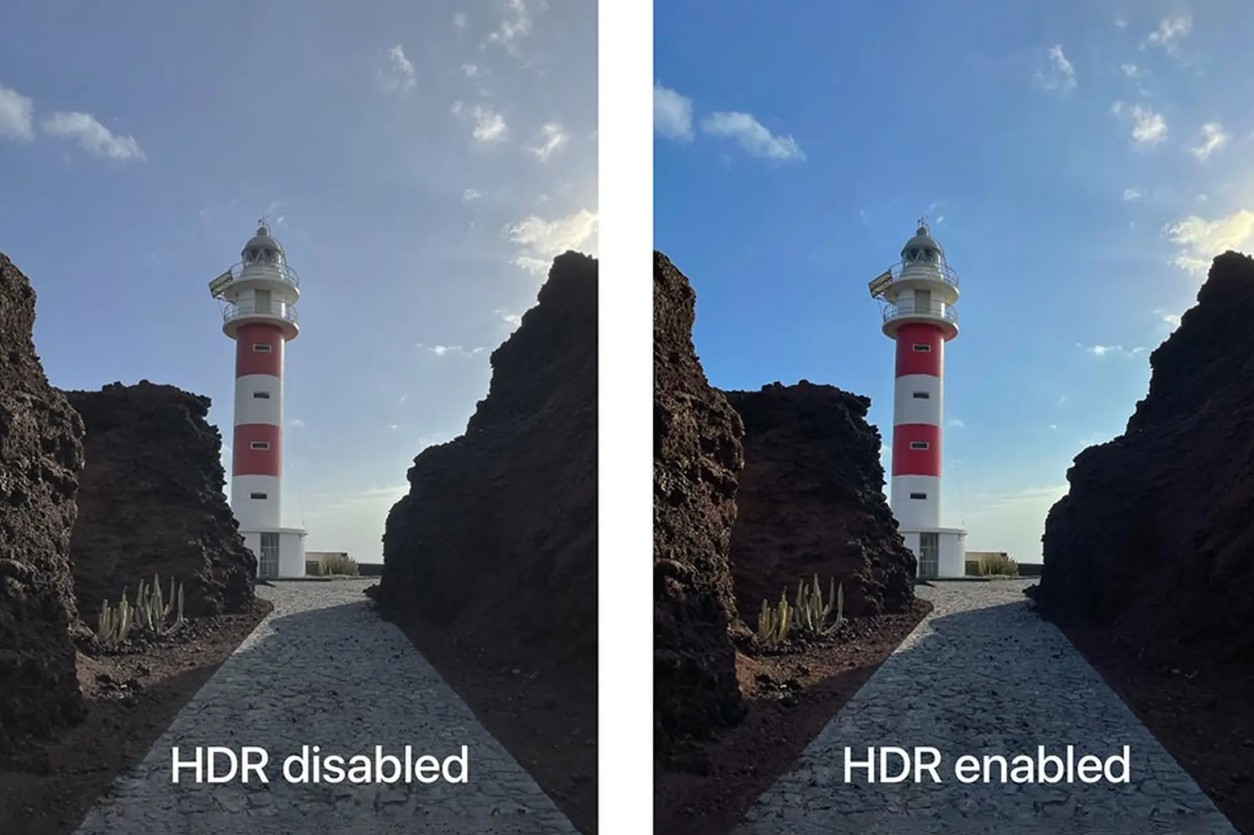
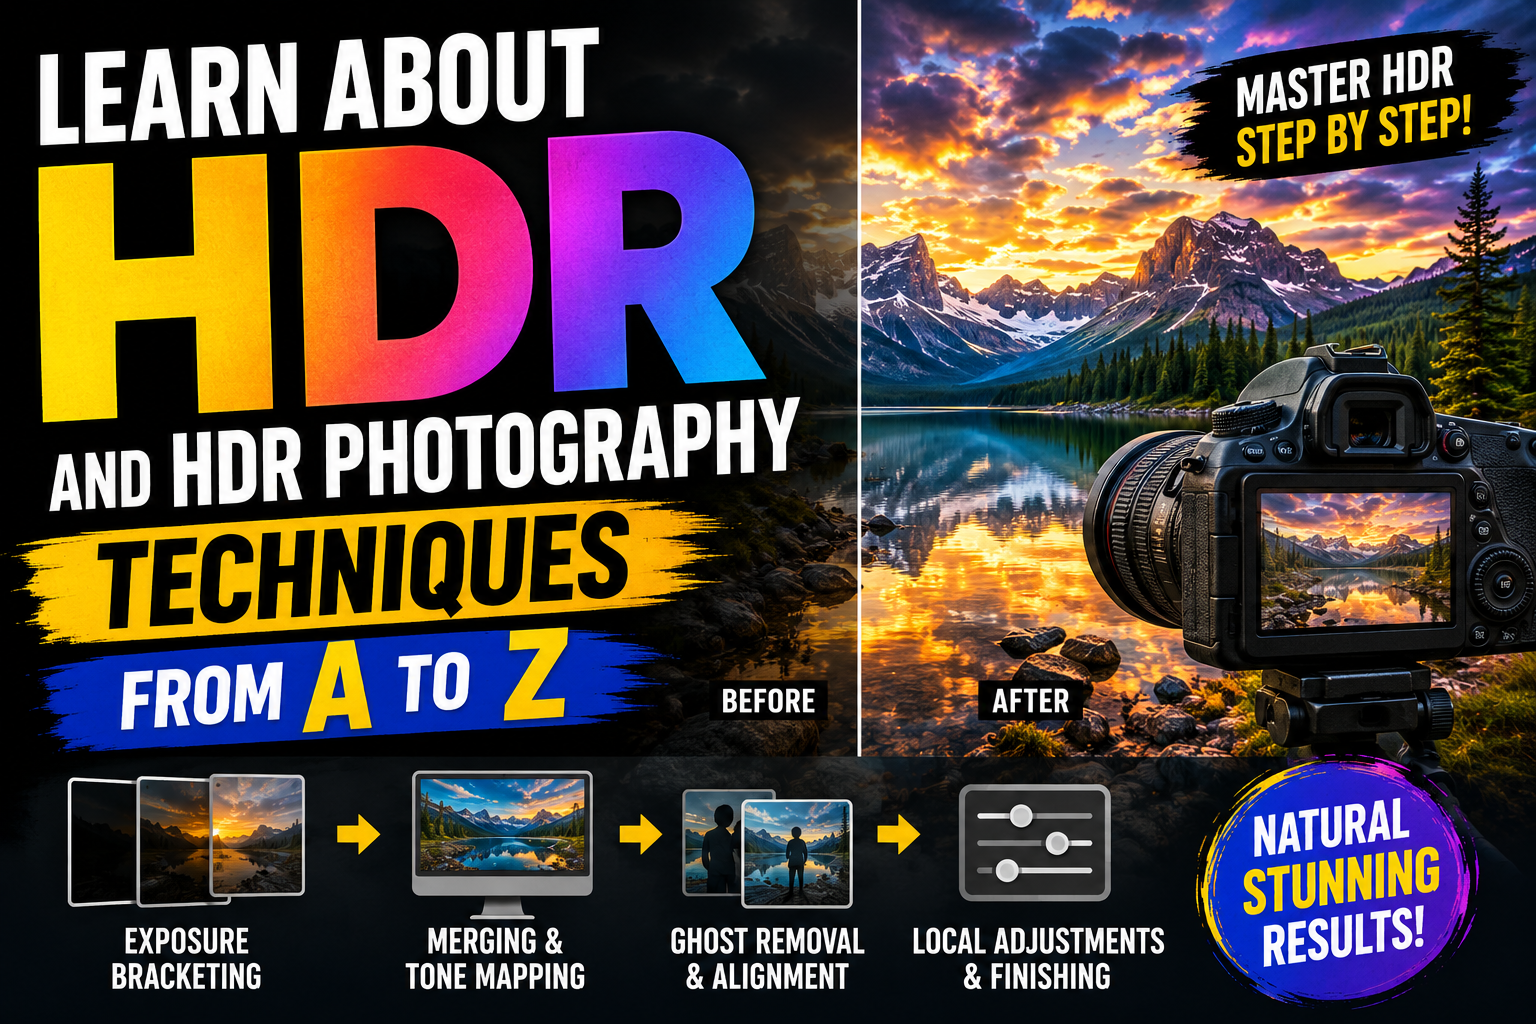
That's why HDR (High Dynamic Range) mode becomes an extremely useful tool. When HDR is activated, the phone takes multiple photos at different exposure levels and then automatically merges them to create a photo with a wider contrast range. The result is that both bright and dark areas retain more detail.
This feature is especially effective when shooting backlit portraits, landscapes with the sun in frame, or high-contrast scenes. The subject remains clearly visible while the color of the sky and sunlight is still preserved.
That said, you shouldn't overuse HDR in every situation. If the scene has fast movement, merging multiple frames can create a ghosting effect. So prioritize using HDR when the subject is relatively still, or in landscape scenes.
3. Shoot In RAW Format For Easier Editing
More and more smartphones support shooting in RAW format, especially high-end models. Unlike a JPEG photo, which has already been processed and compressed by the phone's system, a RAW file preserves nearly all of the data captured by the sensor.
This offers a huge advantage during post-processing. You can adjust brightness, shadows, highlights, white balance, or color without losing too much image quality.
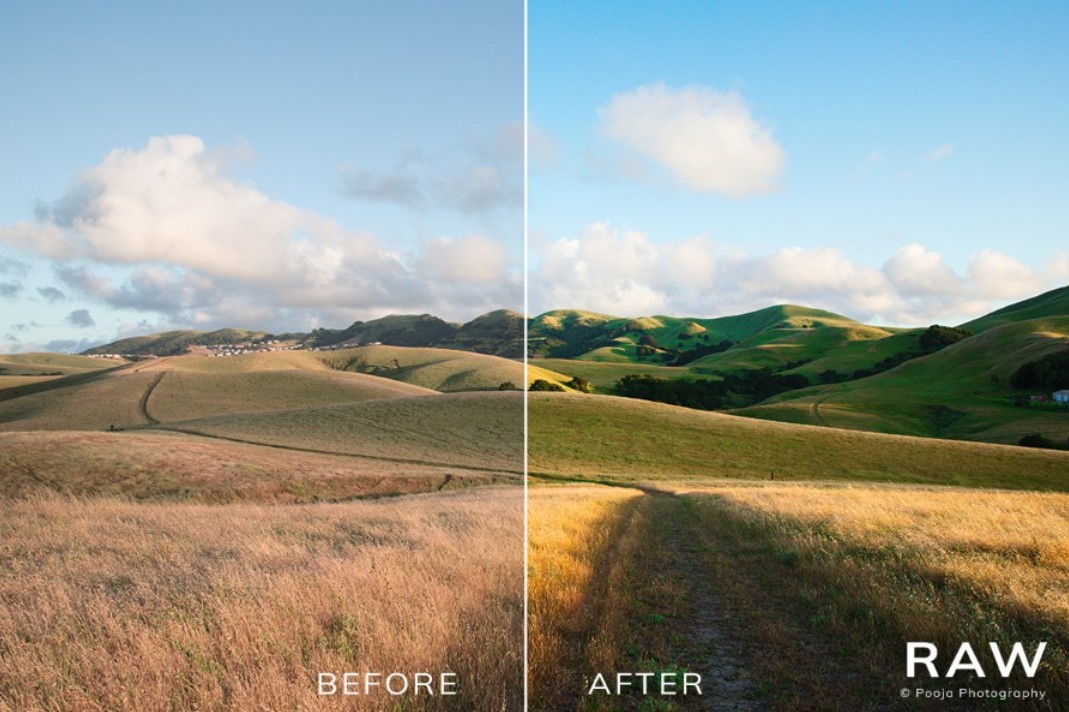
For golden hour photos, RAW is especially useful because the light during this window is very rich and varied. If a photo happens to be slightly underexposed or overexposed, you still have plenty of opportunity to recover detail during editing.
In addition, color grading a RAW photo also helps preserve the distinctive yellow, orange, and red tones of golden hour that a JPEG photo can sometimes fail to fully reproduce.
Of course, a RAW file will be significantly larger than a JPEG. So you should make sure you have enough storage, or only use this format for important shoots.
4. Clean The Lens And Avoid Digital Zoom
Many people invest a lot of time choosing the right shooting angle but overlook a very small detail: cleaning the phone's lens. During everyday use, dust, fingerprints, or oil from your hands can easily stick to the lens surface, causing photos to appear blurry, lose contrast, or show a glare/flare effect.
This becomes even more noticeable when shooting during golden hour, since sunlight shines directly onto the lens. Simply wiping it gently with a soft cloth or a dedicated lens cloth before shooting can significantly improve image quality
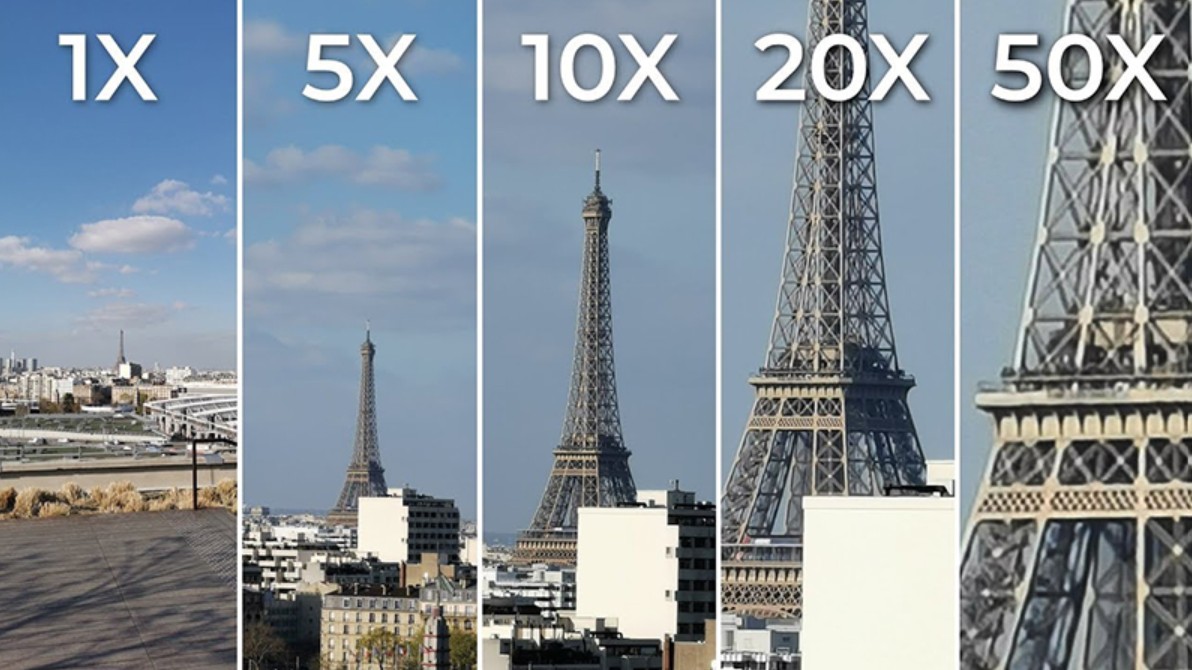
Besides that, you should also limit the use of digital zoom. Unlike optical zoom, digital zoom simply enlarges the image using software, which reduces sharpness and causes a loss of detail.
If you want the subject to appear larger in the frame, actively move closer to the subject instead of using the zoom function. Changing your shooting position not only helps maintain image quality but also gives you a chance to find a better camera angle.
If your phone has multiple cameras with different focal lengths, prioritize switching to the telephoto lens instead of using digital zoom to preserve the best possible image quality.
5. Use The Grid For Professional Framing
A beautiful photo doesn't only depend on light — it's also determined by how the elements within the frame are arranged. That's why turning on the Grid in your camera app is one of those simple tips that delivers a very significant effect.
The grid helps you apply the Rule of Thirds, a well-known composition principle in photography. Instead of placing the subject right in the center, position them at one of the four intersection points of the grid lines. This kind of arrangement creates a sense of balance, feels more natural, and is more visually engaging.
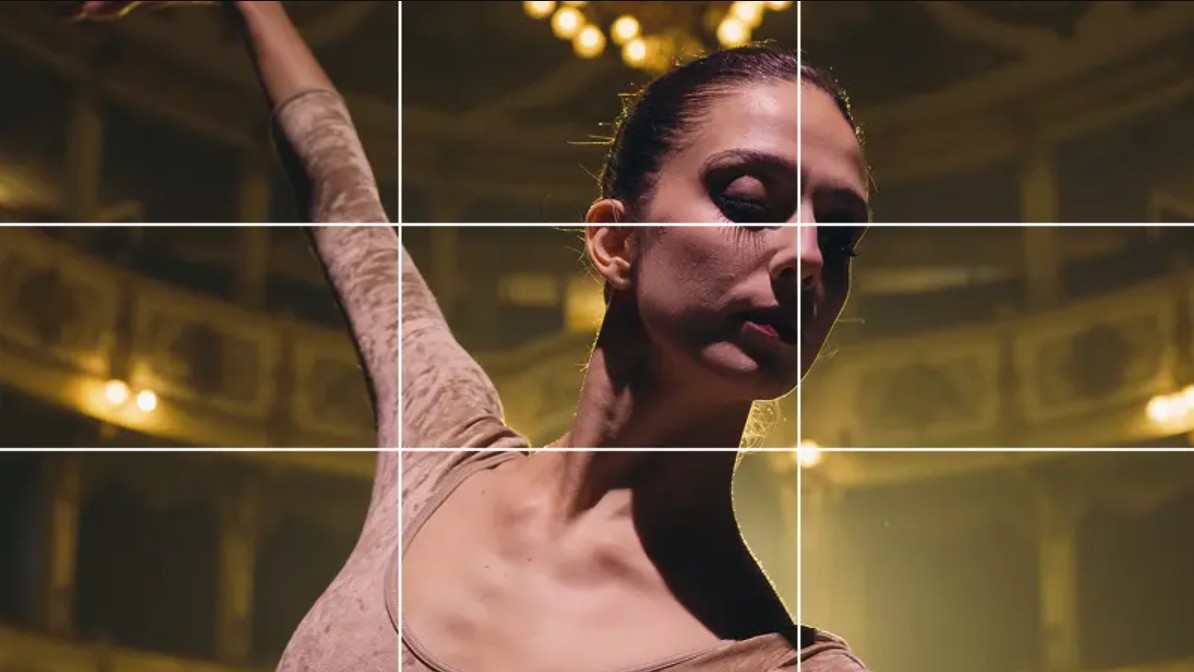
For golden hour landscape photos, you can also use the grid to keep the horizon line straight. If you want to emphasize a colorful sky, place the horizon in the lower part of the frame. Conversely, if the foreground is the more important element, raise the horizon line higher.
When shooting portraits, combining the rule of thirds with the direction the subject is facing will help the photo feel more dynamic and have more depth. At the same time, you should also make use of natural leading lines such as a road, a row of trees, or a shoreline to guide the viewer's eye toward the main subject.
Although the rule of thirds is very useful, you shouldn't apply it too rigidly. Once you've mastered the basic principle, feel free to experiment with more creative compositions to give your photos your own distinctive touch.
6. Conclusion
Golden hour is a short window of time, but it offers wonderful lighting conditions for creating emotionally rich, deep photos. With the advancement of smartphone photography technology, you no longer need to own a professional camera to capture striking moments. Simply knowing how to make use of features like manual shooting mode, HDR, and RAW format, while also paying attention to keeping the lens clean, limiting digital zoom, and applying composition principles, will make it easy for you to improve your image quality.
More important than anything else, though, is taking the time to observe the light and practice regularly. Every sunrise and sunset offers different lighting conditions, helping you build experience and develop your own personal shooting style. When the right technique is combined with creativity, a smartphone becomes a powerful tool for preserving the most beautiful moments of golden hour.





















VIP Products








Best Selling Products
Upgrade Genuine Office 365
49 USD
Upgrade genuine Capture One account
120 USD
Freepik Premium Account
59 USD
Plugin Retouch4me
69 USD
Autodesk All App Account Copyright
120 USD
ChatGPT Plus Account (GPT-4)
16 USD
Capcut Pro 1 Year
39 USD
Genuine Adobe Illustrator account
99 USD
Upgrade Duolingo Super
29 USD
Adobe Photoshop Copyright - Full App
120 USD
Adobe Premiere Pro Account
99 USD
Genuine Cheap Canva Pro
39 USD
Windows 10 & 11 Pro Key
36 USD
Copyright Adobe Lightroom Account
59 USD
MidJourney Account
29 USD