Best Selling Products

Freepik Premium Account
59 USD

Upgrade Genuine Office 365
49 USD

Upgrade Duolingo Super
29 USD

Copyright Adobe Lightroom Account
59 USD

Autodesk All App Account Copyright
120 USD

MidJourney Account
29 USD

Adobe Photoshop Copyright - Full App
120 USD

Windows 10 & 11 Pro Key
36 USD

ChatGPT Plus Account (GPT-4)
16 USD

Genuine Cheap Canva Pro
39 USD

Upgrade genuine Capture One account
120 USD

Plugin Retouch4me
69 USD

Adobe Premiere Pro Account
99 USD

Capcut Pro 1 Year
39 USD

Genuine Adobe Illustrator account
99 USD
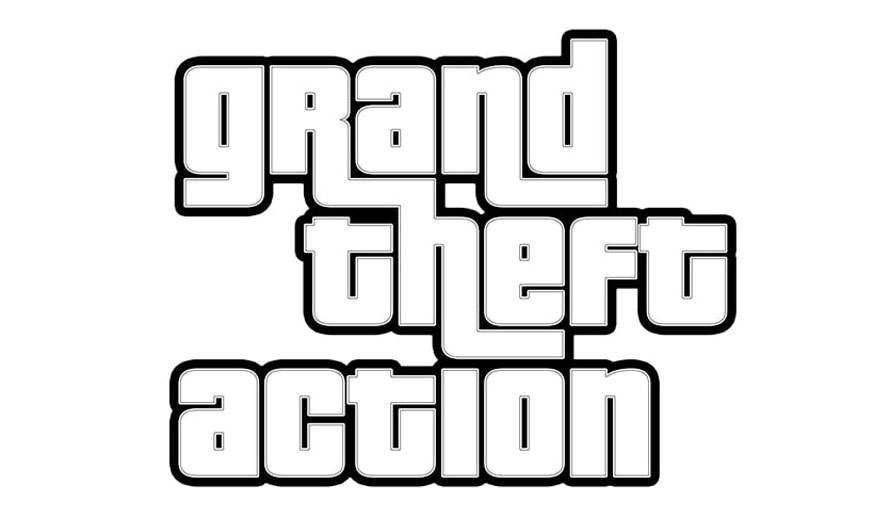
How to create GTA style text effects in Photoshop
Nội dung
Grand Theft Auto (GTA) is an extremely famous game, loved by many people for its adventurous and attractive robberies. And if you want to create GTA-style text effects in Photoshop, please refer to the sharing in the following article by Sadesign!

Grand Theft Auto (GTA) is an extremely famous game, loved by many people for its adventurous and attractive robberies. And if you want to create GTA-style text effects in Photoshop, please refer to the sharing in the following article by Sadesign!
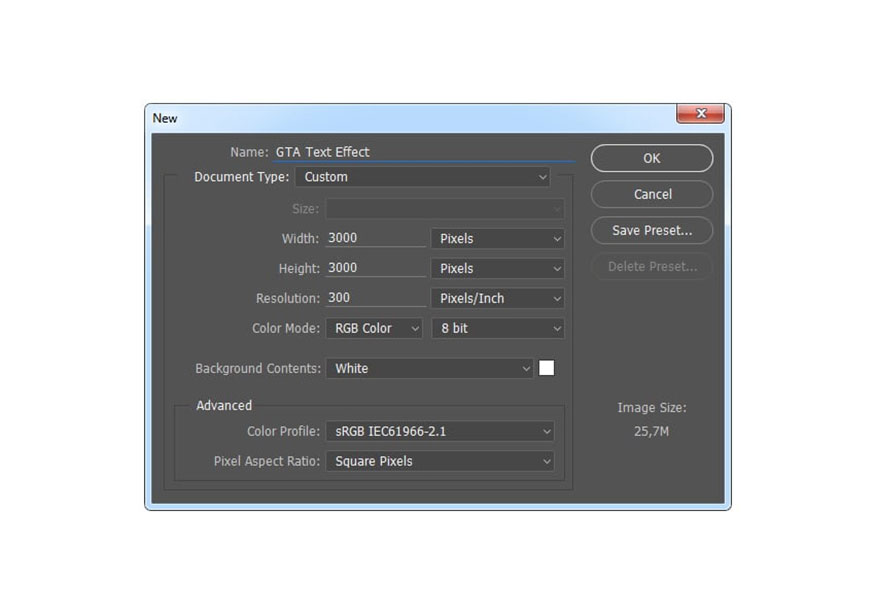
1. Create a new file
First, you need to click File => New, name this file as “GTA Text Effect”, then make the settings as below:
2. Create text
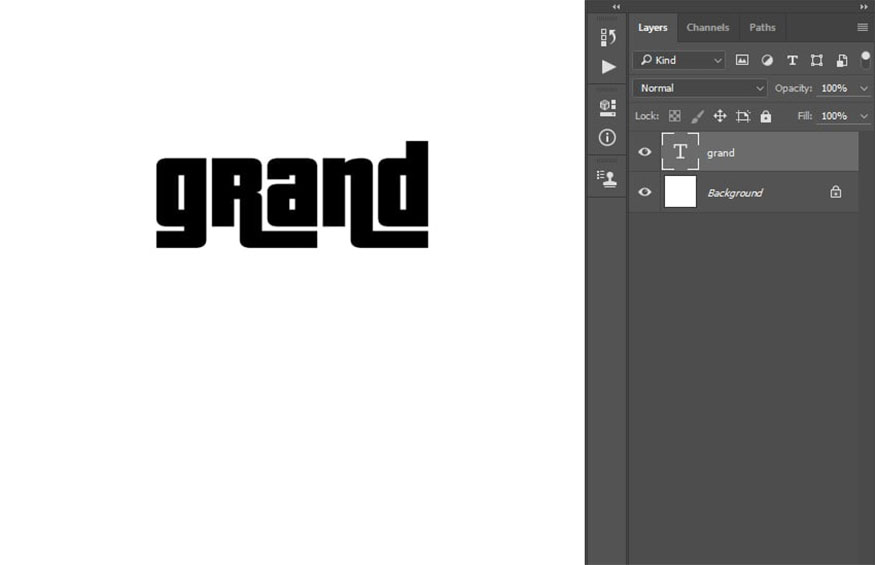
Step 1: Click Horizontal Type Tool (T) and install as follows:
- Font: Pricedown
- Font Size : 550 px
- Text Color: #000000.
Then click anywhere inside the canvas to create a new text layer and type grand.
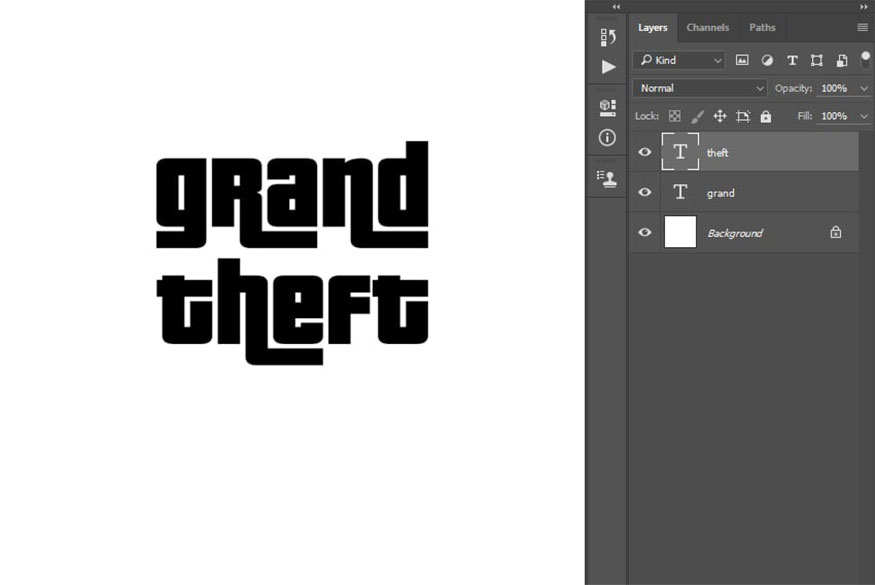
Step 2: Similar to the settings for the Horizontal Type Tool (T), click anywhere inside the canvas again to create another text layer and type theft.
Step 3: Create an additional text layer for the GTA text, make the same settings as with the Horizontal Type Tool (T), click anywhere inside the canvas then type action.
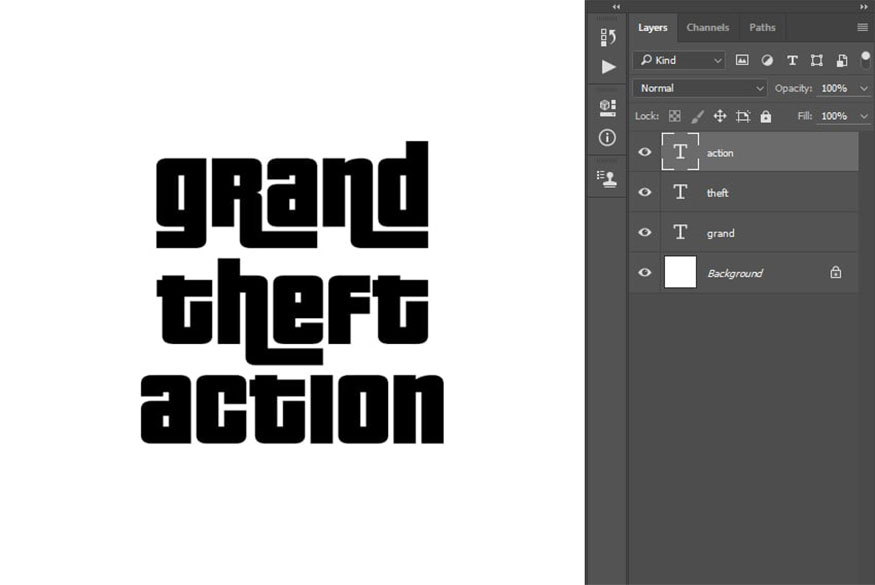
Step 4: Now use the Move Tool (V) to move the text layers vertically and horizontally to position as shown below:
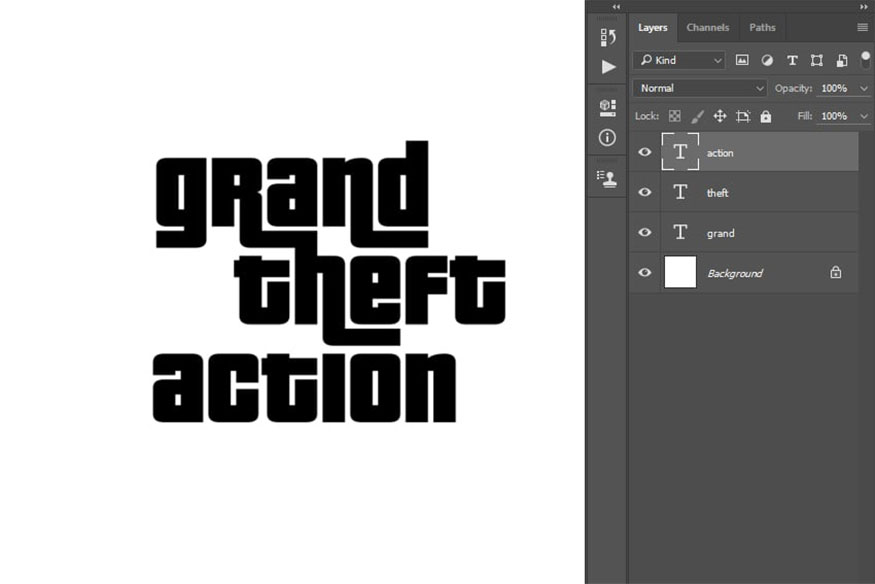
Step 5: Shift-click on the large layer to select all layers at once. Next press Control-E on the keyboard to merge them into one layer and name this layer as “text”.

3. How to create a GTA text style
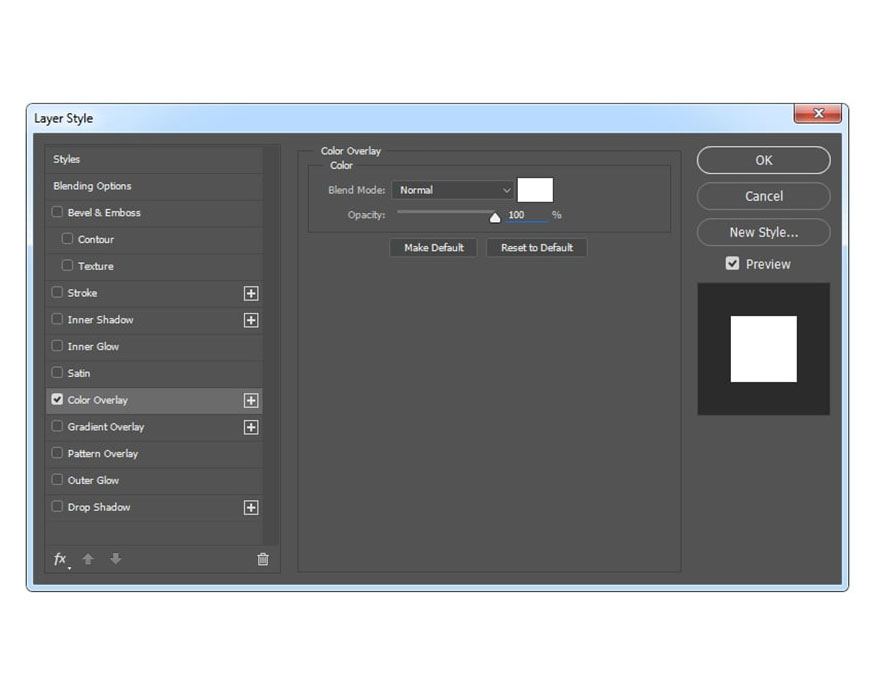
Step 1: Right click on the Text layer, then select Blending Options, then check the Color Overlay style, then make the settings as follows:
-
Blend Mode: Normal
-
Màu thành: #ffffff
-
Opacity: 100%
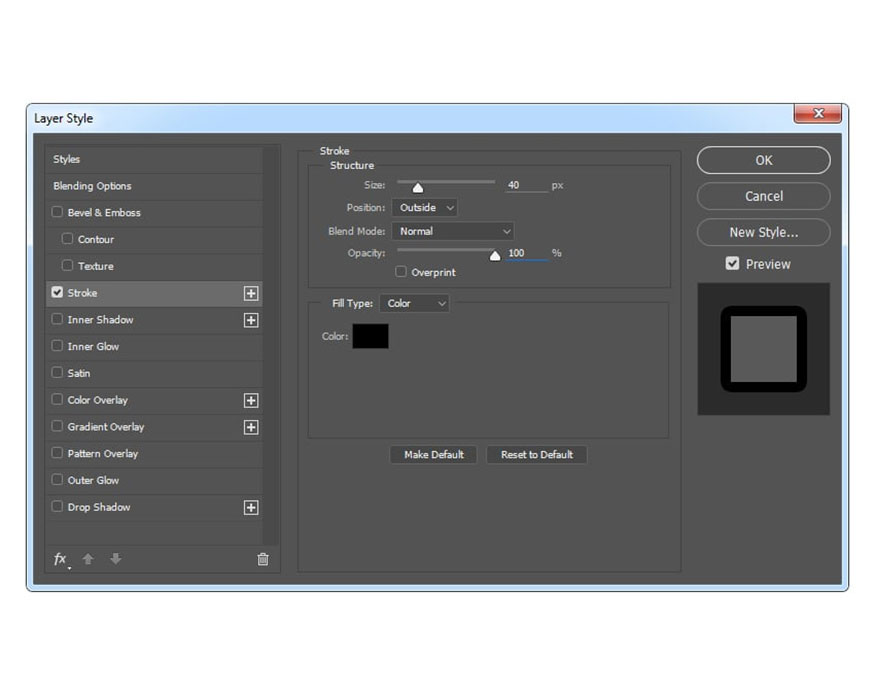
Step 2: Right click on this layer then select Rasterize layer => Right click on the layer again and click Blending Options. Check the Stroke style, then make the settings as below:
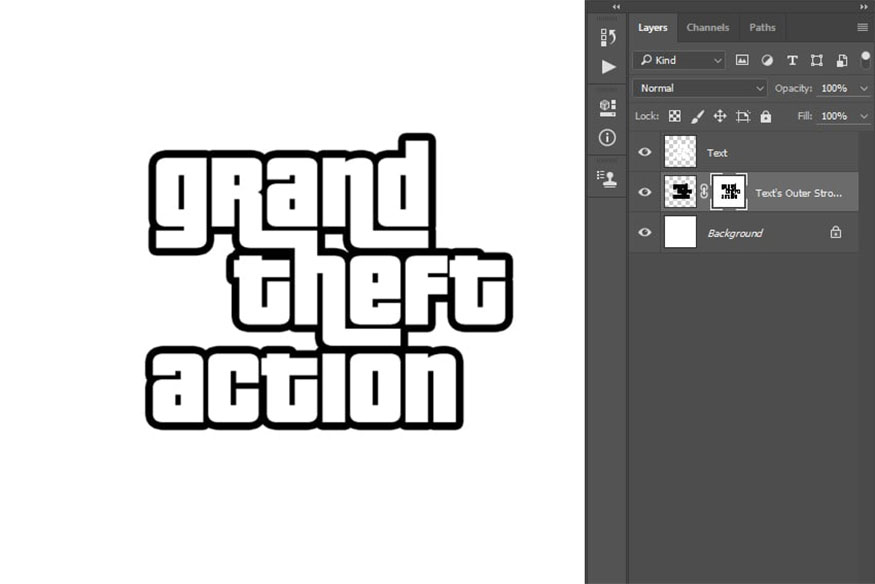
Step 3: Now go to Layer => Layer Style => Create Layer to create a new layer.
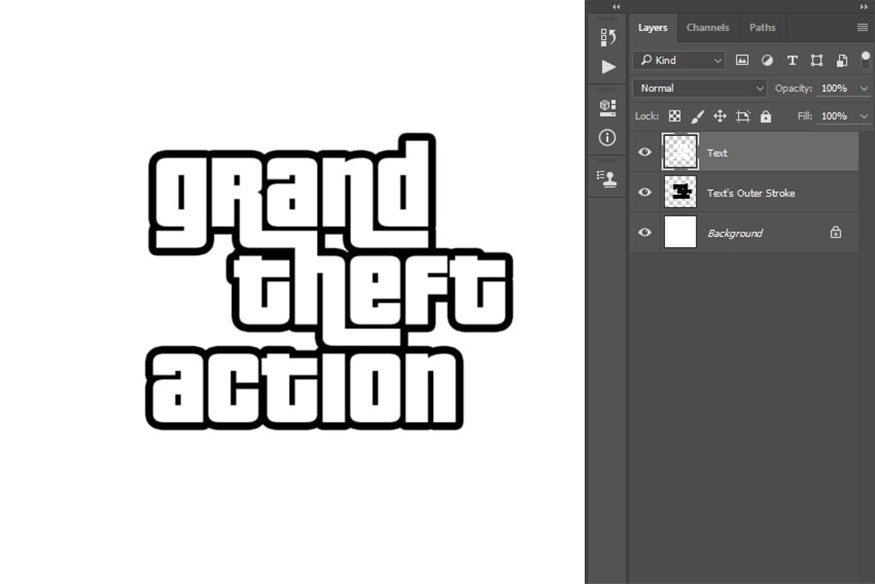
Step 4: Control-click on the Text layer thumbnail to create a selection. Next, select the Outer Stroke layer of the Text and go to Layer => Layer Mask => Hide Selection to create a layer mask that hides the selected area of the layer.
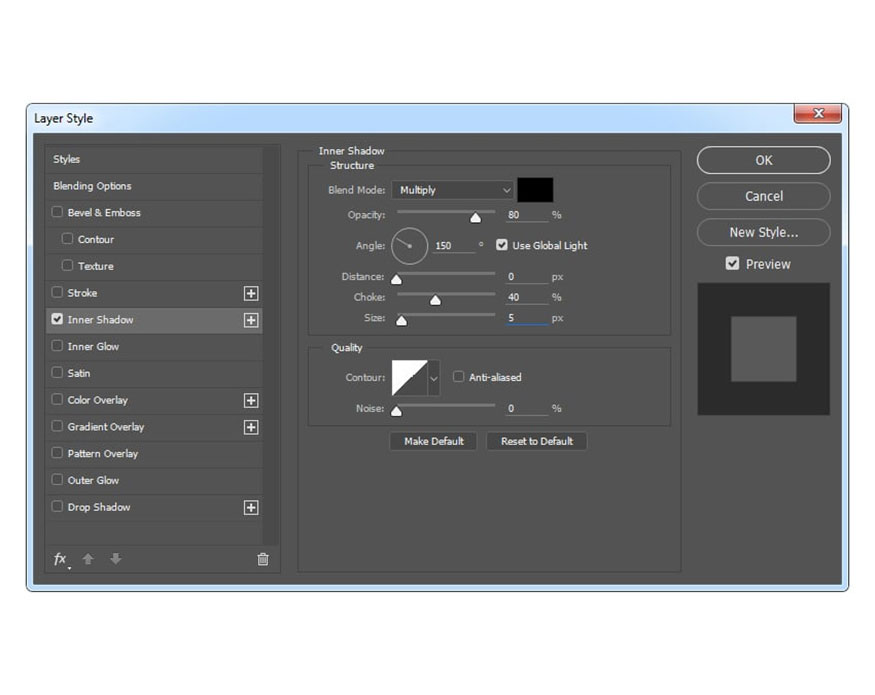
Step 5: Right click on the layer mask and select Apply Layer Mask. Then, right-click on the Text layer and select Blending Options. Perform an Inner Shadow test and use the settings below:
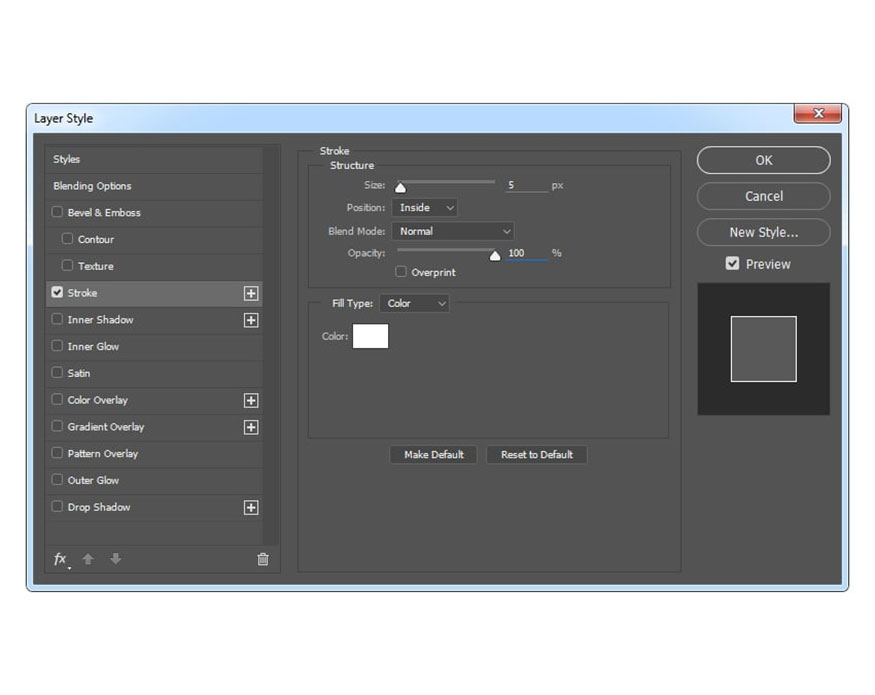
Step 6: Right click on the Outer Stroke layer of Text and select Blending Options. Check the Stroke style and use the settings below:
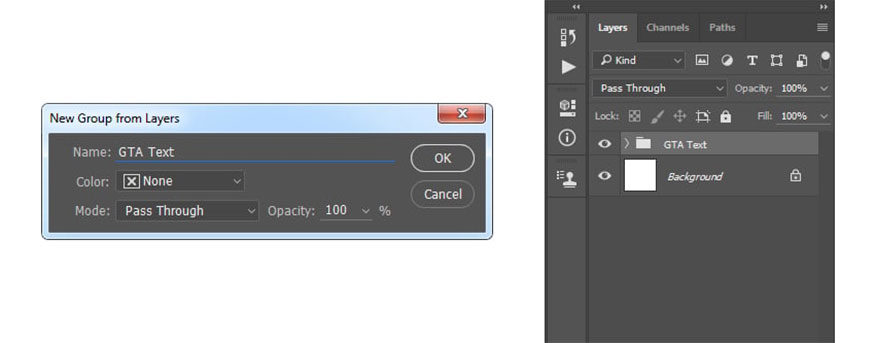
Step 7: Click on the Text layer to select both layers at the same time. Then go to Layer => New => Group from Layers to create a new group from the selected layers, name them as “GTA Text”.
Step 8: Press Control-A on the keyboard to create a canvas selection. Select the Move Tool (V) and click Align Vertical Center. Next, click Align Horizontal Center to align the text vertically and horizontally.
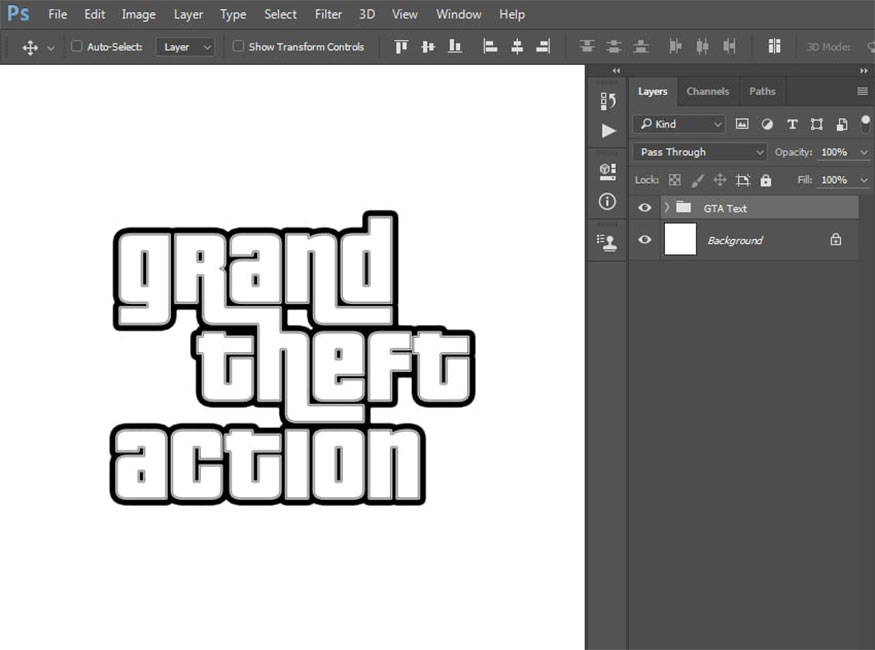
With these 8 simple steps, you will have successfully designed your own Grand Theft Auto typeface.
4. Four GTA font effects from Envato Elements
4.1. Cartoon effects
If you want to create both GTA text and photo effects, you can choose this filter. Turn yourself into a character from the Grand Theft Auto story and add titles with GTA style fonts.
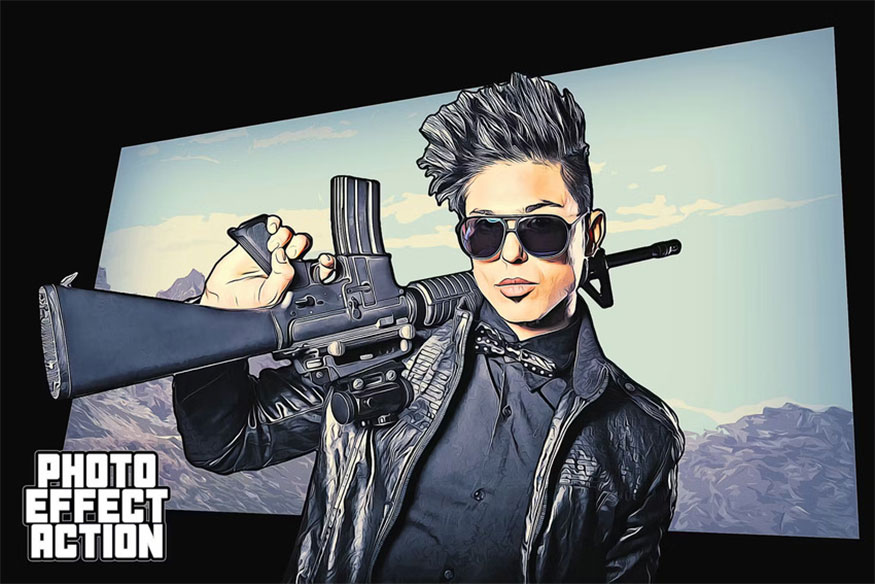
You'll get an awesome filter for your images and a super simple GTA font download in seconds!
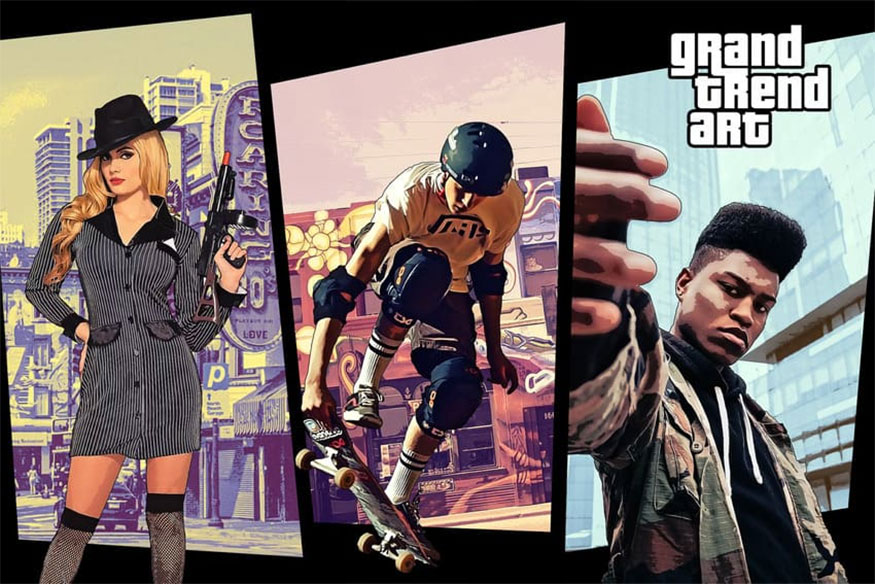
4.2. GTA Photoshop Action
This effect will help you to combine Grand Theft Auto text with a fun image. Accordingly they provide you with 5 frame templates, 5 collage templates along with 15 overall color presets.
4.3. Classic text effects from the 1980s
If you want to save time downloading GTA fonts, this is a very worthwhile effect to consider. This is a very fast and simple method to create GTA style fonts in Photoshop.

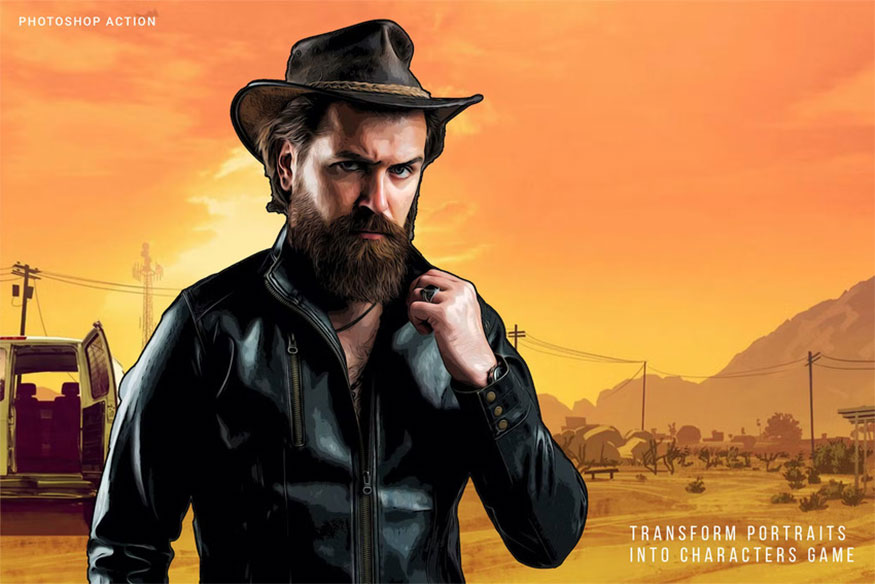
4.4. Turn portraits into game characters
You can turn portraits into GTA characters with this cool Photoshop action. They are very easy to use, helping you create impressive designs in just a short time.
Hopefully the information that Sadesign brings above has helped readers know how to create GTA-style text effects in Photoshop in the simplest and easiest way. Don't forget to follow us to update more useful information.


VIP Products


Best Selling Products
Freepik Premium Account
59 USD
Upgrade Genuine Office 365
49 USD
Upgrade Duolingo Super
29 USD
Copyright Adobe Lightroom Account
59 USD
Autodesk All App Account Copyright
120 USD
MidJourney Account
29 USD
Adobe Photoshop Copyright - Full App
120 USD
Windows 10 & 11 Pro Key
36 USD
ChatGPT Plus Account (GPT-4)
16 USD
Genuine Cheap Canva Pro
39 USD
Upgrade genuine Capture One account
120 USD
Plugin Retouch4me
69 USD
Adobe Premiere Pro Account
99 USD
Capcut Pro 1 Year
39 USD
Genuine Adobe Illustrator account
99 USD