Best Selling Products

Windows 10 & 11 Pro Key
36 USD

MidJourney Account
29 USD

Genuine Adobe Illustrator account
99 USD

Upgrade genuine Capture One account
120 USD

Plugin Retouch4me
69 USD

Genuine Cheap Canva Pro
39 USD

Copyright Adobe Lightroom Account
59 USD

Adobe Photoshop Copyright - Full App
120 USD

Autodesk All App Account Copyright
120 USD

Freepik Premium Account
59 USD

Capcut Pro 1 Year
39 USD

Upgrade Duolingo Super
29 USD

Upgrade Genuine Office 365
49 USD

ChatGPT Plus Account (GPT-4)
16 USD

Adobe Premiere Pro Account
99 USD
Guide to Properly Utilizing the Foreground of Photos to Increase Depth and Focus
Nội dung
- 1. Use a distinct surface texture.
- 2. Look for natural pathways.
- 3. Utilize obstacles to create secondary framing.
- 4. Exploiting waterholes and wildflowers.
- 5. Choose an extremely low camera angle.
- 6. Create color contrast.
- 7. Mistakes to avoid when exploiting the foreground.
- 7.1. Avoid letting the foreground be too large and obscure the subject.
- 7.2. Balancing sharpness between spatial layers
- 8. Conclusion
The foreground is a crucial element that helps landscape photos gain depth, appeal, and a more professional look. Discover 6 effective techniques for utilizing the foreground, along with common mistakes to avoid, to elevate composition, create focal points, and transform familiar scenes into stunning photographs.
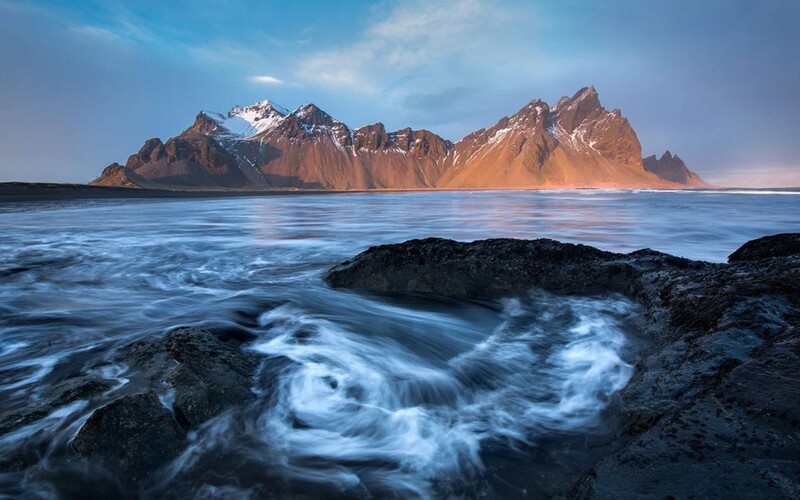
1. Use a distinct surface texture.
One of the most powerful elements of the foreground is surface texture. These are small but visually striking details such as rock patterns, moss, rippling sand, pebbles, old tree trunks, or dried leaves.
When these details are placed close to the lens, the viewer perceives the realism of the image. The prominent veins or rough surfaces make the frame seem tactile, creating a much more vivid visual experience compared to a blank foreground.
The effect of the texture is further enhanced when light shines obliquely in the early morning or late afternoon. At this time, the small shadows cast between the veins, crevices of the rocks, or layers of sand will highlight all the details.
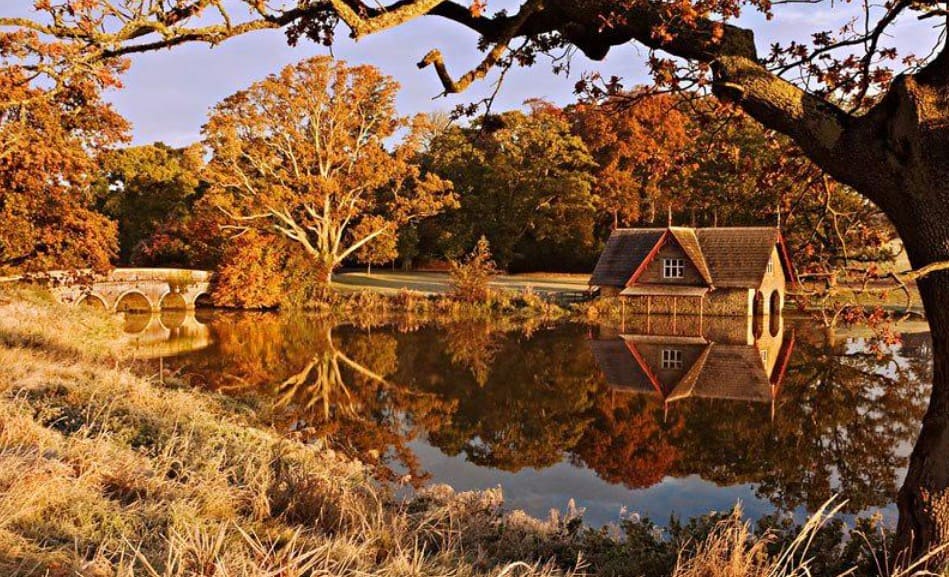
Another benefit of utilizing texture is the creation of a contrast between a sharp foreground and a soft background. As the viewer's eye starts with the clear details in the foreground and gradually moves toward the distance, a sense of three-dimensional space is naturally formed.
To make the most of surface textures, actively move closer to the subject instead of just standing far away and zooming in. A close-up view will help details stand out and create a much stronger visual effect.
2. Look for natural pathways.
If composition helps create a starting point for the viewer's gaze, then the natural path is what keeps the viewer engaged with the photograph for longer.
Pathways can appear in many different forms, such as dirt roads, trails through meadows, rows of trees, stream banks, fences, coastlines, or even cracks in the rock.
The key is that these lines should start from the foreground and move towards the main subject. This will cause the viewer's eye to unconsciously follow the direction the photographer intends.
Soft curves often evoke feelings of relaxation, romance, and a longer visual journey. Straight lines, on the other hand, create a sense of strength, modernity, and decisiveness.

Don't just observe at eye level. Try bending down or shifting your position a few steps to the left or right to find the most aesthetically pleasing path. Even a small change in standing position can completely alter the composition.
A common trick used by many photographers is to have the leading line start from the bottom corner of the frame. This creates the feeling that the viewer is stepping into the scene rather than simply observing from the outside.
3. Utilize obstacles to create secondary framing.
Frame within a frame is a well-known compositional technique that helps to increase depth and focus attention on the subject.
Instead of leaving the entire frame completely open, you can utilize foreground objects such as tree branches, doorways, rock crevices, cave arches, bushes, or fences to create a natural frame.
This effect gives the viewer the feeling of observing the scene through a crack in the door or from a secret location. This creates curiosity and enhances the artistic value of the photograph.
In addition to their aesthetic value, the subframe also helps to conceal distracting details such as parking lots, signs, or overly empty spaces.

When applying this technique, avoid making the secondary frame too thick or too dark, as it can overshadow the main subject. The goal of the secondary frame is to support the composition, not to become the focal point of the photograph.
You can also combine the subframe with a slight blur in the foreground to increase the sense of depth while maintaining a natural look.
4. Exploiting waterholes and wildflowers.
Nature always offers countless beautiful scenic views if you take the time to observe them more closely.
Green lawns, clusters of wildflowers, reeds, flower fields, or even small puddles after a rain shower can all transform an ordinary photograph into a vibrant work of art.
Flowers bring color, softness, and a seasonal feel. Just a few flowers placed in the bottom corner of the frame are enough to create a subtle accent and help the viewer clearly perceive the setting where the photograph was taken.
Meanwhile, pools of water offer opportunities to exploit the element of reflection. The still surface can reflect the sky, clouds, mountains, or trees, creating an impressive symmetrical composition.
Especially at dawn or dusk, the combination of the sky's colors and its reflection in the water creates a very powerful visual effect.

When photographing flowers and plants, pay attention to the wind direction to avoid blurring the foreground. If using a tripod, you can wait for a moment when the wind is calm to capture the sharpest details.
5. Choose an extremely low camera angle.
One of the secrets to making the foreground stand out is to completely change the viewing angle.
Instead of holding the camera at eye level, try lowering it close to the ground or placing it almost touching the surface. This is a very common technique in professional landscape photography.
When the camera angle is lowered, small objects such as stones, blades of grass, or wildflowers will appear much larger than they actually are.
This perspective effect gives the foreground more visual weight, while making mountains, trees, or structures in the background appear taller and more majestic.
A low camera angle also creates the feeling that the viewer is actually standing in the middle of the scene instead of just observing from a distance.
For best results, combine a low-angle shot with a wide-angle lens. This will stretch the distance between layers of space, creating a very noticeable depth of field.
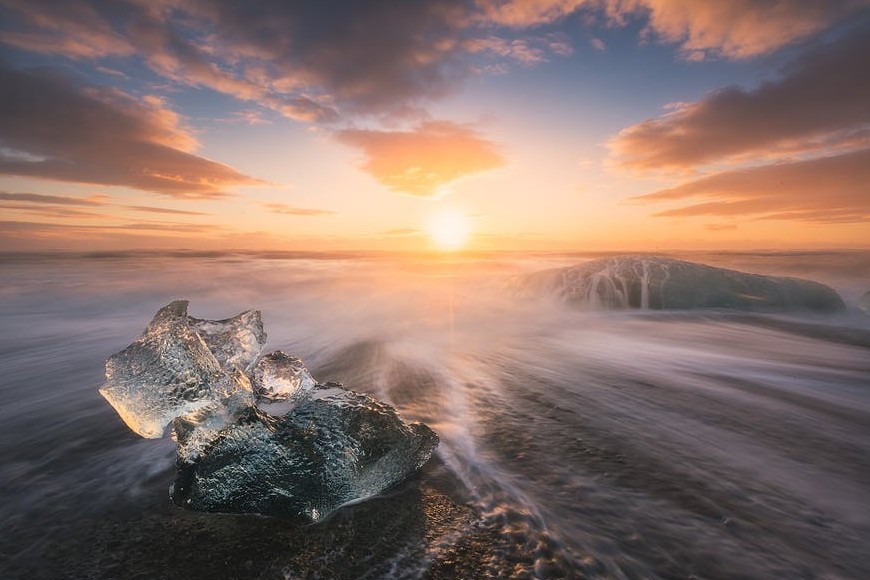
Don't hesitate to lie down on the ground or place your camera on a mini tripod. Sometimes, just changing the height by a few tens of centimeters is enough to create a completely different photo.
6. Create color contrast.
Color is an extremely effective tool for separating spatial layers in an image.
If the foreground and background have very similar colors, the entire photograph will become monotonous and lack depth.
Conversely, when the two elements are reasonably contrasted, the subject will stand out much more.
For example, a patch of golden grass under the afternoon sun set against a backdrop of green forest would create a warm and vibrant atmosphere.
Or perhaps the dark rocks in the foreground will highlight the vibrant sky behind.
The contrast doesn't necessarily have to be too strong. Just a slight difference in warm-cool or light-dark tones is enough to create a clear layering.
The key is to actively move around to find the optimal viewing angle. Just changing your position by a few meters can create a completely new color contrast.
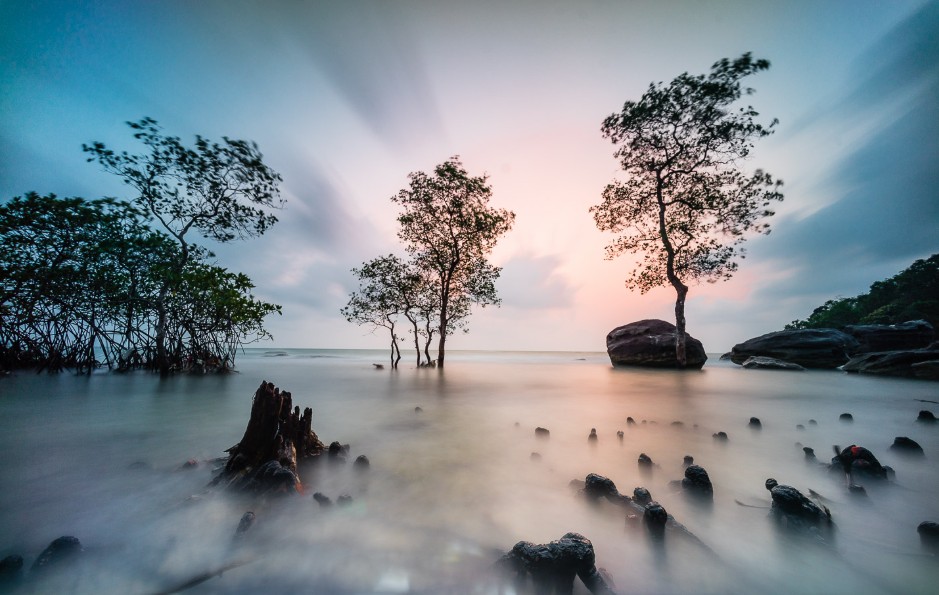
This is also why many photographers spend a lot of time observing before pressing the shutter button.
7. Mistakes to avoid when exploiting the foreground.
The foreground offers many benefits, but if used incorrectly, it can easily make the composition look cluttered.
Beginners often focus too much on adding as much detail as possible to the foreground, forgetting the primary role of the foreground is to support the subject.
Understanding common mistakes will help you avoid unbalanced photos right from the start.
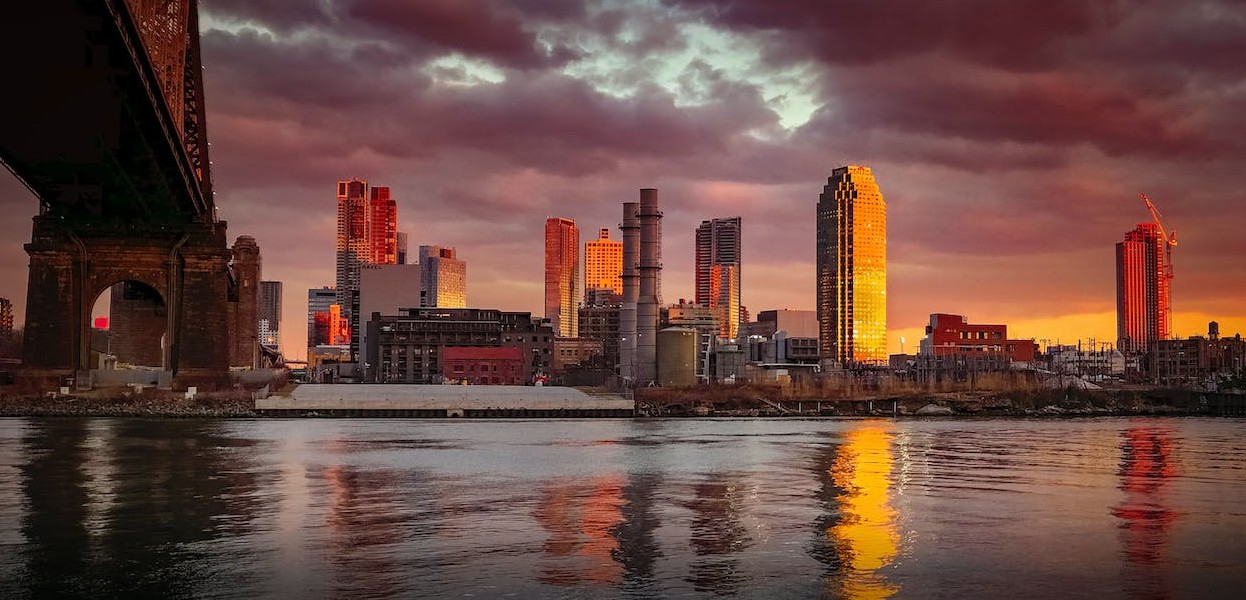
7.1. Avoid letting the foreground be too large and obscure the subject.
This is the most common mistake.
When you bring the camera too close to the foreground, the objects in the foreground will take up too much space in the photo.
If a rock, bush, or flower branch obscures the mountain, sun, or structure behind it, then the foreground has failed in its purpose.
The foreground should only occupy about a quarter to a third of the frame, just enough to create depth while maintaining balance.
Before pressing the shutter button, observe the entire frame to ensure that the subject remains prominent and is not obscured by any other elements.
Remember that the foreground's purpose is to guide the viewer to the subject, not to compete for attention with the subject.
7.2. Balancing sharpness between spatial layers
Sharpness is a crucial factor in determining whether the foreground will be effective.
If the foreground is completely blurred due to incorrect focus or the use of an excessively large aperture, the viewer will lose sight of where to begin exploring the photograph.
Conversely, if every detail from front to back is perfectly sharp, the photograph can sometimes appear heavy and lack depth.
In most landscape photography situations, an aperture of f/8 to f/11 is a suitable choice.
Additionally, focus at approximately one-third of the depth of field to ensure the focus area is evenly distributed from the foreground to the background.
If the foreground is too close to the camera, you can use focus stacking techniques to combine multiple areas of focus into a single, complete image.
Good control over sharpness will ensure the foreground is sharp enough to guide the viewer's gaze while maintaining a natural feel and harmony with the overall composition.
8. Conclusion
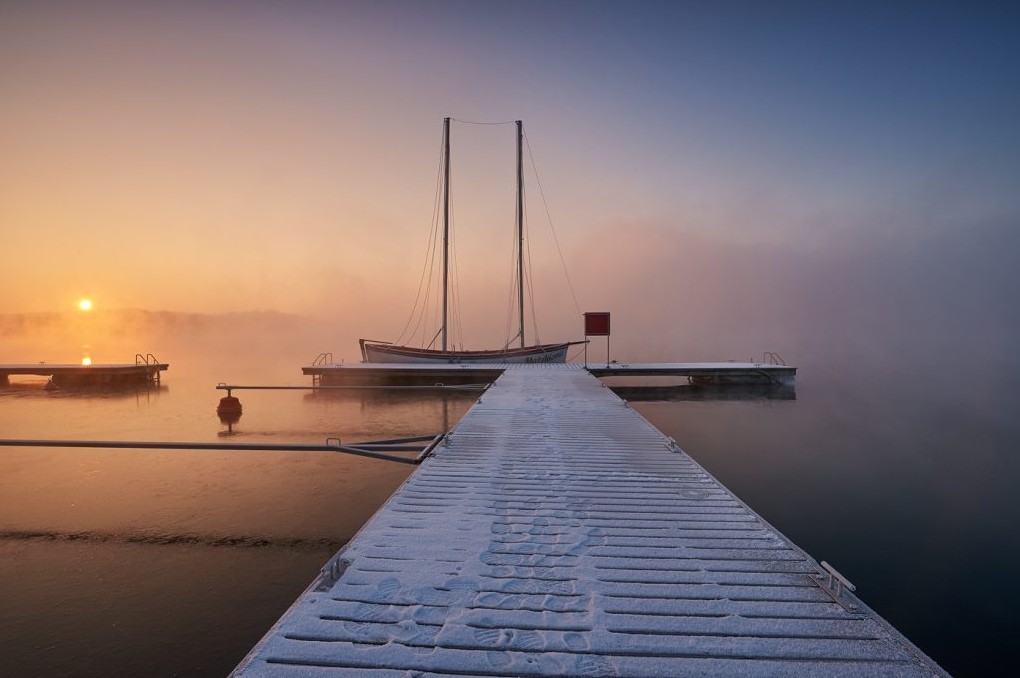
The foreground is not simply the space in front of the camera, but a crucial tool that gives a photograph depth, story, and emotion. A skillfully chosen foreground will guide the viewer's gaze, create a focal point, and connect the viewer with the entire scene behind it.
Most importantly, take the time to observe before pressing the shutter button. Often, simply changing your position a few steps, lowering the camera, or patiently waiting for the right light will reveal the perfect foreground. It is this meticulous attention to detail that makes the difference between a beautiful photograph and a truly professional landscape work.





















VIP Products








Best Selling Products
Windows 10 & 11 Pro Key
36 USD
MidJourney Account
29 USD
Genuine Adobe Illustrator account
99 USD
Upgrade genuine Capture One account
120 USD
Plugin Retouch4me
69 USD
Genuine Cheap Canva Pro
39 USD
Copyright Adobe Lightroom Account
59 USD
Adobe Photoshop Copyright - Full App
120 USD
Autodesk All App Account Copyright
120 USD
Freepik Premium Account
59 USD
Capcut Pro 1 Year
39 USD
Upgrade Duolingo Super
29 USD
Upgrade Genuine Office 365
49 USD
ChatGPT Plus Account (GPT-4)
16 USD
Adobe Premiere Pro Account
99 USD