Best Selling Products

Copyright Adobe Lightroom Account
59 USD

Upgrade genuine Capture One account
120 USD

Genuine Adobe Illustrator account
99 USD

Adobe Photoshop Copyright - Full App
120 USD

Upgrade Duolingo Super
29 USD

ChatGPT Plus Account (GPT-4)
16 USD

Freepik Premium Account
59 USD

Upgrade Genuine Office 365
49 USD

Plugin Retouch4me
69 USD

MidJourney Account
29 USD

Autodesk All App Account Copyright
120 USD

Adobe Premiere Pro Account
99 USD

Capcut Pro 1 Year
39 USD

Windows 10 & 11 Pro Key
36 USD

Genuine Cheap Canva Pro
39 USD
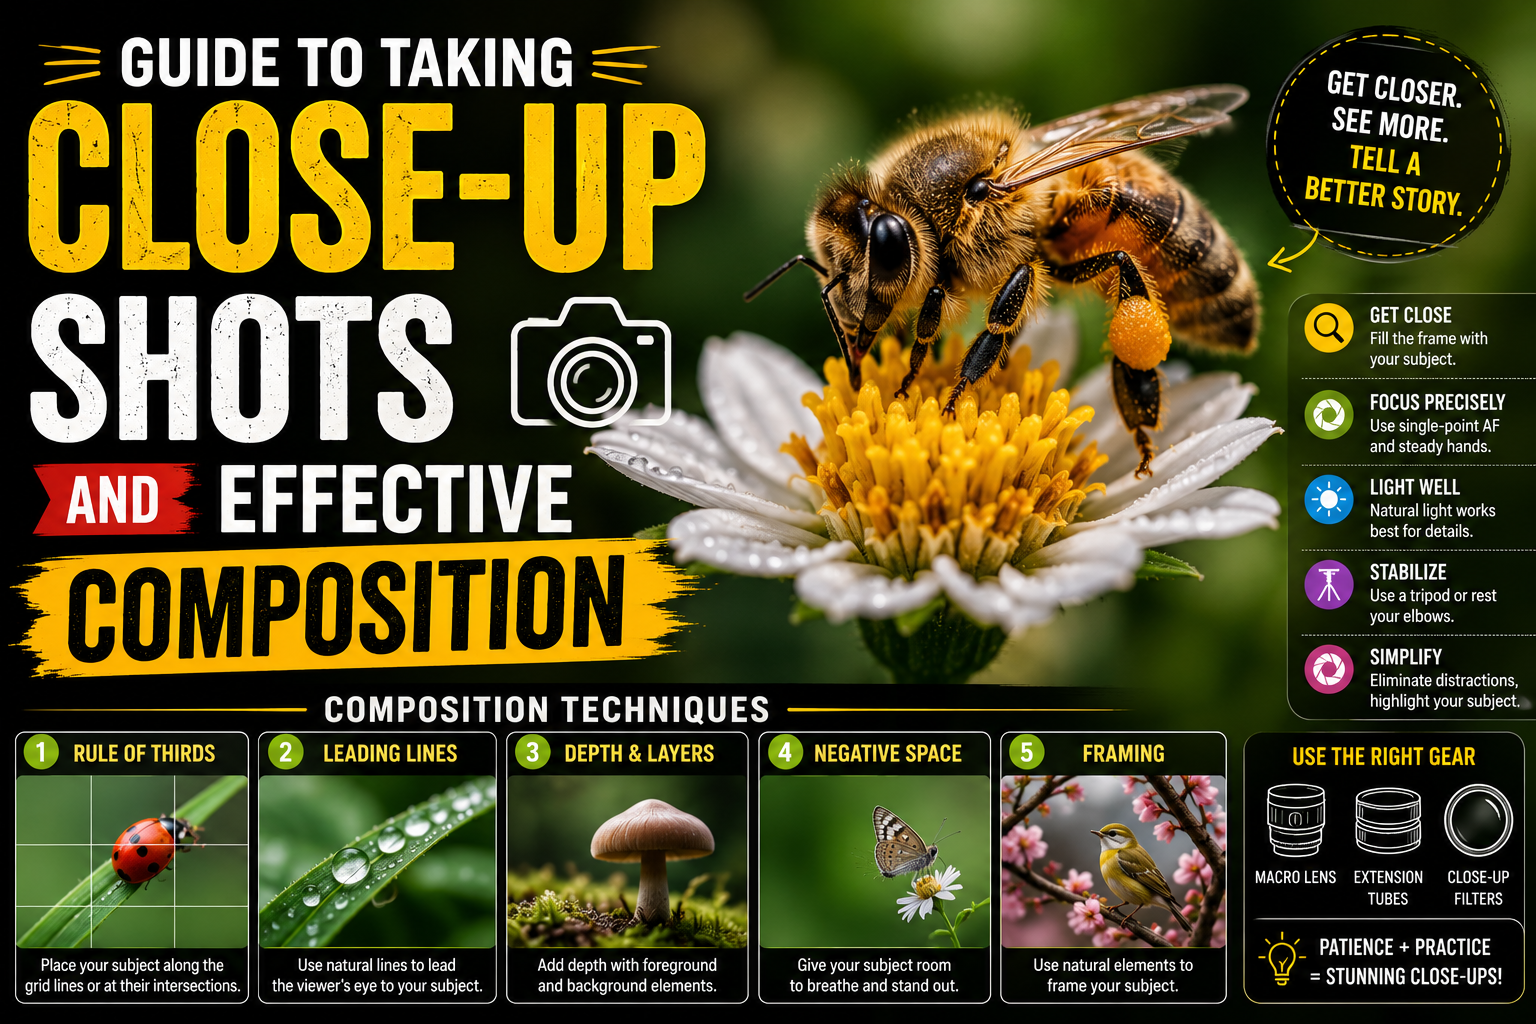
Guide to Taking Close-Up Shots and Effective Composition
Nội dung
- 1. What is close-up photography?
- 2. Why are close-up shots important?
- 3. How to properly compose a close-up shot.
- 3.1. Applying the Rule of Thirds
- 3.2. Ensure the face occupies most of the frame.
- 3.3. Eliminate distractions
- 3.4. Ensure sufficient lighting.
- 4. Common types of close-up photography
- 4.1. Extreme Close-up
- 4.2. Choker Close-up
- 4.3. Medium Close-up
- 4.4. Insert Shot
- 5. Tips for effective close-up photography and videography.
Want to create emotionally charged close-up photos and videos like those in movies? Discover this detailed guide to close-up photography techniques and framing.
1. What is close-up photography?
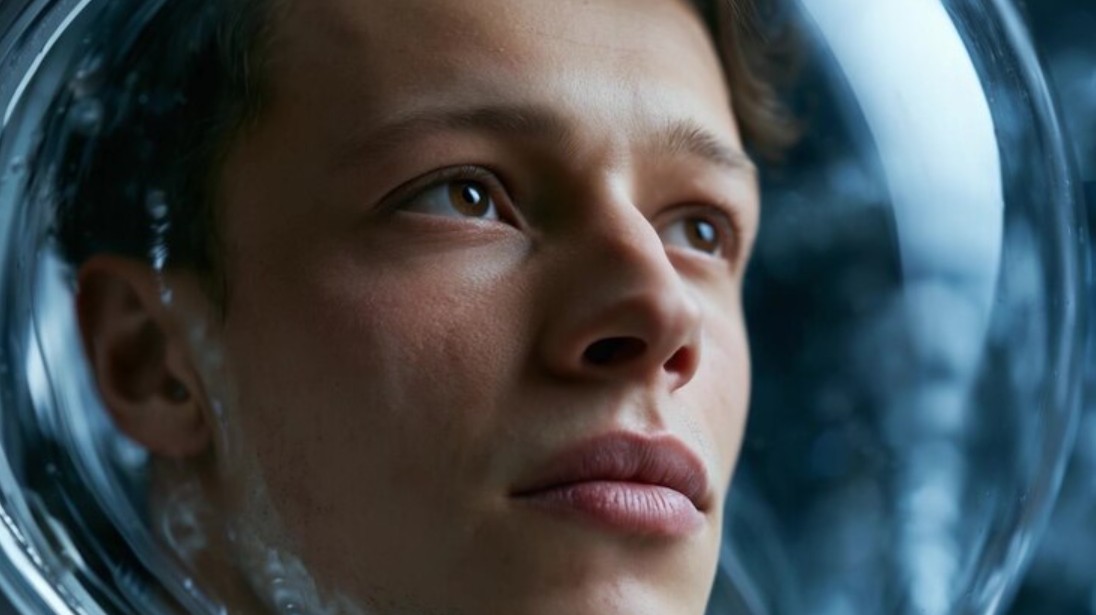
Close-up photography is a type of framing where the camera or video recorder is positioned close enough for the subject to occupy most of the frame. The main purpose of this technique is to highlight emotion, expression, or an important detail that the viewer should not miss.
Unlike wide shots or medium shots, close-ups almost completely eliminate distracting elements in the background. This allows the viewer's attention to focus entirely on the main subject or object.
In film, emotional, surprising, or tense moments are often conveyed through close-ups so that viewers can better understand the characters' thoughts and feelings. This is also why this technique appears in most films, TV commercials, interview videos, and vlogs.
2. Why are close-up shots important?
It's no coincidence that directors often use close-ups in crucial scenes. A well-timed close-up shot can completely change the viewer's emotions.
First of all, it helps to emphasize facial expressions. Very subtle changes such as eye contact, smiles, frowns, or tears become more apparent.
In addition, close-up shots highlight important details in the story. This could be a key, a ring, a letter, or an object with special significance.
Furthermore, the close proximity creates a sense of intimacy between the viewer and the character. Viewers not only observe but also feel as if they are accompanying the character in every moment.
When used correctly, close-ups can also help increase emotional intensity, build suspense, or create a focal point before moving on to a new development.
3. How to properly compose a close-up shot.
Here are some key principles to help you create a professional close-up composition.
3.1. Applying the Rule of Thirds
The Rule of Thirds is the most commonly used compositional principle in photography and film. According to this principle, the frame is divided into nine equal parts by two horizontal and two vertical lines.
Instead of placing the face or eyes right in the center, position them near the grid intersections. This arrangement helps create a balanced, natural image that is more pleasing to the eye.
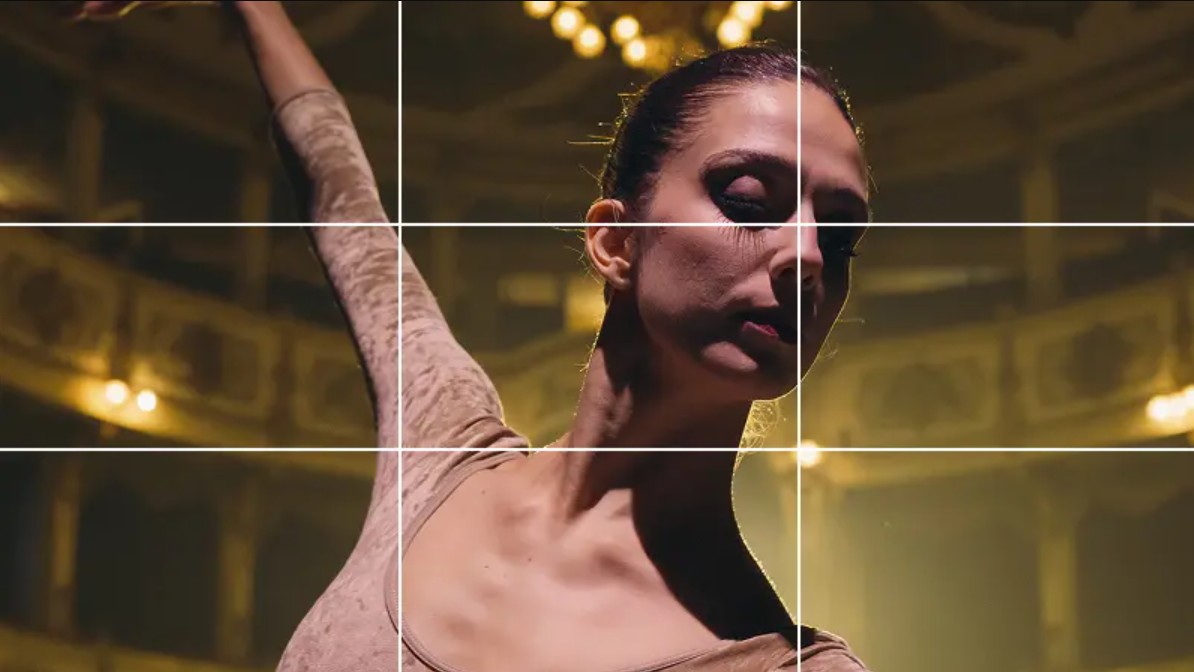
For scenes where a character is looking in one direction, leave extra space in front of their gaze (lookroom). This allows the frame to "breathe," creating a sense of movement and depth in the photograph.
In some special cases, you can still place the subject in the center to create a sense of confrontation, tension, or to emphasize the character's isolation. However, this is an artistic choice and needs to be used in the right context.
3.2. Ensure the face occupies most of the frame.
For a standard close-up shot, the face typically occupies about 60–80% of the frame . This allows viewers to easily observe the expression and focus entirely on the character.
Avoid leaving too much empty space above the head or on either side of the face, as this will diminish the impact of the shot. Conversely, don't crop too close, as this will make the subject feel cramped or uncomfortable to look at.
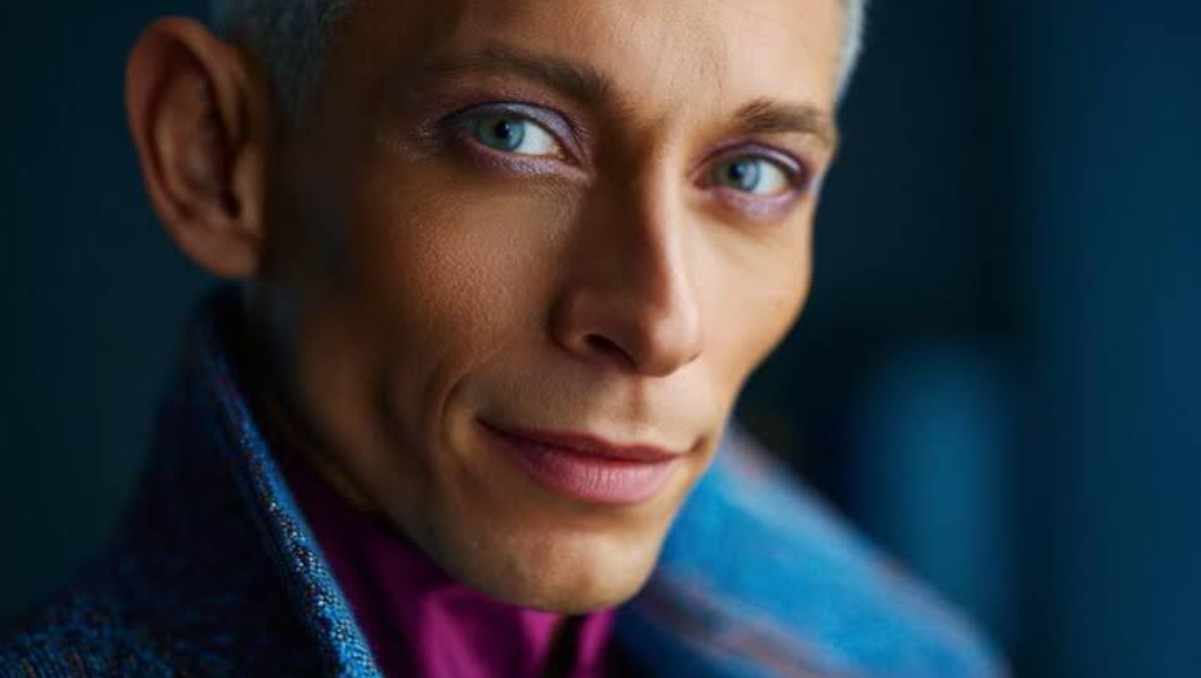
Another important principle is to always prioritize focusing on the eyes. In portraits as well as videos, the eyes are the first thing that attracts the viewer's attention. If the eyes are out of focus while other areas are sharp, the overall visual quality of the frame will be significantly reduced.
Additionally, pay attention to the distance between the camera and the subject. Standing too close to a wide-angle lens can distort the face, especially the nose and chin. Therefore, many photographers often use focal lengths of around 50mm, 85mm, or 105mm when shooting close-up portraits to create more natural facial proportions.
3.3. Eliminate distractions
One of the biggest advantages of close-up photography is its ability to focus all attention on the subject. However, if the background is too cluttered or has too many prominent details, the effectiveness of a close-up shot will be significantly reduced.
To overcome this, choose simple or neutral-colored backgrounds. If shooting outdoors, you should change the camera angle to eliminate unnecessary objects such as signs, power lines, or crowds in the background.
In addition to choosing the right background, you can also use a large aperture (e.g., f/1.8, f/2.0, or f/2.8) to create a bokeh effect. A blurred background will help the subject stand out more and give a professional feel.
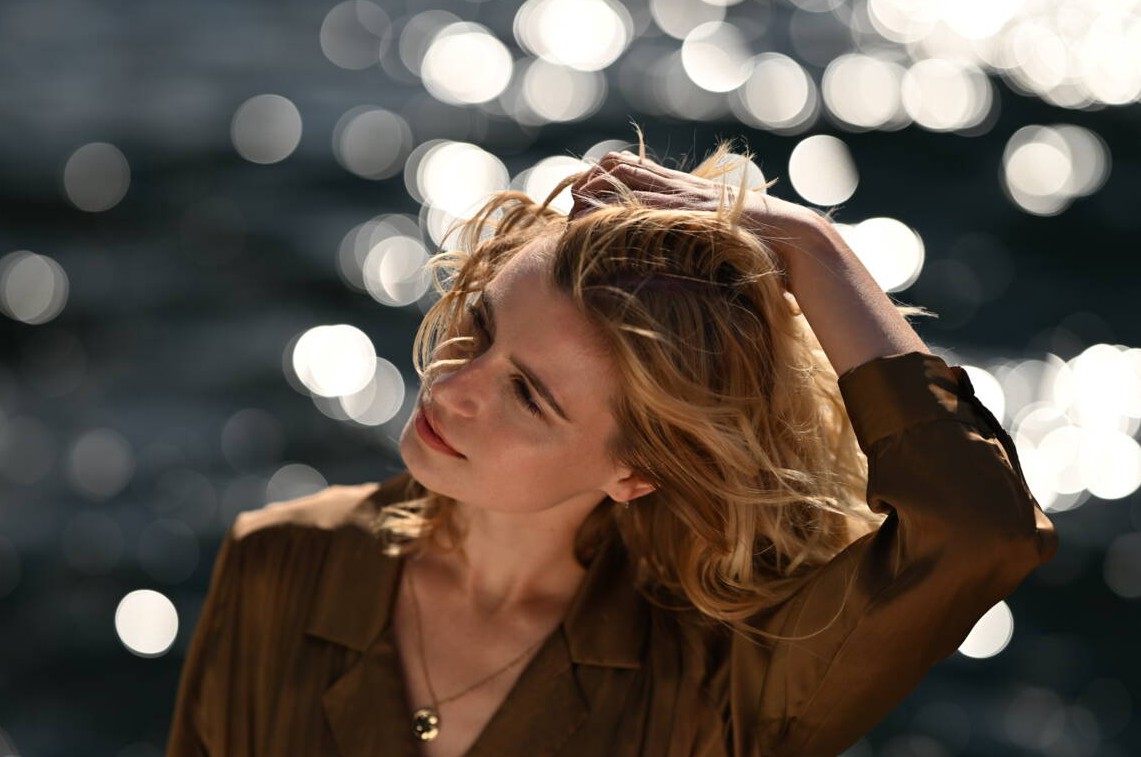
Another helpful tip is to carefully observe the entire frame before pressing the shutter button. Just a small object like a branch, a lamppost, or a reflected light appearing behind the subject's head can ruin the aesthetic appeal of the photograph.
3.4. Ensure sufficient lighting.
Lighting is a crucial factor in determining the quality of any close-up photograph. When the distance between the camera and the subject is very close, every detail on the face is captured clearly. Therefore, controlling the light becomes even more important.
If the lighting is too dim, the face will lack detail, skin tone will appear dull, and emotions will be difficult to express clearly. Conversely, lighting that is too strong or direct can create harsh shadows, highlight skin imperfections, and make expressions appear stiff.
In most cases, soft light is the ideal choice for portraits, interviews, or emotionally charged scenes. This type of lighting creates smooth transitions between light and shadow, making faces look more natural and pleasant.
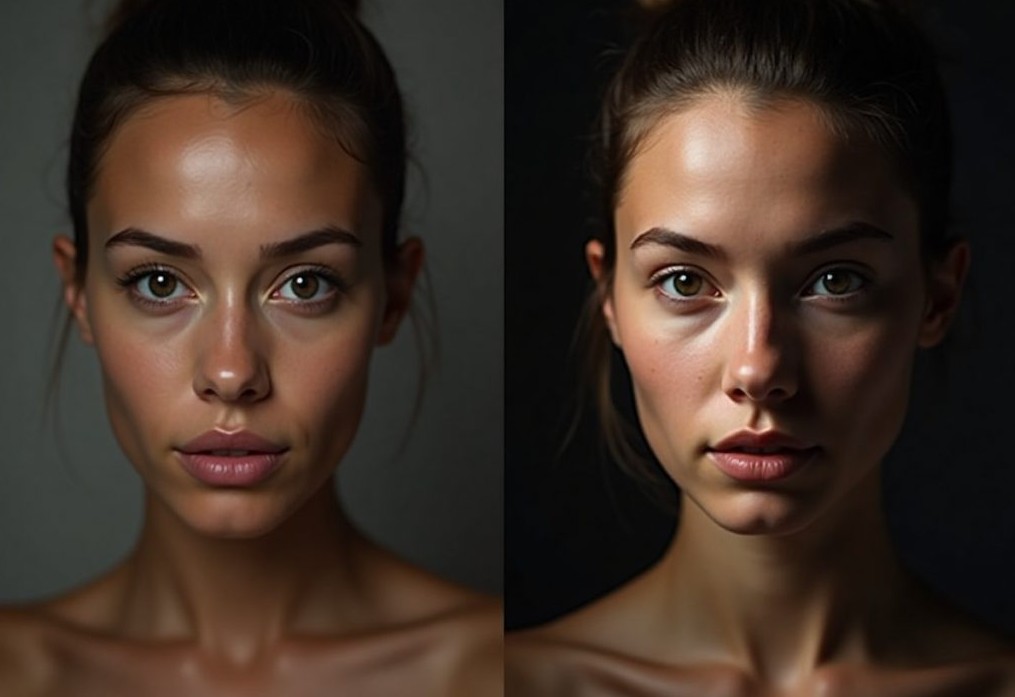
Meanwhile, hard light is suitable for creating a mysterious, tense atmosphere or increasing the contrast of the frame. This type of lighting is often used in action, detective, or psychological films.
Besides light intensity, the direction of light also greatly affects the mood of a photograph. Direct light helps to evenly illuminate the face, side light creates depth and dimension, and backlighting can create an impressive rim light effect if handled correctly.
4. Common types of close-up photography
Not all close-ups are the same. Depending on the storytelling purpose, the cinematographer can choose from many different types of close-ups.
4.1. Extreme Close-up
Extreme Close-up (ECU) is a special type of close-up that focuses on only a very small detail of the subject.
It could be eyes, lips, fingertips, or a significant object.
This type of frame is commonly used for:
-
Emphasize important details.
-
Increases feelings of excitement.
-
It portrays the character's psychological state.
-
Create a feeling of intimacy or pressure.

For example, a shot that focuses solely on the character's wide-open eyes as they discover the truth will evoke a much stronger emotion than a wide shot.
4.2. Choker Close-up
A close-up choker is a very close-fitting style, usually only covering the area from the eyebrows down to the chin or lips.
This camera angle is commonly used in confrontational scenes, tense moments, or emotionally charged scenes.
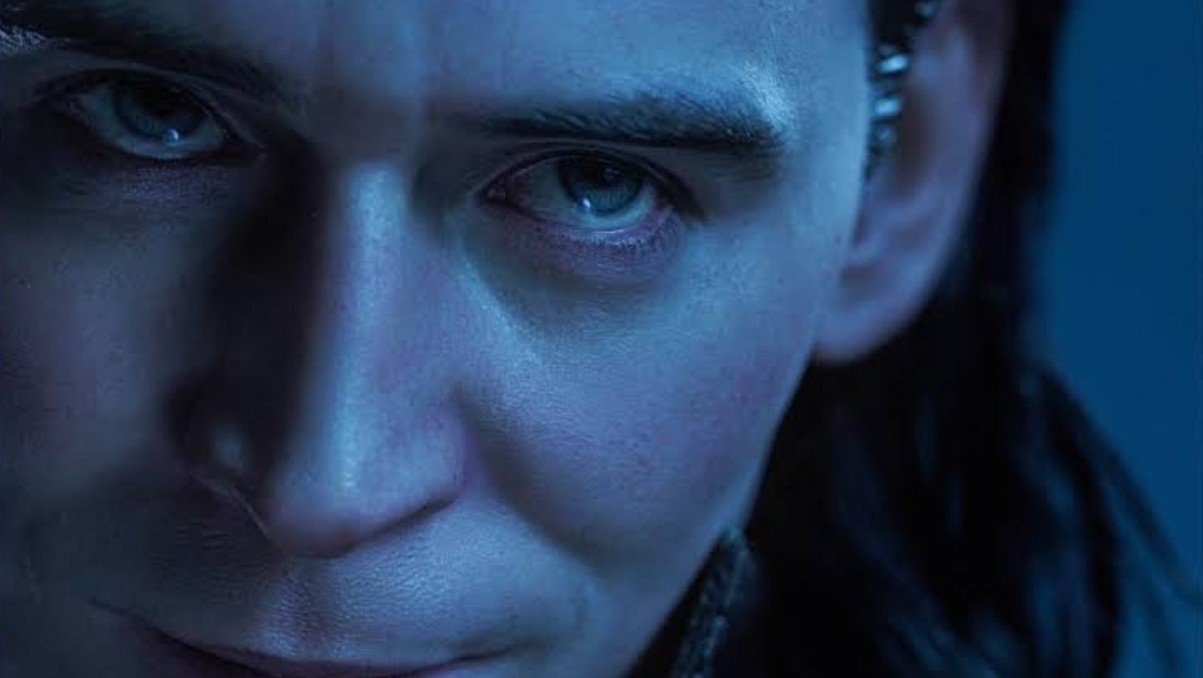
To avoid facial distortion, cinematographers often use telephoto lenses in the range of 100–135mm or longer.
A prime example is the scene where tears roll down a character's face after receiving bad news. The close-up shot allows the viewer to clearly feel every nuance of emotion.
4.3. Medium Close-up
Medium Close-up (MCU) refers to a type of shot that covers the area from the middle of the chest upwards.
This is a very popular choice in interviews, vlogs, talk shows, and television series.
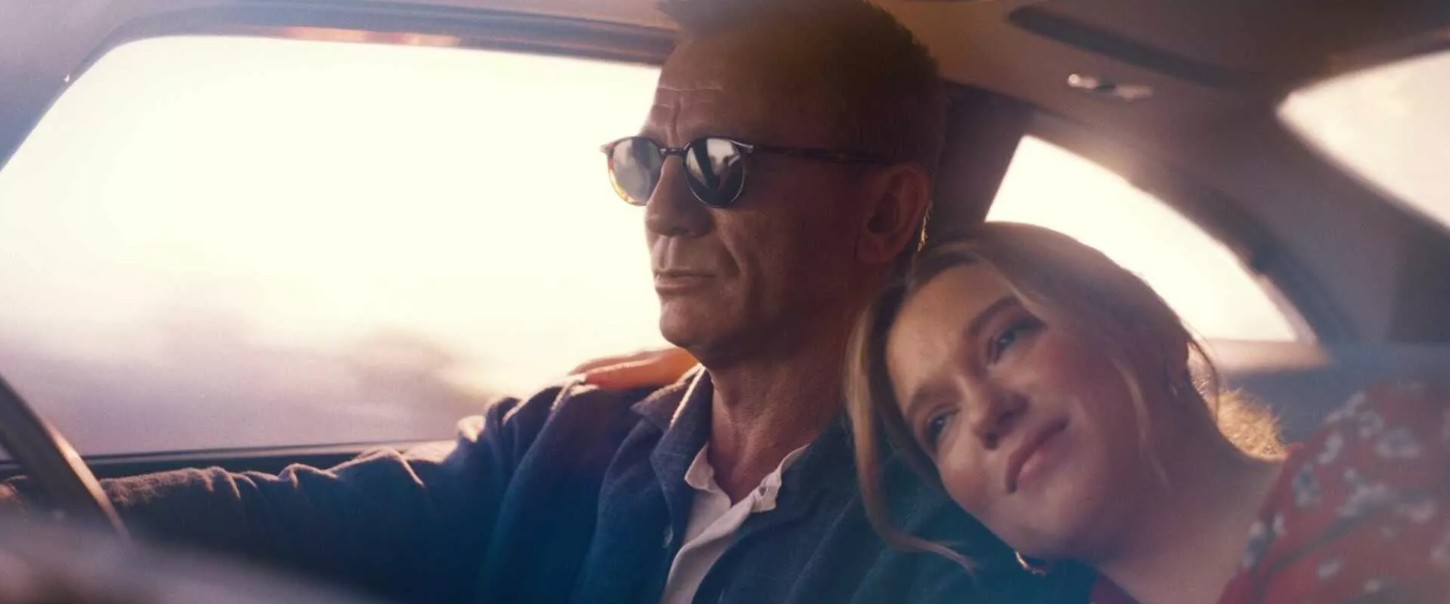
Medium close-ups strike a balance between facial expressions and body language. Viewers can still see the surrounding environment, but the focus remains on the subject.
For example, when two people are chatting in a coffee shop, Medium Close-up helps to convey their emotions while still maintaining the context of the conversation.
4.4. Insert Shot
Insert Shot is a close-up style for small details that play an important role in the story.
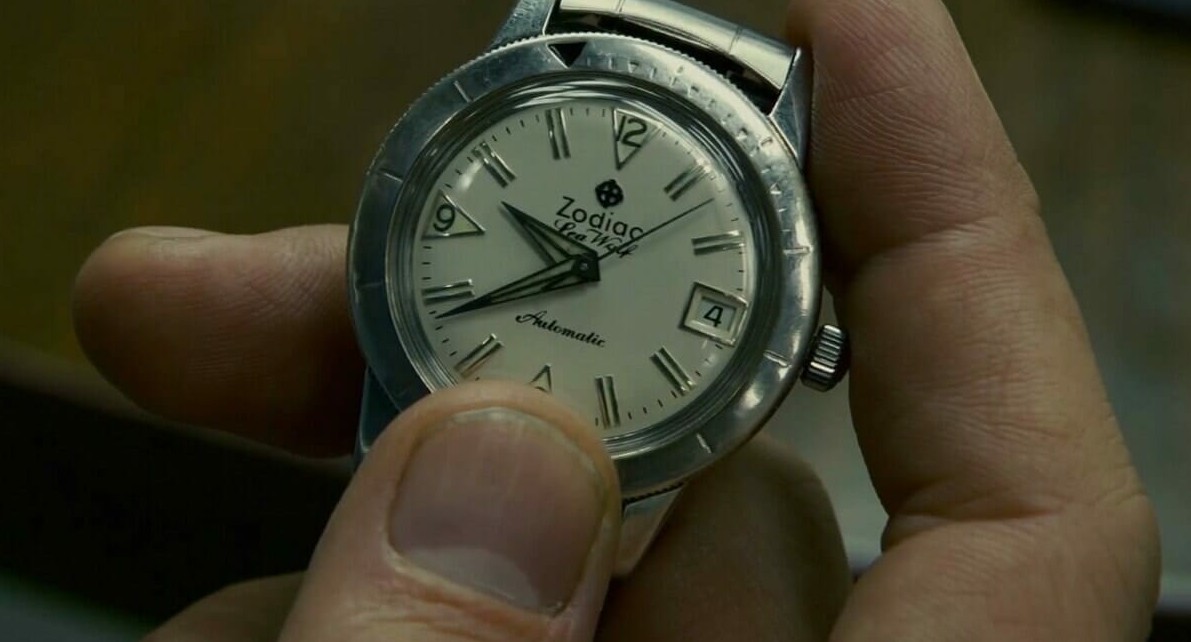
It could be:
-
A hand opened the door.
-
One finger presses the button.
-
A phone that receives text messages.
-
A letter was given to someone else.
-
The clock is counting down.
These shots help viewers not miss important details and contribute to a clearer narrative flow.
5. Tips for effective close-up photography and videography.
After understanding the different framing styles, you need to combine several more elements to create a professional close-up shot.
First, clearly define the purpose of the shot. Not every moment needs a close-up. Reserve this type of shot for crucial moments to enhance emotional impact.
Next, choose the right camera angle. An eye-level angle creates a natural feel, while a low angle makes the character appear stronger, and a high angle can create a sense of weakness or loneliness.
Lighting also plays a huge role. Changing the direction and intensity of light can completely alter the mood of the same frame. Soft light tends to create a gentle feeling, while harsh light increases drama.
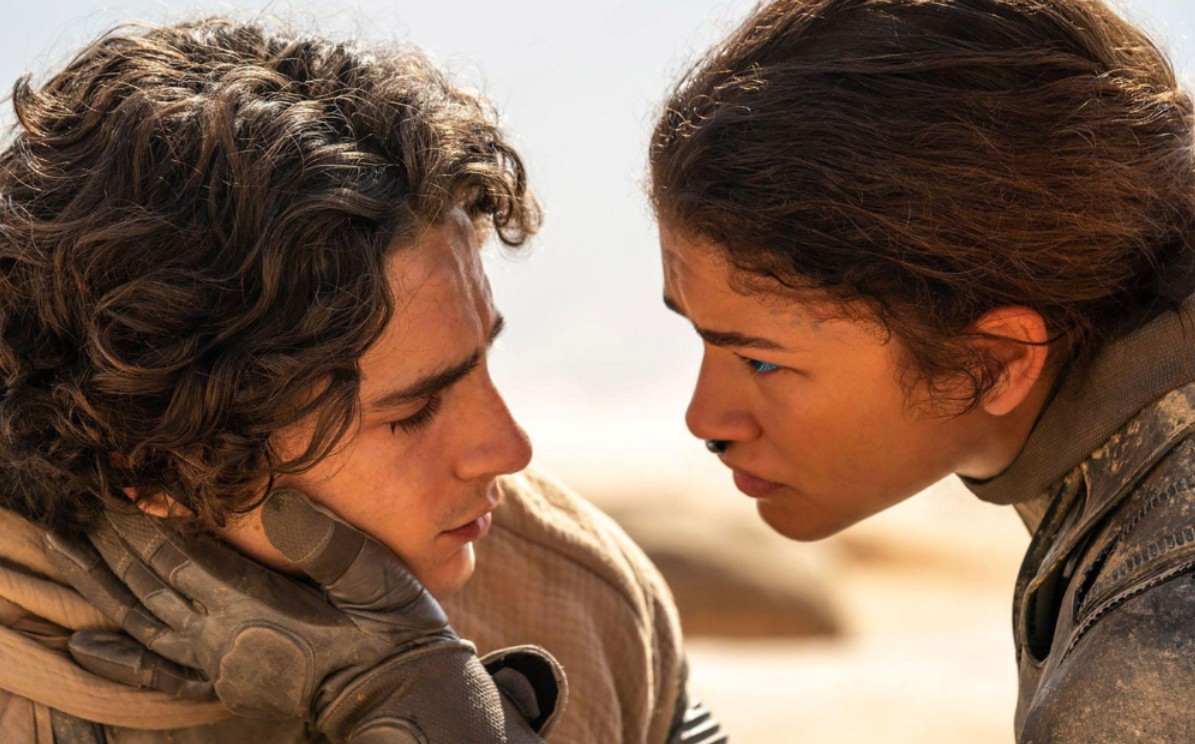
Additionally, pay attention to the focus point. For portraits, the eyes are always the most important area to be sharp. If the eyes are blurry, the entire frame will lose its appeal.
During the editing process, continuity between shots must be ensured. The viewpoint, character positioning, and camera angle should be consistent to avoid creating a disjointed feeling for the viewer.
Finally, avoid overusing close-ups. If every frame is a close-up, viewers will quickly become bored and lose their sense of excitement. A flexible combination of wide shots, medium shots, and close-ups will give the story a more engaging rhythm.
If you're just starting out, you should practice with Standard Close-up and Medium Close-up first to get familiar with composition and focusing. Once you've mastered those, experiment with Extreme Close-up , Choker Close-up , or Insert Shot to add depth to your story. When combined with the right timing, lighting, and camera angle, close-up shots become powerful tools that make your photos and videos more professional, emotionally engaging, and captivating to viewers.





















VIP Products








Best Selling Products
Copyright Adobe Lightroom Account
59 USD
Upgrade genuine Capture One account
120 USD
Genuine Adobe Illustrator account
99 USD
Adobe Photoshop Copyright - Full App
120 USD
Upgrade Duolingo Super
29 USD
ChatGPT Plus Account (GPT-4)
16 USD
Freepik Premium Account
59 USD
Upgrade Genuine Office 365
49 USD
Plugin Retouch4me
69 USD
MidJourney Account
29 USD
Autodesk All App Account Copyright
120 USD
Adobe Premiere Pro Account
99 USD
Capcut Pro 1 Year
39 USD
Windows 10 & 11 Pro Key
36 USD
Genuine Cheap Canva Pro
39 USD