Best Selling Products

Upgrade genuine Capture One account
120 USD

Plugin Retouch4me
69 USD

Adobe Photoshop Copyright - Full App
120 USD

Autodesk All App Account Copyright
120 USD

Upgrade Genuine Office 365
49 USD

Upgrade Duolingo Super
29 USD

Genuine Cheap Canva Pro
39 USD

Adobe Premiere Pro Account
99 USD

Windows 10 & 11 Pro Key
36 USD

Freepik Premium Account
59 USD

Capcut Pro 1 Year
39 USD

MidJourney Account
29 USD

Genuine Adobe Illustrator account
99 USD

Copyright Adobe Lightroom Account
59 USD

ChatGPT Plus Account (GPT-4)
16 USD
How to Create a Logo to Insert into Photos: Building a Professional Brand from A to Z
Nội dung
- 1. Why create a logo to insert into photos?
- 2. Criteria for Designing a Suitable Logo to Insert into Images
- 2.1 Minimalism and Streamlining
- 2.2 Transparent Background Format (PNG)
- 2.3 Flexible color transformation capabilities
- 2.4 Balanced proportions
- 3. The Best Tools for Creating Logos to Insert into Photos Currently Available
- 3.1. Versatile design with Canva
- 3.2. Get creative faster with AI using Hatchful by Shopify
- 3.3. Professional software: Photoshop & Illustrator
- 4. Step-by-Step Guide to Creating a Logo Using Canva and Removing the Transparent Background
- 5. The Process of Inserting Logos into Photos Refinedly, Without Distorting the Image
- 5.1 Placement Rules (Golden Location)
- 5.2 Appropriate size ratio
- 5.3 Utilizing Opacity/Transparency
- 6. Instructions on How to Insert Logos in Bulk on Computers and Phones
- 6.1. On mobile phones (iOS & Android)
- 6.2. On computers (Windows & Mac)
- 7. Common Mistakes to Avoid When Adding Logos to Images
- 8. Conclusion
To protect intellectual property and assert ownership, creating a logo to insert into images is a necessary solution.
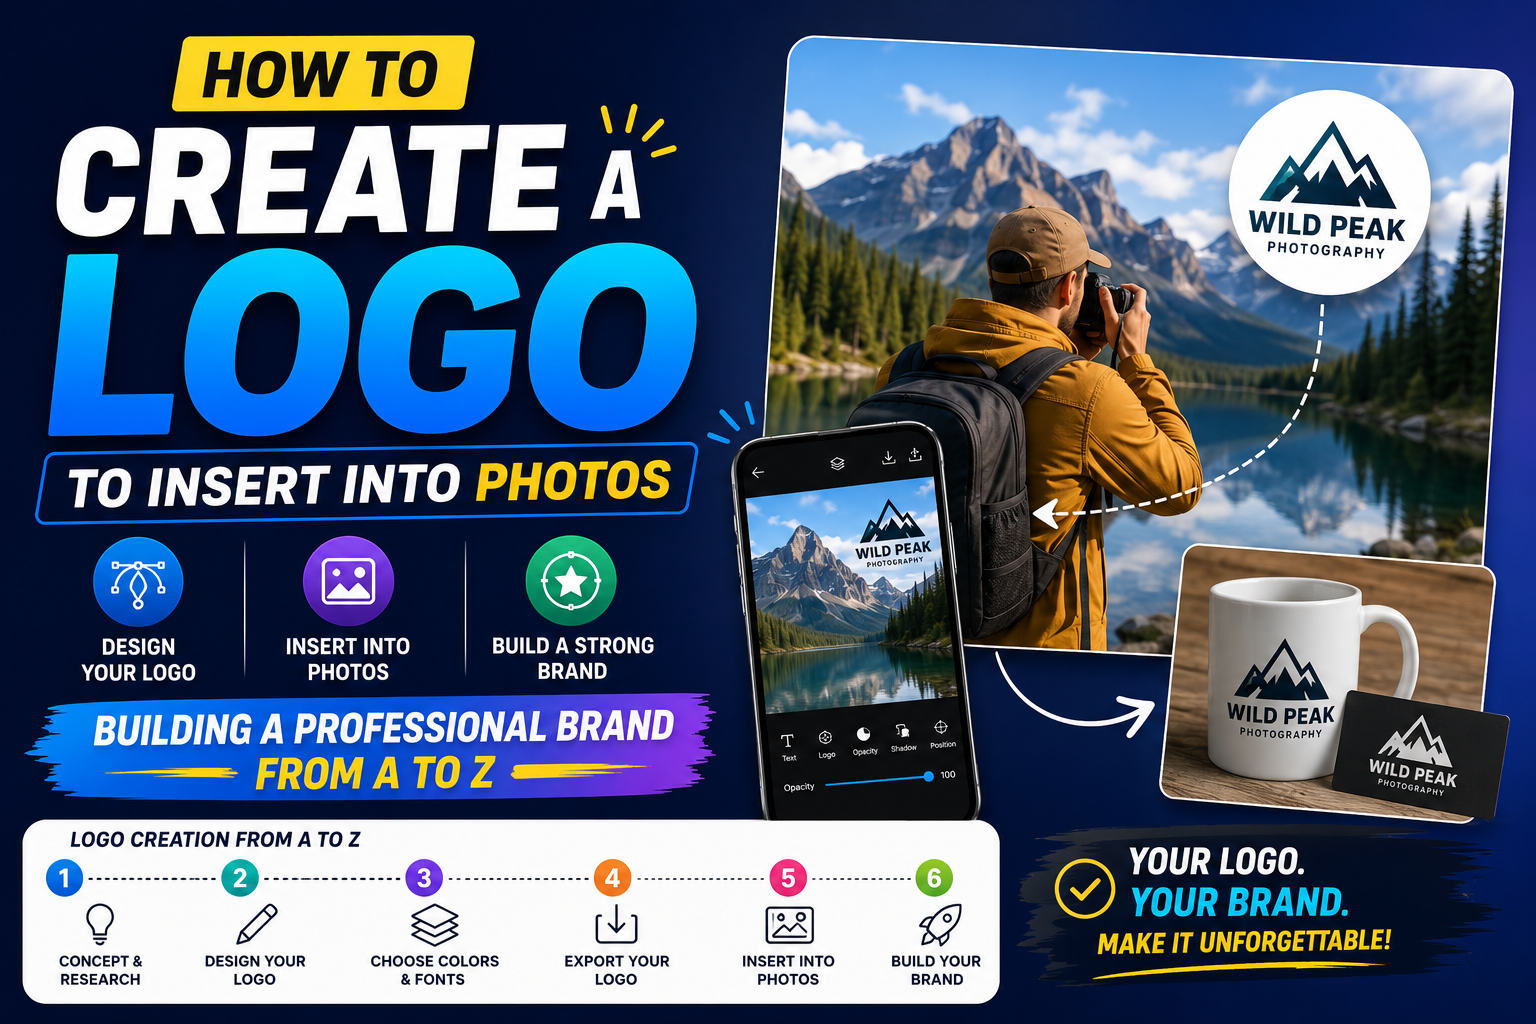
1. Why create a logo to insert into photos?
Many people often underestimate the importance of watermarking images, fearing it will detract from the image's aesthetic appeal. In reality, a well-designed and subtly incorporated logo offers significant advantages:
-
Protecting image copyrights: Prevent competitors from copying your product photos or project images for advertising or defrauding customers.
-
Increase brand awareness: When customers scroll through hundreds of photos every day on Facebook, Instagram, or TikTok, the consistent appearance of your logo in a corner of each photo will engrave your brand into their minds.
-
Creating a consistent and professional image: A set of photos stamped with a uniform logo demonstrates the serious investment, meticulous attention to detail, and credibility of the business or creative individual.
-
Non-collateral marketing: When users share your photos everywhere, the accompanying logo becomes an automatic business card, leading other potential customers to you.
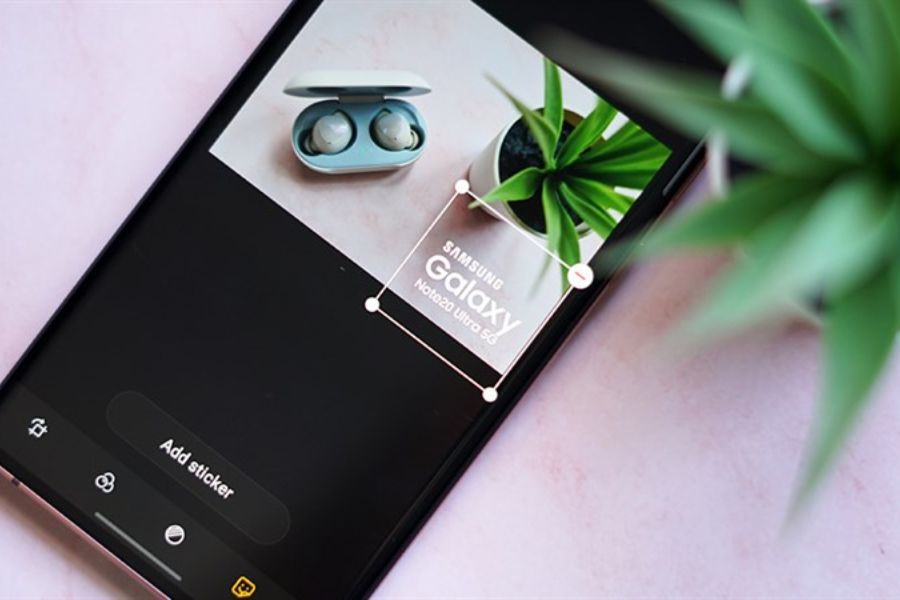
2. Criteria for Designing a Suitable Logo to Insert into Images
Not every logo used on a website or signage can be directly copied into an image. A logo specifically designed for image insertion needs to meet the following strict technical and aesthetic standards:
2.1 Minimalism and Streamlining
The image is where the main content (product, landscape, people) is displayed. The logo only serves as a "signature." Therefore, prioritize designs using text (Wordmark) or simple geometric icons. Avoid overly elaborate details because when scaled down and placed in the corner of the image, they will become blurry and distorted.
2.2 Transparent Background Format (PNG)
This is a crucial factor. You must export the logo in .png format with a transparent background. If the logo has a white or colored background, when inserted into an image it will look like a sticker pasted on top, severely detracting from the aesthetics.
2.3 Flexible color transformation capabilities
An image can have a light tone (white, pastel) or a dark tone (black, dark blue). Your logo needs at least two versions:
-
Lighter version (White/Silver): For inserting into dark areas of the image.
-
Dark version (Black/Dark Gray): For inserting into bright areas of the image.
2.4 Balanced proportions
The logo shouldn't be too square or too long. The ideal proportions are a moderately sized horizontal rectangle or a neat circle that can easily fit into the quarter corners of an image without taking up too much display space.
3. The Best Tools for Creating Logos to Insert into Photos Currently Available
Depending on your skills and equipment (computer or phone), here are some top tools, from free to professional, to get you started with your design:
3.1. Versatile design with Canva
Canva is currently the most popular drag-and-drop graphic design platform. Canva's strength lies in its tens of thousands of ready-made design templates for every industry, from fashion and food to real estate.
-
How to do it: Simply choose a logo design you like, change the brand name, and customize the colors and font.
-
Note: To export a PNG file with a transparent background, you need to use a Canva Pro account or use free online background removal tools.
3.2. Get creative faster with AI using Hatchful by Shopify
If you have absolutely no sense of aesthetics, Hatchful by Shopify is a lifesaver. Simply enter your brand name, choose your business field, and select your desired style (modern, classic, minimalist). The AI system will automatically generate hundreds of different logo designs. The biggest plus is that Hatchful allows you to download the entire brand identity package for free, including a transparent PNG logo file for inserting images.
3.3. Professional software: Photoshop & Illustrator
For designers or anyone wanting a unique, one-of-a-kind logo, Adobe software is the ultimate choice. Adobe Illustrator (AI) allows you to create vector logos – meaning you can enlarge the logo to the size of a building or shrink it to the size of a pea, and the logo will remain perfectly sharp and never pixelate when inserted into high-resolution images.
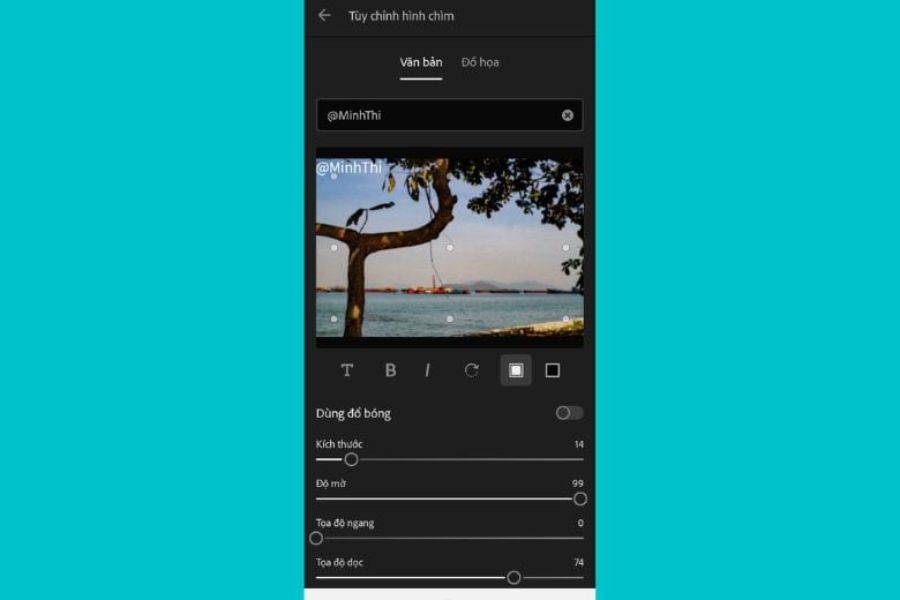
4. Step-by-Step Guide to Creating a Logo Using Canva and Removing the Transparent Background
To help you visualize this clearly, here's the actual process for creating a minimalist text logo using Canva:
-
Step 1: Access the Canva website and log in. In the search bar, type the keyword "Logo" and select the standard size (usually 500x500 pixels).
-
Step 2: In the left-hand menu column, select Text . Choose "Add a title" or browse through the unique available font combinations.
-
Step 3: Enter your brand name. For example: "An House - Decor". Choose a sans-serif font like Montserrat or Helvetica for a modern, easy-to-read look at scale.
-
Step 4: Add a small icon if needed. Go to Elements , search for "leaf," "house," or "camera" in line art style, and drag and place it above or next to the text.
-
Step 5: Proceed to export the file. Select Share -> Download . Choose the file format as PNG . If you are using Canva Pro, check the Transparent background box . If you are using the free version, download the file normally.
-
Step 6 (For the free version): Access websites that automatically remove backgrounds, such as remove.bg or adobe.com . Upload the logo image you just created; the system will automatically remove the white background in just 3 seconds and return a clean, transparent PNG file.
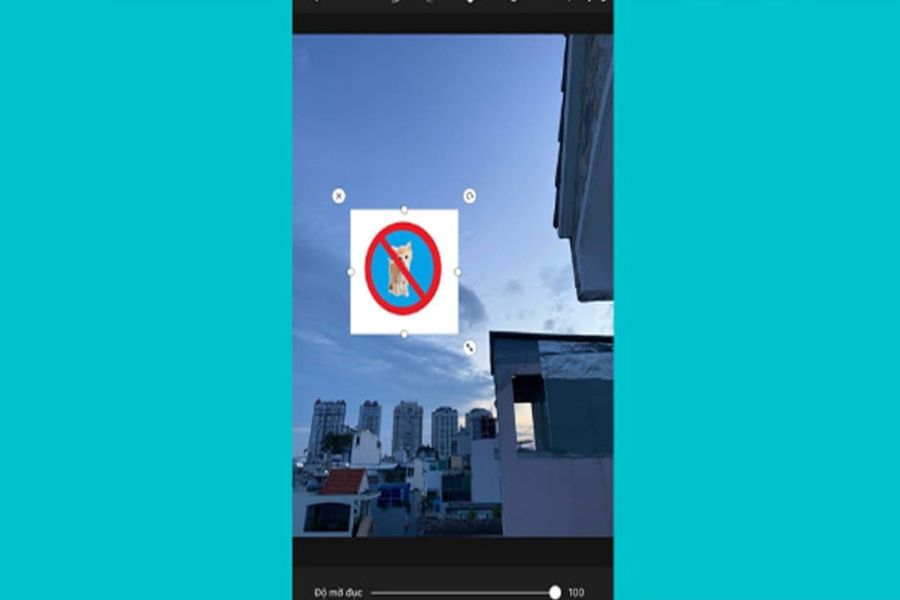
5. The Process of Inserting Logos into Photos Refinedly, Without Distorting the Image
After obtaining the transparent background PNG logo file, the next step is to insert it into the image in a way that both protects copyright and maintains the artistic quality of the image.
5.1 Placement Rules (Golden Location)
Typically, there are four corners of an image that are ideal places to position a logo: bottom right , bottom left , top right , and top left .
-
The bottom right corner is the most preferred location because it aligns with the user's eye reading direction from left to right and top to bottom. Placing the logo here acts as a subtle closing signature.
-
Avoid placing a logo directly in the center of an image unless it's a confidential document or you want to sell the original copyright, as placing it in the center will obscure the subject of the image.
5.2 Appropriate size ratio
The logo should only occupy 3% to 5% of the total image area. Don't be greedy and enlarge the logo with the thought that "customers will see it clearly." An oversized logo will stifle the artistic space, making the image look cheap and unpleasant for the viewer.
5.3 Utilizing Opacity/Transparency
This is a secret of professional photographers. When adding a logo to an image, you shouldn't set the visibility to 100%. Lower the opacity to around 30% - 50% . At this point, the logo will subtly blend into the image (watermark effect), just enough for people to recognize the brand without distracting from the main subject.
6. Instructions on How to Insert Logos in Bulk on Computers and Phones
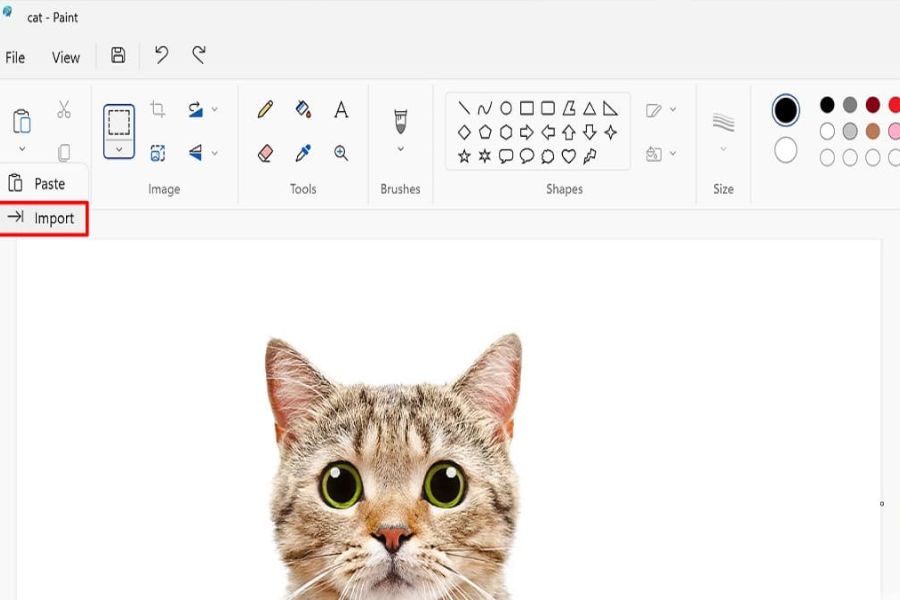
If you have hundreds of product photos to watermark every day, manually inserting each one is a chore. Consider these automation methods:
6.1. On mobile phones (iOS & Android)
Use the eZy Watermark Photo app :
-
Open the eZy Watermark app and select Batch Images .
-
Upload the photos you want to insert from your phone's photo library.
-
Select the Library option to upload your transparent PNG logo file.
-
Adjust the size and position of the logo on the first image. The application will automatically apply that exact position and size to all the remaining images in the list.
-
Click export file to save all the watermarked images to your computer.
6.2. On computers (Windows & Mac)
Use the online tool Watermarkly :
-
Visit the website watermarkly.com .
-
Drag and drop your entire folder of photos into your browser.
-
Click on Add Logo and upload your logo file.
-
Adjust the position, size, and opacity as desired.
-
Click on Watermark Images . The system will process the images at lightning speed and allow you to download a compressed file (.zip) containing all the neatly watermarked images.
7. Common Mistakes to Avoid When Adding Logos to Images
To ensure the best communication results, please be aware of and avoid the following basic mistakes:
-
Using a logo with colors that clash too much with the image: For example, your photo has a vintage, classic style with warm brown tones, but you insert a bright neon green logo. This completely ruins the atmosphere of the photo. Change the logo to black or white in this case.
-
Place the logo over important details: Don't let the logo obscure the model's face, hide the best angles of the product, or block important information in the photo.
-
Inconsistent placement: In the same set of photos posted to your fan page (for example, an album of 10 photos), you might place your logo in the top corner of one photo, the bottom corner of another, and on the left side of yet another. This disorganization makes your brand look very unprofessional. Maintain a consistent placement for the entire photo set.
-
Forgetting to save the original logo file: Always store the original, high-quality PNG logo file on cloud platforms like Google Drive or iCloud. Many people have a habit of downloading logos from Facebook to insert, but after several compression cycles by Facebook's algorithms, the logo will become blurry and pixelated.
8. Conclusion
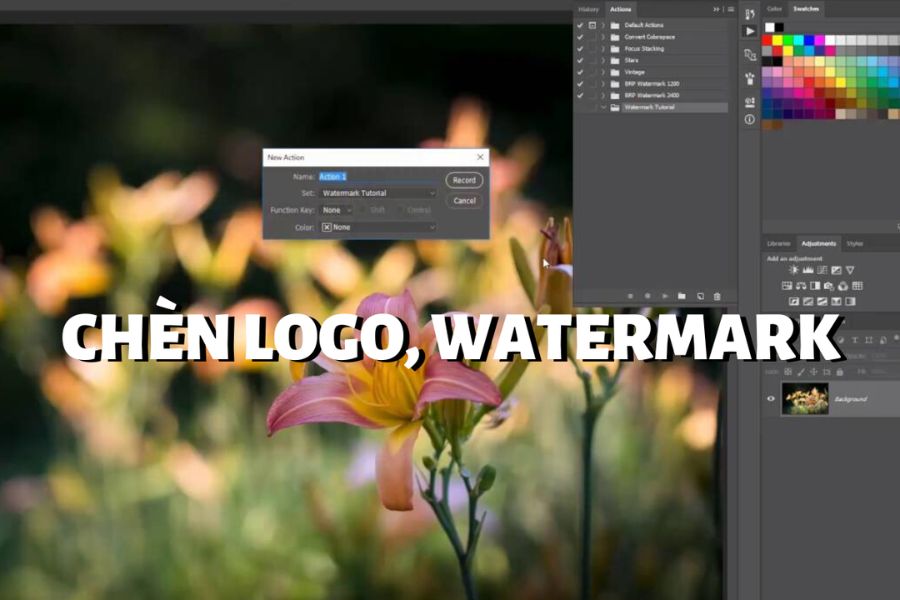
Creating a logo to insert into images isn't just about protecting your digital assets from copyright infringement; it's the first step in building a professional and consistent brand image in the eyes of your customers. With the support of AI tools and modern applications like Canva, Hatchful, or eZy Watermark, this has become easier than ever, even if you're not a professional graphic designer. Start by designing a minimalist logo, exporting it as a transparent file, and cultivate the habit of watermarking every image before uploading it online. Good luck and establish a strong brand presence in the digital market!





















VIP Products








Best Selling Products
Upgrade genuine Capture One account
120 USD
Plugin Retouch4me
69 USD
Adobe Photoshop Copyright - Full App
120 USD
Autodesk All App Account Copyright
120 USD
Upgrade Genuine Office 365
49 USD
Upgrade Duolingo Super
29 USD
Genuine Cheap Canva Pro
39 USD
Adobe Premiere Pro Account
99 USD
Windows 10 & 11 Pro Key
36 USD
Freepik Premium Account
59 USD
Capcut Pro 1 Year
39 USD
MidJourney Account
29 USD
Genuine Adobe Illustrator account
99 USD
Copyright Adobe Lightroom Account
59 USD
ChatGPT Plus Account (GPT-4)
16 USD