Best Selling Products
How to create a vivid galaxy photo effect in Photoshop
Nội dung
- 1.How to create star fields
- 2. How to Turn a Texture into a Background
- 3. How to Create a Vibrant Color Layer
- 4. How to Create a Live Galaxy Effect in Photoshop
- 5. How to Create Bright Eyes in Photoshop
- 6. How to Add Depth to Detail in Photoshop
- 7. How to Add Light, Shadow, and Glow Effects in Photoshop
The vivid galaxy photo effect will make your work more impressive, unique and attractive. In this article, SaDesign will share with readers how to create a vivid galaxy photo effect in Photoshop in the most detailed and complete way.
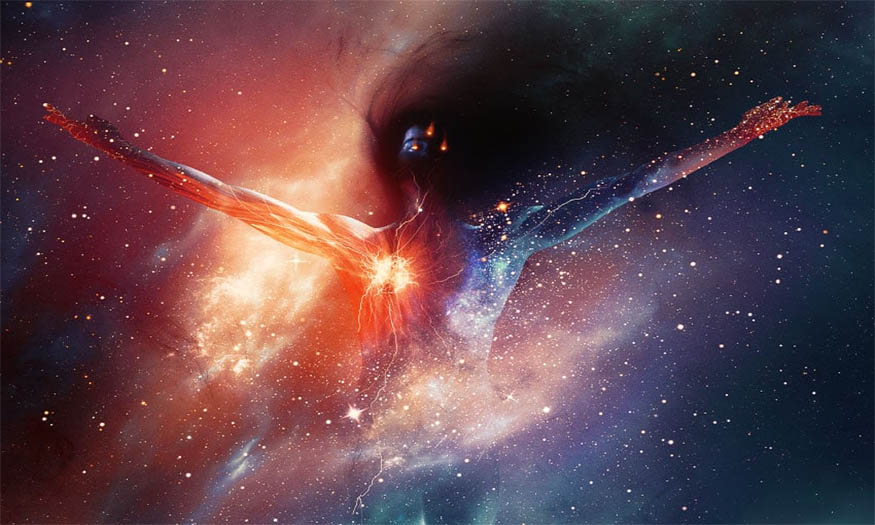
1.How to create star fields
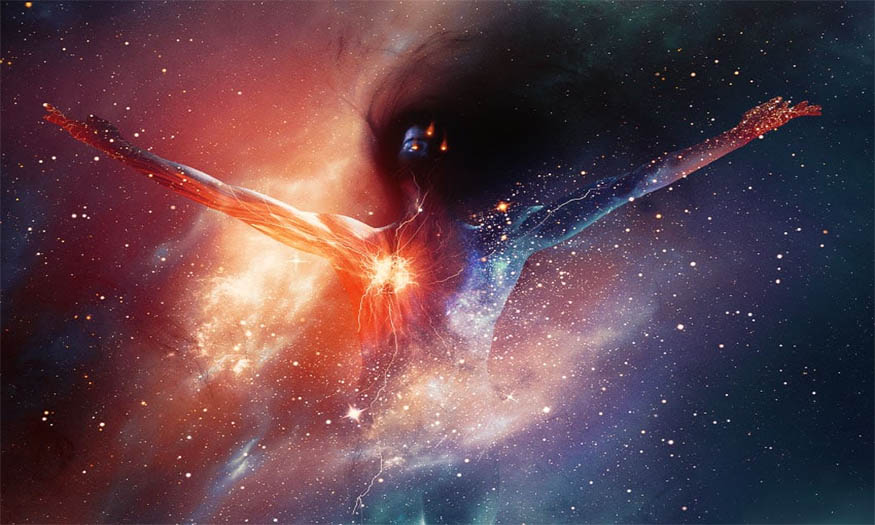
We will start creating a vivid galaxy photo effect in Photoshop by creating star fields. For the background, SaDesign chooses a pre-designed nebula-like texture that can be used for free at any time. However, you can still create star fields with the following steps:
Step 1:
Create a new portrait canvas
Add a layer filled with a dark blue color #0e101f. Then continue to create a new layer filled with black and name it Screen.
Step 2
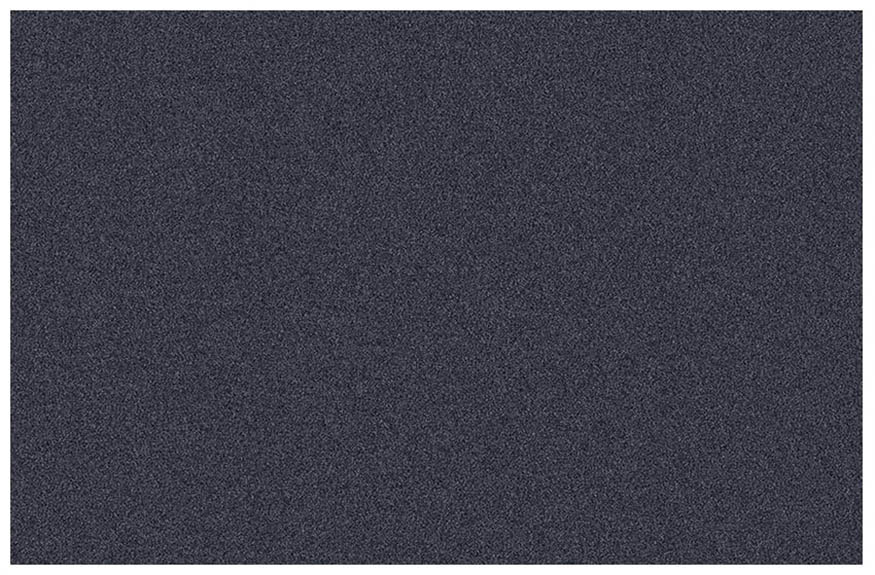
Select Filter > Noise > Add Noise.
Noise settings as instructed:
Amount: 50%
Distribution: Gaussian
Monochromatic: Checked
Step 3
Blur out the noise using Filter => Blur => Gaussian Blur.
Gaussian blur settings:
Radius: 0.8 px
Step 4
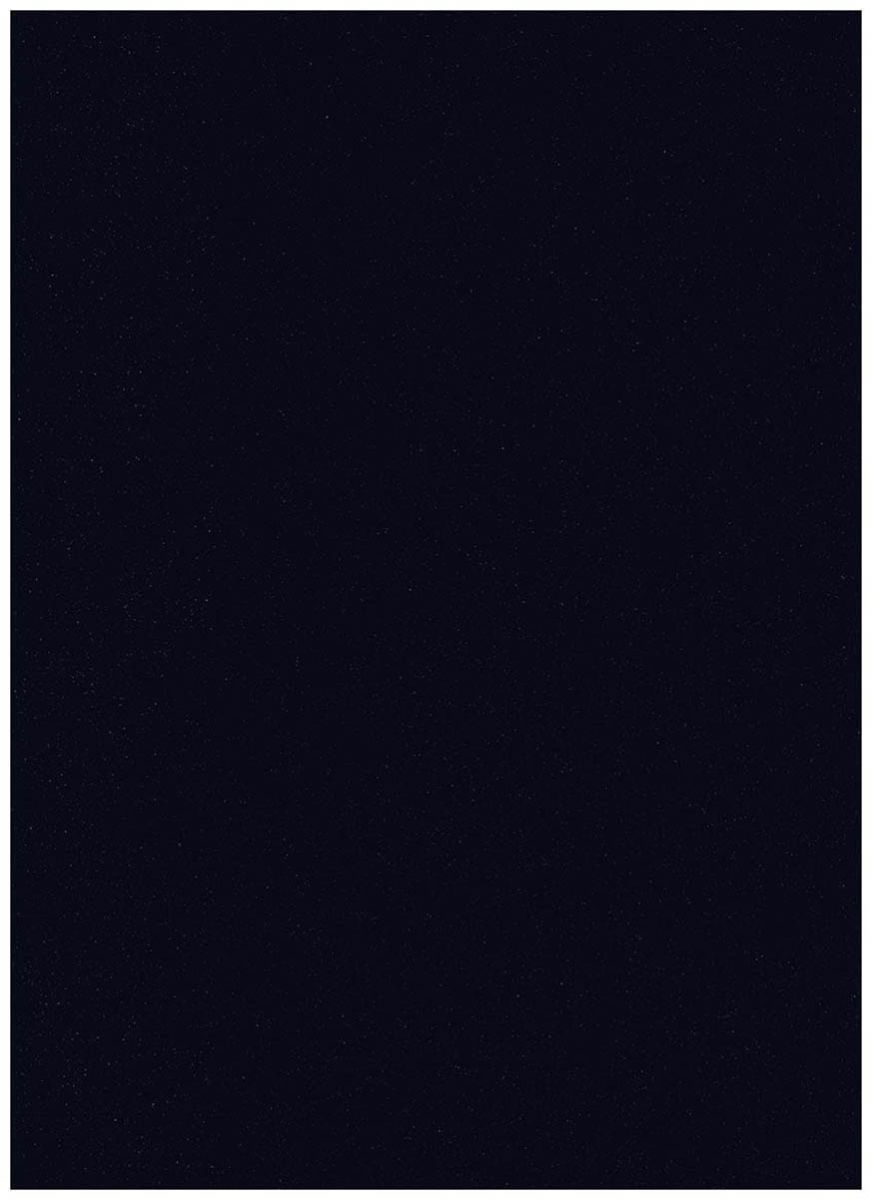
Open Image => Adjustments => Levels and slide the three toggles around until you get the desired result. SaDesign selected the settings:
Levels settings:
Input Levels: 110, 2, and 197
You can also further adjust the stars using Curves.
Step 5
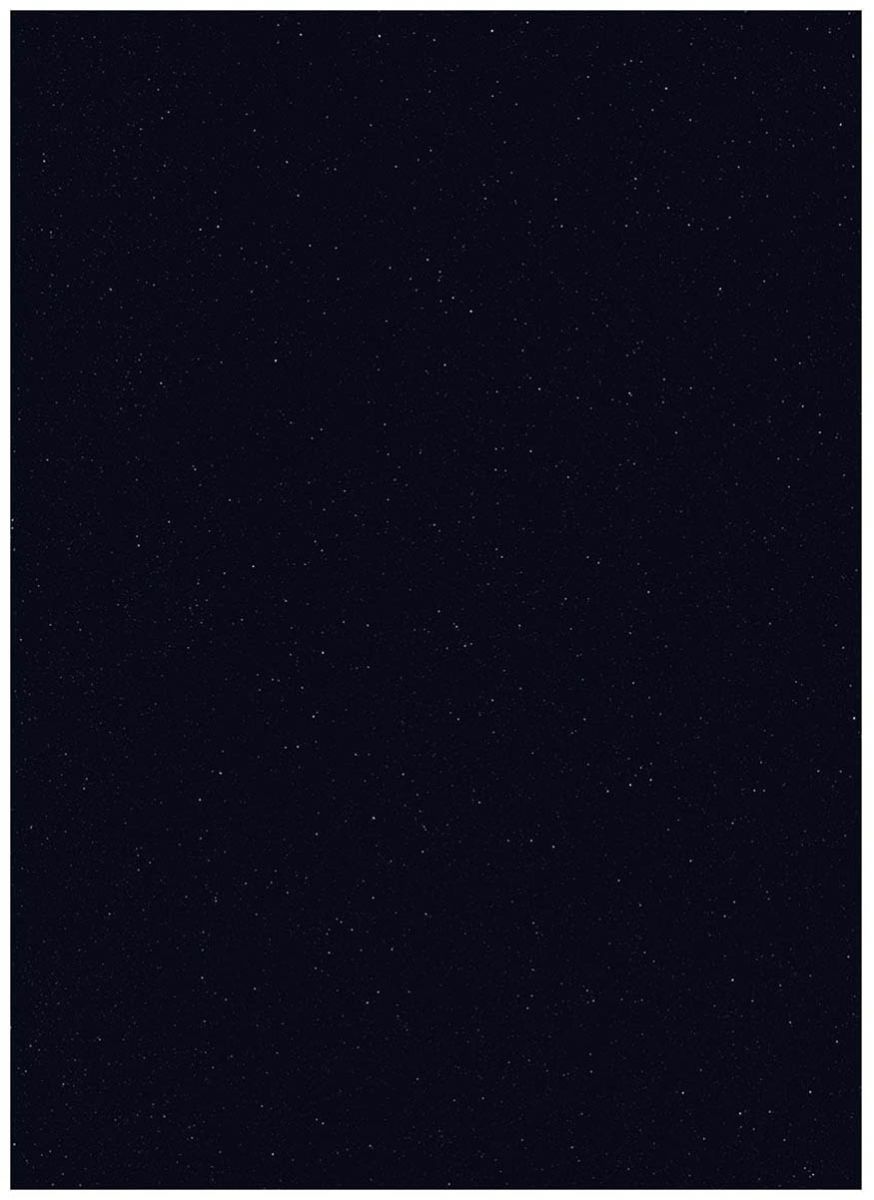
If you want to create larger stars, you can paint them in by hand using a hard round brush or you can Duplicate the current star layer and enlarge the duplicate layer.
2. How to Turn a Texture into a Background
Next, we’ll add a space texture. Here are some pre-drawn textures you can choose from.
Step 1:
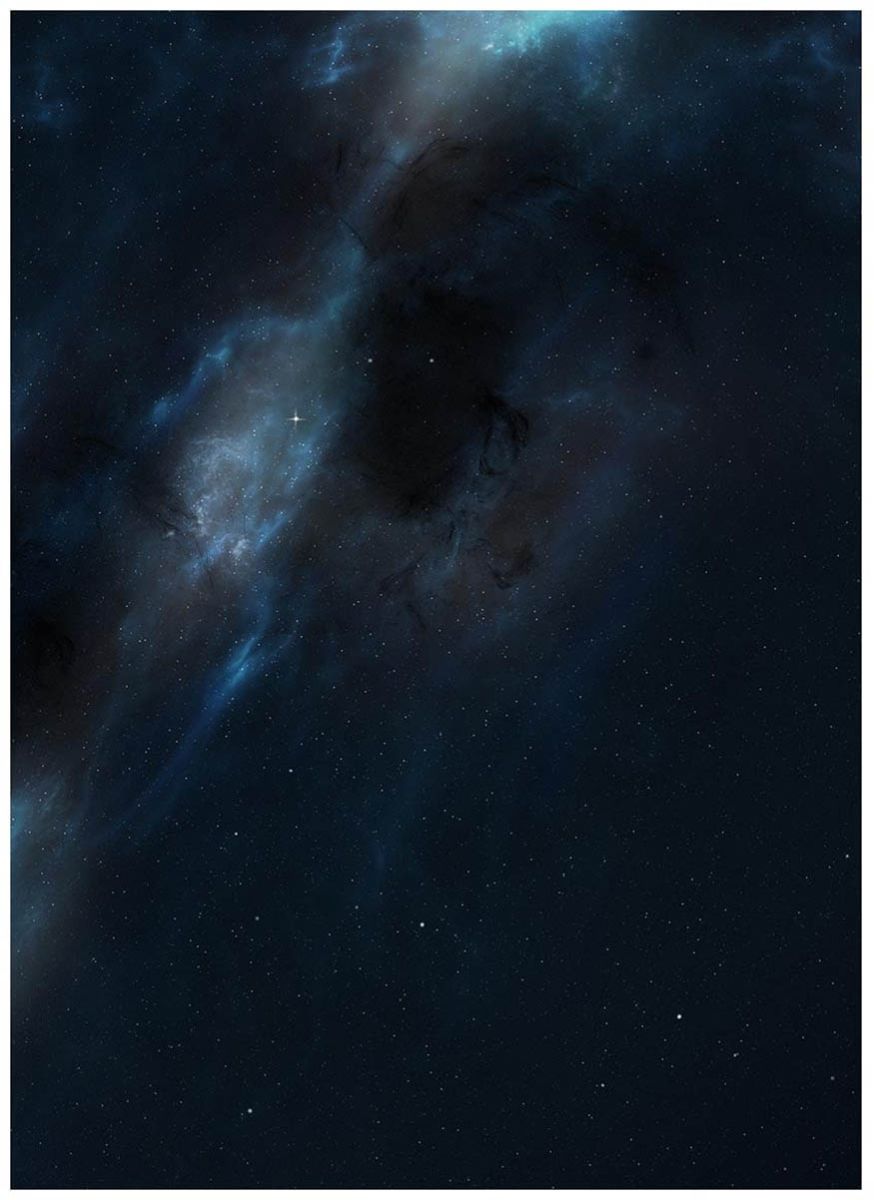
Download and place the Space Texture onto your canvas.
Step 2
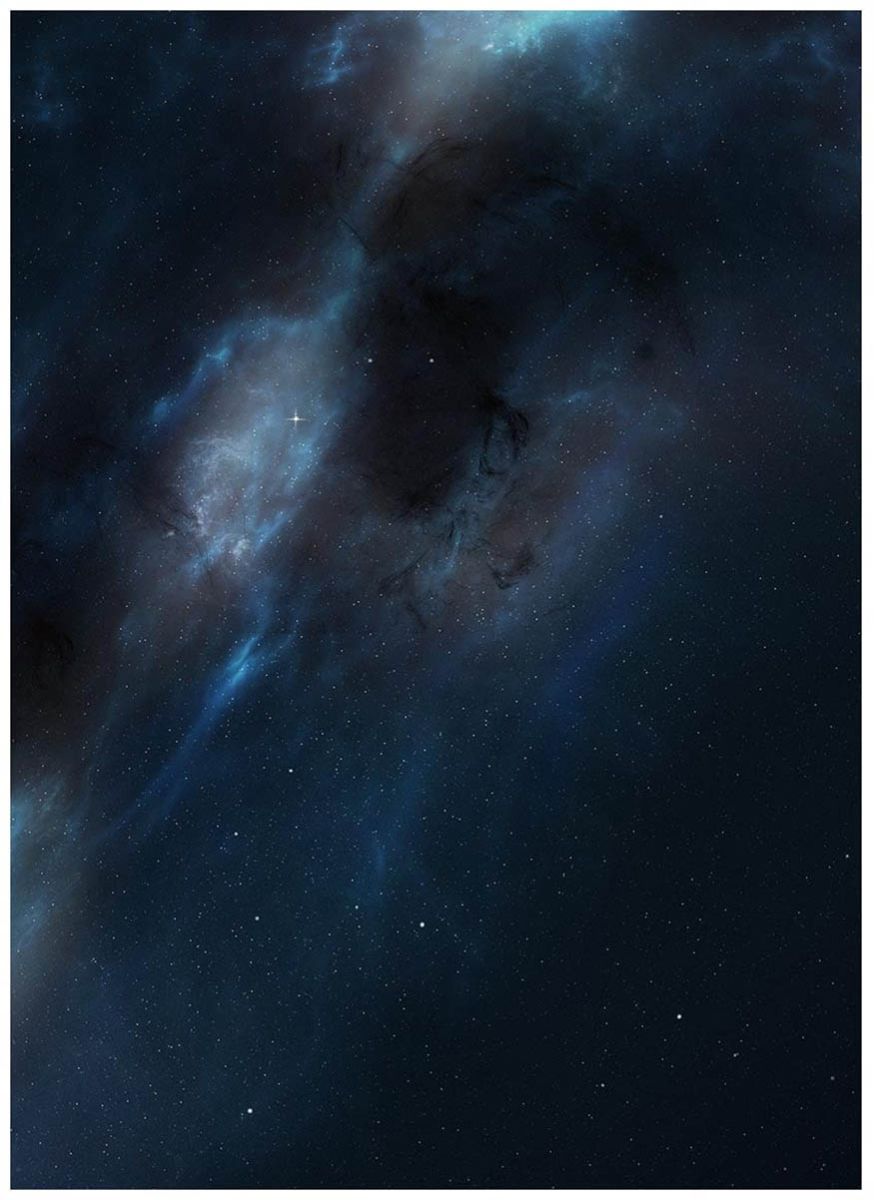
Create a new layer above the space texture, set to Screen.
Using a large, soft round brush, lightly paint red #563031 and purple #4e3159 all over the image, focusing on the lighter areas of the space background.
Create another new layer, set to Overlay, and repeat the last step but with white.
Step 3
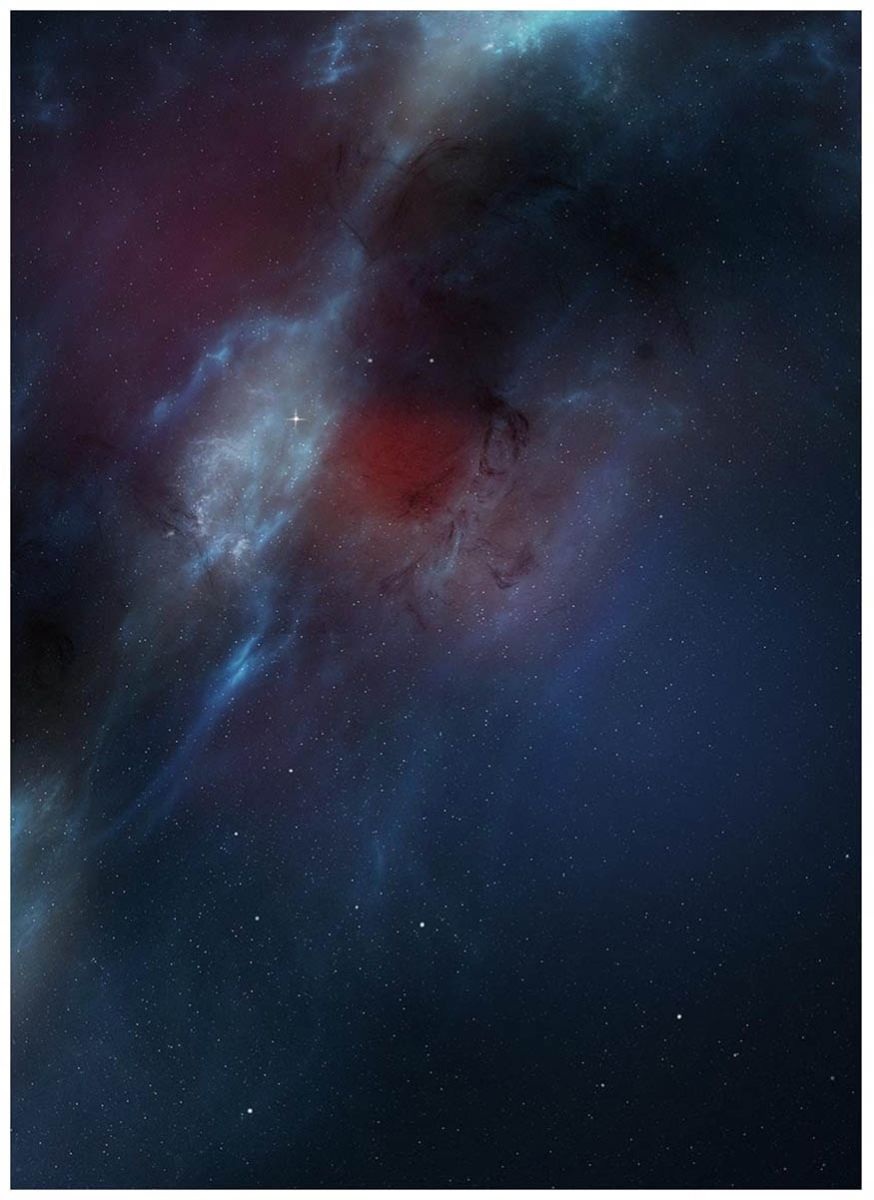
On several new layers set to a mixture of Screen and Color Dodge, paint purple, orange, and red spots across the space background. Use a large, soft, round brush with a very low flow rate.
Adjust the opacity of the different layers as needed.
We've only worked with 3 layers, but feel free to add as many colors as you like. Remember, you can always go back and adjust these layers later.
Step 4
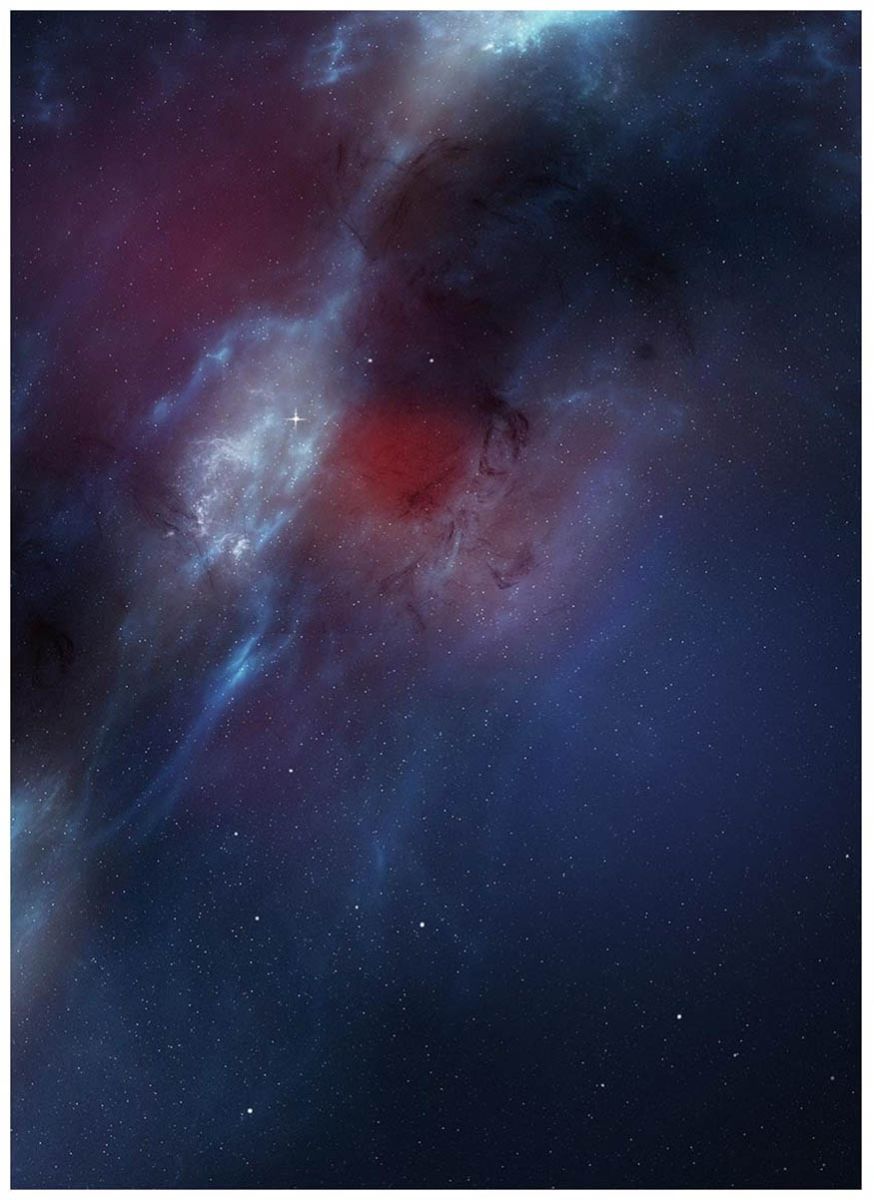
Finish the background with the Color Balance, Brightness/Contrast, and Curves adjustment layers.
Color Balance Settings
Red: +20
Green: +8
Blue: +18
Brightness/Contrast Settings
Brightness: 58
Contrast: 39
Blend If:
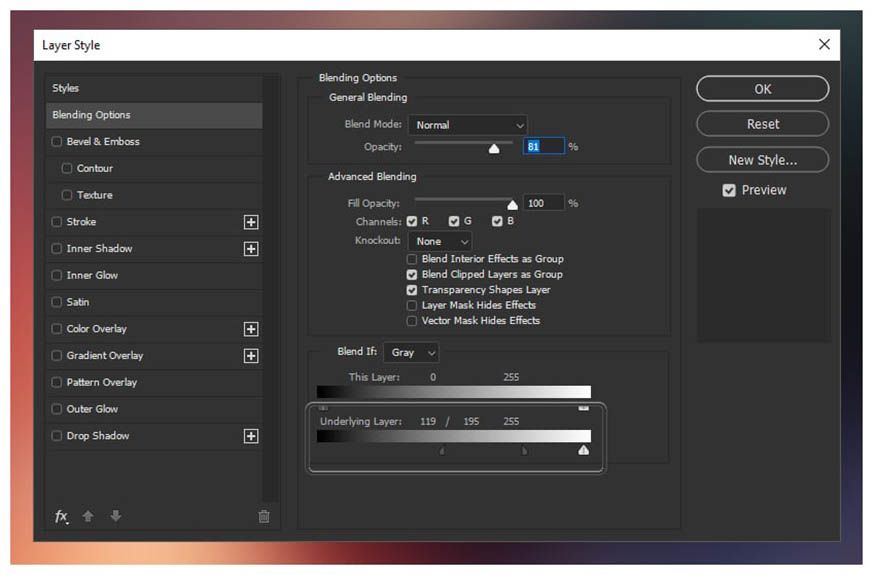
Double-click on a layer to access the Blend If settings. Hold down the Alt key to separate and move the transformations independently.
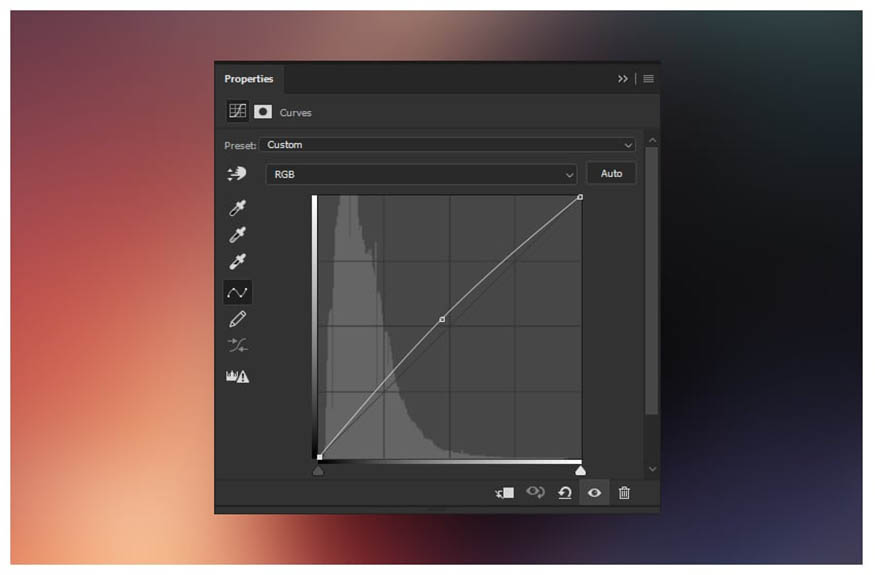
Setting Up the Curve
Group them all, name the group "Background".
3. How to Create a Vibrant Color Layer
Step 1
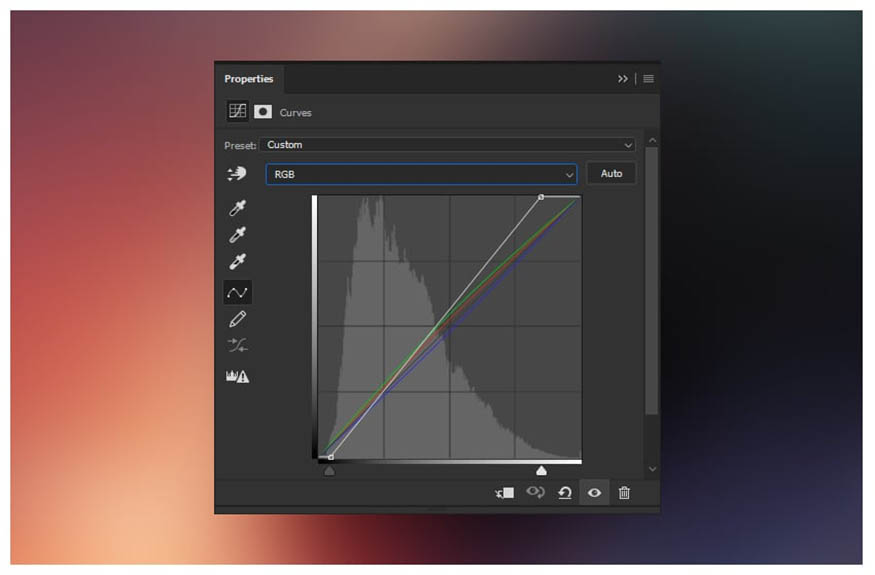
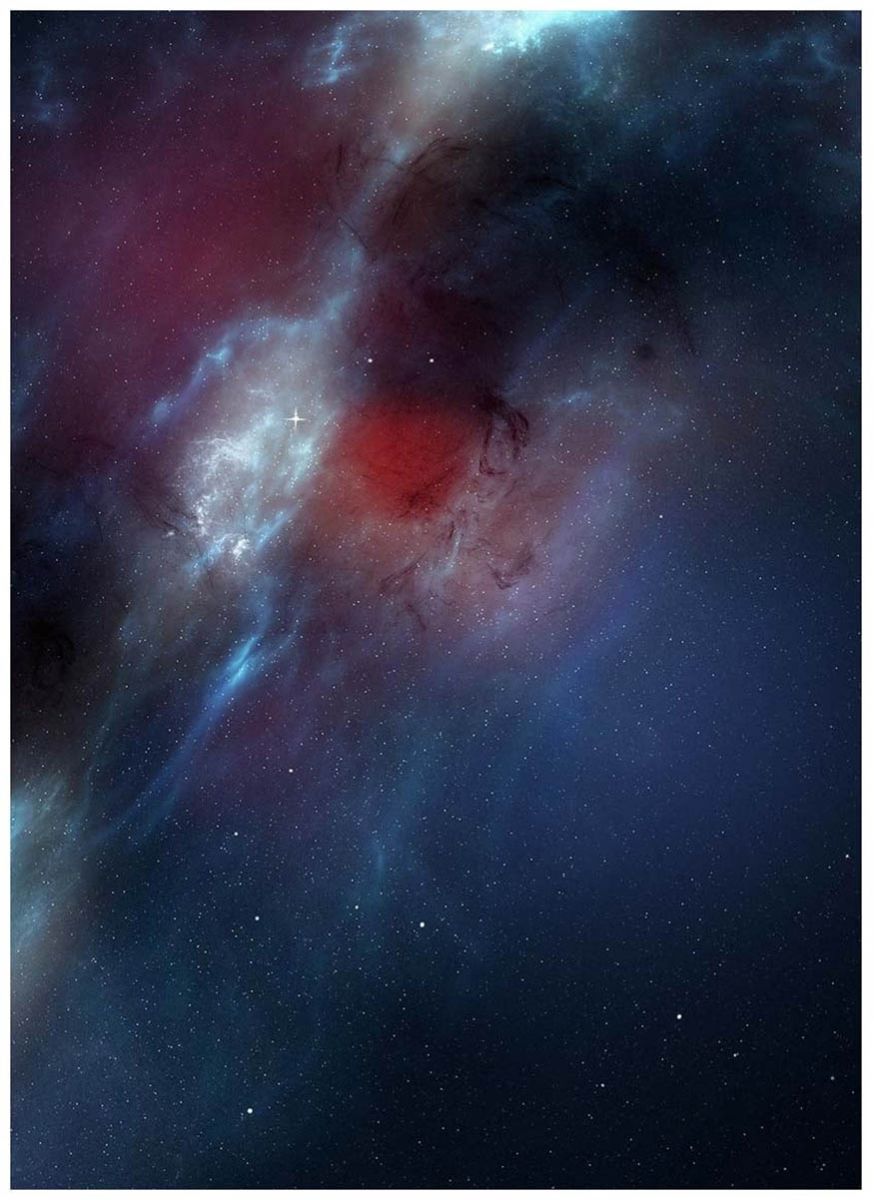
Create a Curves adjustment layer. Increase both the Red, Green, and Blue curves.
Curves settings
Opacity: 80%
Step 2
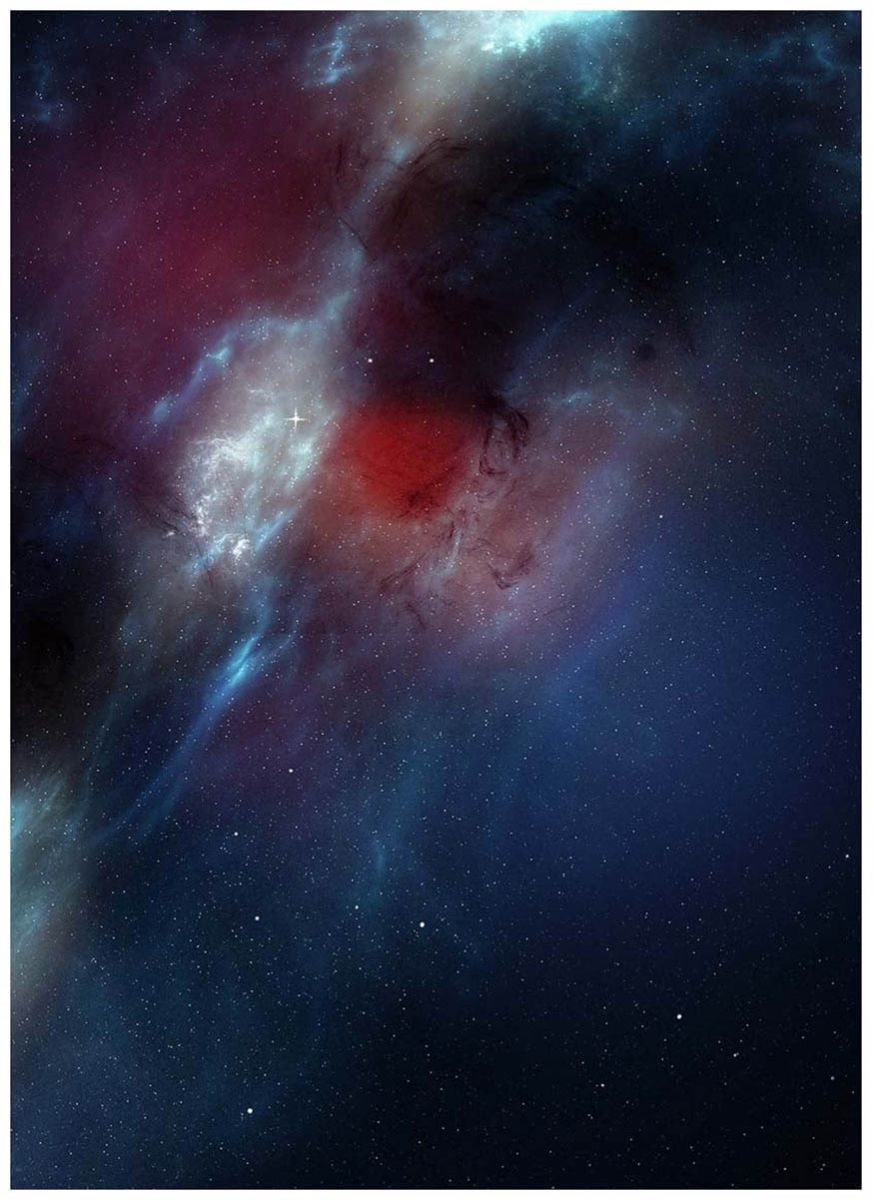
Create a Color Lookup adjustment layer.
Color Lookup settings
3DLUT: Warm and Crispy
Opacity: 29%
Step 3
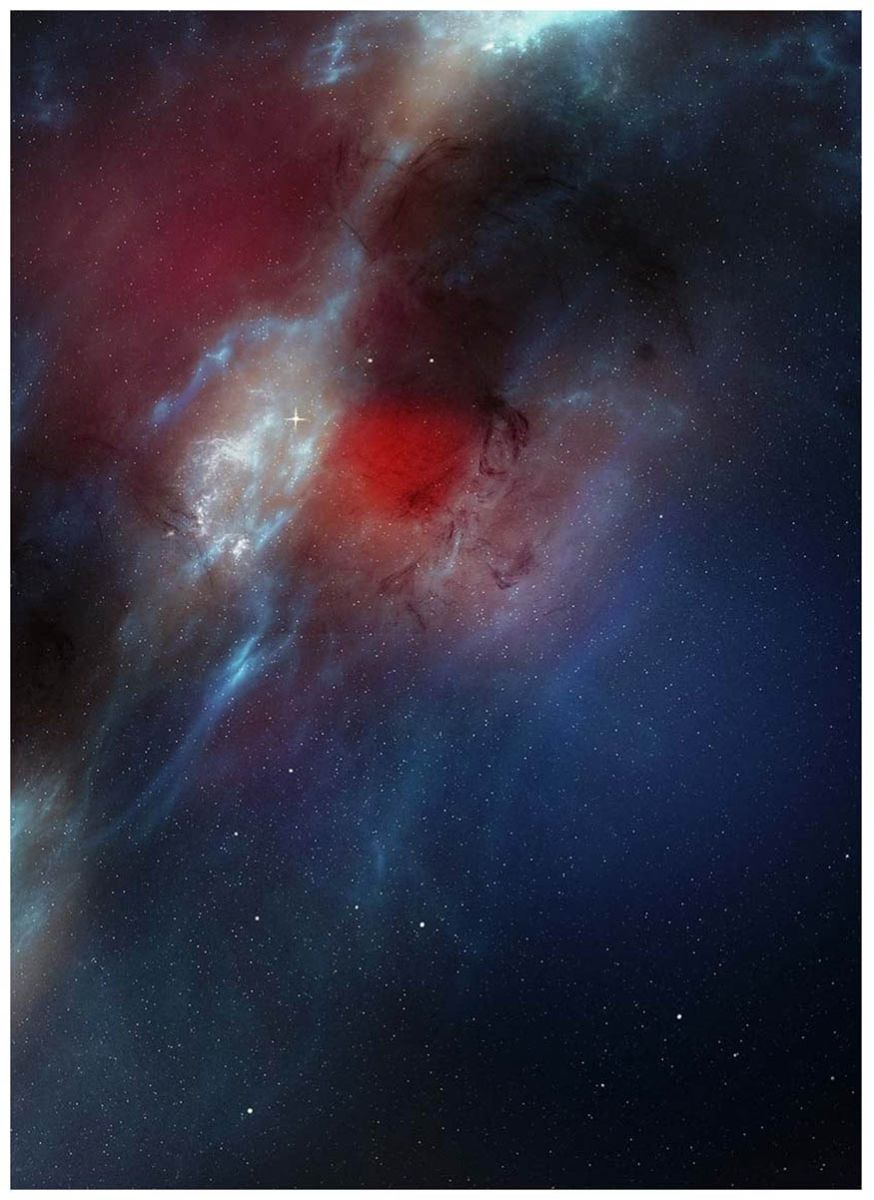
Create a second Color Lookup layer.
Color Lookup settings
3DLUT: Autumn Colors
Layer Mask: Mask in the lower right corner.
Step 4
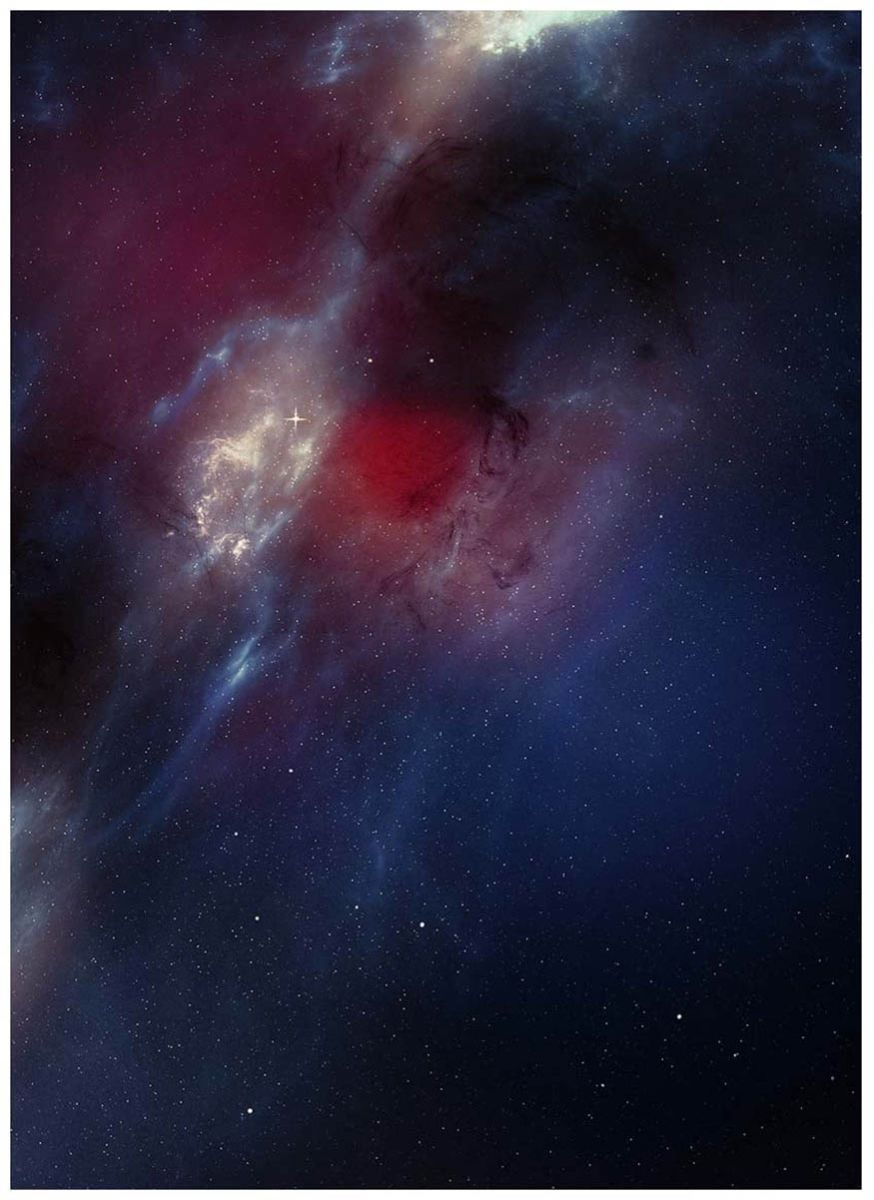
Create a third Color Lookup layer
Color Lookup settings
3DLUT: Late Sunset
Opacity: 41%
Step 5
Create a Selective Color adjustment layer. Although you can adjust multiple colors using the same Selective Color layer, SaDesign prefers to dedicate a new layer to each color for easier control.
Selective Color Settings
Color: Blue
Cyan: +40%
Magenta: -2%
Yellow: +18%
Blacks +27%
Step 6
Create a second Selective Color adjustment layer.
Selective Color Settings
Color: Red
Cyan: -100%
Magenta: +1%
Yellow: +41%
Step 7
Create a third Selective Color adjustment layer.
Selective Color Settings
Color: Magenta
Blacks: +100%
Step 8
Create a fourth Selective Color adjustment layer.
Selective Color Settings
Color: Blue
Magenta: +100%
Magenta: -100%
Yellow: +100%
Blacks: +50%
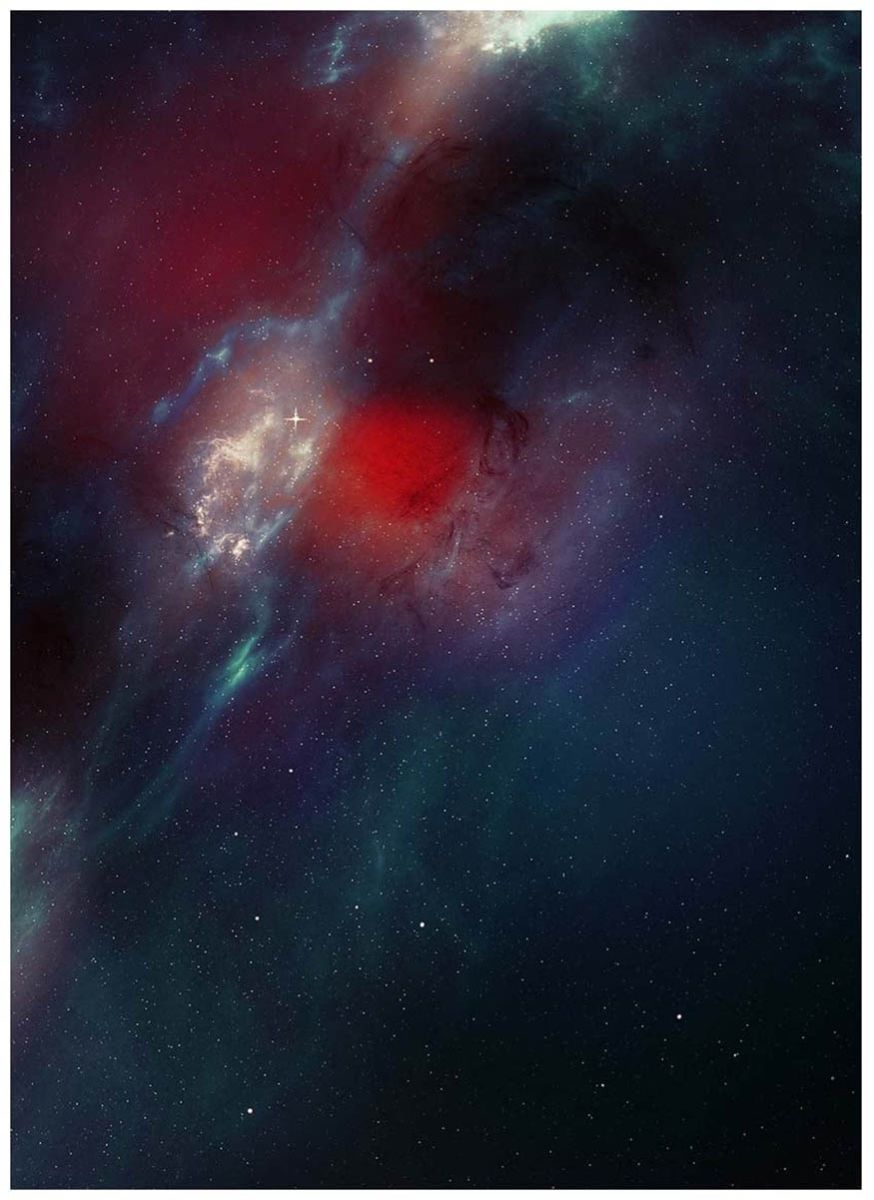
Group all the layers into a group marked "CC" or "Color Correction" and lock the group.
4. How to Create a Live Galaxy Effect in Photoshop
Step 1
Download, place and extract our model using your preferred method. We chose the Pen Tool.
Step 2
Create and clip a Gradient Map, Brightness/Contrast and Hue/Saturation adjustment layer onto our model.
Gradient Map Settings
Black to White
Brightness/Contrast Settings
Brightness: -116
Contrast: 100
Hue/Saturation Settings
Color: Checked
Hue: 230
Saturation: 44

Step 3
Group the model and its layers, name the group "Face" because this is just the subject's face.
Hide the "Face" group for now.
Step 4
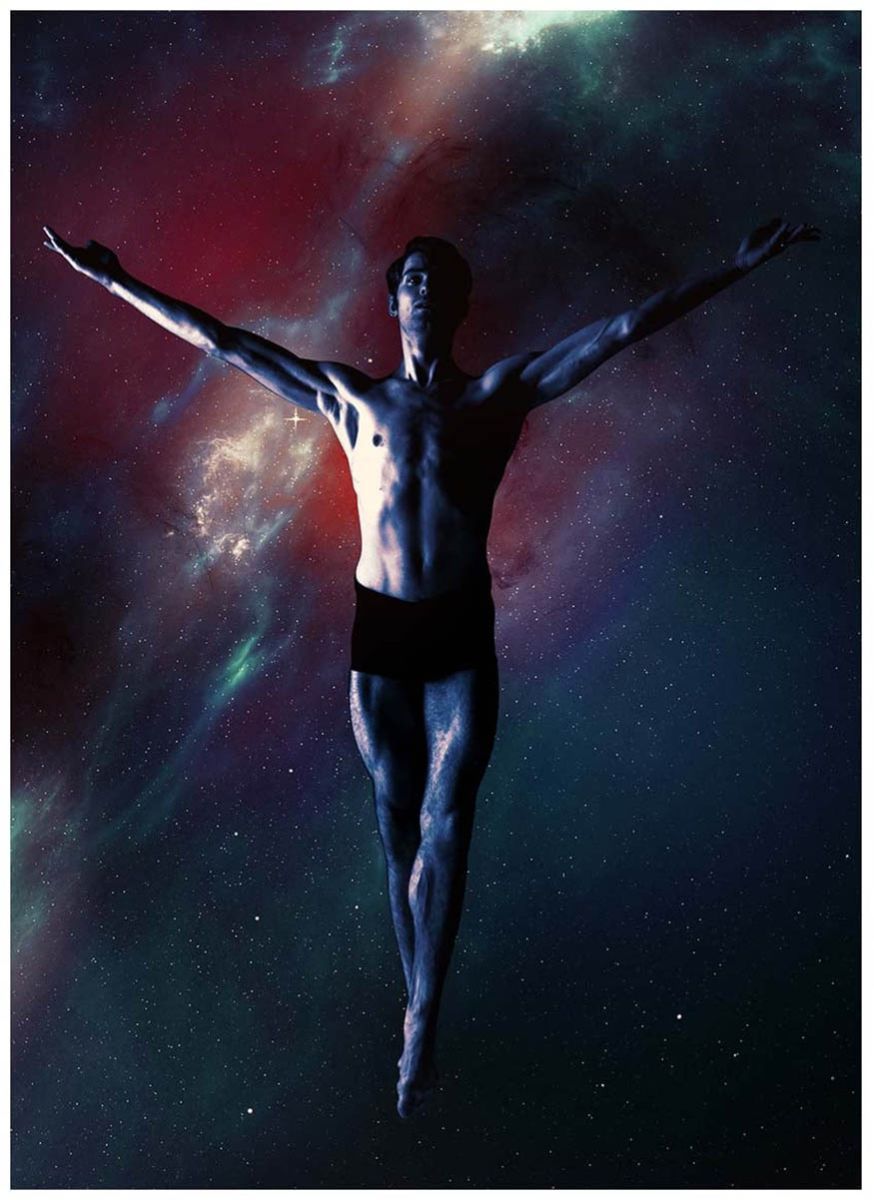
Duplicate the "Model" layer, move it outside the "Face" group.
Right-click > Apply Layer Mask if you have one.
Rename the layer "Shadow Body", set the opacity to 60%.
Fill the layer with black by going to Image > Adjustments > Hue/Saturation
Set the hue/saturation
Lightness: -100
Step 5
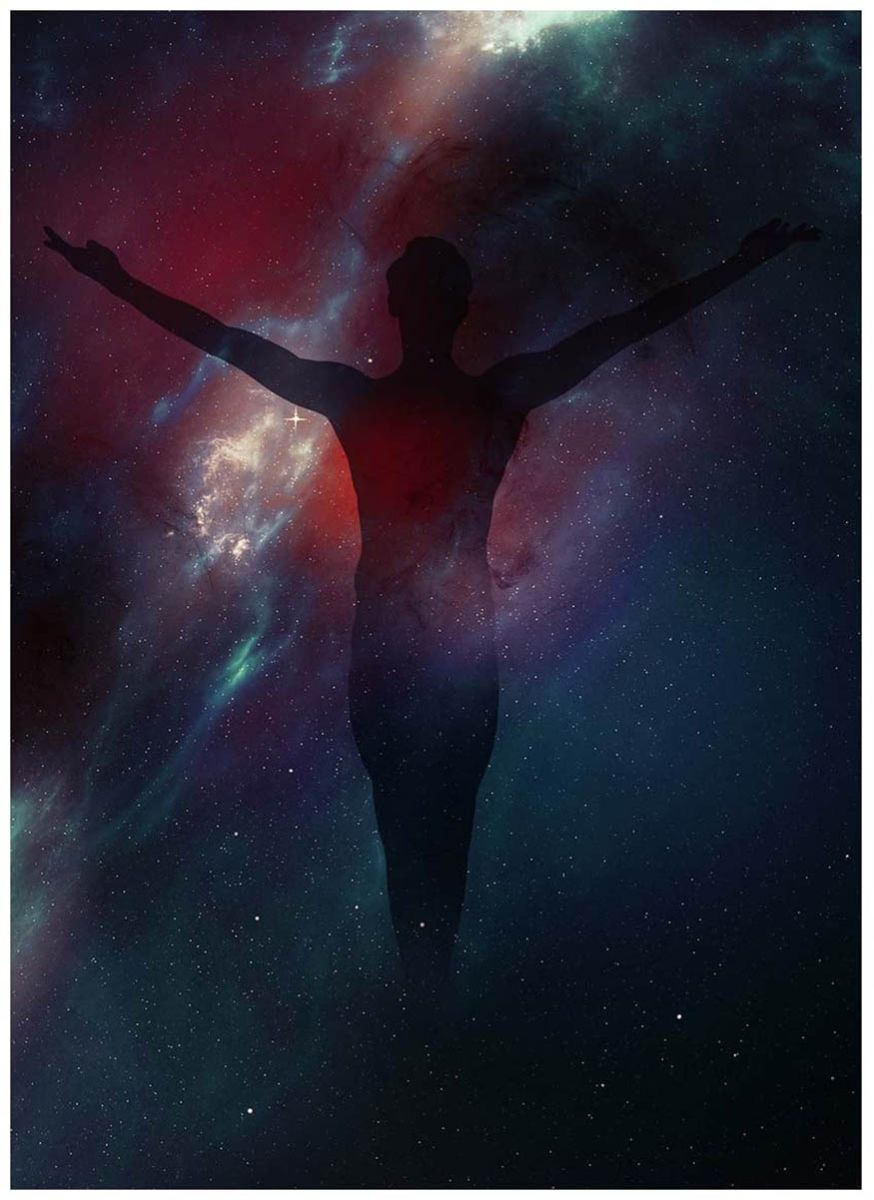
Add a Layer Mask to "Shadow Body" and cover the legs and mid-body. You can also go back and edit later.
Step 6
Turn the "Face" group back on, then add a layer mask to it and fill it with black.
Step 7
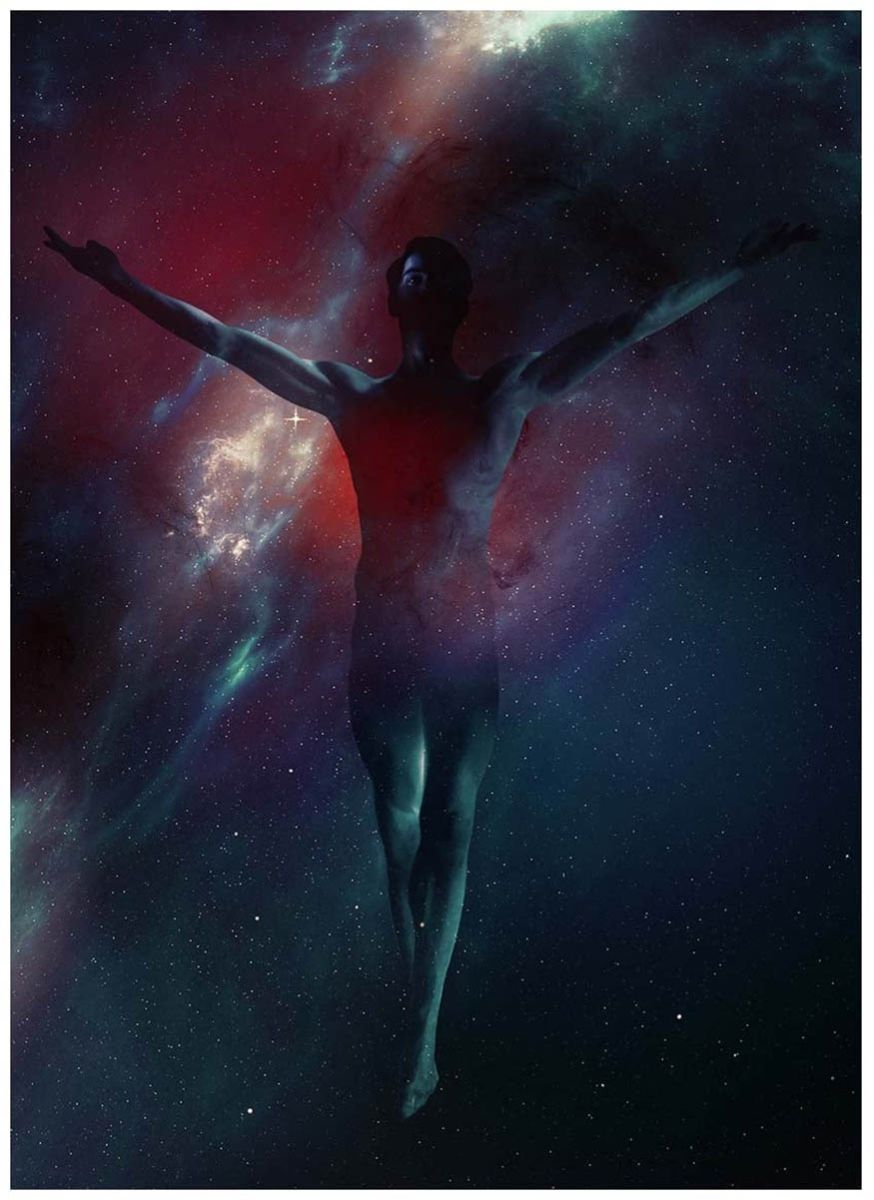
Duplicate the "Face" group, placing the copy above the original.
Rename the duplicated group to "Light" and add a Layer Mask.
Change the model inside the "Light" group to Screen.
Invert the gradient map so it goes from white to black.
Use a soft round brush to mask out the shorts, hair, hands, and left side of the model's body.
Step 8
Create a new Group above your previous groups, name it "Textures".
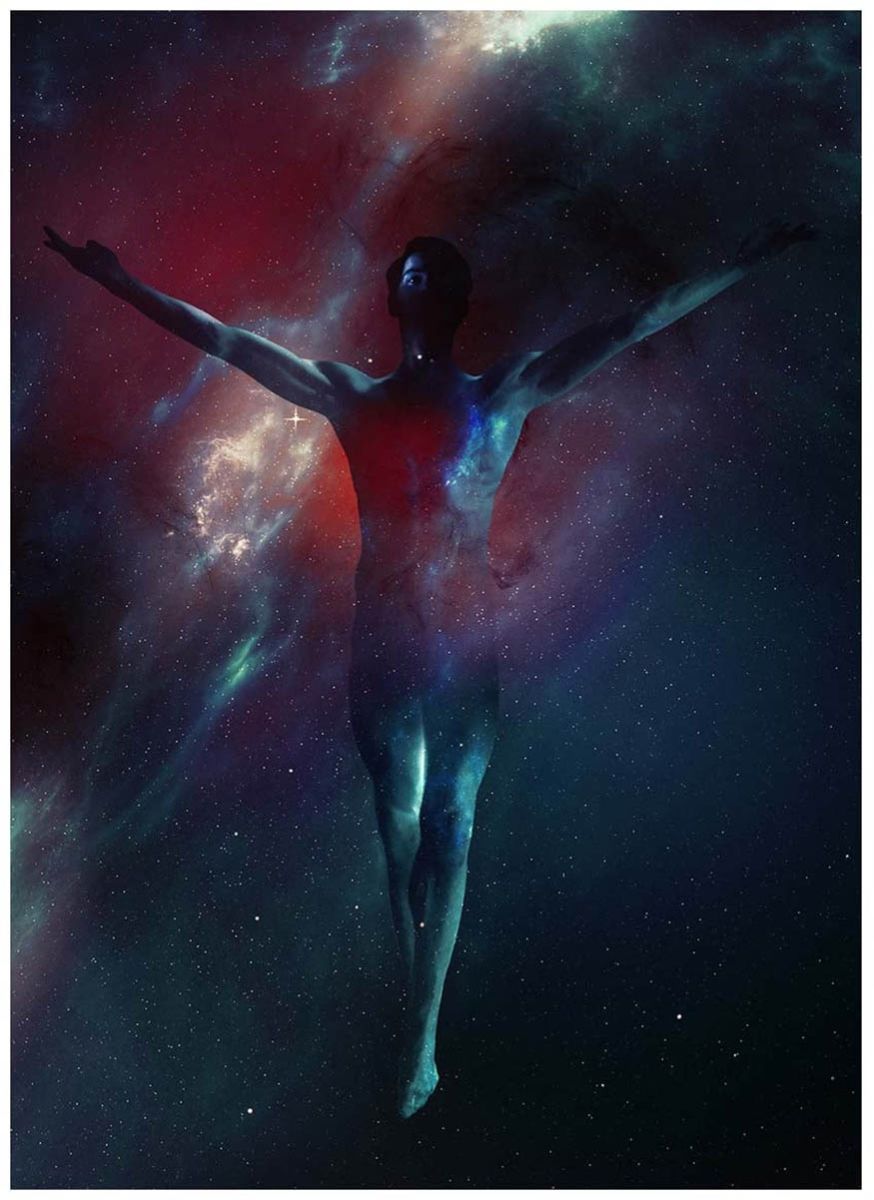
Create a selection in the shape of the model by going to the "Shadow Body" layer, holding down the Ctrl key, and clicking on the layer icon.
Once you have selected it, go back to the "Textures" group and add a layer mask. The mask will take the shape of the model. Now, any layers you place in this group will also be masked.
Step 9
Take a copy of the Space Texture and place it in the group, set to Color Dodge. Resize and shape it until you are happy with the results. heart.
Step 10
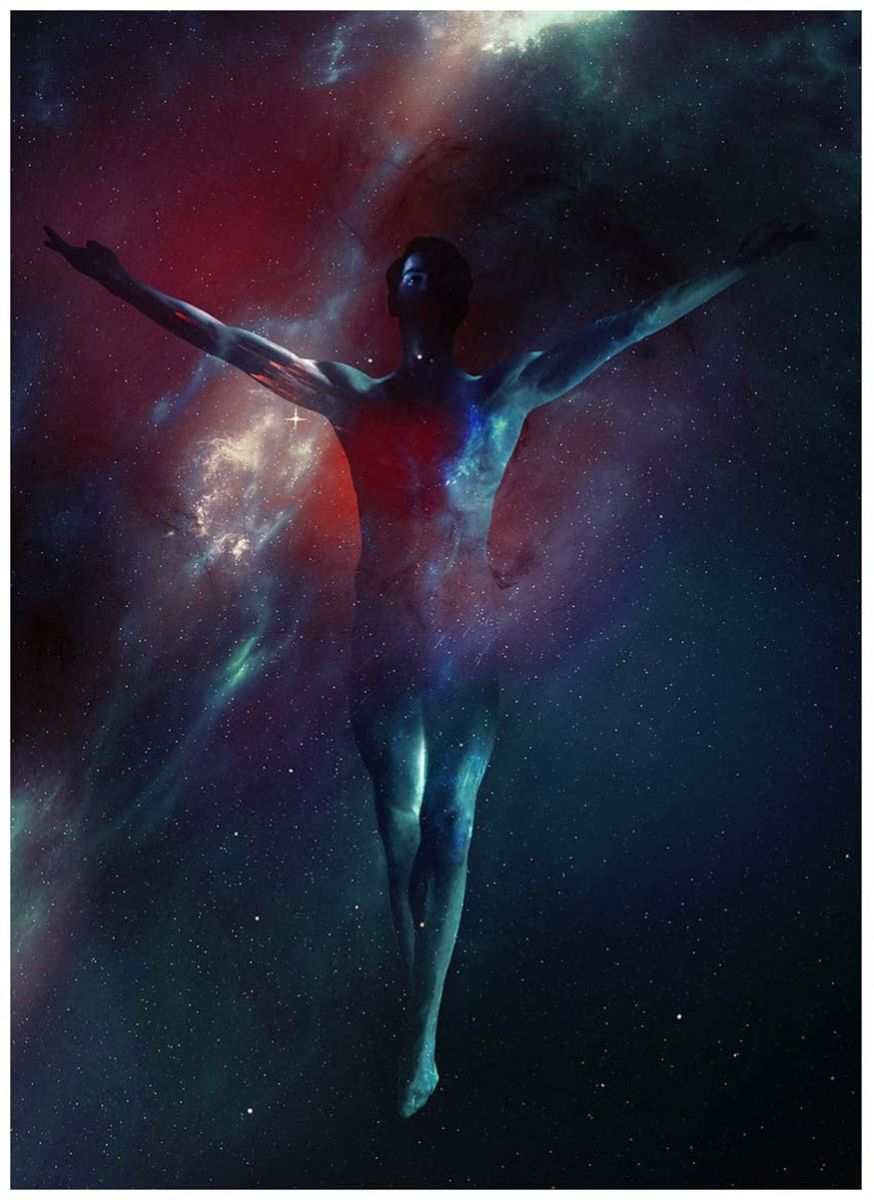
Download the Nebula - 30 Abstract Design Pack and place the "27" texture in the "Textures" group, above the previous texture.
Set the layer to Color Dodge.
Adjust the Brightness/Contrast and Hue/Saturation.
Brightness/Contrast Settings
Brightness: -118
Contrast: 100
Hue Saturation
Saturation: -47
Also, mask out any areas that you find too bright or messy
Step 11
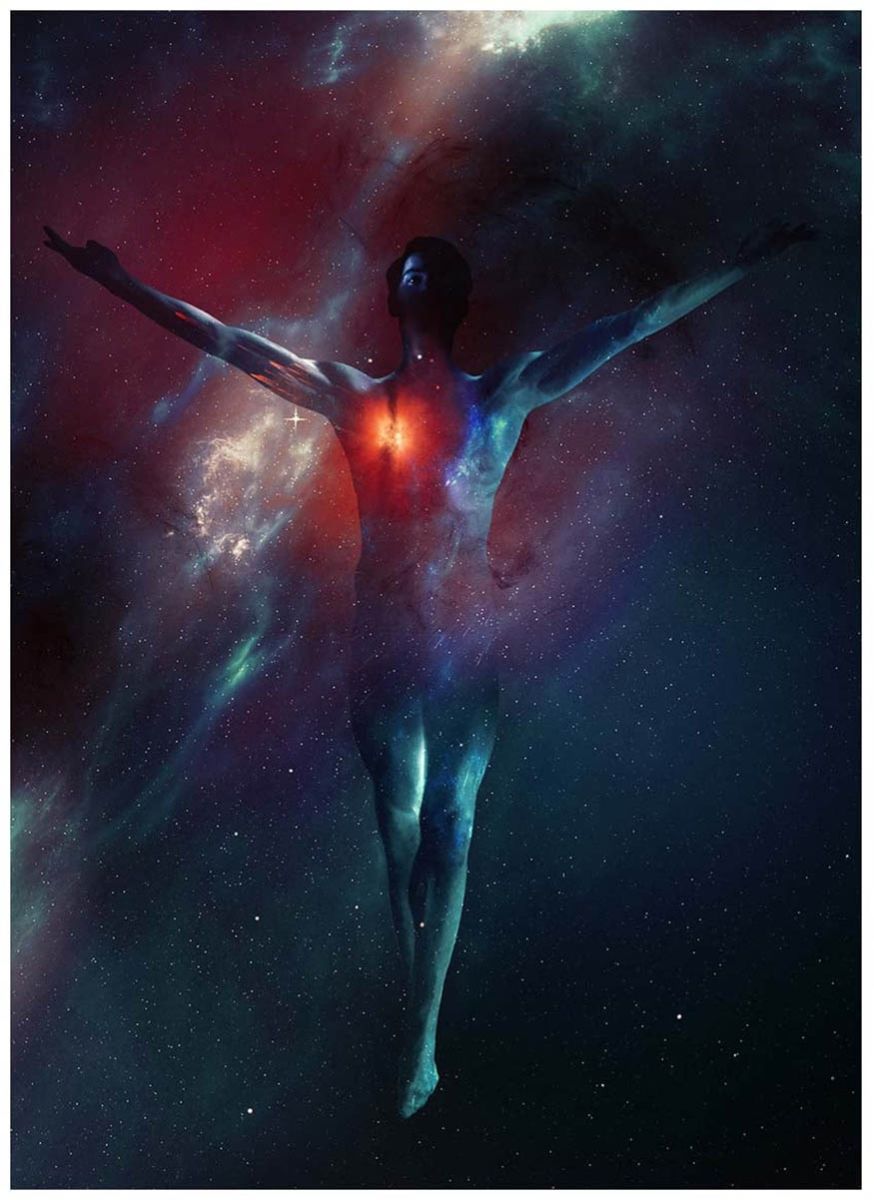
Repeat the above step with the glowing stars in outer space texture, with the texture set to Screen.
Place, mask, and adjust as desired. Here are my settings for reference:
Brightness/Contrast Settings
Brightness: -150
Contrast: 100
Hue Saturation
Hue: -33
Saturation: -46
Step 12
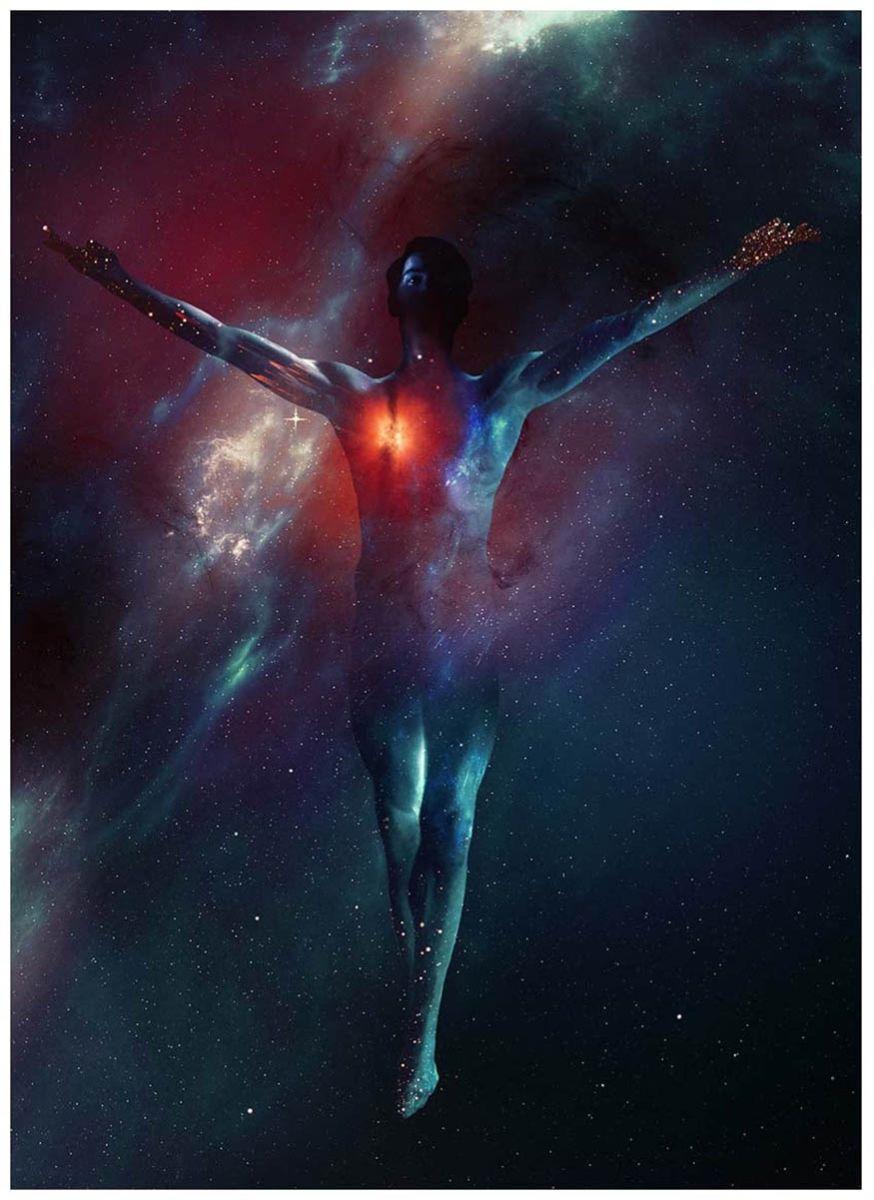
Place some stars using the M3 Star Cluster texture on the model's feet and hands, again using the steps above.
I set my stars to Lighten, but again, feel free to experiment. The "Textures" group is now complete.
Step 13
Repeat step 8, creating a new group, this time naming it "Body Atmosphere".
Create a new layer inside "Body Atmosphere", set to Overlay.
Use a soft round Brush set to black to increase the shadows in our model.
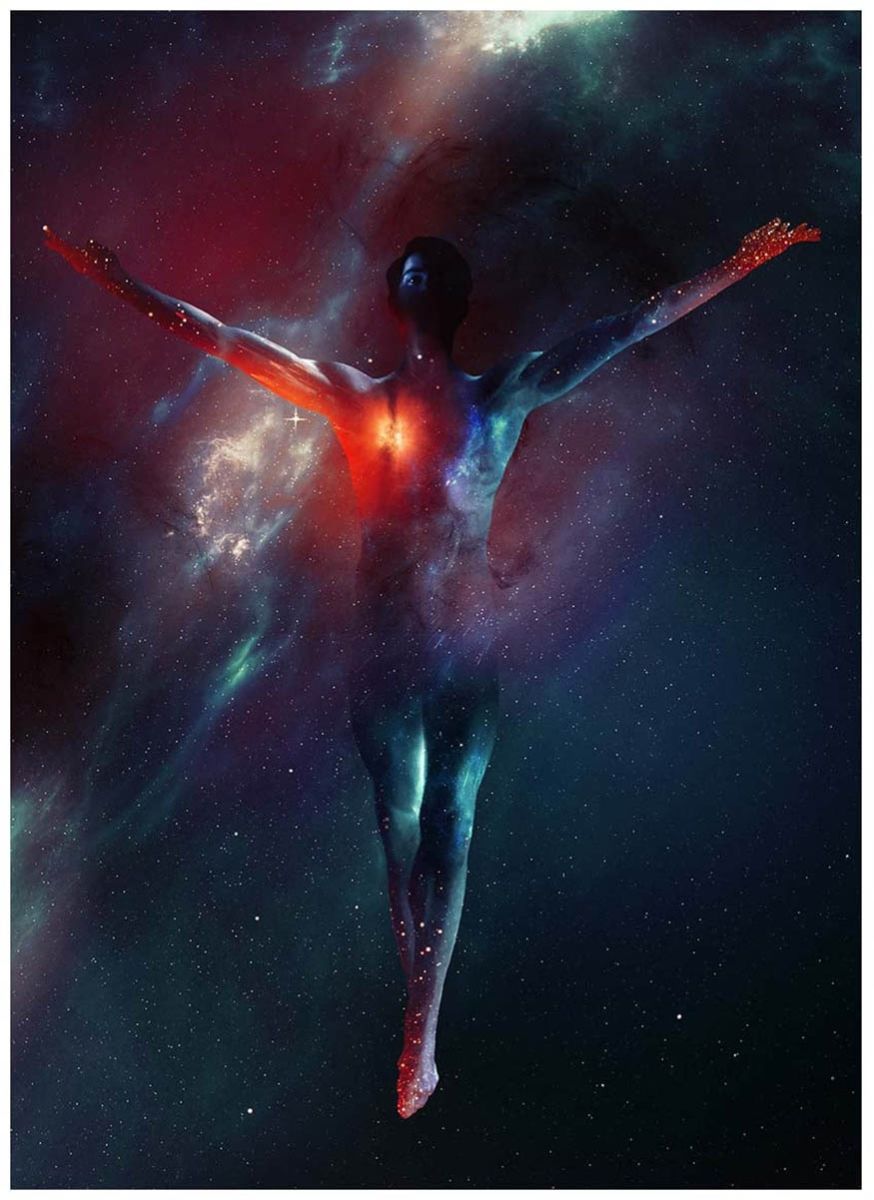
Create a second new layer inside "Body Atmosphere", this time set to Color Dodge.
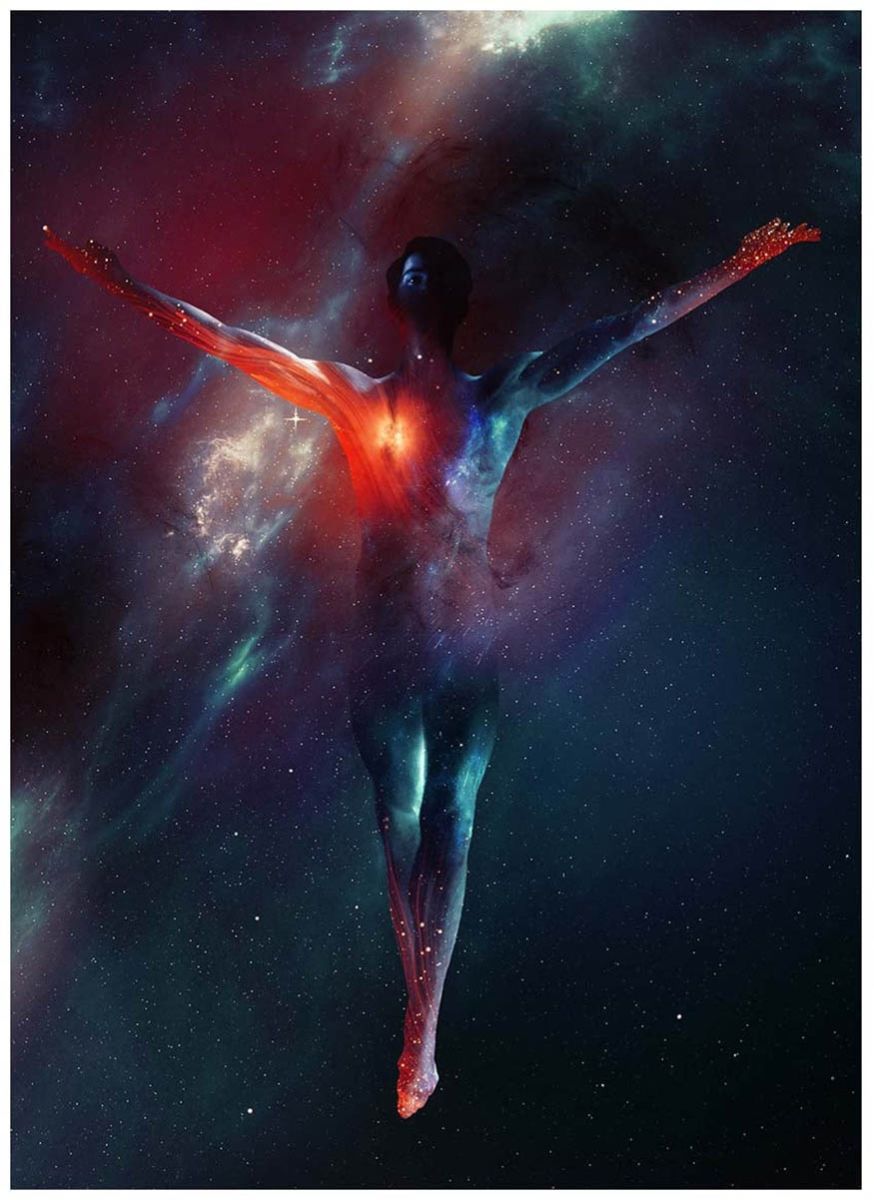
Paint a bright orange #ff5111 onto the hands, feet and left chest area.
Step 14
Create a new layer set to Screen, again making sure this layer is in the "Body Atmosphere" group.
Using the same orange as above, paint a flowing river of light using the Perlin Flow Fields Photoshop Brush or a soft round brush. The "Body Atmosphere" group is now complete!
Step 15
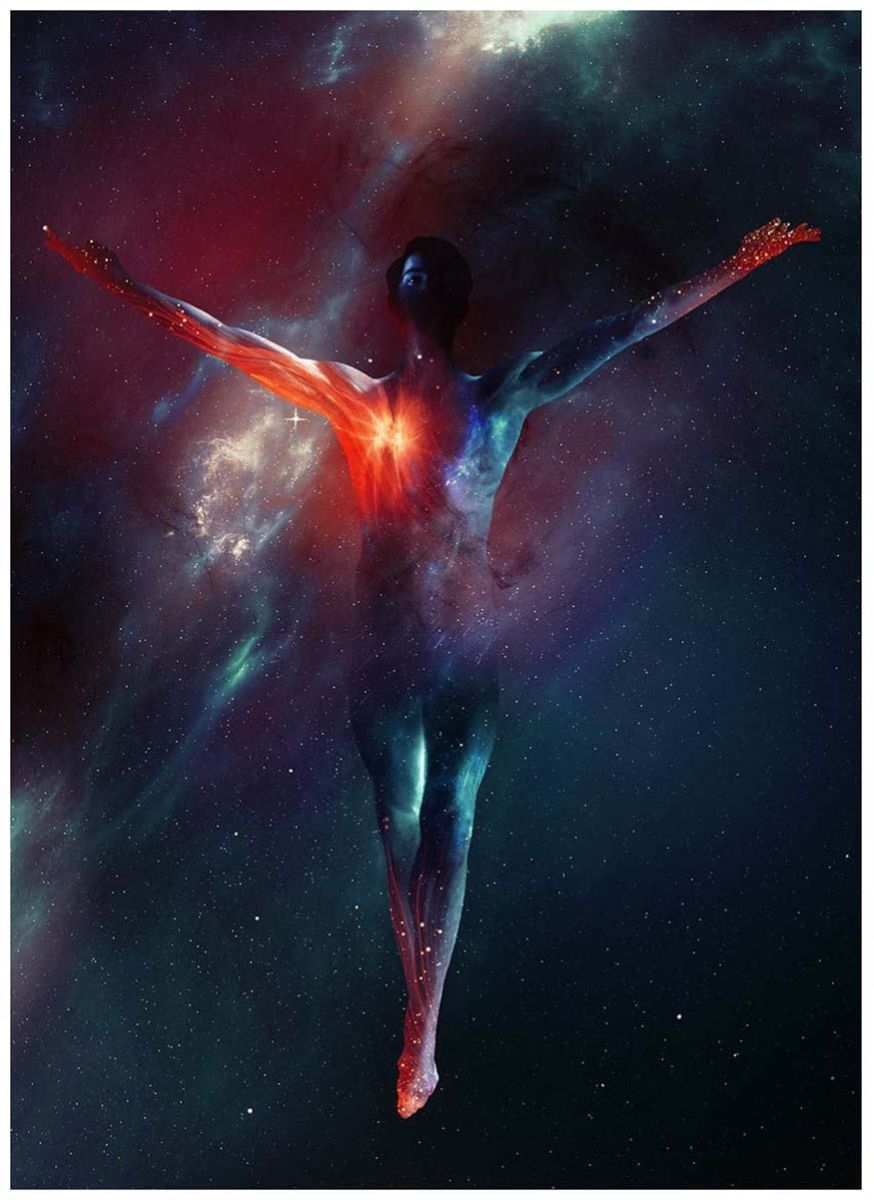
Repeat step 8 one more time to create a new group called "Veins".
Create a new Layer inside the "Veins" group, set to Overlay.
Paint light lines coming from the orange on the left side of the chest using a small, soft, white Round Brush.
Build up the light slowly and I recommend stacking multiple layers on top of each other. SaDesign is currently using 3 layers in total.
Step 16
Create a new layer inside the "Veins" group.
Using a very small, 1-2 px hard round brush, paint white veins coming from the model's chest and spreading out across the rest of the body.
I used a pen tablet for this, so I could use Pen Pressure and taper my lines. It also helps create a clean, easy-to-work-with line effect
5. How to Create Bright Eyes in Photoshop
Step 1
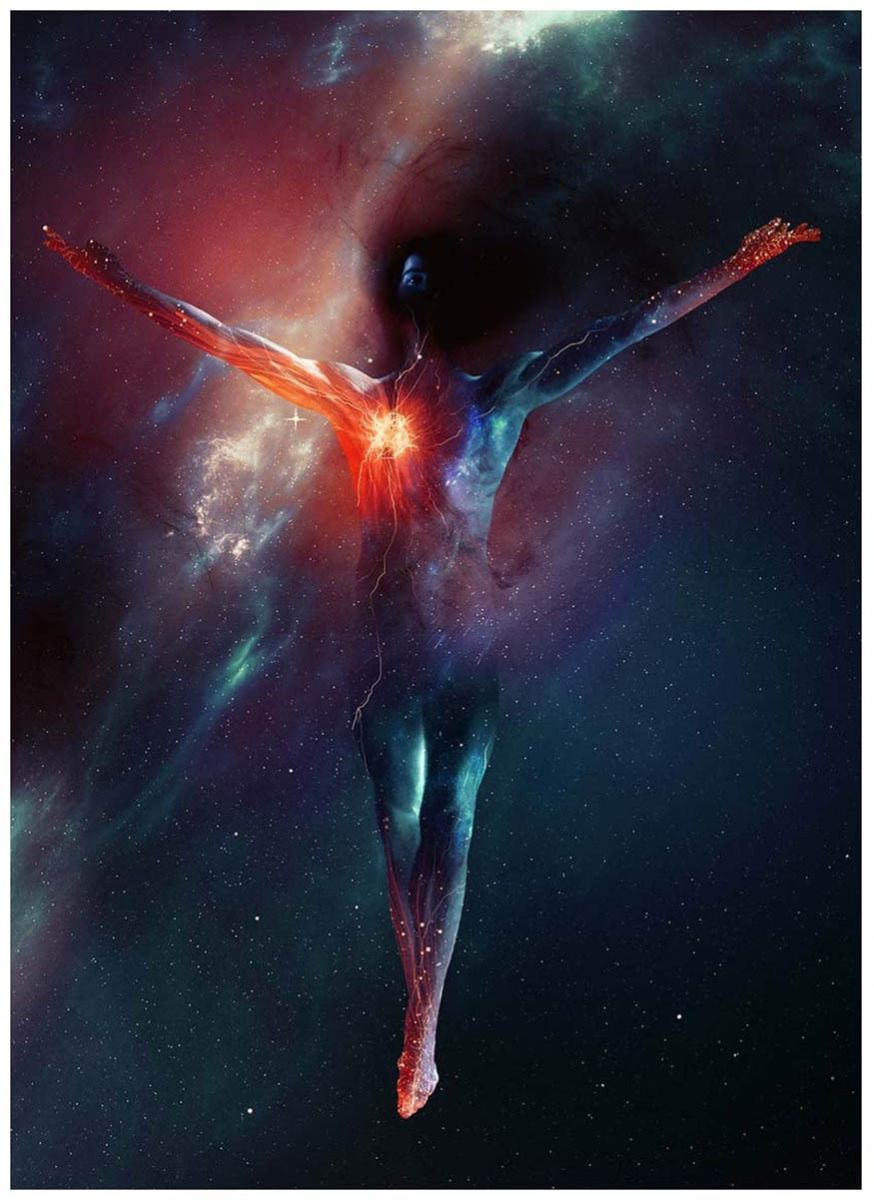
Create a new Layer set to Soft Light, placed below the "Subject" group.
Using black and white, create the base of the model's hair. Use and build on the existing shadows to find a nice shape.
Step 2
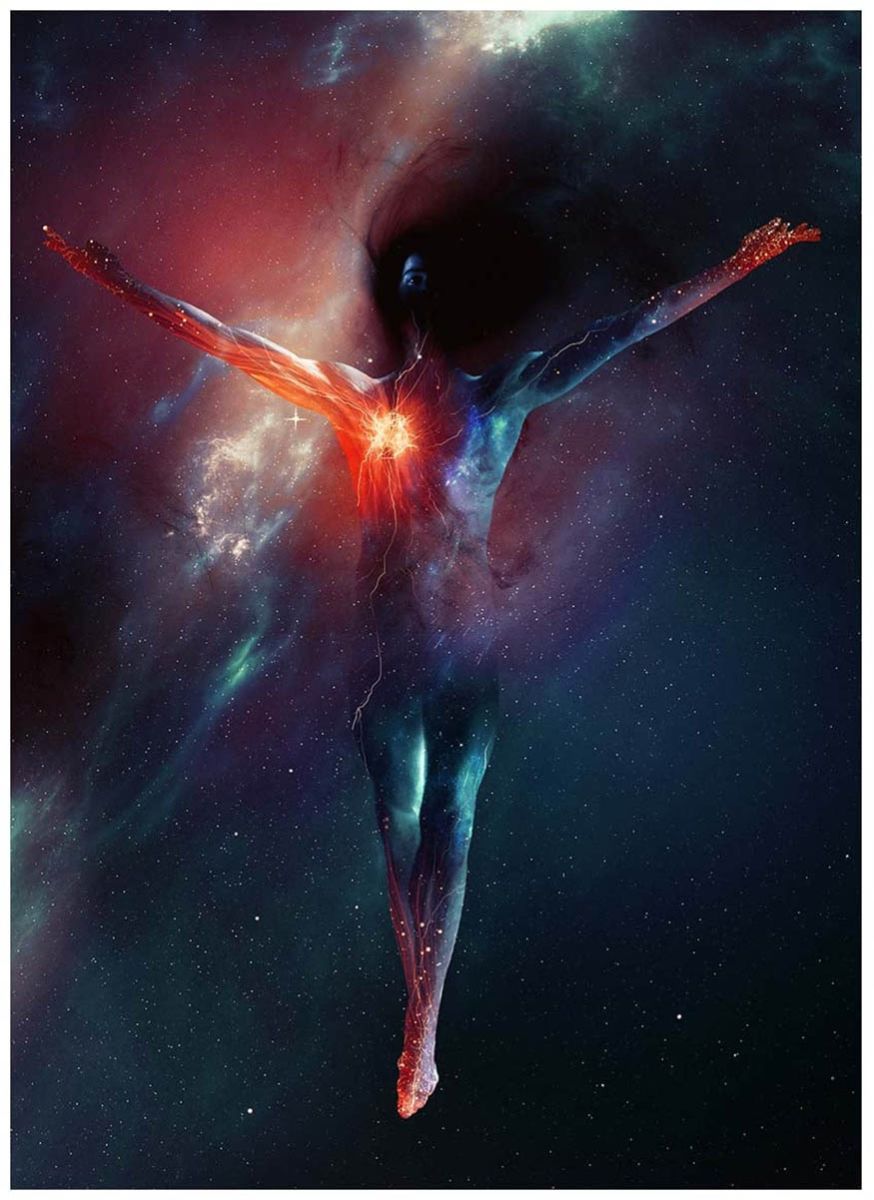
Create a new Layer set to Soft Light and repeat step 1 as many times as needed, refining the shape as needed.
Remember, keep your brush speed low to create the shadow slowly and use as many layers as needed.
Group your layers, naming the group "Hair".
Step 3
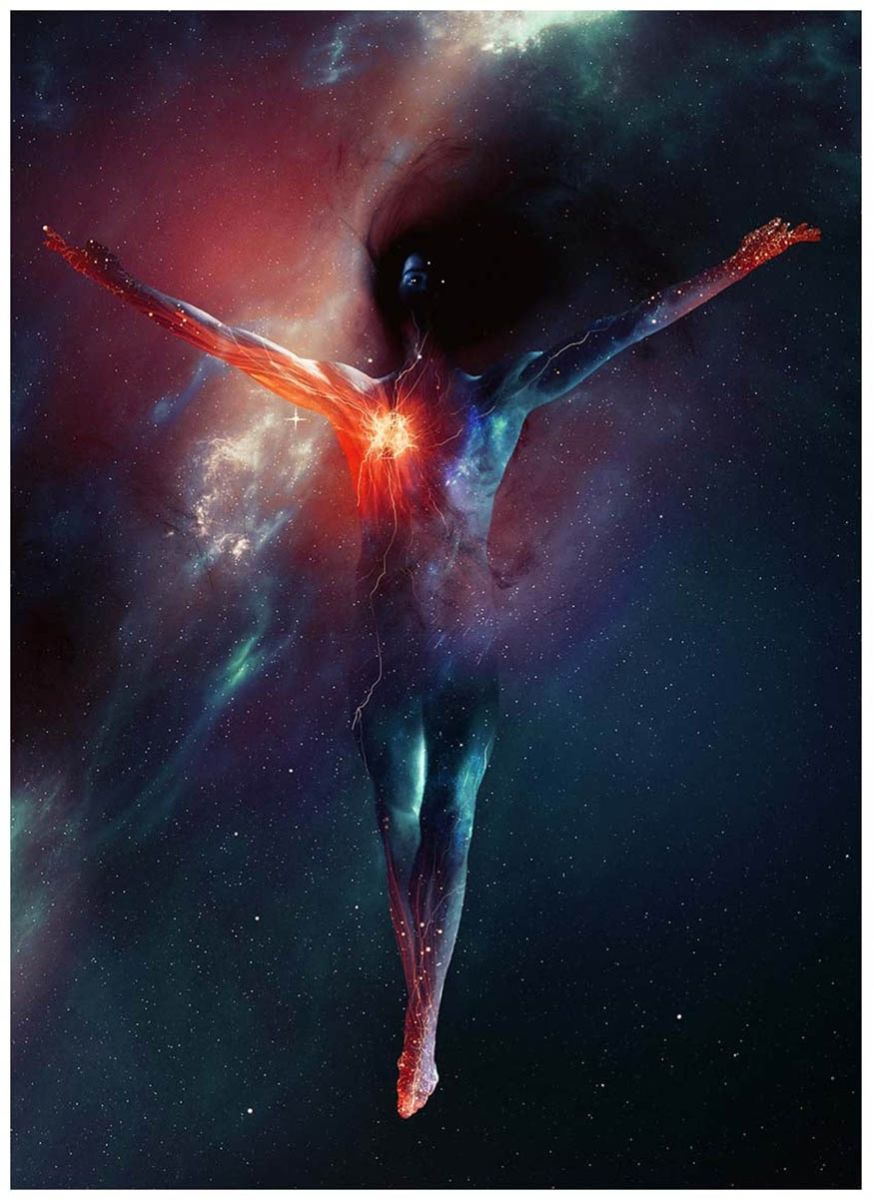
Create a new layer, keeping the mode normal and place this layer above the subject.
Use a hard, round brush to draw three eyes on the character's face—one on each eye and one on the forehead.
Increase the brightness of the eyes with an Overlay layer if needed.
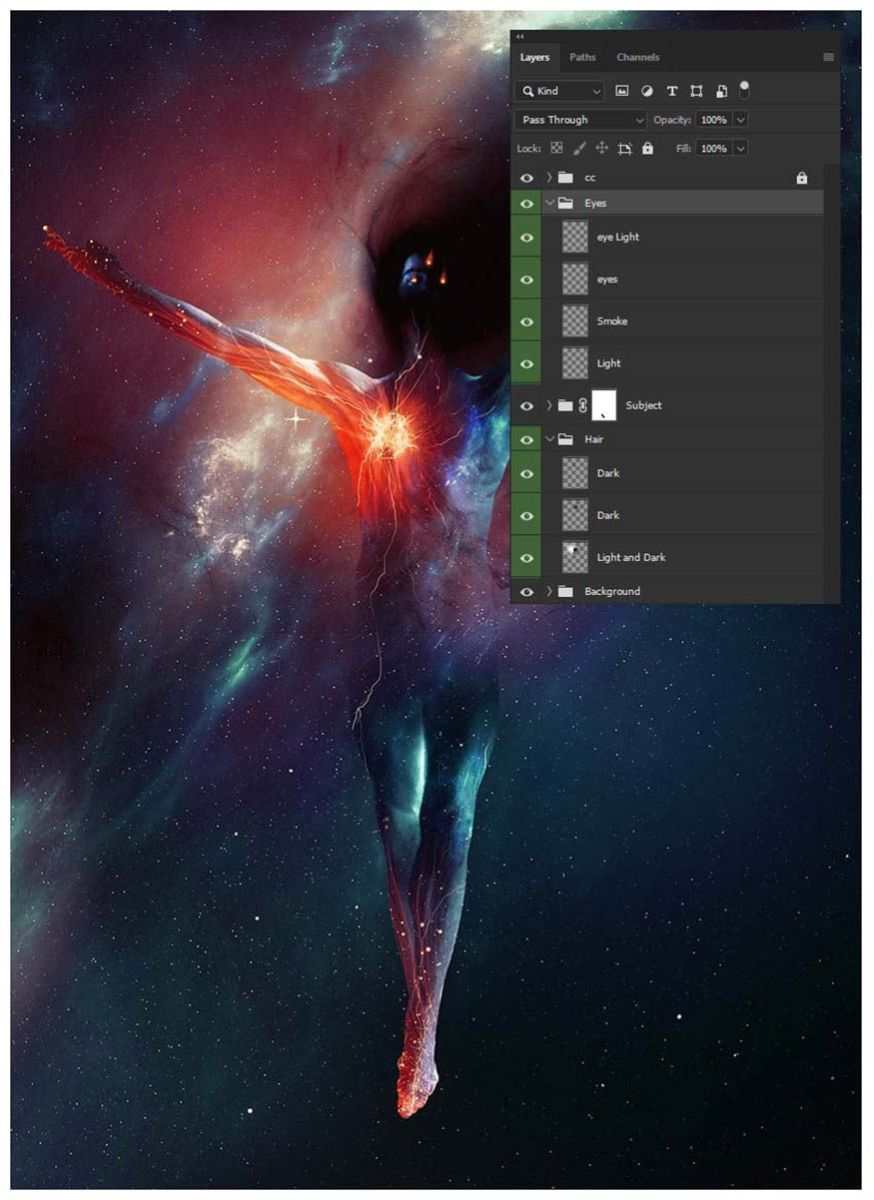
Step 4
Next, create a new layer and set it to Screen.
Draw bright orange smoke #ff7441 coming out of the eyes. Add some orange glow. Again, use as many layers as needed to get the perfect lighting.
Group all the eye layers together, naming the group "Eyes".
6. How to Add Depth to Detail in Photoshop
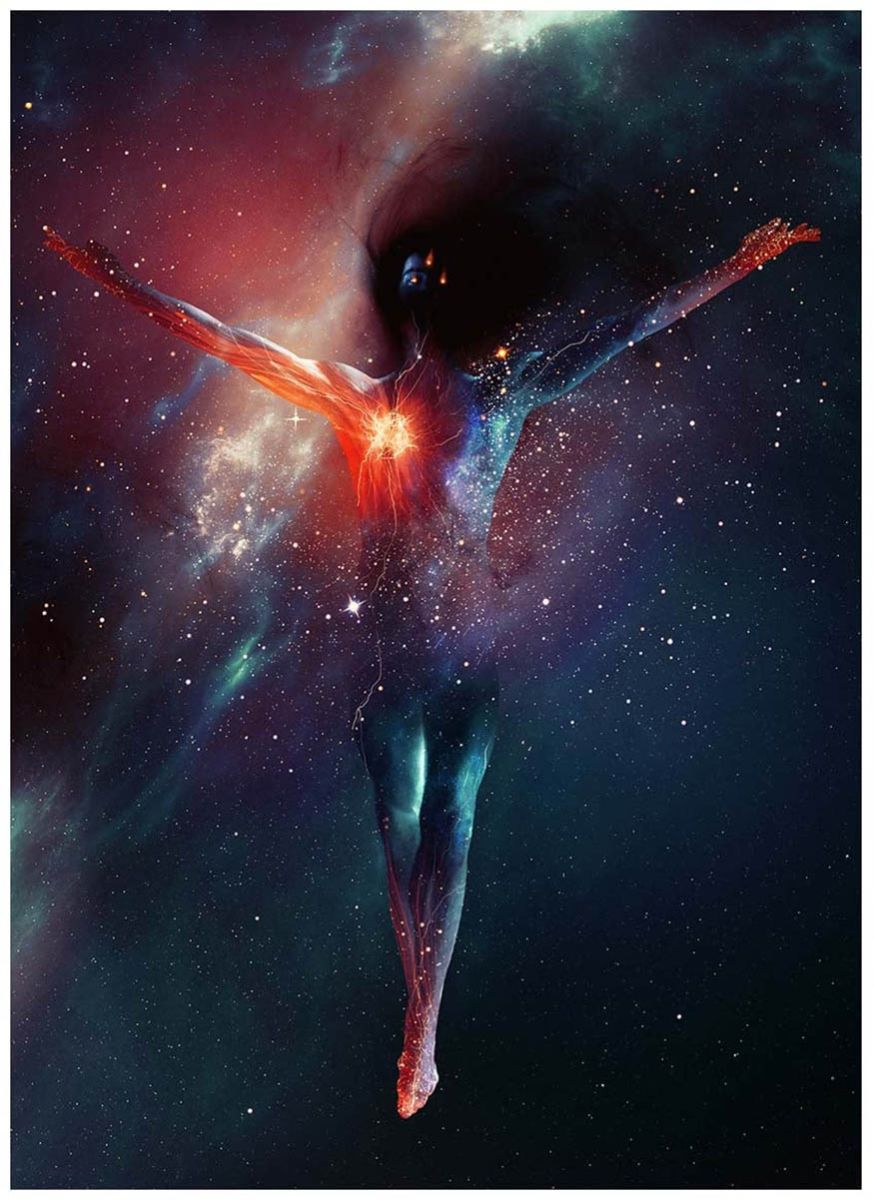
Step 1
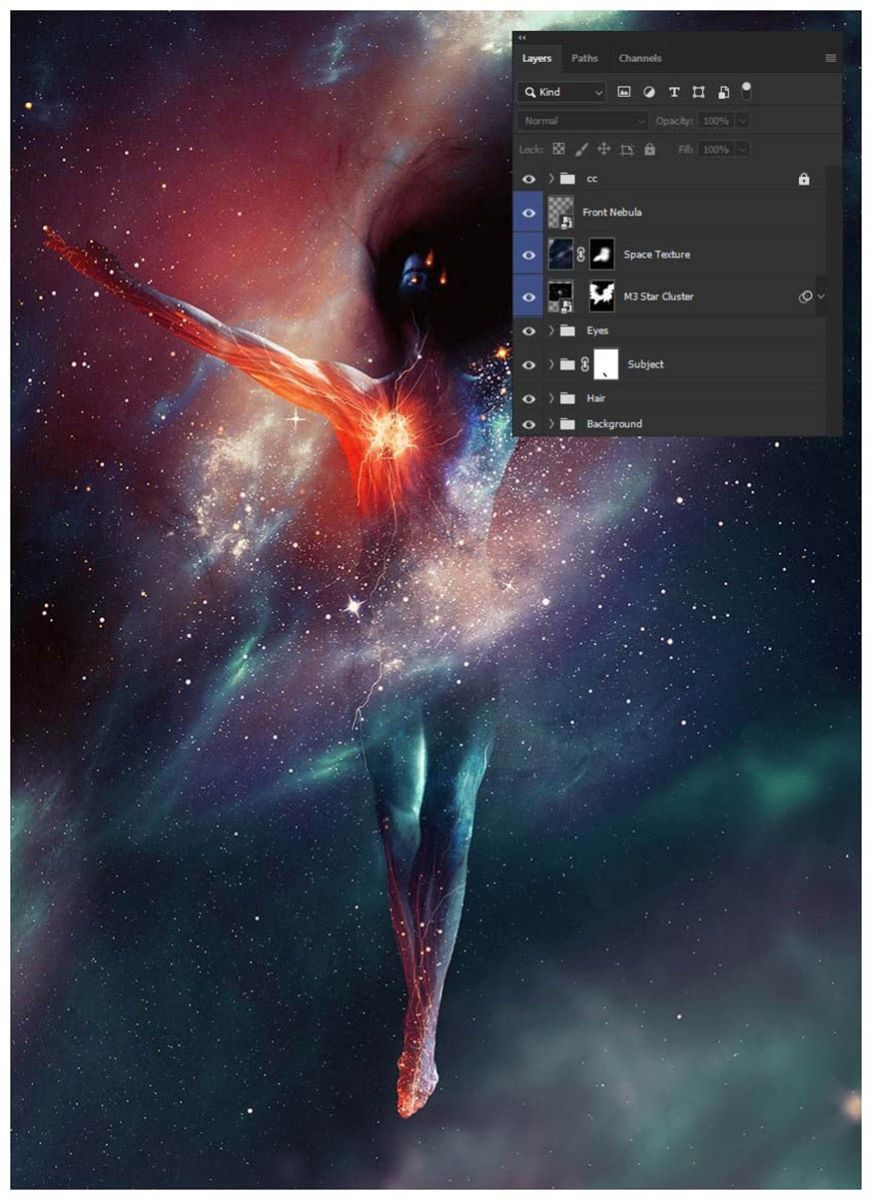
Drag and drop the other M3 Star Cluster texture onto the "Eye" group, set to Screen
Double-click the Adjust Brightness/Contrast of the image, using the same settings.
Brightness/Contrast Settings
Brightness: -32
Contrast: 100
Add a Layer Mask and mask out any hard edges or unwanted stars.
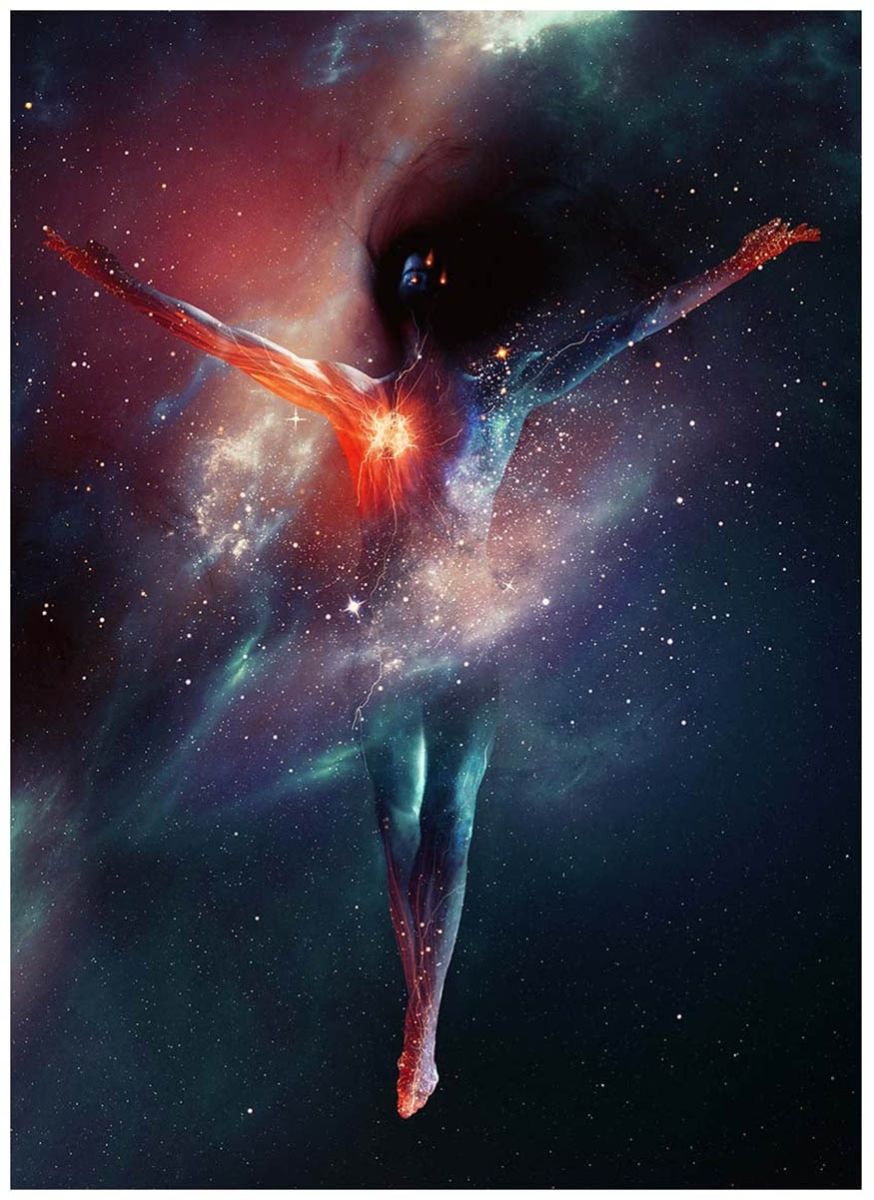
Step 2
Duplicate the Space Texture, set to Screen.
Place the brightest part of the texture over the center of the subject. Adjust the size and shape as needed, and mask out any hard edges and extra texture.
Step 3
Duplicate the Space Texture above and set to Lighten. Zoom in considerably and place in the lower right corner of the canvas.
Add Filter => Blur => Gaussian Blur to the texture. The settings will depend on the size of the canvas, so just blur to your liking.
7. How to Add Light, Shadow, and Glow Effects in Photoshop
Step 1
Use a combination of Multiply, Overlay, and Soft Light layers to increase the brightness and darkness.
Use a soft, round brush at a low speed as always when creating light and shadow. Use as many layers as you like, and don't forget to experiment with Blend If.
Step 2
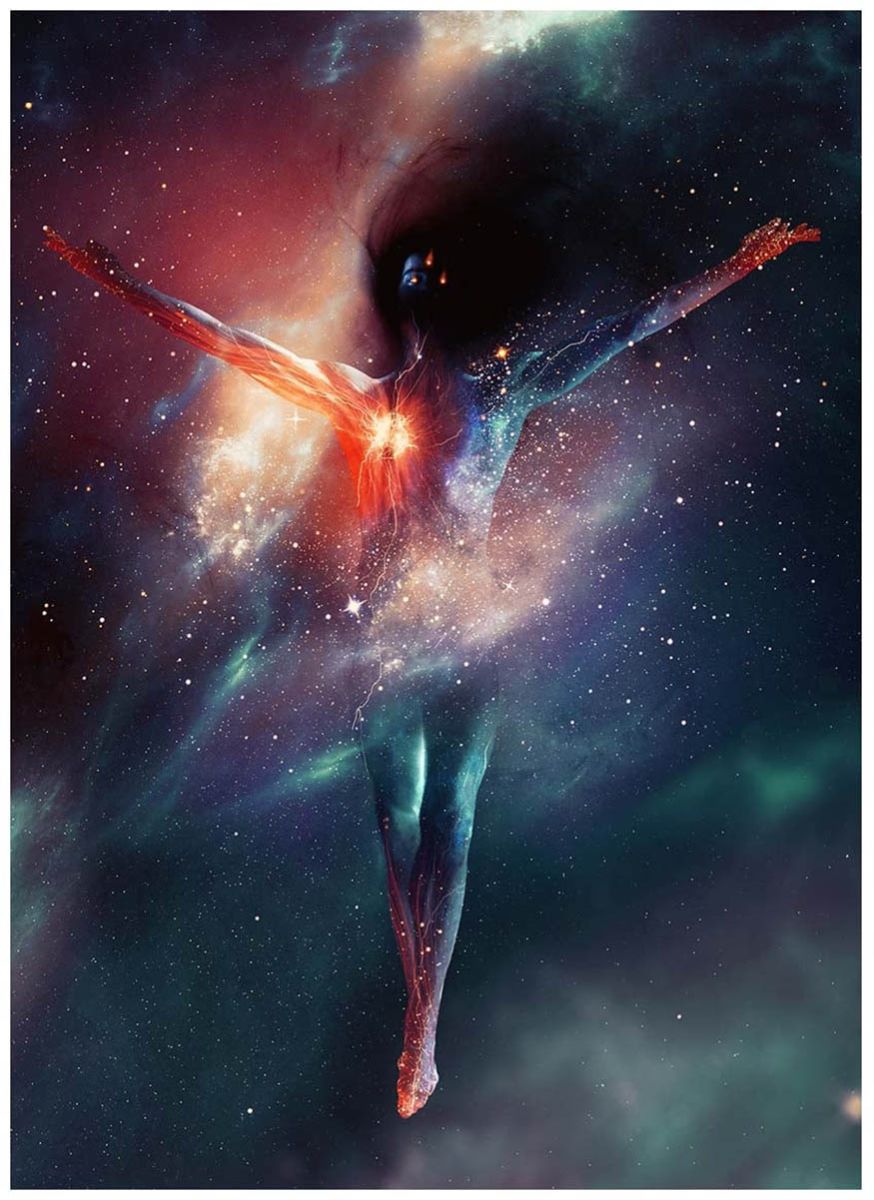
Finally, use a combination of Screen and Overlay layers to paint in areas with bright light as well as enhance existing colors.
Choose from a preset color like orange, blue, and green. Adjust the Opacity of the layer as needed, and don't be afraid to use a very large brush and eraser.
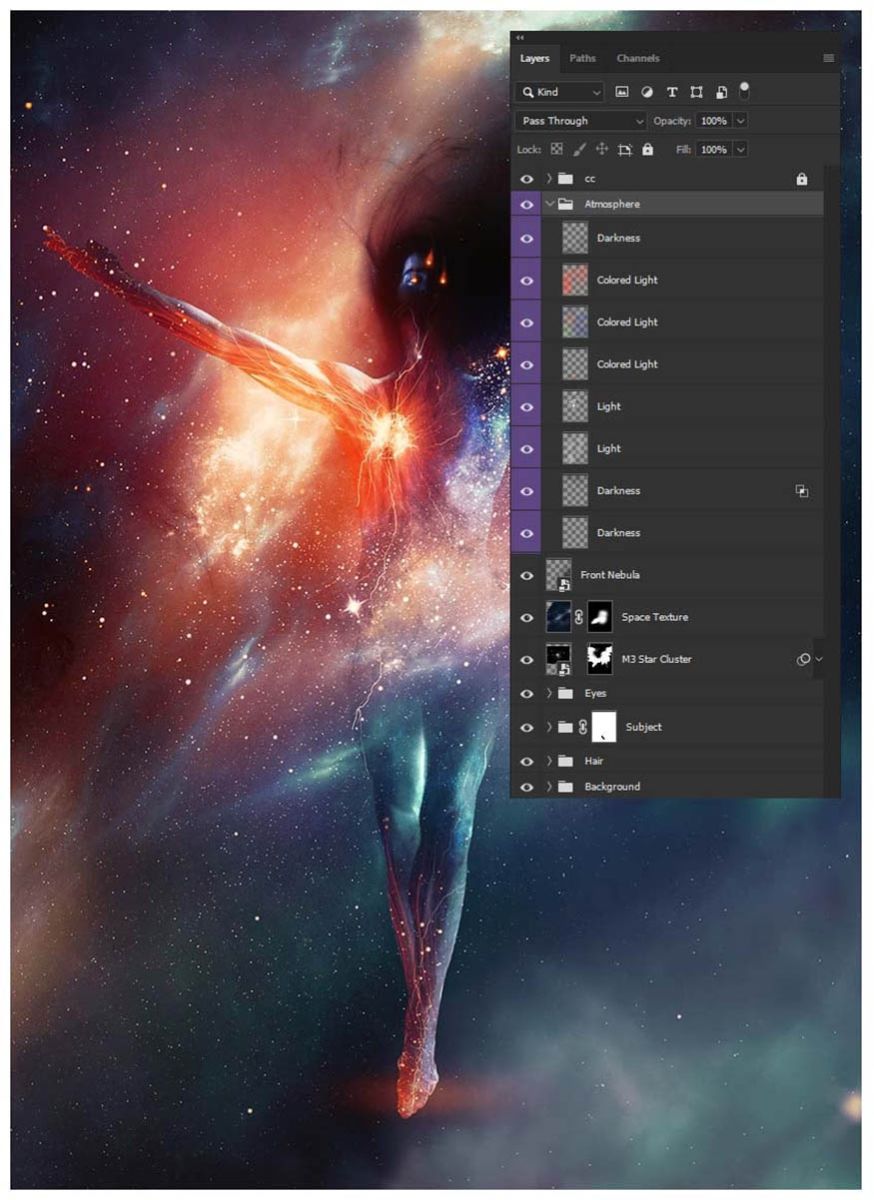
So with the above steps, you can easily create a vibrant galaxy photo effect in Photoshop. Wish you have impressive and vivid works.
Installation and support contact information:
🏡 SADESIGN Software Company Limited
📨 Email: phamvansa@gmail.com
🌍 Website: https://sadesign.ai

Installation and support contact information:
🏡 SADESIGN Software Company Limited
📨 Email: phamvansa@gmail.com
🌍 Website: https://sadesign.ai


.png)


