
Best Selling Products

Freepik Premium Account
59 USD

MidJourney Account
29 USD
Adobe Premiere Pro Account
99 USD

Capcut Pro 1 Year
39 USD

ChatGPT Plus Account (GPT-4)
16 USD
Upgrade genuine Capture One account
120 USD
Genuine Cheap Canva Pro
39 USD
Genuine Adobe Illustrator account
99 USD
Plugin Retouch4me
69 USD
Adobe Photoshop Copyright - Full App
120 USD
Copyright Adobe Lightroom Account
59 USD

Upgrade Duolingo Super
29 USD
Windows 10 & 11 Pro Key
36 USD
Upgrade Genuine Office 365
49 USD
Autodesk All App Account Copyright
120 USD
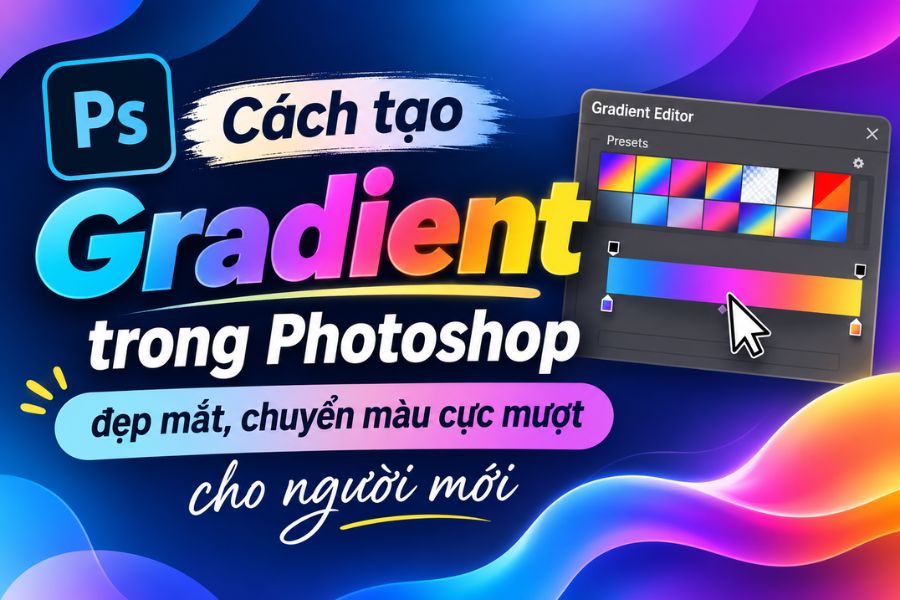
How to create beautiful, smooth color transitions in Photoshop for beginners.
Nội dung
- 1. What is a gradient?
- 2. Common types of gradients in Photoshop
- 3. Detailed instructions on how to create a gradient in Photoshop
- 3.1. Using the Gradient Tool
- 3.2. Using Gradient Overlay
- 4. Some helpful tips for creating gradients in Photoshop
- 4.1. Sử dụng Gradient Map Adjustment Layer
- 4.2. Creating and Saving Gradient Presets
- 4.3. Combining Blend Modes
- 4.4. Combining Gradients and Layer Masks
- 5. Tips for creating beautiful and smooth gradients
- 6. Conclusion
Gradients are a familiar design technique that makes images more vibrant, deeper, and more appealing thanks to their smooth color transitions. Instead of using monochromatic colors, you can combine multiple colors to create impressive backgrounds, striking text, or unique lighting effects. If you''re looking to learn how to create gradients in Photoshop, this article from Sadesign will provide detailed instructions from basic to advanced levels, making it easy for you to do even if you''re new to the software.
1. What is a gradient?
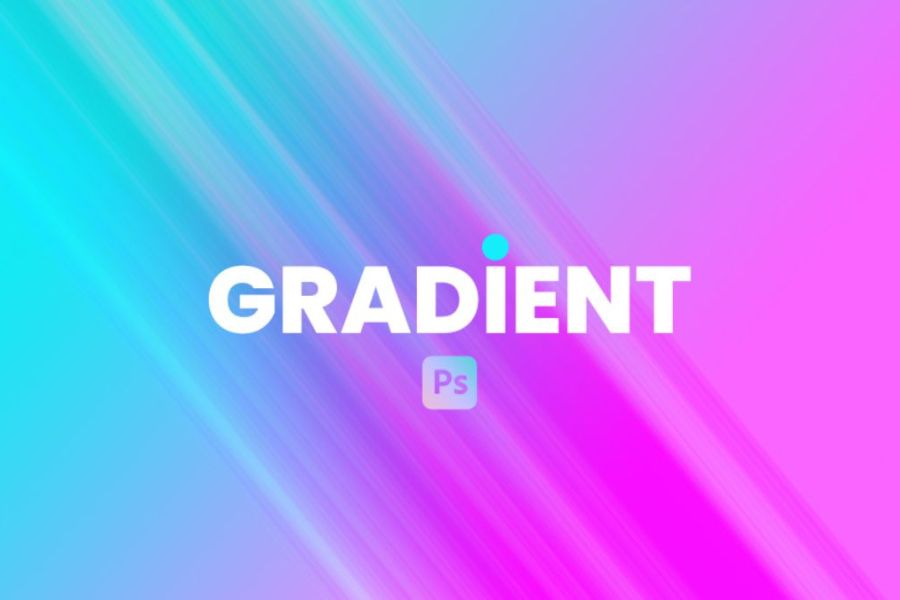
Gradient is a technique for blending two or more colors in a specific direction, creating a natural color transition. Depending on the color combination and parameter adjustments, this effect can create a soft, vibrant feel or add depth to the overall design. In Photoshop, gradients are widely used in many different design fields.
-
Create a background: Combine various colors to create an attractive backdrop for posters, banners, and advertising images.
-
Text decoration: Create a gradient text effect to make the title stand out and have its own personality.
-
Create lighting effects: Simulate bright areas, halos, or glowing effects in images.
-
Adjusting photo colors: Changing the overall color tone to create a unique style for the image.
-
Image blending: Combine multiple layers to create a smooth transition effect without sharp cuts.
Thanks to its flexible customization options, Gradient is a useful tool that helps users transform simple designs into more eye-catching and professional-looking ones.
2. Common types of gradients in Photoshop
Photoshop offers five basic gradient styles, each with its own color transition method and application. Understanding the characteristics of each style will help you choose the effect that best suits your design.
-
Linear Gradient: Creates a color transition effect along a straight line from a starting point to an ending point. This is the most common style, often used for backgrounds, banners, and headers.
-
Radial Gradient: This style creates a circular color transition, giving the impression that the colors are spreading outwards from the center. It's suitable for creating highlights, lighting effects, or emphasizing a specific detail.
-
Angle Gradient: The color changes according to the angle of rotation around the starting point, creating a unique and dynamic effect.
-
Reflected Gradient: Creates a symmetrical gradient of colors reflecting across an axis, suitable for designs requiring a balanced or reflective effect.
-
Diamond Gradient: A color transition in a diamond shape, spreading from the center outwards in all directions, often used in artistic designs.
Each type of gradient allows for changes in color, direction, and transition duration. You should experiment with each type to find the effect that best suits your needs.
3. Detailed instructions on how to create a gradient in Photoshop
To create beautiful gradient effects, Photoshop offers many different tools and features. Among them, the Gradient Tool and Gradient Overlay are two of the most commonly used methods. Below is a detailed guide on how to perform each method.
3.1. Using the Gradient Tool
The Gradient Tool is a tool that directly helps you create gradient color transitions on your workspace. Users can customize the colors, gradient style, and direction of the transition as desired.
Steps to follow:
-
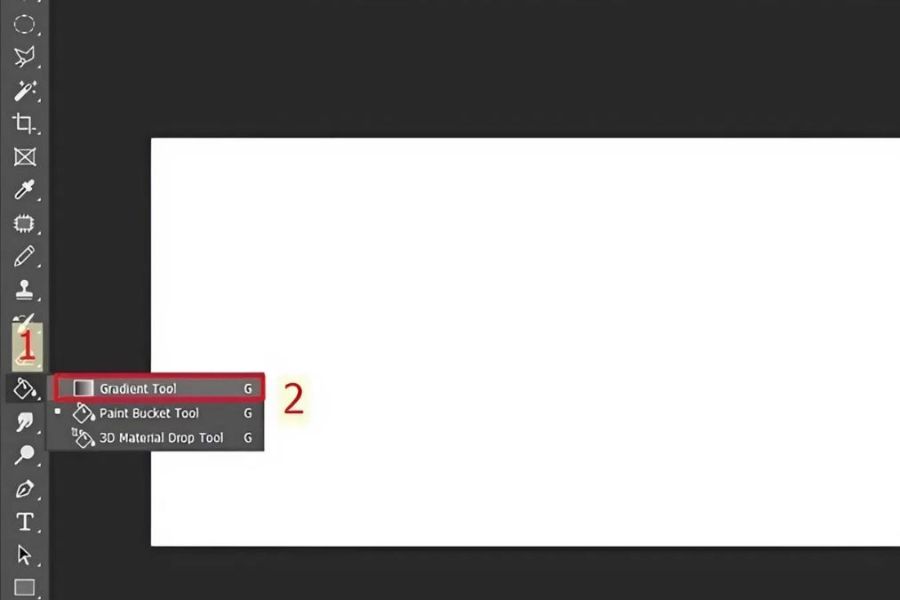
Step 1: Open Photoshop, create a new design file or open the image you want to edit. Next, select the Gradient Tool from the left-hand toolbar or press the G key.
-
Step 2: In the options bar at the top, click on the Gradient color bar to open the Gradient Editor. You can choose from available presets or create your own custom color scheme.
-
Step 3: Click on the color dots below the Gradient bar to change the colors. If you want to combine more color shades, you can add Color Stops at the desired location.
-
Step 4: Choose a suitable gradient style such as Linear, Radial, Angle, Reflected, or Diamond.
-
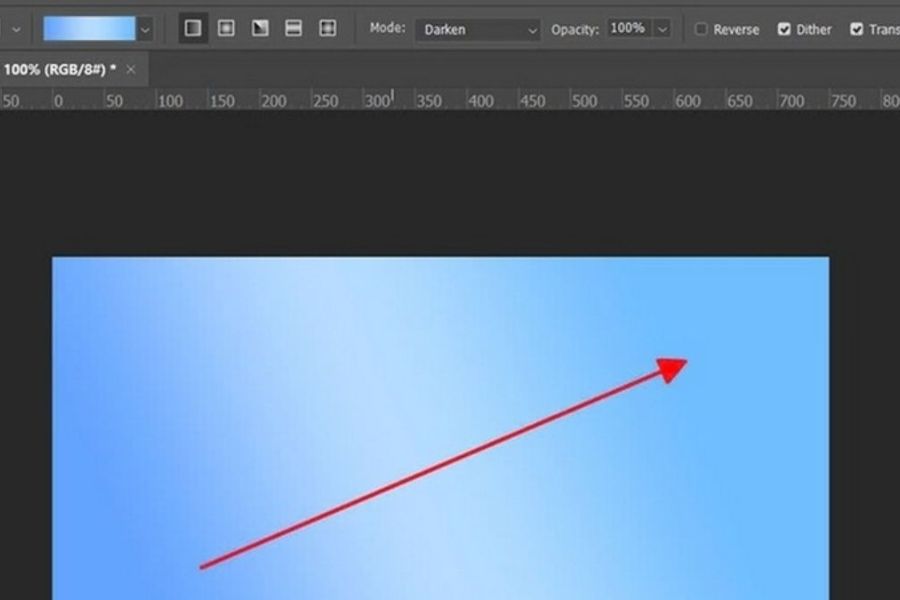
Step 5: Move the mouse cursor to the desired location where you want the color change to begin, press and hold, drag in the desired direction, then release the mouse to apply the effect.
3.2. Using Gradient Overlay
Gradient Overlay is a feature within Layer Styles that allows you to apply a gradient effect to a layer without directly changing the original content. This method is particularly suitable for designing text, icons, or shapes.
Steps to follow:
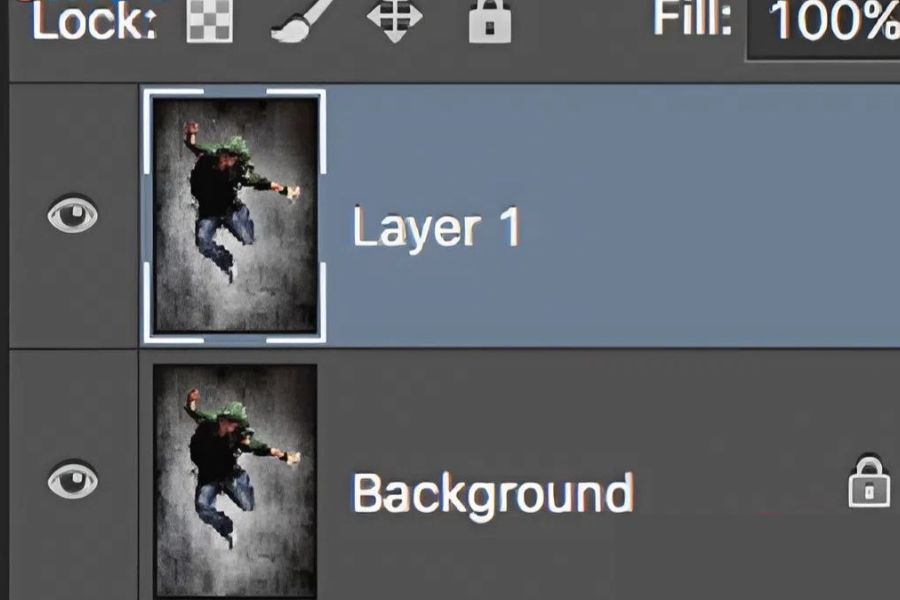
Step 1: Open the design file and select the layer containing the object you want to apply the gradient effect to.
Step 2: Right-click on the layer and select Blending Options. You can also click the Fx icon at the bottom of the Layers panel.
Step 3: In the Layer Style window, select Gradient Overlay to activate the gradient effect.
Step 4: Click on the Gradient bar to open the Gradient Editor. Here, you can choose a preset or combine colors as you wish.
Step 5: Adjust the parameters to create the desired effect:
-
Blend Mode: Changes the blending mode between the gradient and the original layer.
-
Opacity: Adjusts the transparency of the effect.
-
Style: Choose a suitable gradient style.
-
Angle: Change the angle of color transition.
-
Scale: Adjusts the range and width of the color spectrum.
-
Reverse: Reverses the order of colors in the gradient.
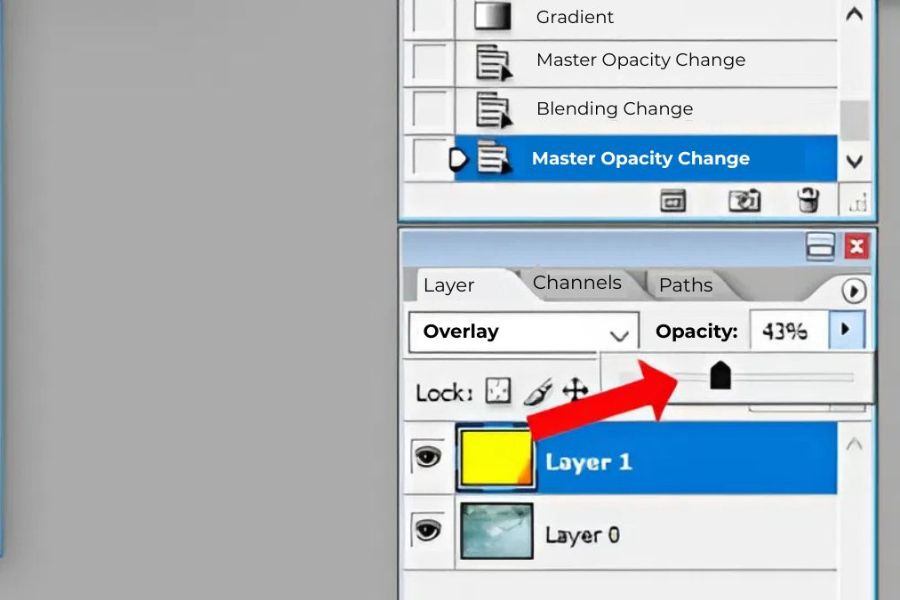
Step 6: Press OK to save the settings and complete the editing process.
The advantage of Gradient Overlay is that you can change the color, transition direction, or transparency at any time without having to start over. This is also a convenient method when you want to design gradient text in Photoshop.
4. Some helpful tips for creating gradients in Photoshop
In addition to basic gradient creation methods, you can combine other features to enhance design effectiveness. The tips below will help make the color gradients softer, more natural, and have more depth.
4.1. Sử dụng Gradient Map Adjustment Layer
Gradient Map is a color adjustment layer that allows you to transform the light and dark areas of an image into corresponding color shades on a gradient. This tool is very useful when you want to change the color style of the entire image while keeping the original layer intact.
How to use:
-
Open the image you want to edit in Photoshop.
-
Select Layer, click New Adjustment Layer, and choose Gradient Map.
-
Click on the Gradient bar to open the Gradient Editor panel.
-
Choose from available presets or create your own custom color scheme.
-
Adjust the Opacity and Blend Mode to make the colors appear more natural.
With Gradient Maps, you can experiment with various color styles such as cool tones, warm tones, or contrasting light and dark effects. This is a suitable option when you want to create artistic-style photos.
4.2. Creating and Saving Gradient Presets
If you frequently use the same color palettes, you should create and save Gradient Presets to save time. Instead of manually matching colors for each design, you can simply select a saved preset to apply it quickly.
How to do it:
-
Select the Gradient Tool and open the Gradient Editor.
-
Set the colors and color transitions as desired.
-
Enter a name for the new gradient in the Name field.
-
Click New to add an effect to the preset list.
-
Select OK to complete.
Additionally, you can refer to and download gradient presets shared from reputable design resources. Prioritize presets with harmonious color palettes that match your desired design style.
4.3. Combining Blend Modes
Blend Modes are a feature that allows layers to blend together in various ways. When combined with Gradient, this tool helps create lighting effects, increase contrast, and highlight important details in a design.
Some commonly used mixing modes include:
-
Overlay: Increases contrast, making colors and light stand out more.
-
Soft Light: Creates a gentle lighting effect, suitable for designs that require a soft aesthetic.
-
Multiply: Makes colors darker, often used to create depth or shadow effects.
-
Screen: Brightens the image, suitable for creating bright areas and glowing effects.
Additionally, you can adjust the opacity to control the intensity of the gradient. Try combining different blending modes to find the effect that suits each composition.
4.4. Combining Gradients and Layer Masks
Gradients combined with layer masks are useful techniques when you need to blur a part of an image or blend two images into a single composition. Instead of directly deleting details, you can use masks to flexibly control the visible area.
Steps to follow:
-
Open the two images you want to combine in Photoshop and place them on separate layers.
-
Select the top layer, then click the Add Layer Mask icon in the Layers panel.
-
Select the Gradient Tool using the G key.
-
Set the color range to black and white and select Linear Gradient.
-
Click on Layer Mask and then drag the mouse in the direction you want to blend the image.
In Layer Masks, black hides the layer's content, white preserves the content, and gray creates partial transparency. When combined with gradients, the two images transition more smoothly, minimizing the feeling of separation or harsh edges.
5. Tips for creating beautiful and smooth gradients
To achieve an aesthetically pleasing gradient effect, you need to pay attention to color coordination and parameter settings. The following tips will help make the design process easier:
-
Choose harmonious colors: Prioritize color schemes that are linked in terms of shade, avoiding combining too many contrasting colors that can make the design look cluttered.
-
Adjust the color transition direction: Drag the gradient in the direction that suits the composition to create a balanced feel and highlight the subject.
-
Use intermediate colors: Add color stops when you need to transition between multiple color ranges, making the color spectrum more seamless.
-
Control transparency: Adjust the opacity so that the gradient doesn't obscure important details in the image.
-
Create a copy of the layer: Keep the original layer before editing so you can easily restore it if the effect isn't satisfactory.
Additionally, if you notice color banding or uneven color transitions, you can try enabling Dither in the Gradient settings if your Photoshop version supports it. Also, choose a resolution and color mode appropriate for your intended use to ensure design quality.
6. Conclusion
Creating gradients in Photoshop isn't overly complicated if you understand how to use the basic tools and parameters. From the Gradient Tool and Gradient Overlay to Gradient Maps and Layer Masks, each method offers unique color transition effects suitable for various design purposes. For beginners, try practicing with simple color palettes first, then combine them with advanced features to create designs with depth and a personal touch.












VIP Products


Best Selling Products
Freepik Premium Account
59 USD
MidJourney Account
29 USD
Adobe Premiere Pro Account
99 USD
Capcut Pro 1 Year
39 USD
ChatGPT Plus Account (GPT-4)
16 USD
Upgrade genuine Capture One account
120 USD
Genuine Cheap Canva Pro
39 USD
Genuine Adobe Illustrator account
99 USD
Plugin Retouch4me
69 USD
Adobe Photoshop Copyright - Full App
120 USD
Copyright Adobe Lightroom Account
59 USD
Upgrade Duolingo Super
29 USD
Windows 10 & 11 Pro Key
36 USD
Upgrade Genuine Office 365
49 USD
Autodesk All App Account Copyright
120 USD