Best Selling Products
How to Create Halftone Pattern in Photoshop
Nội dung
You can completely create a Halftone Pattern in Photoshop by combining many different tools. Let's refer to the detailed steps below with SaDesign.
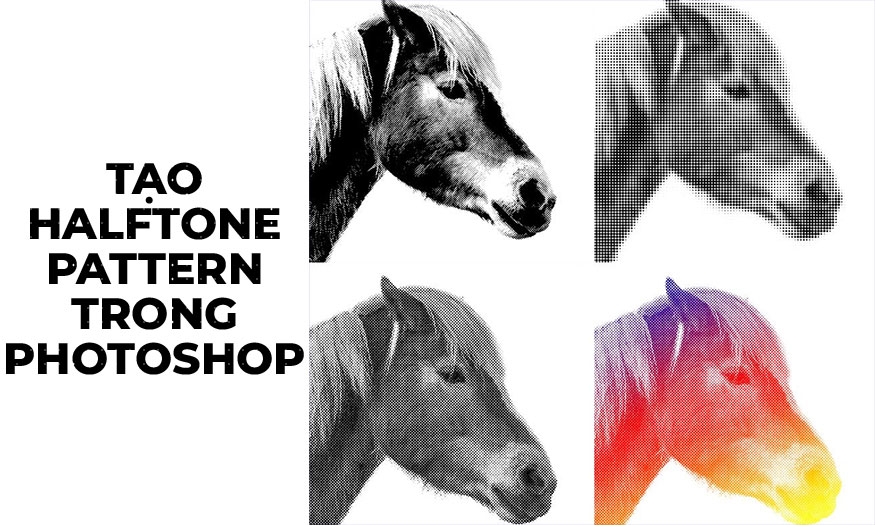
1. What is Halftone?
Halftone is a 20th century printing technique that uses a series of dots to create an image. Back when printing processes were limited, halftone was a way to create the appearance of color and tonalities.
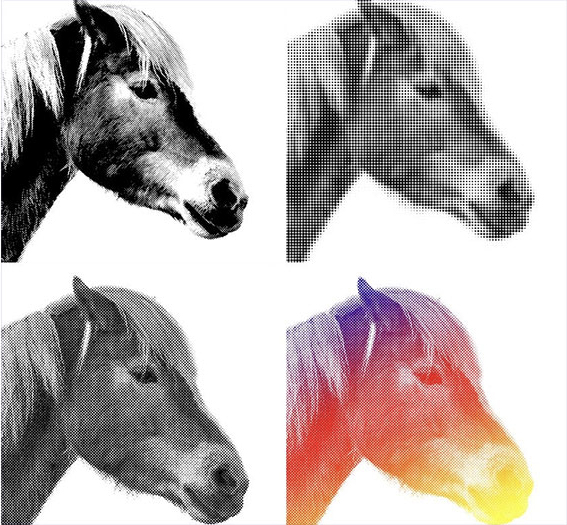
Early printers that worked with only cyan, magenta, yellow, and black (CMYK) created halftones. The colors that appear uniform are actually small dots placed close together. The dots are a continuous tone, meaning each dot is a constant color. All cyan dots are the same shade of cyan, and all red dots are the same shade of red. But, from four colors in a spectrum, larger shades are created.
When dots are grouped, they appear to blend and form other shades, especially when viewed from a distance. Cyan, magenta, yellow, and black form many different variations based on spacing, dot type, and dot size. Using just these four options, the printer blends and combines to create other shades.
2. How to create a halftone pattern in Photoshop: Method 1
Now without printers, we can also create halftone effects using Photoshop.
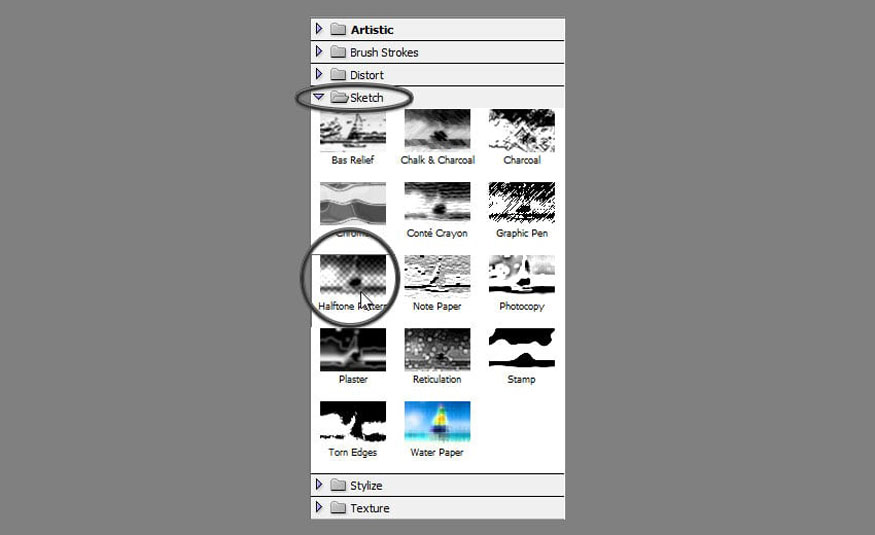
Step 1: First, let's upload the photo you want to create a halftone pattern in Photoshop. Then go to Filter => Filter Gallery. Go to the Sketch tab and find Halftone Pattern in Photoshop.
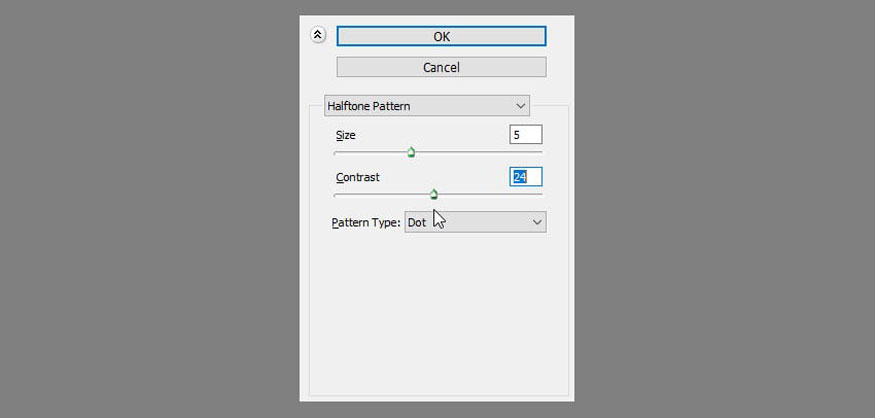
Step 2: Here you can adjust the settings to achieve the halftone effect in Photoshop.
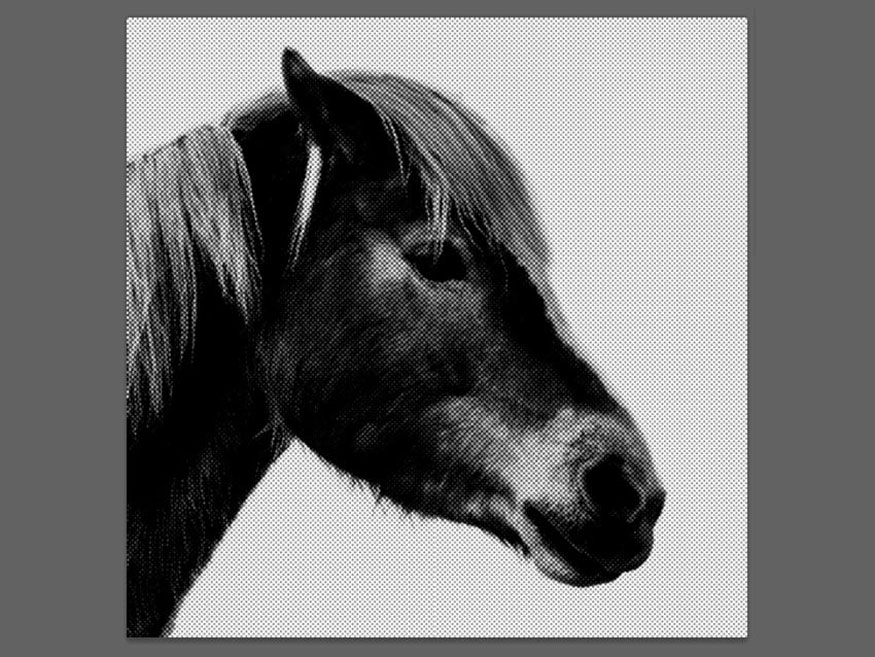
Step 3: This method is the easiest and gives a real-time preview. But the dots are blurry and the effect is not convincing. To make it sharper, you can add a Threshold adjustment.

Step 4: Adjust the Threshold to get the contrast you need.
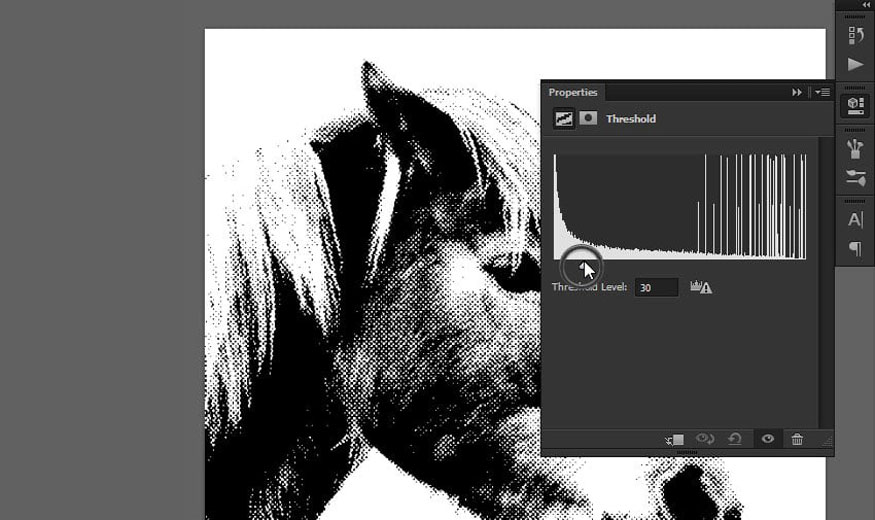
So you have successfully created a halftone pattern in Photoshop. The image now has a unique dotted pattern.
2. Create a halftone pattern in Photoshop: Method 2
Let's take a look at how to create a halftone pattern in Photoshop 2.
Step 1: Upload the photo you want to create a halftone pattern in Photoshop. Then go to Image => Adjustments => Desaturate.
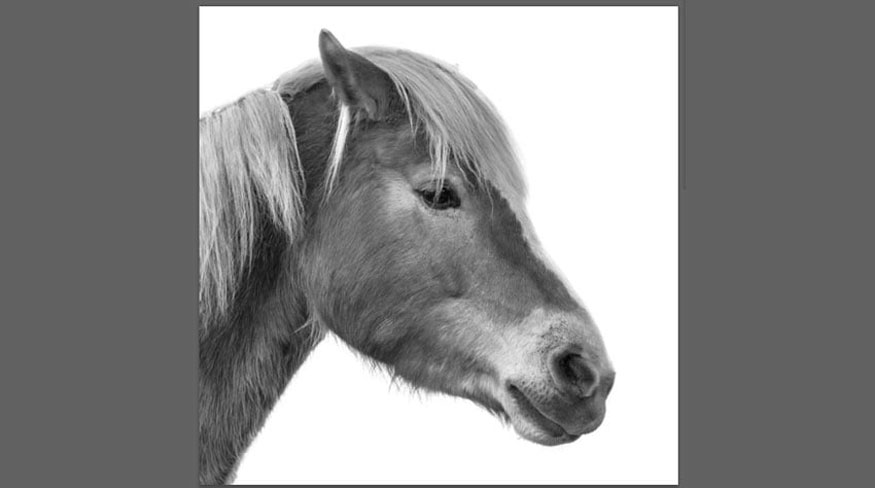
Step 2: Go to Filter => Pixelate => Color Halftone. Change the Channel values to 0. Set the Radius accordingly, this will be the maximum size of the dots in your halftone pattern.

The effect is quick and natural, but since there is no preview, you may have to do it a few times to get the desired result.
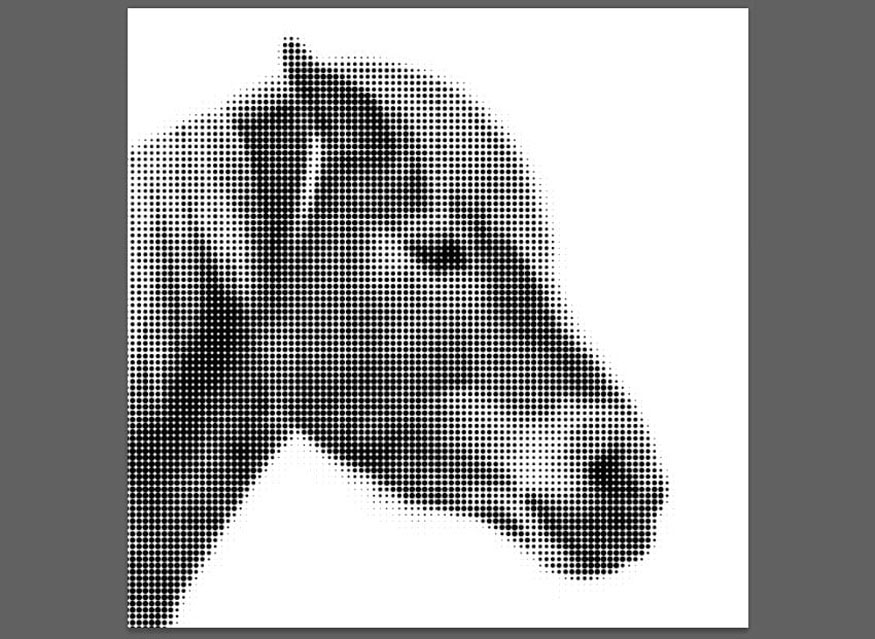
So you have completed the second way to create halftone pattern in Photoshop. With only 2 black and white colors, the distance between the dots, we have a very unique halftone pattern effect image.
3. Create a halftone pattern in Photoshop: Method 3
Let's learn another method to create a more advanced halftone pattern.
Step 1: Upload the halftone pattern in Photoshop. Go to Image => Mode => Grayscale. Click Discard.

Step 2: Go to Image => Mode => Bitmap. Set Resolution to current Resolution or higher. For Method, select Halftone Screen.
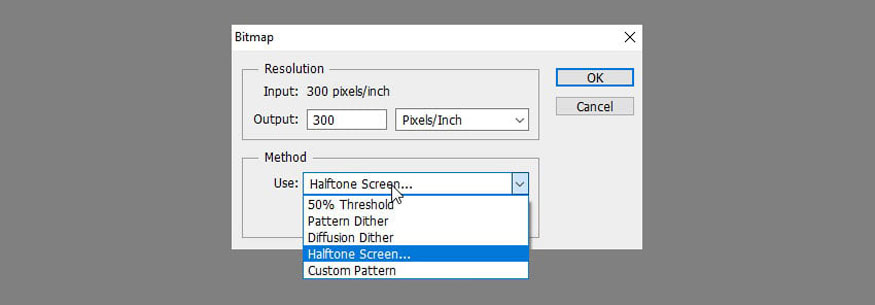
Step 3: Customize the parameters to best suit your needs. Frequency controls the density of the dots. Angle affects the direction of the dot rows. You can also use other shapes besides dots for your halftone pattern.

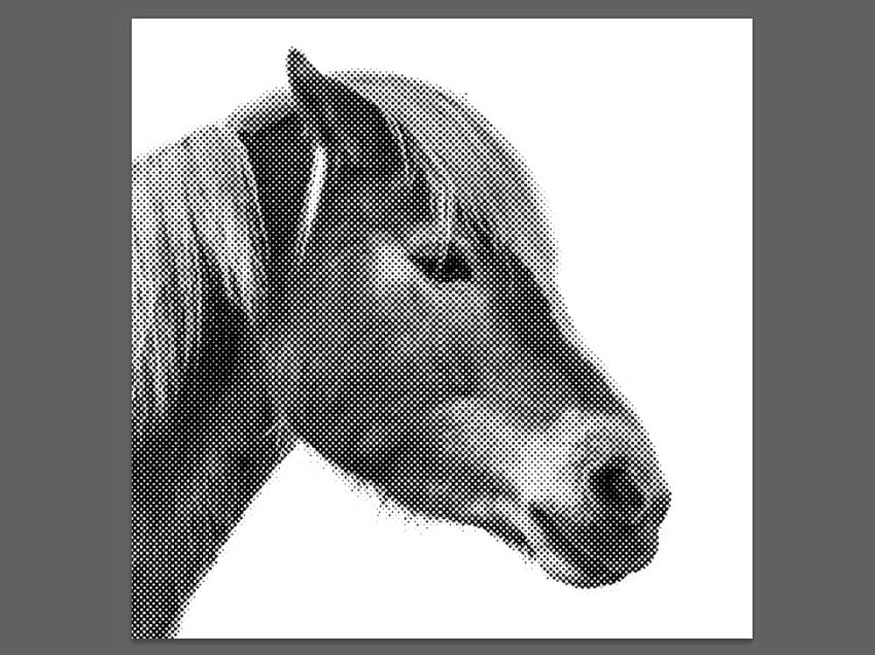
4. How to create a multi-color halftone pattern in Photoshop
Instead of using the black-and-white halftone effect, we can create a multi-colored halftone.
Step 1: Open the photo you want to create a halftone pattern in Photoshop with multiple colors. To colorize the halftone in Photoshop, just go to Image => Mode and change the mode to colored mode.
Then, using the Gradient Tool (G), select a colorful gradient and change its mode to Screen.

Step 2: Drag the tool on the canvas to color the halftone pattern.
.jpg)
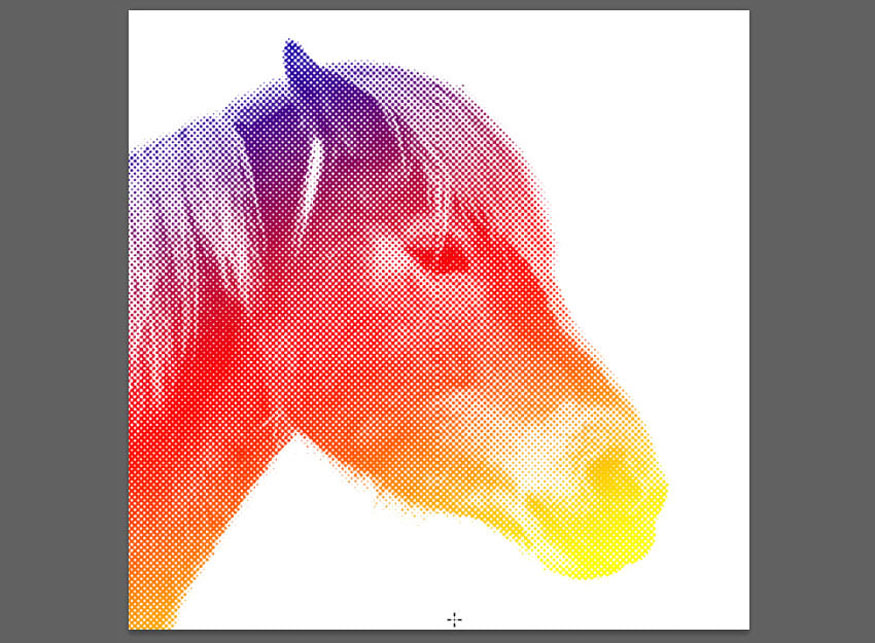
So you have created a multi-colored halftone pattern in Photoshop.
Above is a summary of ways to create halftone patterns in Photoshop. Note, these methods are most suitable for simple subjects, monochrome backgrounds, so that the halftone pattern can be clearly seen.
Installation and support contact information:
🏡 SADESIGN Software Company Limited
📨 Email: phamvansa@gmail.com
🌍 Website: https://sadesign.ai


.png)


