Best Selling Products

Copyright Adobe Lightroom Account
59 USD

Genuine Adobe Illustrator account
99 USD

Freepik Premium Account
59 USD

Upgrade Duolingo Super
29 USD

ChatGPT Plus Account (GPT-4)
16 USD

MidJourney Account
29 USD

Windows 10 & 11 Pro Key
36 USD

Genuine Cheap Canva Pro
39 USD

Adobe Photoshop Copyright - Full App
120 USD

Adobe Premiere Pro Account
99 USD

Autodesk All App Account Copyright
120 USD

Upgrade genuine Capture One account
120 USD

Capcut Pro 1 Year
39 USD

Plugin Retouch4me
69 USD

Upgrade Genuine Office 365
49 USD
How to Create Mockups in Photoshop Simply Yet Beautifully Like a Professional Designer
Nội dung
- 1. What is a Mockup?
- 2. Guide on How to Create Mockups in Photoshop
- 2.1 Step 1: Properly Understand Mockups and Choose the Right File
- 2.2 Step 2: Open the Mockup File and Get Familiar with the Layer Structure
- 2.3 Step 3: Insert the Design into the Smart Object and Adjust the Content
- 2.4 Step 4: Adjust Lighting, Colors, and Export the Mockup File
- 3. Suggestions for Websites to Find Beautiful Mockups
- 3.1 Mockup World
- 3.2 Graphic Burger
- 3.3 Pixeden
- 3.4 Freepik
- 3.5 Futuramo
- 4. Some Notes When Creating Mockups in Photoshop
- 4.1 Choose the Right Frame Size and Ratio
- 4.2 Adjust Colors and Contrast
- 4.3 Ensure Product Quality in the Mockup
- 4.4 Set Up Lighting and Shadows
- 4.5 Carefully Review Before Finalizing
- 5. Trusted Place to Upgrade Licensed Photoshop
- 6. Conclusion
Knowing how to create mockups in Photoshop is an essential skill that helps designs become far more vivid, realistic, and professional compared to simply presenting them on a plain white background.
1. What is a Mockup?
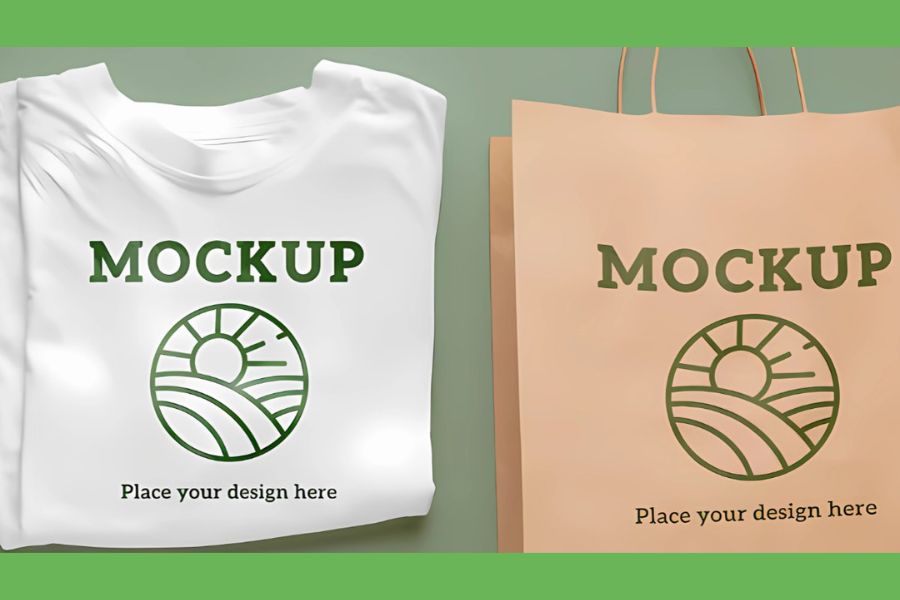
A mockup is a simulation model used to visually and vividly present a design idea before the product is actually implemented in real life. Typically, mockups are built in the form of PSD files or vector files that already have layouts, lighting, and perspectives designed in advance. Thanks to this, designers can easily place design products such as banners, name cards, packaging, or interfaces into realistic contexts so viewers can better imagine the final result.
In Photoshop, mockups are considered an extremely important support tool for both beginners and professional designers. Using mockups helps save design time, reduces the need to recreate multiple versions, and enhances professionalism when presenting ideas to clients or partners. With just a few simple operations, you can change the design content while still maintaining the original layout and effects.
With the method of creating mockups in Photoshop, you can completely create visual, realistic, and highly applicable images for promotional, teaching, or product presentation purposes. In particular, product mockups in Photoshop also help you easily detect errors in colors, layouts, or proportions before printing or manufacturing, thereby optimizing design efficiency and ensuring quality for every project.
2. Guide on How to Create Mockups in Photoshop
2.1 Step 1: Properly Understand Mockups and Choose the Right File
A mockup is a simulation model that helps present design ideas visually and vividly before the product is put into real-world use. Instead of only viewing the design on a white background, mockups allow you to place products into realistic settings such as business cards on a desk, logos on paper boxes, or banners displayed outdoors. This helps viewers easily visualize the overall design while increasing persuasiveness when presenting ideas to clients.
When starting to create mockups in Photoshop, choosing the right mockup file is extremely important. You should prioritize PSD files with pre-designed layouts, clear lighting, and perspectives, especially those that support Smart Objects for easier content replacement. A quality mockup file will help the design appear natural, realistic, and save a significant amount of editing time later on.
2.2 Step 2: Open the Mockup File and Get Familiar with the Layer Structure
After obtaining the mockup file, open it in Photoshop and spend time observing the layer structure. Most professional mockups are organized very clearly, with separate groups for backgrounds, lighting effects, shadows, and design placement areas. Understanding how the layers are organized will help you work faster and minimize errors during editing.
At this step, you should pay special attention to Smart Object layers, which are usually clearly marked. This is where you will insert your design into the mockup. Once you become familiar with the layer arrangement, creating mockups in Photoshop will become much simpler and smoother, even for beginners.
(1).jpg)
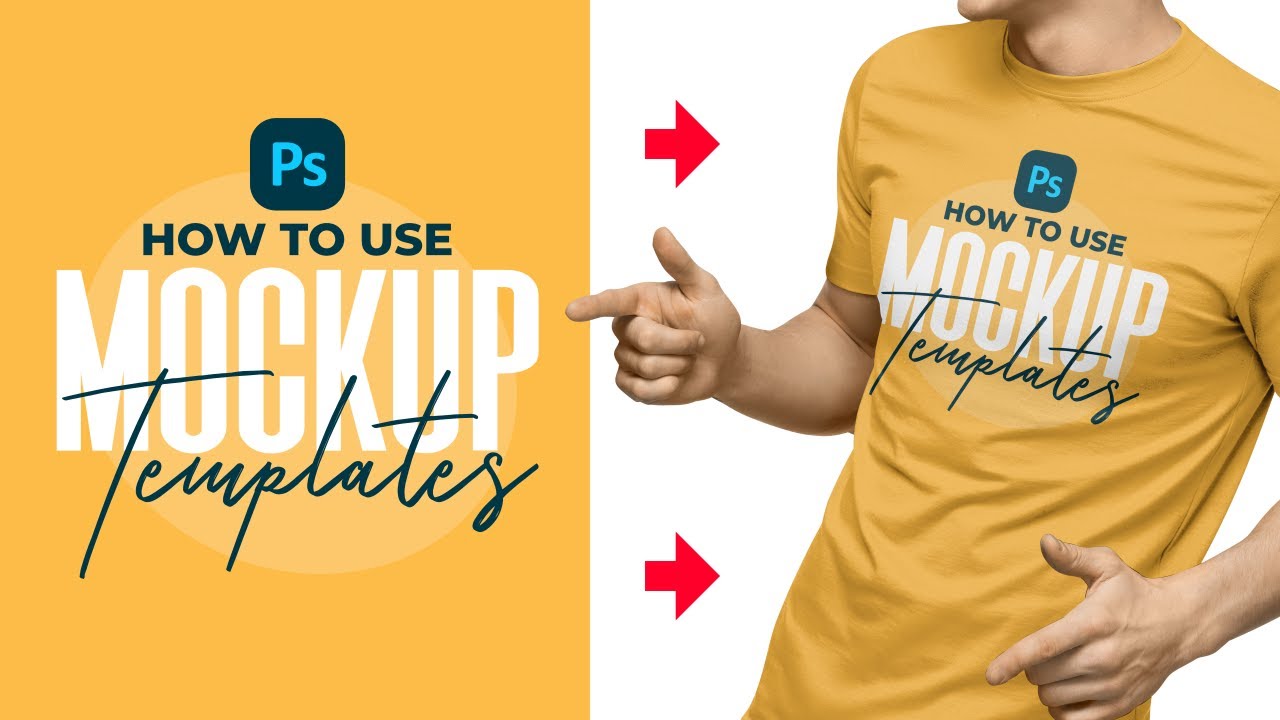
2.3 Step 3: Insert the Design into the Smart Object and Adjust the Content
To place your design into the mockup, simply double-click the Smart Object layer, and a new file will open in Photoshop. Here, paste or place your design in the correct position and adjust its size to fit the available frame. After finishing, save the Smart Object file and return to the main mockup file to view the result.
The strength of creating mockups in Photoshop lies in the ability to automatically update layouts and effects. Once you save the Smart Object, the design will immediately be applied to the mockup with all available lighting, curves, shadows, and material textures. This makes the image look realistic, like an actual photographed product, while also saving manual editing time.
.jpg)
2.4 Step 4: Adjust Lighting, Colors, and Export the Mockup File
After inserting the design, you should spend time reviewing the overall mockup. Pay attention to lighting, colors, and contrast to ensure the design blends naturally with the surrounding environment. If needed, you can further adjust color layers, shadow layers, or opacity to make the mockup appear more harmonious and realistic.
Once completed, export the mockup file in suitable formats such as JPG or PNG for promotion, presentations, or teaching purposes. Product mockups in Photoshop not only enhance the professionalism of designs but also help detect layout and color issues early before printing or production, thereby ensuring optimal effectiveness for every project.
.jpg)
3. Suggestions for Websites to Find Beautiful Mockups
3.1 Mockup World
Mockup World is one of the websites highly appreciated by the design community for finding quality PSD mockups. The strength of this platform lies in the fact that all mockup templates are carefully selected, ensuring clear layouts, reasonable lighting, and Smart Object support. Thanks to this, users can easily apply them when creating mockups in Photoshop without requiring too many edits.
In addition, Mockup World categorizes mockups by themes such as packaging, fashion, branding, posters, or digital devices. This scientific arrangement helps designers quickly find suitable templates for their current projects, saving time and improving efficiency when creating product mockups in Photoshop.
3.2 Graphic Burger
Graphic Burger is a familiar resource for many designers, from beginners to professionals. This website provides a wide range of free mockup templates with high image quality, refined layouts, and modern styles. PSD files here are usually optimized for Photoshop, making content replacement quick and convenient.
A special feature of Graphic Burger is that its mockups are highly practical and suitable for many purposes such as presenting logos, posters, advertising publications, or website interfaces. This is an ideal choice if you want to practice creating product mockups in Photoshop systematically while still ensuring aesthetics and professionalism.
3.3 Pixeden
Pixeden stands out with its diverse graphic resource system, in which mockups are particularly well invested. The mockup templates at Pixeden have modern styles, sharp visuals, and great attention to lighting and material details. This helps designs placed into the mockup look more realistic and closer to actual products.
Besides that, Pixeden also provides accompanying resources such as text effects, UI kits, and icons, supporting designers in completing projects consistently. When combining these resources in Photoshop, you can improve mockup quality and flexibly apply them to many different design ideas.
3.4 Freepik
Freepik is a massive graphic resource library with a huge number of vector and PSD files, including many mockup templates in various styles. From packaging and printing mockups to digital interfaces, Freepik meets most basic designer needs. Its friendly search interface allows users to easily filter and choose suitable templates.
One major advantage of Freepik is that mockups are updated regularly, keeping up with new design trends. This helps you apply mockup creation techniques in Photoshop flexibly across fields such as advertising, media, or e-commerce, even when using the free version.
.jpg)
3.5 Futuramo
Futuramo is a platform specializing in interface design resources, especially known for its rich icon collection with diverse styles. With tens of thousands of high-quality icons, Futuramo is a powerful support tool when creating application or website interface mockups in Photoshop.
Combining icons from Futuramo into mockups makes interfaces more intuitive, clear, and professional. This is a suitable resource for those practicing product mockups in Photoshop related to UI UX, helping test layouts and user experiences before implementing real products.
4. Some Notes When Creating Mockups in Photoshop
4.1 Choose the Right Frame Size and Ratio
In the process of creating mockups in Photoshop, choosing the frame size and ratio is the foundation that determines the professionalism of the entire design. A mockup with an unsuitable ratio will make the product look distorted, unbalanced, and reduce aesthetic value, no matter how good the original idea is. Therefore, before starting the design process, you need to clearly determine whether the mockup will be used for printing, portfolio presentation, or digital platforms to choose the most suitable frame ratio.
The frame size should be large enough to clearly display important details, while also being optimized to avoid heavy files and difficult editing. For printed mockups, a 300 DPI resolution is the standard needed to ensure sharp images when exporting. Meanwhile, mockups for websites or social media should prioritize lighter ratios that load quickly while still maintaining clarity. Choosing the correct size and ratio from the beginning will save a lot of editing time later on.
4.2 Adjust Colors and Contrast
Colors and contrast are factors that directly affect viewers’ visual emotions when evaluating a mockup. In the process of creating mockups in Photoshop, adjusting colors is not only to make images more attractive but also to help products blend naturally with the surrounding environment. You should use tools such as Hue Saturation, Color Balance, or Levels to balance colors consistently and naturally, avoiding mismatched tones or overly bright colors that strain the eyes.
In addition, contrast should be adjusted moderately to highlight the main product without breaking the overall design. A mockup with proper contrast will make the product appear clear and sharp while still maintaining softness and realism. When colors and contrast are handled well, product mockups in Photoshop will look more professional and create stronger positive impressions on clients or viewers.
4.3 Ensure Product Quality in the Mockup
Image quality is always the core factor when creating product mockups in Photoshop. Using low-resolution or blurry images will make the mockup lose professionalism, even if the layout and colors are well handled. Therefore, you should prioritize using clear original files with high detail to ensure products appear realistic and sharp in all usage situations.
In addition, you should carefully check factors such as display proportions, surface smoothness, and seamless blending between the product and the mockup background. A quality mockup is not only visually attractive but also clearly conveys the design idea. This is exactly what makes mockups effective persuasive tools in presentations, promotions, or teaching.
Upgrade Adobe Photoshop License
4.4 Set Up Lighting and Shadows
Lighting and shadows are important factors that help mockups have depth and feel more realistic. When creating mockups in Photoshop, you need to carefully observe the light source in the mockup context to adjust product lighting consistently. Lighting should be handled moderately, enough to highlight details without creating harsh or artificial feelings.
Shadows also need to be set skillfully so the product blends naturally with the surrounding environment. A shadow that is too dark or incorrectly directed will make the mockup look unrealistic. When lighting and shadows are balanced properly, the mockup not only looks better but also creates the feeling that the product truly exists within the space, thereby enhancing the aesthetic value of the design.
4.5 Carefully Review Before Finalizing
Reviewing the entire design is a step that should never be skipped when creating mockups in Photoshop. Before exporting the file, carefully inspect every small detail such as colors, proportions, lighting, and sharpness to ensure there are no errors. Small mistakes, if not detected in time, can greatly affect the overall impression of the mockup.
Careful review also helps you reevaluate the harmony and communication effectiveness of the design. A thoroughly edited mockup not only demonstrates the professionalism of the designer but also helps ideas be conveyed more clearly and persuasively. This is the final step that helps you complete mockups neatly and achieve the highest possible quality.
.jpg)
5. Trusted Place to Upgrade Licensed Photoshop
Choosing the right place to purchase a licensed Photoshop version not only helps you use the software stably for the long term but also ensures the safety of your data and work progress. Currently, the market is full of cheap Adobe license offers that carry high risks such as suddenly locked accounts, lack of technical support, or even unusable software after payment. Therefore, finding a reputable, transparent, and responsible provider is one of the most important factors when deciding to upgrade Photoshop legally.
Appvip is one of the addresses trusted by many designers, freelancers, and businesses when purchasing the Adobe Full Apps 80GB Cloud licensed package. Here, all Adobe packages are genuine licensed versions with publicly transparent pricing suitable for many users, from individuals to organizations. This helps customers confidently use the software long-term without worrying about interruptions or unexpected costs.
One of Appvip’s strengths is its flexible and fast payment process. Users can choose various payment methods such as bank transfer or e-wallets, ensuring convenience and safety. Right after completing payment, the licensed Adobe account is delivered quickly, allowing you to start working immediately without waiting.
6. Conclusion
It can be seen that creating mockups in Photoshop is not as complicated as many people think. The important thing is understanding the tools correctly and knowing how to apply them appropriately. Mockups not only make designs more visual but also act as a bridge between ideas and reality, helping clients or viewers easily perceive the value of a product. By practicing regularly and paying attention to lighting, layout, and overall harmony, you can absolutely create simple yet beautiful, professional mockups with a distinct personal touch in every design.


VIP Products


Best Selling Products
Copyright Adobe Lightroom Account
59 USD
Genuine Adobe Illustrator account
99 USD
Freepik Premium Account
59 USD
Upgrade Duolingo Super
29 USD
ChatGPT Plus Account (GPT-4)
16 USD
MidJourney Account
29 USD
Windows 10 & 11 Pro Key
36 USD
Genuine Cheap Canva Pro
39 USD
Adobe Photoshop Copyright - Full App
120 USD
Adobe Premiere Pro Account
99 USD
Autodesk All App Account Copyright
120 USD
Upgrade genuine Capture One account
120 USD
Capcut Pro 1 Year
39 USD
Plugin Retouch4me
69 USD
Upgrade Genuine Office 365
49 USD