Best Selling Products
How to create stars in Photoshop SIMPLY with SaDesign
Nội dung
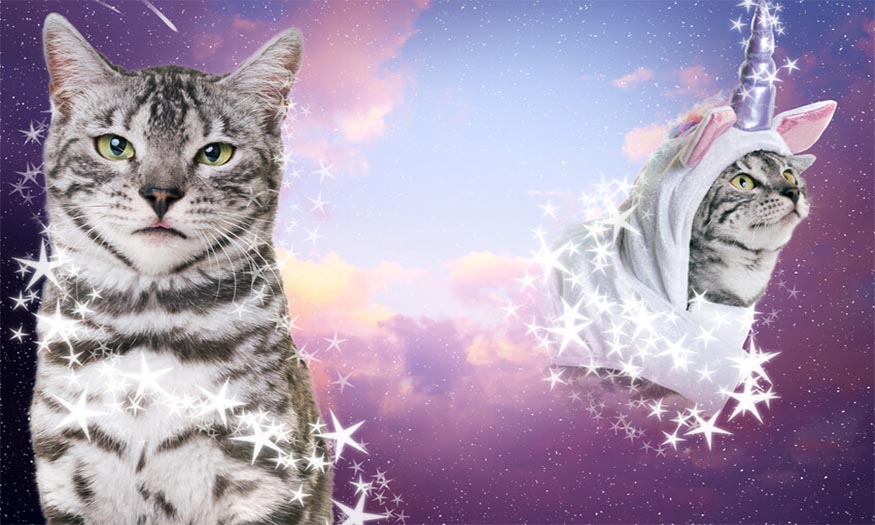
Are you wondering how to create stars for your photos in Photoshop? Don't worry too much, the article below SaDesign will help you grasp the most detailed ways to draw stars and create star effects in Photoshop.

1. How to create stars in Photoshop
Step 1
In Photoshop, go to the Polygon Menu, right-click on it and select Polygon Tool ( U ), which is a pentagon.
(1).jpg)
Step 2
Go ahead and select Settings in the top toolbar. This will look like a gear. Click on this and select the Star checkbox with the Radius set to 25%.
.jpg)
Step 3
Next, drag out your Photoshop star shape to create a chunky star.
.jpg)
Step 4
Change the percentages to create a variety of different Photoshop star shapes.
.jpg)
2. How to create star effects in photoshop
Step 1
Create a new layer by pressing Ctrl-N in your Photoshop and fill this layer with black.
.jpg)
Step 2
Next, select Filter > Add Noise and set the Amount to 50% , select Gaussian and check the Monochromatic box. Click OK.
.jpg)
Step 3
Select Filter >Blur > Gaussian Blur and set the Radius to 1.5% and click OK.
.jpg)
Step 4
Next, we go to Levels by pressing Ctrl-L and moving the arrows to the bottom of the curve in Input Levels , similar to how we did below. Experiment with these sliders until you get the star field strength you like.
.jpg)
Step 5
Next, set the Layer Blend Mode to Screen. To add more intensity to your stars, simply duplicate this layer. This will create a really impressive, eye-catching star effect without taking up much of your time or effort.
.jpg)
3. How to create star trails with brushes in Photoshop
Step 1
Create a star of your choice as in part 1 that SaDesign has instructed and make sure it is set to black.
Here are the settings I used to create the star trails.
Brush Head Shape
Spacing up to 102%
Shape dynamics
Jitter Size to 27% with Control set to Pen Pressure
Jitter angle at 70% with Control set to Pen Pressure
Jitter Roundness to 20% ; Control: Off
Minimum roundness up to 25%
Scattering
Scatter is set to 196% on both axes ; Control is set to Pen Pressure
Count Jitter to 14% ; Control set to Pen Pressure
Speed
Jitter Opacity is set to 0% ; Pen Pressure is set to minimum 0%
Flow Jitter at 0% set to Pen Pressure with a minimum of 76%
Smoothing
On
.jpg)
Step 2
You can now save your brush by clicking the square with the + sign at the bottom of the Brush Settings panel.
.jpg)
Step 3
Here's what the star streak brush looks like with our settings.
.jpg)
4. How to create a sparkling star in Photoshop
Step 1
Now you have your own star Photoshop brush. Draw your stars using the Star Trail Brush we just created and duplicate this layer.
.jpg)
Step 2
On the layer below, go to Filter => Blur => Gaussian Blur and set the Radius to 8.6 Pixels. Click OK. And that's how to create a star in Photoshop!
.jpg)
5. How to create a shooting star in Photoshop
Step 1
In Brush Settings, select the default Hard Round Pressure Opacity brush and squeeze the tip shape into a narrow oval.
.jpg)
Step 2
On a New Layer (Ctrl-N), draw a shooting star with the head darker than the trail.
.jpg)
Step 3
Select the Eraser (E) and use the Soft Brush to lightly paint some of the tail.
.jpg)
Step 4
To create the meteor shower effect, hold Alt and use the Move Tool l ( V ) to duplicate each layer. Scale, move, and repeat as needed. Optionally, for added depth, you can reduce the opacity of some of the shooting stars.
So SaDesign has just introduced to readers how to create stars in Photoshop as well as related star effects. Hopefully, this article will help readers create impressive and vivid star-shaped pictures.
.jpg)


