1. The nature of selection areas and the importance of post-production management.
In Photoshop, a selection area acts as a protective frame, allowing users to focus all their actions on a specific area without affecting the rest of the image. Once an area is selected, all operations such as coloring, adjusting brightness, or applying filters are only effective within that boundary.
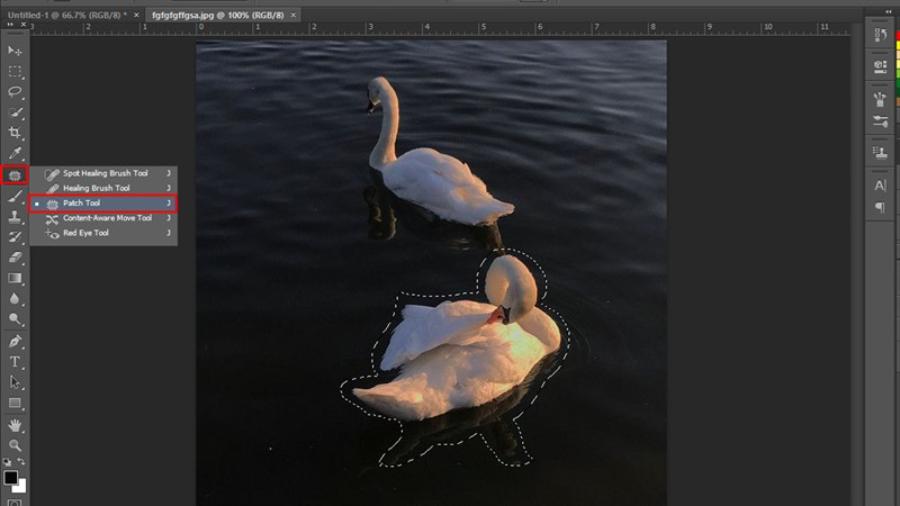
Failing to delete or deselect selections after use often results in users being unable to work with other areas of the layer. This is a common error that leads many to mistakenly believe the software has crashed or the tool is broken. The flexibility in switching between selected and deselected states is what differentiates an amateur user from a professional designer. Good selection management helps maintain a clean file structure, supports non-destructive editing, and significantly saves time in complex projects.
2. The fastest methods to deselect areas in Photoshop
Deselecting an area is the process of returning the entire image to a free-form state, with no restricted areas. This is the most frequent operation that every technician has to perform hundreds of times during each work session.
2.1. Using the magical Deselect shortcut
The quickest and most professional way to remove ant-like lines is to use the keyboard shortcut Ctrl + D (on Windows) or Command + D (on macOS). Immediately, the selection boundary will disappear, allowing you to continue working on the entire surface of the current layer. Developing the habit of using this shortcut makes the image processing workflow smoother and reduces reliance on manual mouse clicks.
2.2. Using the control menu on the toolbar
Users can execute this command through the software's menu system. By accessing the "Select" item on the toolbar at the top of the screen, and then selecting " Dselect ," this method is slower than using keyboard shortcuts but makes it easier for beginners to see other related options such as inverting the selection (Inverse) or reselecting the previously deselected area (Reselect).
2.3. Using the mouse to manipulate Selection tools
When using basic selection tools like the Marquee Tool or Lasso Tool, a simple left-click anywhere outside the selection area will automatically cancel that selection. Note that this method only works if you don't accidentally click on another layer or are using tools with cumulative selection features.
3. How to completely remove content inside a selection area
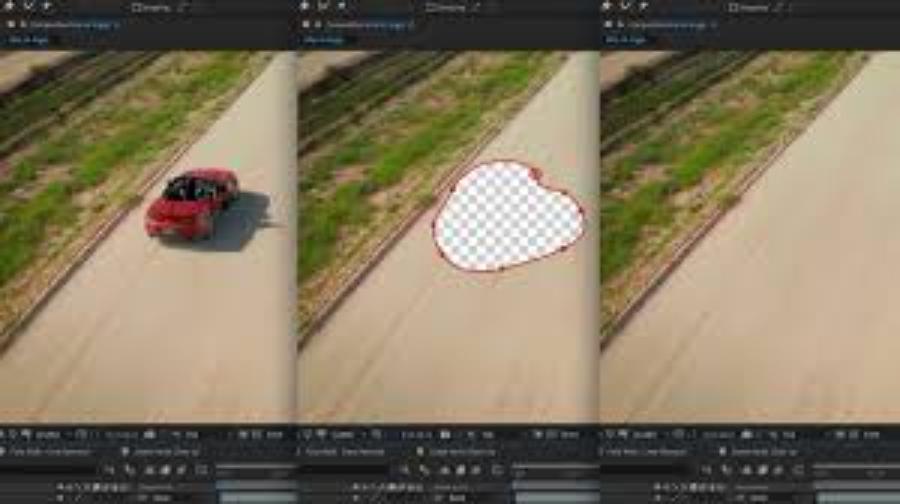
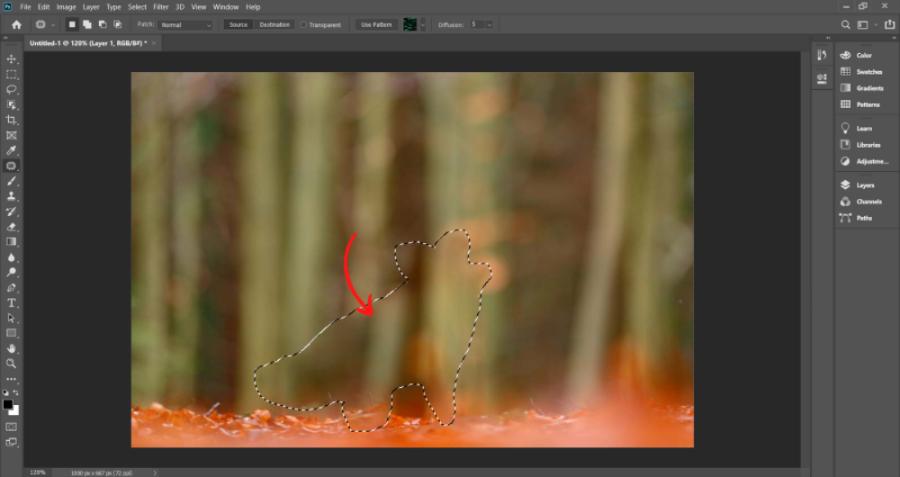
Unlike canceling a selection, deleting content within a selection is the action of removing image pixels within that area to create space or replace them with other data.
-
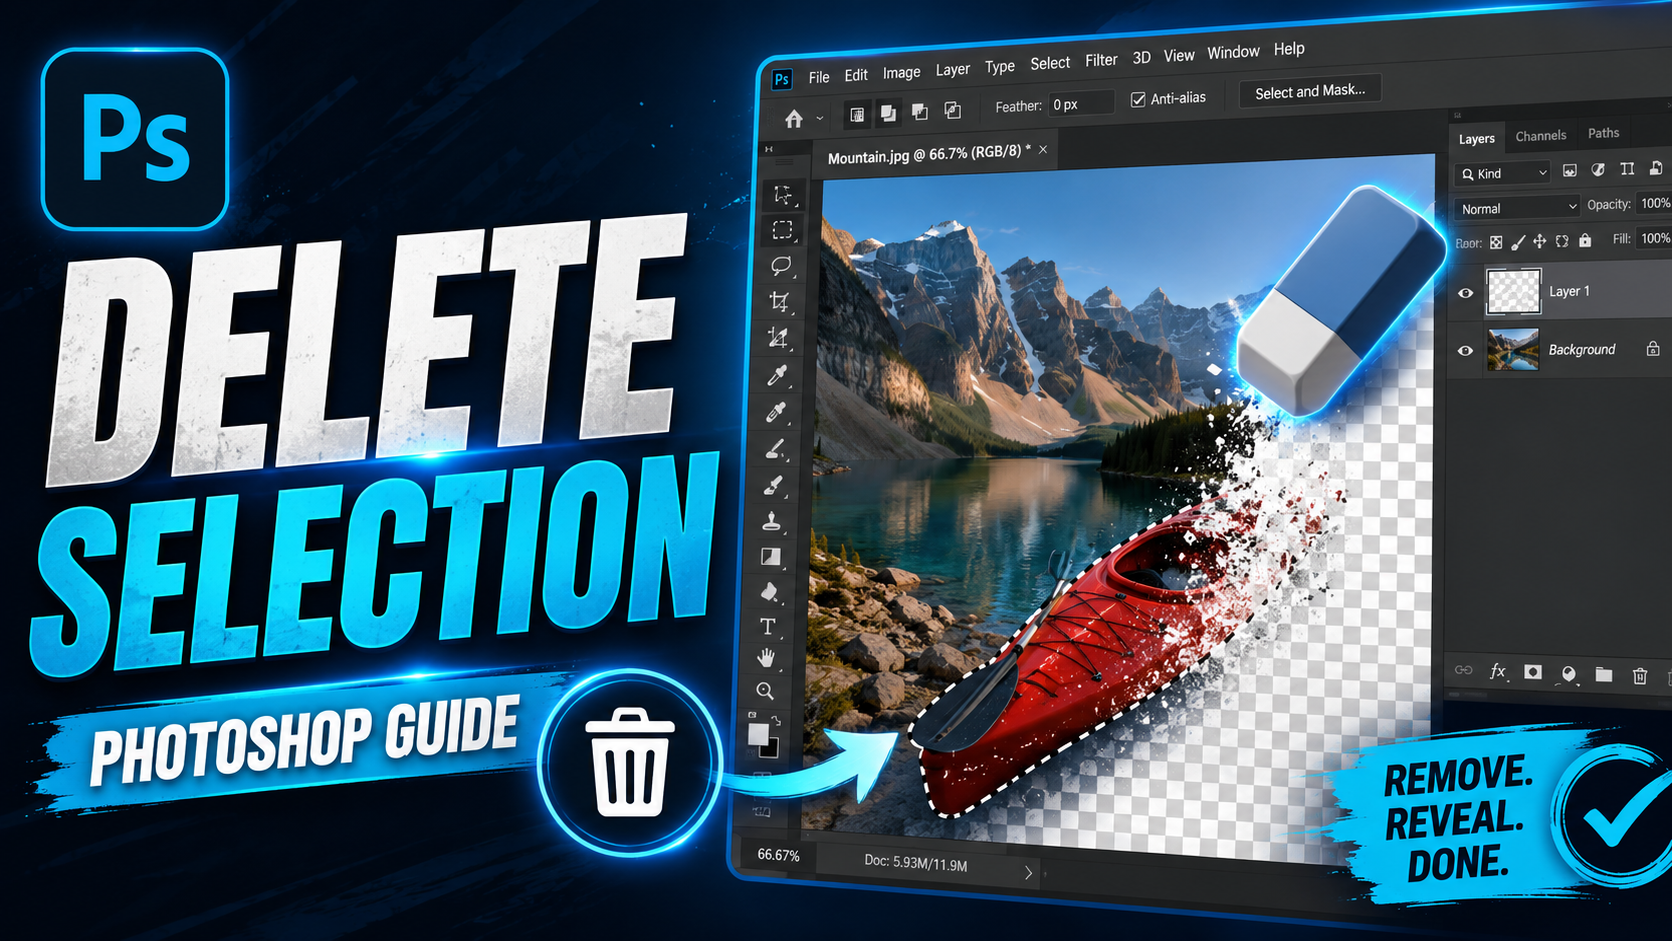
Using the Delete or Backspace key: After selecting the object to be removed, pressing the Delete key will erase all image data within it. If working on a regular layer, the deleted area will become transparent (displayed as a checkerboard pattern).
-
Deleting using the Fill command (Shift + F5): This is a smarter method. Instead of leaving a blank space, the Fill command allows you to fill the selection with a specified color or use the Content-Aware feature so that the AI automatically compensates for details from the surrounding environment.
-
Using the Eraser Tool (shortcut key E): The eraser can be used to erase parts of the image within the selection area. The key feature of this operation is that the eraser will only work within the established boundaries, completely protecting the image outside the selection from accidental deletion.
4. Applying AI technology to process selection areas at appvip.ai
The development of artificial intelligence has completely changed the way we interact with graphic design software. Handling complex selections such as human hair, leaves, or objects with high transparency was a major challenge for traditional tools. To optimize workflow, modern users tend to combine the power of Photoshop with intelligent support platforms.
The appvip.ai platform offers a wealth of AI applications and technologies to simplify the creation and removal of selections. Instead of meticulously drawing each stroke manually, the tools introduced at appvip.ai allow for automatic subject recognition with extremely high accuracy. Background separation or removal of unwanted details becomes quick and easy with just a few basic steps.
The solutions from appvip.ai extend beyond just still image processing to include video, helping content creators maintain consistency across all frames. Utilizing the resources here gives you access to the most advanced image processing algorithms, ensuring that selection edges are always as smooth and natural as possible.
5. Advanced and Customizable Selection Removal Techniques
Sometimes, deleting a selection requires fine-tuning to ensure the aesthetic appeal of the final artwork, avoiding sharp edges or a jagged look.
5.1. Deleting a portion of the selection (Subtract from Selection)
If you've created a selection that's too large and want to remove a small portion, hold down the Alt (Windows) or Option (macOS) key while using the selection tool. A minus sign (-) will appear on the cursor, allowing you to draw over the areas you want to subtract from the original selection without having to start over.
5.2. Smooth the edges of the selection before deleting (Feather)
To ensure that the object remains undetectable after deletion or cropping, the Feather feature (Shift + F6) is essential. Setting the appropriate Feather parameter will gradually blur the edges of the selection. When performing a deletion command, the boundary between the deleted and retained areas will transition smoothly, creating a seamless blend with the surrounding environment.
6. Troubleshooting common errors when unable to delete a selection.
In practice, situations often arise where delete or deselect commands fail to work, disrupting the creative flow.
-
You're on the wrong layer: This is the most common mistake. The selection is displayed on the screen, but you're selecting an empty layer or a layer hidden in the Layers panel. The delete command will not produce any results because no pixels are affected on that layer.
-
The selection area is too small to be seen: A few selected pixels left in the corner of the screen can prevent you from using other tools. If you feel the software is "not responding," press Ctrl + D to clear any hidden selections.
-
Hidden Selection Mode (Ctrl + H): This shortcut hides the ant-like lines so the user can easily observe the image, but the selection area still remains. Press this key combination again to check if any selection areas are "hidden" before continuing.
-
Use Layer Masks instead of direct deletion: Experts often recommend using layer masks to hide selections instead of permanently deleting pixels. If you want to safely remove content within a selection, paint the mask black at that location.
7. Professional workflow with selections in design.
A well-structured process helps minimize technical errors and ensures the highest possible image quality.
7.1. Step 1: Define the objective of the selection area.
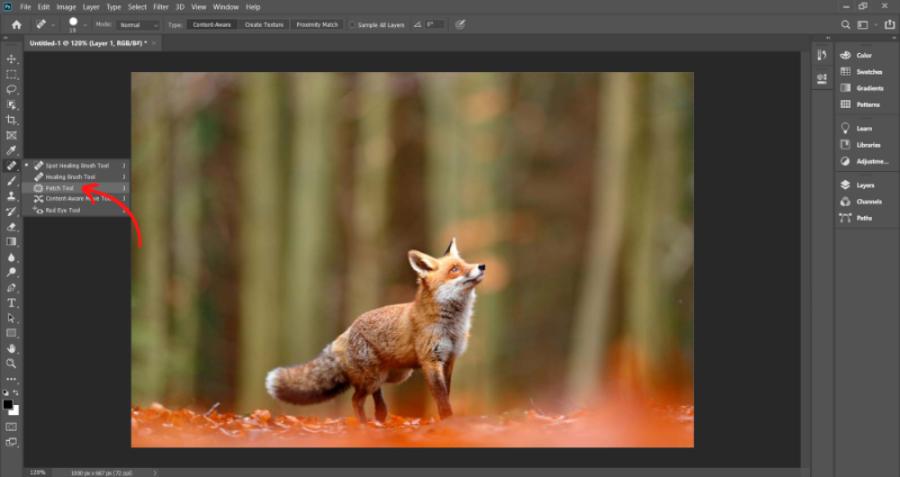
Each type of image requires a different selection tool. Use the Pen Tool for solid objects, the Magic Wand for uniform color areas, and the Magnetic Lasso for high-contrast borders. Identifying the right tool makes subsequent removal or processing much easier.
7.2. Step 2: Optimize borders with Select and Mask
Before deciding to delete content, access the Select and Mask workspace. Here, you can fine-tune parameters such as Smooth, Contrast, and Shift Edge to achieve the most perfect selection border, avoiding jagged edges after processing.
7.3. Step 3: Perform the action and deselect immediately.
A common habit among skilled designers is to execute the selection command as soon as it's created and deselect it (Ctrl + D) immediately afterward. Leaving the selection on the screen for too long can easily lead to forgetting the software's state, making subsequent drawing steps difficult.
8. Conclusion
Mastering selection management and deletion skills in Photoshop is a crucial step towards becoming a professional photo editor. From basic keyboard shortcuts to leveraging artificial intelligence from platforms like appvip.ai , each skill contributes to improved performance and the quality of your graphic design work. Understanding when to cancel a selection, when to permanently delete pixels, and how to fine-tune selection boundaries will give you complete control over your creative space.