Best Selling Products

Windows 10 & 11 Pro Key
36 USD

Copyright Adobe Lightroom Account
59 USD

ChatGPT Plus Account (GPT-4)
16 USD

Capcut Pro 1 Year
39 USD

Genuine Adobe Illustrator account
99 USD

Genuine Cheap Canva Pro
39 USD

Plugin Retouch4me
69 USD

Freepik Premium Account
59 USD

MidJourney Account
29 USD

Upgrade Duolingo Super
29 USD

Adobe Photoshop Copyright - Full App
120 USD

Adobe Premiere Pro Account
99 USD

Upgrade genuine Capture One account
120 USD

Upgrade Genuine Office 365
49 USD

Autodesk All App Account Copyright
120 USD
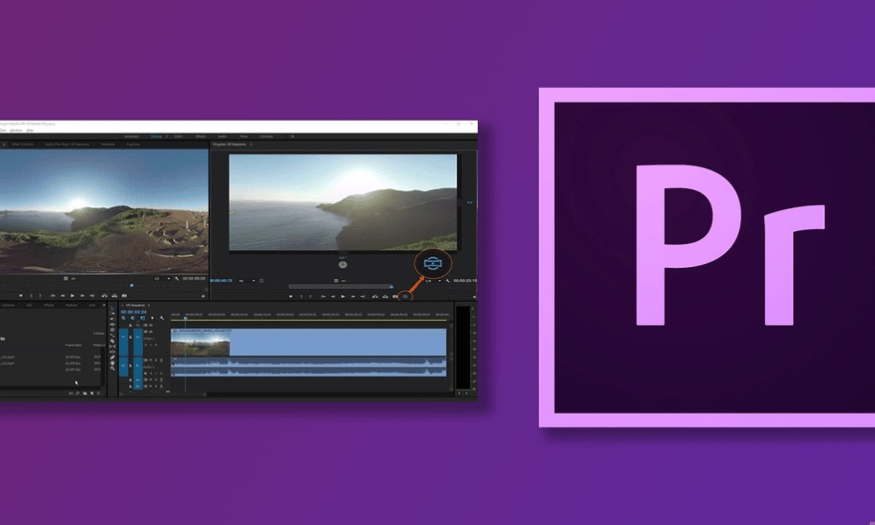
How to Fix Unable to Export Video Error in Adobe Premiere
Nội dung
- 1. Possible reasons why you can't export video in Adobe Premiere Pro
- 2. Solution for export error in Adobe Premiere Pro
- 2.1 Check export settings
- 2.2 Check disk space
- 2.3 Clear media cache
- 2.4 Try exporting to a different format
- 2.5 Turn off effects and transitions
- 2.6 Use Media Encoder instead of Premiere Pro
- 2.7 Update drivers and Premiere Pro
- 3. Best Settings for Exporting Video in Adobe Premiere Pro
- 4. How to speed up video export
- 5. Additional troubleshooting
- 6. Conclusion
If you are facing the problem of not being able to export your video in Adobe Premiere Pro, you are not alone. Many other users have encountered the same problem when trying to save their project in the desired format. There are many potential causes for this problem, from codec errors and incorrect settings to lack of disk space or even an outdated version of the software. In this article, we will explore each of these causes and provide you with detailed solutions that will help you export your video without any problems.

If you are facing the problem of not being able to export your video in Adobe Premiere Pro, you are not alone. Many other users have encountered the same problem when trying to save their project in the desired format. There are many potential causes for this problem, from codec errors and incorrect settings to lack of disk space or even an outdated version of the software. In this article, we will explore each of these causes and provide you with detailed solutions that will help you export your video without any problems.
1. Possible reasons why you can't export video in Adobe Premiere Pro
Exporting video in Adobe Premiere Pro can run into a number of issues that can impact your workflow. One of the most common reasons is incorrect settings. If the format, codec, or export options are not set correctly, the export process can fail. This often results from selecting the wrong option in the export menu, resulting in an unfinished video.
Lack of storage space is also a major cause. Adobe Premiere Pro requires a significant amount of free hard drive space to complete the export process. If your drive doesn’t have enough space, exporting your video will fail, causing disruptions to your workflow. Additionally, corrupt or incompatible files can interfere with exporting. Corrupted video clips or effects are common with files that have been edited multiple times or downloaded from untrusted sources.
Additionally, when using Adobe Media Encoder to export a video, you may encounter errors in the rendering queue. This error can result in the file not being exported completely, forcing you to redo the process. Finally, outdated drivers can also cause problems when exporting a video. Graphics card drivers need to be updated regularly to ensure the best performance for Premiere Pro, and using an old version can lead to many unexpected problems.
.png)
2. Solution for export error in Adobe Premiere Pro
When you are having trouble exporting videos from Adobe Premiere Pro, don’t panic. There are several simple solutions you can try to fix this issue. Here are some helpful tips to help you resolve the export error effectively.
2.1 Check export settings
One of the most common causes of export errors is incorrect settings. Make sure you have selected the correct video format. H.264 is usually the best choice, as it not only provides high image quality but is also compatible with most platforms and devices. Adjusting parameters such as resolution and frame rate is also important to ensure optimal video quality.
In addition to choosing a format, you should also check the encoding and audio options. Sometimes using an incompatible codec can lead to export errors. Make sure all the settings match the requirements of your project.
.png)
2.2 Check disk space
To ensure a smooth video export, make sure you have enough free disk space. Adobe Premiere Pro needs space for both export files and temporary files. Not having enough space can cause exports to fail or even crash the software. Before you start exporting your video, check your storage space and delete unnecessary files to free up space.
You should also consider changing the export location to a different drive if your current drive doesn't have enough space. This will not only speed up the export process, but also reduce the risk of errors.
2.3 Clear media cache
The media cache can cause problems if it builds up too much. To fix this, clear the cache regularly. You can do this by going to the Edit menu > Preferences > Media Cache and selecting “Clear.” Once you’re done, restart Premiere Pro to get things running smoothly.
Clearing the cache not only improves the performance of the software but also reduces unwanted errors during video export. This is essential, especially when you are working on large projects.
2.4 Try exporting to a different format
If you are still getting errors after checking everything, try exporting the video to a different format like QuickTime or AVI. Sometimes the format that appears currently may not be compatible with the software or device you are using. Once exported, you can convert the file to the desired format using external tools like HandBrake or Avidemux.
Experimenting with different formats not only helps you find a workaround, but also opens up more options for sharing your videos.
.png)
2.5 Turn off effects and transitions
Some heavy effects or transitions can cause the export error. Try disabling these effects temporarily and see if the problem is resolved. This way you can determine if the error is caused by the effect or transition.
If turning off the effects results in a successful video export, consider changing or optimizing them to ensure the final video still meets your desired quality requirements.
2.6 Use Media Encoder instead of Premiere Pro
Another solution you can try is to send your export file to Adobe Media Encoder instead of exporting directly from Premiere Pro. Media Encoder is designed to handle video encoding and exporting tasks more efficiently, which reduces the risk of errors.
Using Media Encoder also allows you to continue working on your project in Premiere while your video is being exported, saving time and improving productivity.
2.7 Update drivers and Premiere Pro
Finally, make sure that both your graphics card drivers and your version of Adobe Premiere Pro are updated to the latest version. These updates often come with important bug fixes and performance improvements. Using outdated software can lead to a variety of unexpected issues, including video export errors. Check and update regularly to ensure that you always have the best experience when working with Premiere Pro.
3. Best Settings for Exporting Video in Adobe Premiere Pro
When exporting video from Adobe Premiere Pro, choosing the right settings is important to ensure optimal quality. First, the H.264 format is often recommended because it offers a great balance between image quality and file size. For audio, use the AAC codec, which gives you clear, crisp sound that is suitable for a wide range of playback platforms.
The resolution should also be kept the same as the original project to ensure that the video does not lose quality. Variable Bit Rate (VBR) with two passes will optimize the video quality, giving you a sharp and smooth image. Finally, the frame rate should be kept original to ensure natural motion and no lag.
These settings will not only help you achieve the best video quality but also save storage space. Make sure to double check all the elements before exporting your video to get the perfect final product.
4. How to speed up video export
If you find that exporting your video is taking too long, there are a few ways to optimize the process. One of the most effective methods is to use an SSD drive instead of a mechanical hard drive. SSDs access and write data faster, which can significantly reduce your video export time.
Additionally, you should enable GPU acceleration in Premiere Pro's settings. This will help take advantage of the power of your graphics card, improve video processing, and reduce export times. Consider temporarily lowering the resolution during the pilot export, which can save you time while still ensuring good video quality.
Finally, limiting the use of too many real-time effects is also an effective way to improve export speed. Heavy effects can slow down the export process, so consider temporarily disabling them if they are not needed.
.png)
5. Additional troubleshooting
If you’re still experiencing errors when exporting your video, there are a few other things you can try. First, break your video into smaller parts and export them separately. This will not only make the export process easier to manage, but will also help you pinpoint where errors might be occurring.
You should also check for any corrupt clips by deleting them and re-importing. This can help eliminate unnecessary issues that could be interfering with the export process. Additionally, try rendering the timeline first to see if there are any issues before exporting the final video.
With these tips, you should be able to fix most export errors in Adobe Premiere Pro. Now, you can be confident that your video will be exported successfully with the best quality possible.
.png)
6. Conclusion
Not being able to export videos in Adobe Premiere Pro can be a frustrating experience for users. However, with the causes and solutions presented above, you can completely fix these errors. Check the codec, adjust the settings, ensure enough disk space, update the software, and optimize system resources to ensure the video export process goes smoothly. With these measures, you will be able to export videos easily and efficiently, helping you complete your project without any problems.


VIP Products


Best Selling Products
Windows 10 & 11 Pro Key
36 USD
Copyright Adobe Lightroom Account
59 USD
ChatGPT Plus Account (GPT-4)
16 USD
Capcut Pro 1 Year
39 USD
Genuine Adobe Illustrator account
99 USD
Genuine Cheap Canva Pro
39 USD
Plugin Retouch4me
69 USD
Freepik Premium Account
59 USD
MidJourney Account
29 USD
Upgrade Duolingo Super
29 USD
Adobe Photoshop Copyright - Full App
120 USD
Adobe Premiere Pro Account
99 USD
Upgrade genuine Capture One account
120 USD
Upgrade Genuine Office 365
49 USD
Autodesk All App Account Copyright
120 USD