Best Selling Products
How to Squeeze Faces in Photoshop Using Liquify
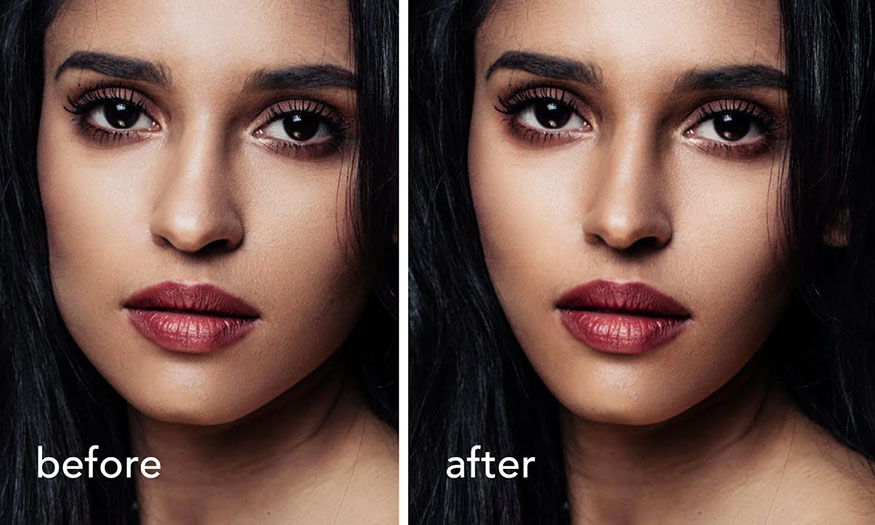
Everyone wants to have a slim face with a high nose, big eyes, V-line chin,... right? If you do not possess all of the above characteristics, we can completely edit photos on Photoshop. Let's refer to the simple way to squeeze your face in Photoshop with Liquify right below.

How to Squeeze Faces in Photoshop Using Liquify
Squeezing faces in Photoshop using Liquify is one of the simplest face adjustment methods in this software. To be able to squeeze faces in Photoshop using Liquify, you can follow the following basic steps.
Step 1: Open the photo you want to squish in Photoshop using Liquify. In the menu bar, select File => select Open => Select the photo you want to squish => and press Open. Alternatively, you can open the photo using the shortcut Ctrl+O.
Step 2: Duplicate the original layer using the shortcut Ctrl+J. Then go to the menu bar, select Filter => select Liquify or press the shortcut Ctrl+Shift+X.
Select Liquify or press the shortcut Ctrl+Shift+X
.jpg)
Step 3: In the Liquify window that appears, select the human icon in the left corner. You will see a frame around the model's face. Note that in some cases this feature will not work. The reason may be that you are using an old version of Photoshop or that your graphics card is not compatible with Photoshop. Please upgrade Photoshop or your graphics card.
.jpg)
Step 4: Move your mouse close to the model's face to reveal the boundary line and adjustment anchor points. If you want to slim down the face in Photoshop with Liquify, click on the dot on the boundary line and drag it inward. You can adjust each area such as the chin, forehead, and cheekbones as needed to create the most natural-looking photo.
.jpg)
If you are not familiar with dragging the mouse and have difficulty aligning, move to Face Shape. Here, drag the Jawline to the left to make the chin smaller. Drag the Face Width to the left to make the face slimmer. Change the Forehead to make the forehead higher. Adjust the Chin Height to make the chin longer or shorter.
.jpg)
If you want to adjust any part of the face without depending on the parameters like in the Face Shape feature, choose the Forward Warp Tool. The mouse pointer will turn into a circle, you just need to click on the position you want to squeeze the face, then drag the mouse to make it slimmer.
.jpg)
Step 5: If the Brush is too large for the model's face, making the editing less precise, click on the Brush Tool. Then change the size in the Size section to suit your needs. In addition, you can also press the [ ] key to increase or decrease the Brush size in Liquify.
.jpg)
So you have completed the extremely simple way to squeeze your face in Photoshop using Liquify. Because the face squeezing operations in Photoshop using Liquify will make very clear changes on the photo, so you should edit carefully, slowly, and deliberately to get the most natural face.
Above is the summary information on how to squeeze faces in Photoshop using Liquify. With this tool, you can easily adjust the model's face as you wish. For the most optimal and easiest photo editing, upgrade to the latest version of Photoshop. Hopefully, the sharing from Sadesign can help you have beautiful photos.


