Best Selling Products

Windows 10 & 11 Pro Key
36 USD

Copyright Adobe Lightroom Account
59 USD

ChatGPT Plus Account (GPT-4)
16 USD

Upgrade Duolingo Super
29 USD

Capcut Pro 1 Year
39 USD

Genuine Adobe Illustrator account
99 USD

Genuine Cheap Canva Pro
39 USD

Autodesk All App Account Copyright
120 USD

Freepik Premium Account
59 USD

MidJourney Account
29 USD

Adobe Premiere Pro Account
99 USD

Upgrade Genuine Office 365
49 USD

Plugin Retouch4me
69 USD

Adobe Photoshop Copyright - Full App
120 USD

Upgrade genuine Capture One account
120 USD
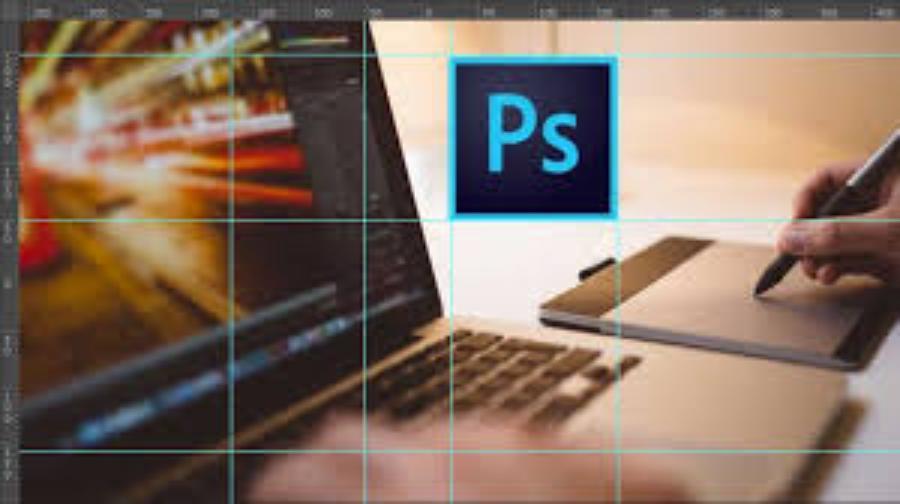
How to Use Rulers in Photoshop to Improve Design Efficiency
Nội dung
- 1. Photoshop Ruler: An Essential Tool for Every Designer
- 2. How to Activate Ruler in Photoshop
- 3. Measurement Options In Photoshop Ruler
- 4. How to Use Photoshop Ruler Combined with Guides
- 5. Use Grids to Increase Accuracy
- 6. Advanced Ruler Features In Photoshop
- 7. Photoshop Ruler and Tips to Improve Your Workflow
- 8. Conclusion
Learn how to use the ruler tool in Photoshop to create precise, professional designs. This step-by-step guide will help you master this measurement tool and help you get the most out of any design project.
When working with Photoshop, accuracy in aligning design elements is extremely important. The ruler in Photoshop not only helps you align objects accurately, but is also a useful tool for measuring and positioning everything on your photo or design. In this article, sadesign will guide you on how to use the ruler in Photoshop, helping to improve your design skills and increase work efficiency.
1. Photoshop Ruler: An Essential Tool for Every Designer
In Photoshop, the ruler can be used in conjunction with other tools such as guides, grids, and snap points to create maximum precision.
.jpg)
The ruler in Photoshop is one of the basic but extremely important tools for those who work in the field of graphic design, photo editing or image creation. It helps you align elements such as text, images, lines or other objects on the background of the design accurately, without causing deviation. With the ability to create custom guidelines, the ruler supports optimizing the layout, ensuring uniformity and professionalism for the final product. Mastering this tool not only saves time but also improves the quality of work, especially in projects that require meticulousness and high detail.
Besides, the ruler also helps you measure the size and distance between objects, ensuring harmony and balance in the entire product.
2. How to Activate Ruler in Photoshop
To use the ruler in Photoshop, you need to enable this tool in the working interface. Here are the simple steps to enable the ruler:
First, open Photoshop and make sure your project is open. Then, go to the "View" menu on the toolbar and select the "Rulers" option (or press the keyboard shortcut Ctrl+R on Windows or Command+R on macOS) to display the ruler on the workspace. When the ruler is activated, you can easily drag guides from the ruler to the workspace to align or position elements in the design precisely. If you want to change the measurement unit, simply right-click on the ruler and select the appropriate unit such as pixels, inches, or centimeters. Using the ruler will help you work more professionally and efficiently during the design process.
Once you turn on the ruler, you'll see rulers appear on the top and left sides of your workspace. This is where you can measure objects or align elements on your design.
3. Measurement Options In Photoshop Ruler
The ruler in Photoshop can be converted between different units of measurement, depending on your needs. Common units of measurement include pixels (px), inches (in), centimeters (cm), millimeters (mm), and points (pt). To change the unit of measurement, you can follow these steps:
Right-click on the ruler on the Photoshop interface (on the top or left edge).
Chọn Edit Preferences > Units & Rulers.
In the options panel, you can change the measurement unit as needed, for example from pixels to inches, or cm to mm.
Changing the unit of measurement makes it easier to work on design projects with specific size requirements.
4. How to Use Photoshop Ruler Combined with Guides
Guides in Photoshop are virtual lines that help you align objects in your design. When you drag guides from the ruler into your workspace, they appear as vertical or horizontal lines that help you easily position elements.
.jpg)
To use the guide in conjunction with the ruler, follow the steps below:
Drag a guide from the ruler: Move the mouse over the ruler (at the top or left edge of the work window), then drag a guide line into design space.
Object Alignment : When objects, such as images or text, move close to guides, they will automatically “snap” to this position, helping you align more precisely. These lines help align objects, margins, or divide layouts easily and accurately. For more flexible manipulation, you can enable the “Snap to Guides” mode in the “View” menu, which will automatically snap objects to the guides when moving. This is an indispensable tool for professional designers to optimize workflow and ensure the quality of the final product.
Ideally use guides when you need to align elements to each other or create even spacing between objects.
5. Use Grids to Increase Accuracy
Using a grid not only helps organize information scientifically but also increases accuracy in the process of designing and implementing projects. The grid allows for reasonable space allocation, ensuring consistency and balance between components. At the same time, it helps users easily identify the structure, thereby minimizing errors and improving work efficiency. In areas such as graphic design, interface programming or data management, the application of grids plays an important role in optimizing the process and achieving high-quality results.
The grid in Photoshop is another useful tool that can be used in conjunction with the ruler to increase precision when designing. The grid helps you divide your workspace into regular squares, which help align objects to a certain proportion. To turn on the grid:
Go to the View menu .
Select Show > Grid or press Ctrl + ' (Windows) or Cmd + ' (macOS).
Once the grid is enabled, you can drag objects into the grid cells to ensure they are evenly and logically aligned. Grids are useful when designing repeating elements or needing an evenly spaced structure.
6. Advanced Ruler Features In Photoshop
Photoshop offers a variety of advanced ruler features that make it easy to measure, align, and design accurately. With the ruler tool, you can create custom guides, measure distances between objects, and ensure balance in your layout. In addition to the basic features, Photoshop offers several advanced tools for working with rulers:
.jpg)
Snap To : This feature makes objects automatically snap to grid lines, guides, or rulers as you move them close. This helps align elements precisely without having to do it manually.
How to Measure Distance : You can use the Ruler Tool (shortcut: I ) to measure the distance between objects in Photoshop. Just select this tool, drag from point A to point B, and the software will display information about that distance.
Movable Ruler : You can move the ruler to suit your working needs. Click and hold the left mouse button on the ruler, then drag to another location to change the position of the ruler.
Additionally, this feature also aids in pixel-perfect alignment, which is especially useful when working on design projects that require high precision. Using rulers in Photoshop not only helps optimize workflow but also enhances the quality of design products in a professional manner.
7. Photoshop Ruler and Tips to Improve Your Workflow
The ruler in Photoshop is an important tool that helps users measure and align elements accurately in their designs. Using a ruler not only helps create a harmonious layout, but also saves time and improves work efficiency. To improve your process, you should take advantage of features such as Guides, Grids, and Snap to ensure the highest accuracy! Using the ruler and accompanying tools in Photoshop not only helps you achieve high accuracy in your designs but also optimizes your workflow. Here are some tips to help you work more efficiently:
Use Multiple Guides : In Photoshop, using rulers and guides is an important tool for increasing accuracy and efficiency in your workflow. You can activate the rulers by going to the "View" menu and selecting "Rulers" or pressing the keyboard shortcut Ctrl+R (Windows) or Command+R (Mac). Additionally, using multiple guides at once will help you align objects more accurately, especially when working with complex designs. To create guides, simply drag from the ruler down or to the side, and you can customize their position as needed. These little tips will not only save you time, but also ensure the final product is of the highest quality!
Save Ruler Configuration : If you frequently work with projects that have specific dimensions, save your ruler configuration to easily reapply to future projects.
Turn Off Ruler When Not Needed : To avoid being bothered by the ruler when not in use, you can turn off the ruler by going to the View > Rulers menu or pressing Ctrl + R (Windows) or Cmd + R (macOS).
In addition, customizing the measurement unit to suit the project, regularly using shortcuts, and organizing layers scientifically are also useful tips to optimize the design process in Photoshop.
8. Conclusion
The ruler in Photoshop is an incredibly useful tool that helps you create precise and professional designs. Mastering the use of the ruler and combining it with tools like guides and grids will make your design process easier and more efficient. By applying the tips and techniques we have shared, you will be able to work flexibly in Photoshop, creating beautiful and complete products.


VIP Products


Best Selling Products
Windows 10 & 11 Pro Key
36 USD
Copyright Adobe Lightroom Account
59 USD
ChatGPT Plus Account (GPT-4)
16 USD
Upgrade Duolingo Super
29 USD
Capcut Pro 1 Year
39 USD
Genuine Adobe Illustrator account
99 USD
Genuine Cheap Canva Pro
39 USD
Autodesk All App Account Copyright
120 USD
Freepik Premium Account
59 USD
MidJourney Account
29 USD
Adobe Premiere Pro Account
99 USD
Upgrade Genuine Office 365
49 USD
Plugin Retouch4me
69 USD
Adobe Photoshop Copyright - Full App
120 USD
Upgrade genuine Capture One account
120 USD