Best Selling Products
Instructions for Batch Editing Photos in Photoshop: Save Time Effectively
Nội dung
- 1. Why should you batch edit photos in Photoshop?
- 2. When Should You Use Batch Photo Editing?
- 2.1. When you need to save time for a large project
- 2.2. When it is necessary to ensure consistency of style
- 2.3. When you need to resize or format in bulk
- 2.4. When to apply basic edits
- 2.5. When processing ID photos or profile photos
- 2.6. When optimizing images for storage or sharing purposes
- 2.7. When dealing with highly repetitive projects
- 2.8. When working with photo sets, it is necessary to preserve the original
- 3. Steps to batch edit photos in Photoshop
- 3.1. Using Actions
- 3.2. Apply Action to photos in batches
- 4. Notes When Editing Photos in Batch in Photoshop
- 4.1. Clearly define editing goals
- 4.2. Double check the source images
- 4.3. Use Actions wisely
- 4.4. Choose the appropriate editing tool
- 4.5. Notes on output image format and size
- 4.6. Check the results after editing
- 4.7. Save the original before editing
- 4.8. Manage files after editing
- Conclude
Photoshop is not only a powerful photo editing tool but also helps you process batches of photos quickly and professionally. In this article, we will explore how to batch edit photos in Photoshop to save time and improve productivity.

Photoshop is not only a powerful photo editing tool, but it also helps you process batches of photos quickly and professionally. This feature is especially useful for designers, photographers, or anyone who needs to edit many photos at once. In this article, we will explore how to batch edit photos in Photoshop to save time and improve work efficiency.
1. Why should you batch edit photos in Photoshop?
Batch editing of photos has many benefits, especially when you have to process a large number of photos with similar editing requirements, such as:
- Save time: No need to edit each photo one by one, just apply the same settings to all.
- Consistent quality: Make sure all photos have similar colors, lighting, and effects, creating consistency across the photo set.
- Improve work efficiency: Respond quickly to large projects while maintaining accuracy and professionalism.

2. When Should You Use Batch Photo Editing?
In the age of technology, photo editing is no longer a manual task, but has been automated through tools like Photoshop. Batch photo editing is the optimal solution for those who need to process many photos at the same time, ensuring consistency and saving time. But when should you use this feature?
2.1. When you need to save time for a large project
Batch editing is especially useful when you have to process a large number of photos in a short time. For example:
Wedding Photography: After a shoot of hundreds of photos, adjusting the lighting, white balance, or adding effects to each photo can be time-consuming. With batch editing, you can set it up once and apply it to the entire set.
Commercial Projects: If you're working with hundreds of products for an online store, resizing, adding watermarks, or adjusting colors can be done in just a few steps.
2.2. When it is necessary to ensure consistency of style
Consistency is important in advertising, media or artistic photography. Batch editing helps:
Apply the same color filter: Make sure the entire photo set has a consistent style, creating a more professional impression.
Keep brightness and white balance even: Avoid having some photos that are too dark or too bright compared to the rest.
For example, when shooting product photos for ecommerce, you need all product photos to have the same lighting, background color, and size to create a visual and professional shopping experience.
2.3. When you need to resize or format in bulk
In many cases, you need to edit the image size or format to match the requirements of the platform you are using:
- Preparing images for website: Online platforms often require images in JPEG or PNG format and optimal size for faster loading.
- Printing: Make sure all photos are high resolution (300 DPI) and uniform in size before printing.
- Social sharing: Platforms like Instagram and Facebook have specific image size requirements, and batch editing allows you to make quick adjustments.
2.4. When to apply basic edits
If you just need to do basic operations like:
- Crop image to fixed size.
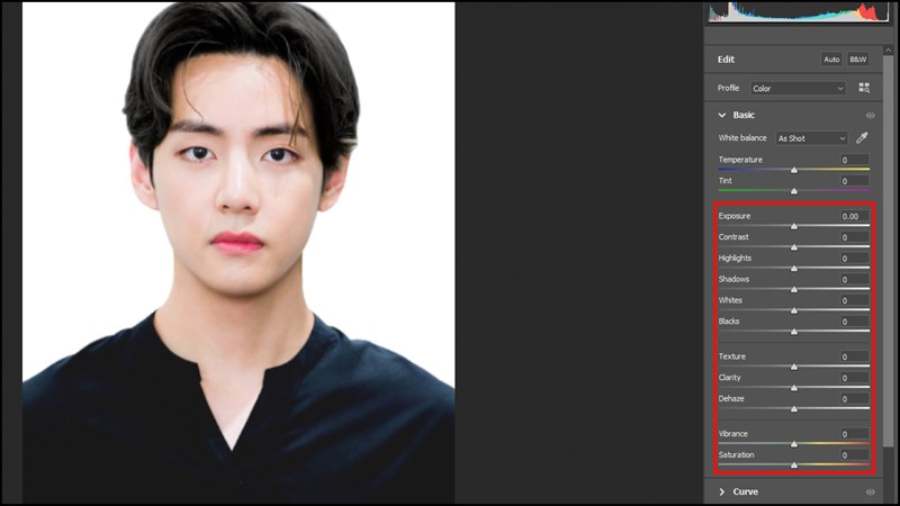
- Change brightness, contrast.
- Add a watermark or logo to all your photos.
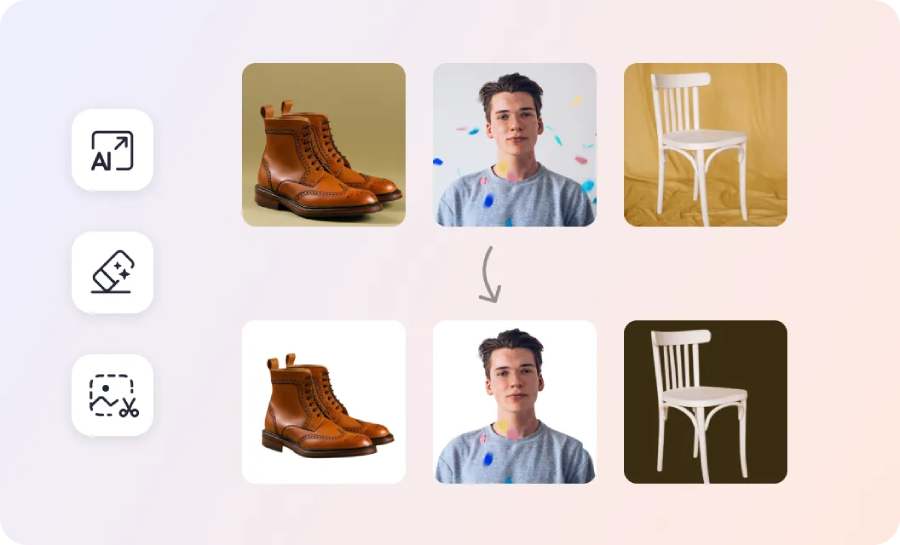
Instead of editing each photo one by one, batch editing lets you complete these steps in just a few minutes.
2.5. When processing ID photos or profile photos
ID and profile photos usually require standard dimensions (like 3x4cm, 4x6cm) and a solid background. If you work in a photo studio or need to process a lot of ID photos at once, batch editing will help you:
Uniform background color and crop image to standard size.
Adjust colors to suit specific needs (such as brightening skin, increasing sharpness).
2.6. When optimizing images for storage or sharing purposes
Large images can be difficult to store or email. Batch editing allows you to:
- Reduce image size without losing too much quality.
- Change the image format to suit your intended use (for example, from TIFF to JPG).
2.7. When dealing with highly repetitive projects
Repetitive tasks like editing product photos, real estate photos, or event photos often require applying the same series of edits. Batch editing helps you:
- Automate editing steps.
- Focus on more creative work, instead of wasting time on manual operations.

2.8. When working with photo sets, it is necessary to preserve the original
In case you need to apply the same operation to multiple photos but still want to keep the original, batch editing with tools like Photoshop's Actions or Image Processor will help you:
- Create an edited copy without affecting the original image.
- File management is made easier with automatic renaming.
3. Steps to batch edit photos in Photoshop
3.1. Using Actions
Actions are a powerful tool that helps you record and reuse editing steps. Here's how to use them:
Step 1: Create new Action
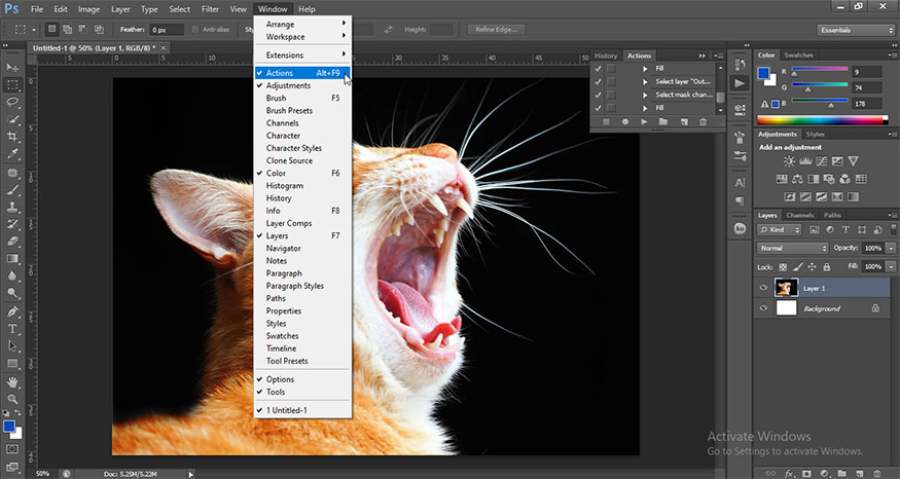
Open Photoshop, go to Window → Actions to bring up the Actions panel.
Click the Create New Action icon (bottom right).
Name the Action and press Record.
Step 2: Make template edits
Open a photo in Photoshop and make any necessary edits (crop, brighten, sharpen, etc.).
All actions will be recorded in Action.
Step 3: Save Action
Once you're done editing, press the Stop Recording button to stop recording.
3.2. Apply Action to photos in batches
Go to File → Automate → Batch.
In the Batch dialog box: Select the created Action set. Select the folder containing the source image (Source) and the folder to save the edited image (Destination). Set options such as renaming the file, saving format. Click OK, Photoshop will automatically apply the Action to all images in the folder.
4. Notes When Editing Photos in Batch in Photoshop
Batch photo editing is one of the powerful features of Photoshop , helping to optimize time and improve work efficiency. However, to ensure the best quality and avoid unwanted errors, users need to pay attention to some important factors during use.
4.1. Clearly define editing goals
Before you begin, you need to clearly define the changes you want to apply to all photos at once:
- Change lighting: Increase brightness, decrease contrast or adjust white balance.
- Resize: Crop images, change proportions, or reduce size.
- Add effects: Apply filters, add watermark, logo.
Having a clear goal in mind helps you avoid unnecessary editing or wasting time on ineffective tasks.
4.2. Double check the source images
Before bulk editing, make sure:
- Photos in the correct format: All photos need to be in a compatible format such as JPEG, PNG or RAW.
- Uniform image quality: Images to be edited should have similar resolution to ensure consistent results after editing.
- Organize files properly: Put all photos that need to be edited in a separate folder for easy manipulation and to avoid confusion.
4.3. Use Actions wisely
Actions are a convenient tool for recording and automating editing steps in Photoshop. When using Actions to batch edit photos, you should:
- Test on a sample image first: Record the Action and apply it to a few images to check if the results are as expected.
- Optimize Action steps: Avoid adding unnecessary operations to speed up processing.
- Save Action: Name the Action clearly and save it for future projects.
4.4. Choose the appropriate editing tool
Photoshop offers several ways to batch edit photos, but each one is suited to different needs:
- Batch Processing: Use when you need to apply Action to an entire folder of photos.
- Image Processor: Suitable for batch resizing and formatting.
- Scripts: Useful when more complex custom operations are needed.
Choose the tool that best fits your project requirements to optimize your workflow.
4.5. Notes on output image format and size
When editing photos in batches, it's important to save your photos in the correct format and size:
- Image formats: JPEG is generally suitable for sharing or posting to social media; TIFF or PSD are good choices for high-quality printing and archiving.
- Image Size: Use the "Save for Web" option to optimize file size while maintaining image quality.
- Make sure to set these parameters before you start to avoid having to re-edit each photo.
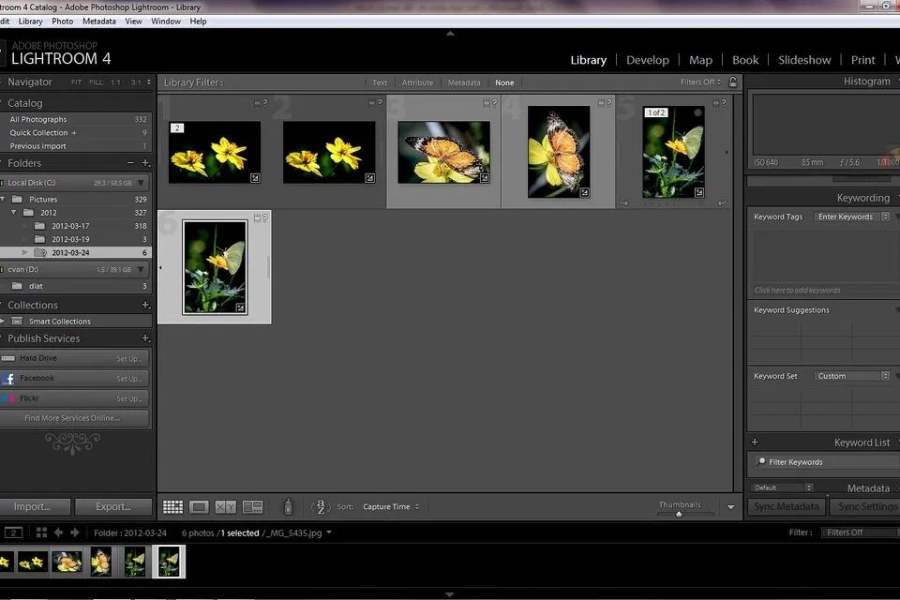
4.6. Check the results after editing
Once the batch editing process is complete, check the results:
- Compare with original image: Make sure changes have a positive effect without losing important details.
- Check individual photos if necessary: Even with batch editing, there may still be slight errors in some photos due to differences in lighting or composition.
4.7. Save the original before editing
Always save the original copy of your photo before editing in case you need to revert to its original state. Here are some ways to save the original copy:
- Make a copy of the photo folder: Put all the original photos in a separate folder.
- Save as a different format: When editing, save the new image in a different format or name so as not to overwrite the original file.
4.8. Manage files after editing
For easy searching and use, organize files after editing:
- Name files appropriately: Use clear naming conventions, e.g. “product-image-1.jpg”.
- Organize your folders scientifically: Save edited photos into folders by theme or project.
Conclude
Batch editing in Photoshop is a great way to save time, increase productivity, and ensure consistent quality across your photo set. With tools like Actions and Image Processor, you can process multiple photos professionally and easily.
Apply these methods now to improve your work efficiency and make the most of the power of Photoshop in your photo editing projects.


