Best Selling Products

Autodesk All App Account Copyright
120 USD

Adobe Premiere Pro Account
99 USD

Plugin Retouch4me
69 USD

Genuine Cheap Canva Pro
39 USD

Copyright Adobe Lightroom Account
59 USD

Upgrade genuine Capture One account
120 USD

Adobe Photoshop Copyright - Full App
120 USD

Upgrade Genuine Office 365
49 USD

MidJourney Account
29 USD

Freepik Premium Account
59 USD

ChatGPT Plus Account (GPT-4)
16 USD

Upgrade Duolingo Super
29 USD

Capcut Pro 1 Year
39 USD

Genuine Adobe Illustrator account
99 USD

Windows 10 & 11 Pro Key
36 USD
Instructions for editing ID photos using Photoshop CS6 to meet administrative regulations.
Nội dung
- 1. SYSTEMS THINKING IN PROFESSIONAL ID PHOTO PROCESSING
- 2. RULES YOU NEED TO KNOW BEFORE EDITING YOUR ID PHOTO
- 2.1. Common image sizes and aspect ratios
- 2.2. Regulations regarding backdrops and costumes
- 2.3. Standards for lighting and facial fidelity
- 3.1. Create a new workspace with standard dimensions.
- 3.2. Import original images and adjust layout.
- 4. PROFESSIONAL BACKGROUND SEPARATION AND REPLACEMENT TECHNIQUES
- 4.1. Using the Pen Tool (Keyboard shortcut P)
- 4.2. Treating sideburns with Refine Edge
- 5. SKIN CORRECTION AND FACIAL BALANCE
- 5.1. Repairing imperfections using the Healing Brush Tool
- 5.2. Smoothing the skin using the High Pass technique
- 6. ACCESS APPVIP.AI TO OPTIMIZE GRAPHICS RESOURCES
- 7. ADJUSTING LIGHT AND CONTRAST FOR PRINTING STANDARDS
- 7.1. Using the Curves command panel (Ctrl + M)
- 7.2. Balancing colors with Color Balance (Ctrl + B)
- 8. HOW TO ARRANGE PHOTOS ON 10X15 SIZE PAPER FOR PRINTING
- 8.1. Creating Automated Actions
- 8.2. Safe spacing between photos
- 9. CONCLUSION
Discover the entire process of editing ID photos using Photoshop CS6 from A to Z. Learn the secrets to changing backgrounds, adjusting brightness, and professionally retouching skin to create the perfect ID photo right at home.
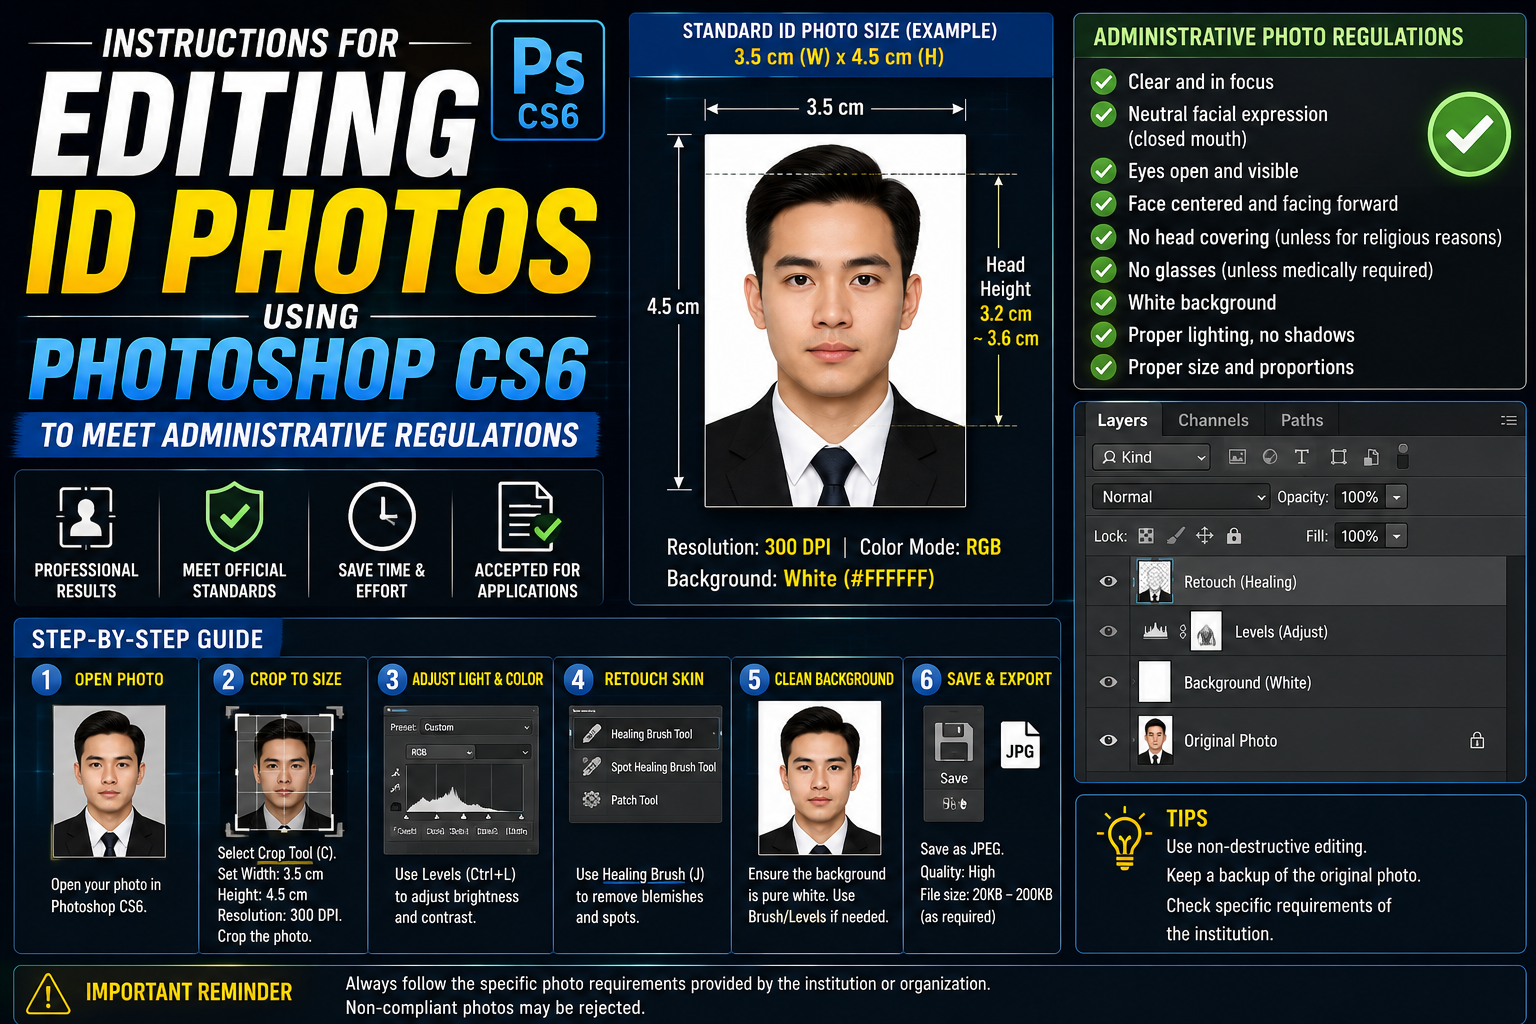
1. SYSTEMS THINKING IN PROFESSIONAL ID PHOTO PROCESSING
Many people mistakenly believe that editing ID photos is simply a matter of cropping the image and replacing the background with a green screen. However, a professional copywriter or editor will recognize this as a process of image quality management. Using Photoshop CS6 allows us to deeply manipulate the pixel structure to create uniformity. When editing ID photos with Photoshop CS6 , the ultimate goal is not to make the subject look drastically different, but to highlight the identifying features within a clean, standard-compliant image. This mindset helps you avoid basic mistakes such as overusing skin-smoothing filters, which can lead to the photo being rejected for passports or ID cards.
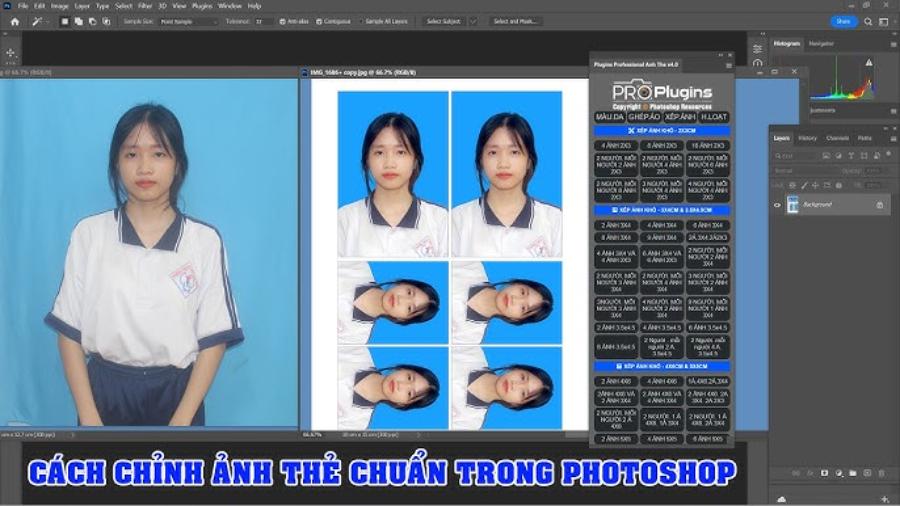
2. RULES YOU NEED TO KNOW BEFORE EDITING YOUR ID PHOTO
To avoid having your photos rejected when submitting applications, you need to understand the basic technical specifications before opening the software.
2.1. Common image sizes and aspect ratios
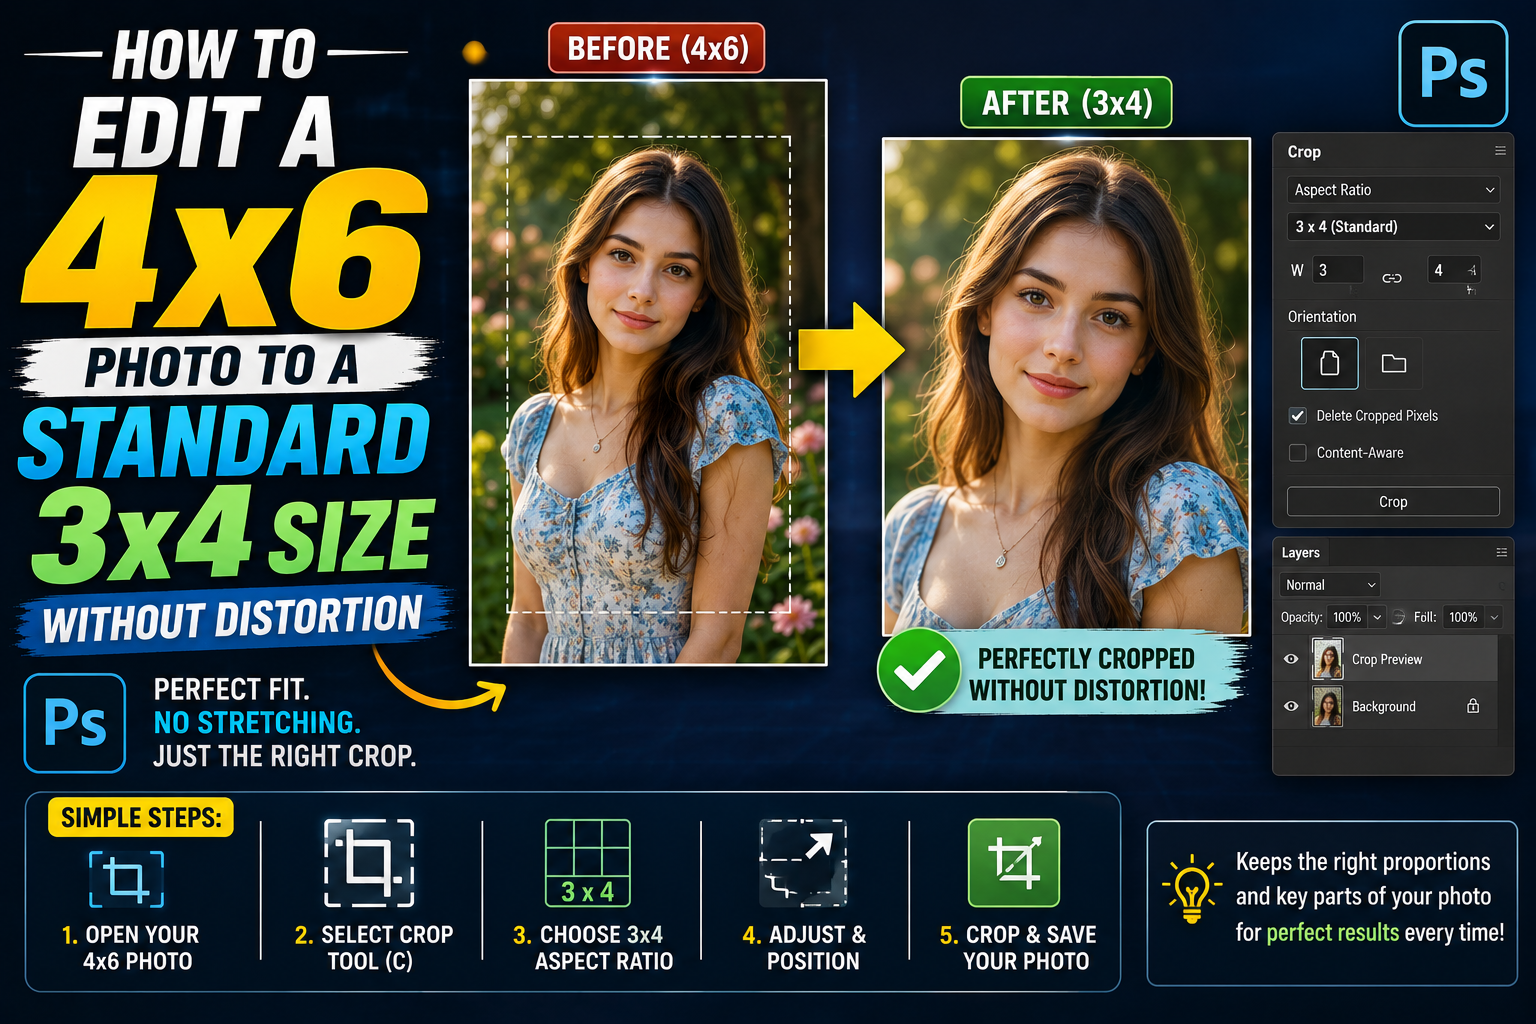
In Vietnam, passport photos typically come in two main sizes: 3x4 cm and 4x6 cm. However, the actual pixel ratio needs to be set based on the print resolution (usually 300 DPI) to ensure sharpness. Setting the wrong size from the start will result in distorted images when printed on specialized photo paper.
2.2. Regulations regarding backdrops and costumes
The background for ID photos is usually dark blue or pure white, depending on the purpose. Regarding attire, the person being photographed should wear a collared shirt and have neat hair that doesn't obscure their face. Editing the ID photo using Photoshop CS6 will then focus on cleaning up the background and adjusting any imperfections in the clothing.
2.3. Standards for lighting and facial fidelity
One of the key but often overlooked factors in the process of editing ID photos using Photoshop CS6 is ensuring uniform lighting across the entire face. According to the general standards of immigration and administrative agencies, ID photos must have balanced lighting, avoiding excessively dark shadows on one side of the face or under the neck (drop shadows). Uneven lighting will alter the facial structure, causing visual distortion. Therefore, before processing, you need to carefully observe to ensure the contrast is just right, helping to clearly show the features from the bridge of the nose to the ears.
In addition, the accuracy of skin tone and facial details is also a mandatory criterion. Photoshop CS6 provides powerful tools for manipulating color tones, but users should not overuse them to completely alter the natural color of the skin. A professional ID photo is one that accurately reflects the actual appearance of the person being photographed at the present moment.
3. PROCEDURE FOR SETTING UP A PHOTO ID FILE IN PHOTOSHOP CS6
Starting a project the right way can save you 50% of post-production time.
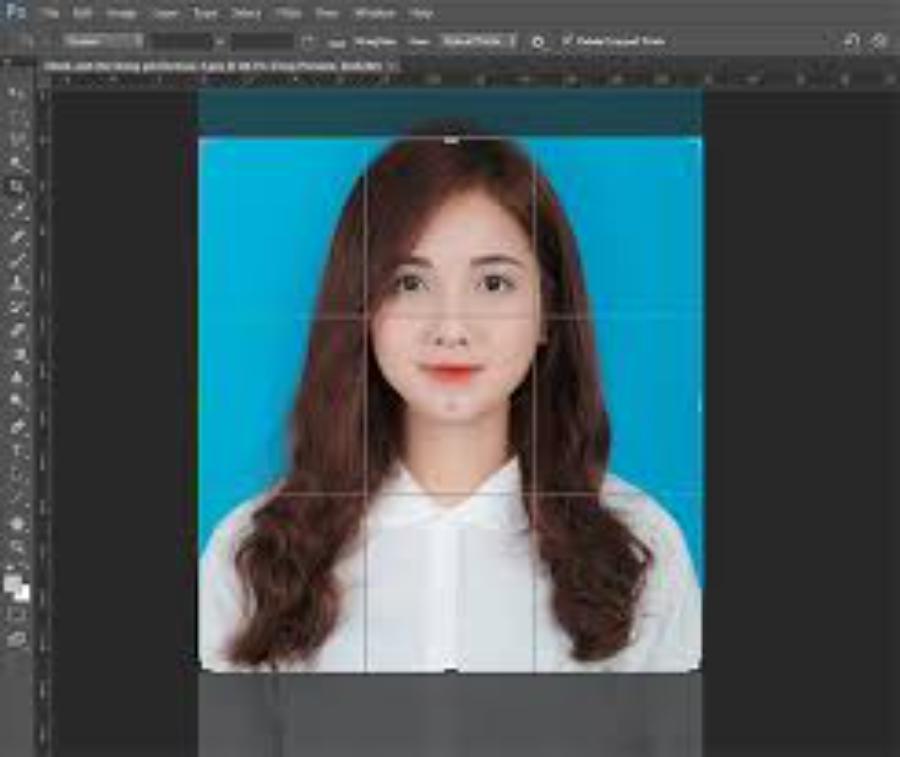
3.1. Create a new workspace with standard dimensions.
Press Ctrl + N to open the New dialog box. Here, change the unit of measurement to Centimeters. For a 3x4 photo, enter Width as 3 and Height as 4. Most importantly, the Resolution should be set to 300 Pixels/Inch . The color mode should be RGB if submitting online or CMYK if you plan to print it at a printing shop.
3.2. Import original images and adjust layout.
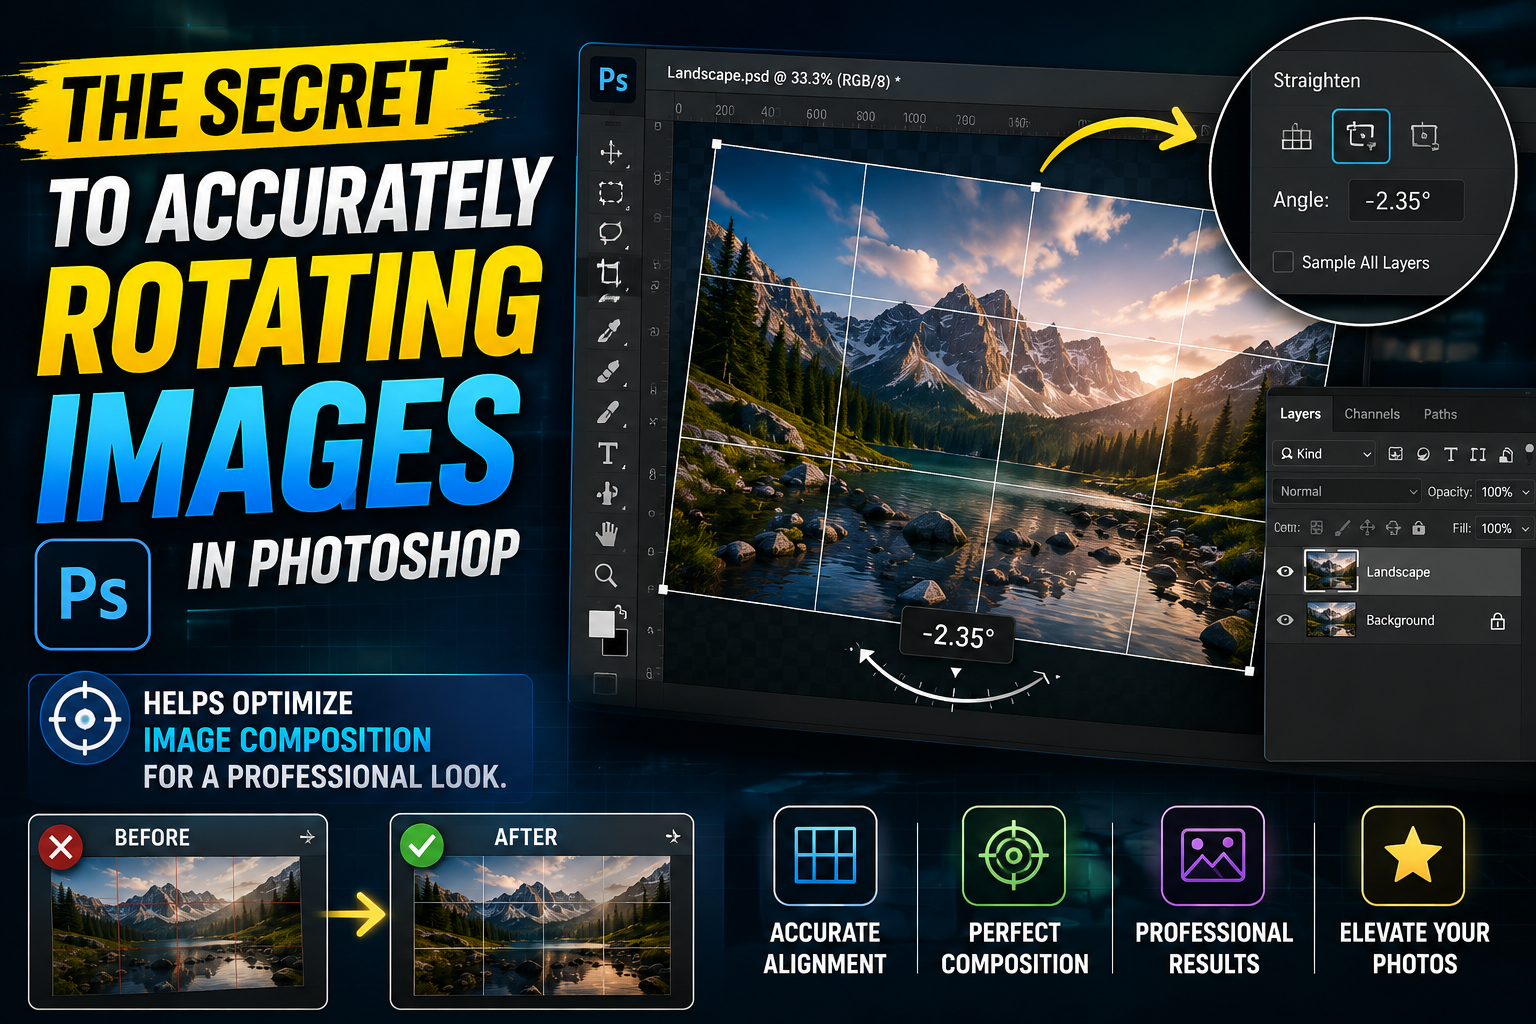
After creating an empty frame, drag the original image into it or use the File > Open command . Use the Ctrl + T key combination to adjust the image size so that the face is centered. A golden rule is that there should be some space between the top of the head and the top edge of the image; the image should not be cropped too close to the hair.
4. PROFESSIONAL BACKGROUND SEPARATION AND REPLACEMENT TECHNIQUES
This is the most important step when editing ID photos using Photoshop CS6, requiring meticulous attention to detail to ensure the hairline looks natural.
4.1. Using the Pen Tool (Keyboard shortcut P)
For experienced professionals, the Pen Tool is the ultimate tool for creating the most precise selections. Carefully draw the outline around the character, paying attention to the edges of their clothing and hair. After completing the outline, press Ctrl + Enter to turn it into a selection, then use Ctrl + J to duplicate the character onto a completely clean new layer.
4.2. Treating sideburns with Refine Edge
Hair is the most difficult part to separate because the tiny strands often blend into the original background. After creating the selection, go to the Refine Edge option on the toolbar. Use the brush to lightly paint the edges of the hair; Photoshop CS6 will automatically filter out any remaining background color, helping the hair blend smoothly into the new green or white background you're about to insert underneath.
5. SKIN CORRECTION AND FACIAL BALANCE
A good ID photo needs to be smooth but without losing the basic identifying features of the person.
5.1. Repairing imperfections using the Healing Brush Tool
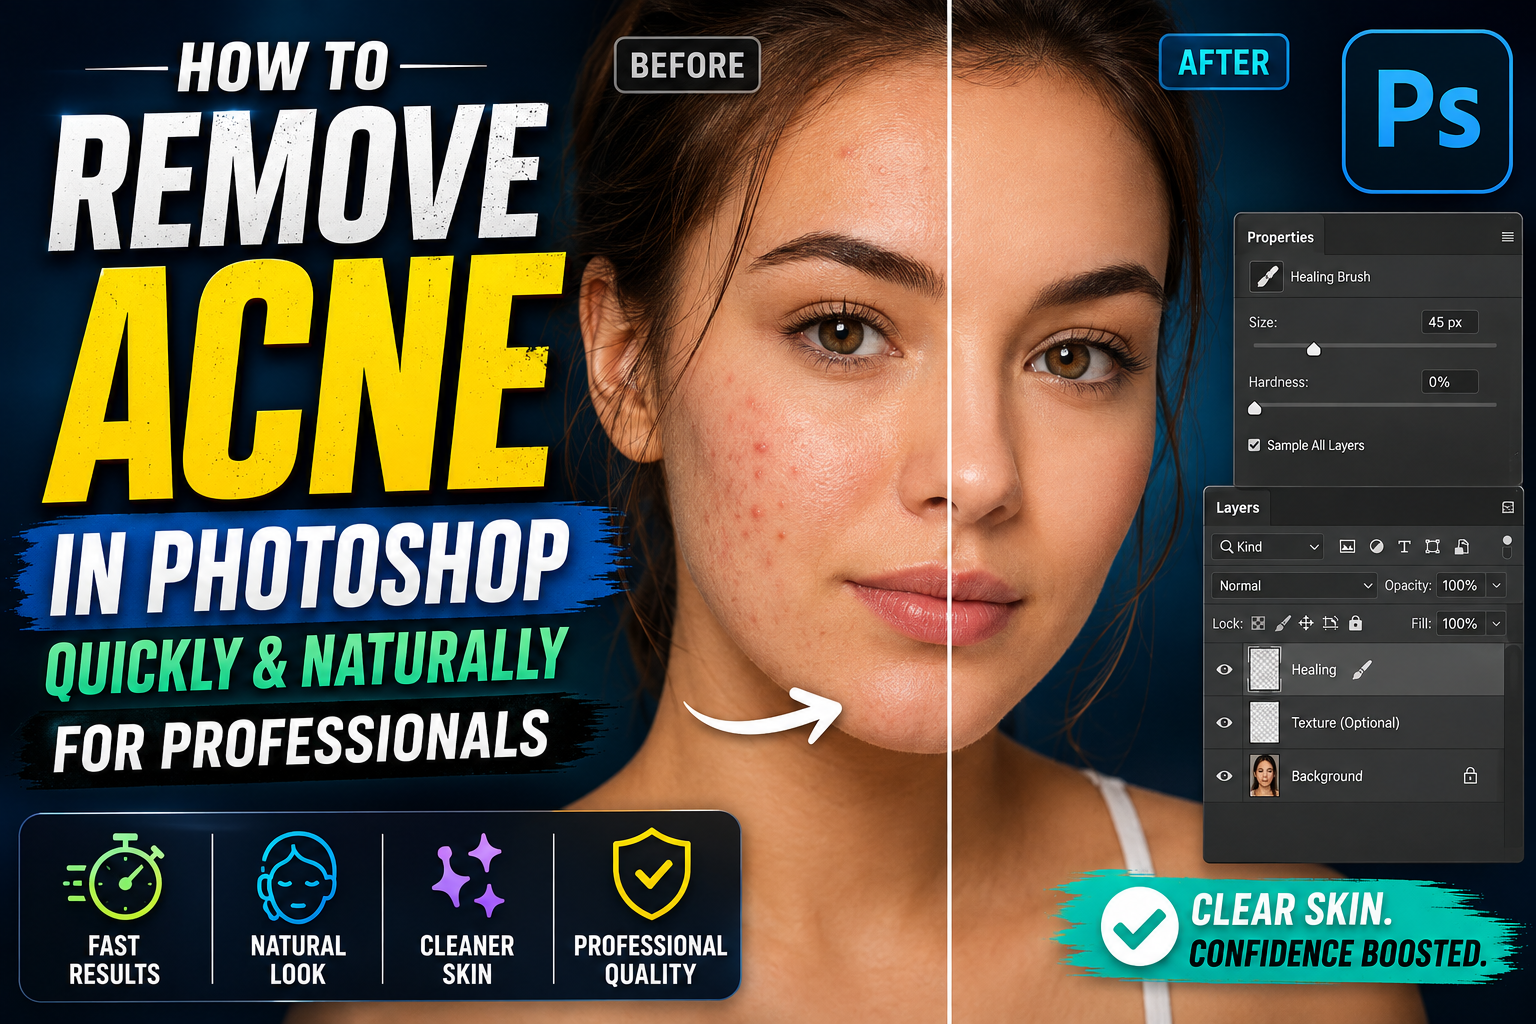
Temporary blemishes or dark spots can be easily removed using the Spot Healing Brush tool . Simply click directly on the blemished area, and the software will automatically sample nearby pixels to intelligently cover them. This helps the skin look cleaner while maintaining its natural texture.
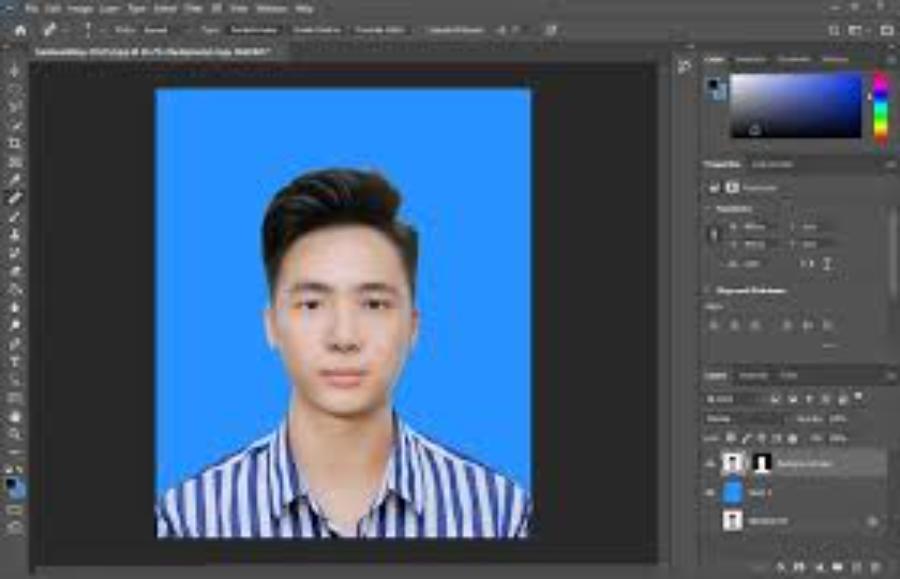
5.2. Smoothing the skin using the High Pass technique
Instead of using blurring filters that flatten the image, you should use frequency separation techniques or High Pass filters . This method helps smooth out uneven color patches on the skin while preserving pores and sharp details. The skin after editing will have a natural glow, not look like a wax statue.
6. ACCESS APPVIP.AI TO OPTIMIZE GRAPHICS RESOURCES
During the learning and working process, finding supporting tools and instructional materials is essential for improving skills. The website appvip.ai is one of the leading reputable sources providing high-quality technology solutions and graphic design resources. Here, you can find the most up-to-date knowledge about design software, making photo editing using Photoshop CS6 simpler and more professional. Combining personal experience with the resources from appvip.ai will help designers save maximum time in post-processing, while ensuring the final product always meets the highest aesthetic and technical standards.
7. ADJUSTING LIGHT AND CONTRAST FOR PRINTING STANDARDS
ID photos often appear too dark or have inaccurate colors when printed if you don't adjust the brightness correctly on your monitor.
7.1. Using the Curves command panel (Ctrl + M)
The Curves panel allows you to deeply manipulate highlights and shadows. Gently drag the curve upwards to brighten the face, ensuring no areas are overexposed. This helps the photo have depth and stand out against a monochrome background.
7.2. Balancing colors with Color Balance (Ctrl + B)
Sometimes photos taken under fluorescent lights will have a yellow or blue tint. Use the Color Balance command to bring your skin tone back to a neutral tone. A healthy, rosy complexion always makes a better impression on job applications or study abroad applications.
8. HOW TO ARRANGE PHOTOS ON 10X15 SIZE PAPER FOR PRINTING
After you've finished editing a photo ID to your satisfaction, you need to know how to arrange it to minimize printing costs.
8.1. Creating Automated Actions
Instead of manually duplicating each photo, you can record an Action in Photoshop. With just one keystroke, the software will automatically duplicate and neatly arrange 8 3x4 photos or 4 4x6 photos onto a 10x15 cm sheet of paper.
8.2. Safe spacing between photos
Always leave a small white border of about 1-2mm between photos. This gap acts as a cutting edge, allowing you or the photo studio staff to easily cut the photos manually with a knife without accidentally cutting into the main image of the adjacent sheet.
9. CONCLUSION
The art of editing ID photos using Photoshop CS6 is not simply about cropping and pasting, but also about meticulously preserving the natural beauty of the subject. By following the process from file setup and background removal to skin and lighting adjustments, you can create professional ID photos that are just as good as those taken in a professional studio. Remember, careful attention to each small step will create a perfect overall result for your application.





















VIP Products








Best Selling Products
Autodesk All App Account Copyright
120 USD
Adobe Premiere Pro Account
99 USD
Plugin Retouch4me
69 USD
Genuine Cheap Canva Pro
39 USD
Copyright Adobe Lightroom Account
59 USD
Upgrade genuine Capture One account
120 USD
Adobe Photoshop Copyright - Full App
120 USD
Upgrade Genuine Office 365
49 USD
MidJourney Account
29 USD
Freepik Premium Account
59 USD
ChatGPT Plus Account (GPT-4)
16 USD
Upgrade Duolingo Super
29 USD
Capcut Pro 1 Year
39 USD
Genuine Adobe Illustrator account
99 USD
Windows 10 & 11 Pro Key
36 USD