Best Selling Products
Instructions for sharpening photos in Photoshop with SaDesign
In the process of image processing, you will inevitably have blurry and unclear images. Sharpening images in Photoshop is the optimal solution to increase the sharpness and resolution of your images to make them more vivid and impressive. Below, SaDesign will share with readers the details of how to sharpen images in Photoshop quickly and easily.

1. What is sharpness?
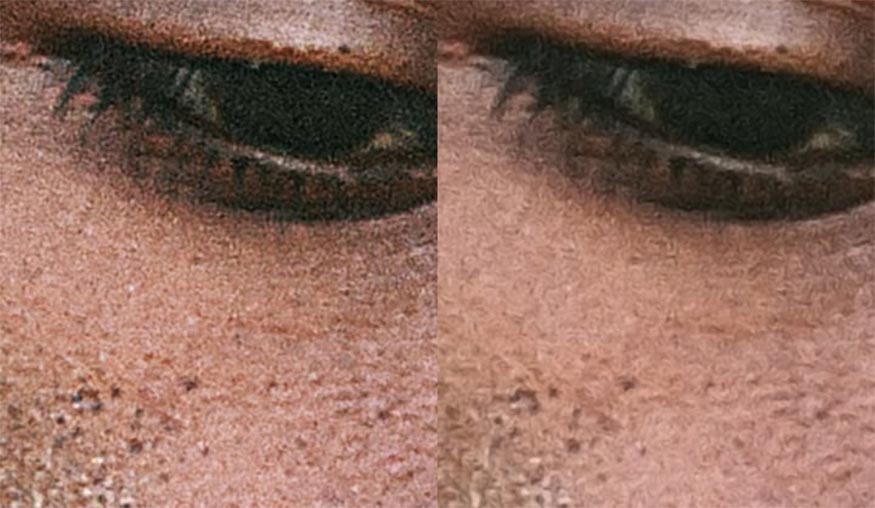
Before learning how to sharpen images in Photoshop, you should understand the concept of sharpness. The sharpness of an image is made up of two basic elements: resolution and accuracy. A beautiful image, with good feel and good sharpness, must fully converge both elements including high resolution and high sharpness.
Resolution is a factor that depends on the capabilities of the camera and image sensor. Resolution represents the camera's ability to sense and separate spatially adjacent elements of detail. The resolution of a photo cannot be improved in post-production or fixed with software.
Sharpness is a measure of how quickly details in an image transition at the edges. A sharp image has sharp edges that transition into detailed images, clearly defined edge details, precise transitions between details, and no blurring. Sharpness depends on the quality of the lens but can be improved through post-processing.
2. How to sharpen images in Photoshop
Here are the details on how to sharpen photos in Photoshop simply and easily:
Step 1: First you need to open your image. Select Actions then select Create a New Action.
.jpg)
Step 2: Duplicate the layer by pressing Ctrl+J and hide the new layer - this copy will help us easily compare versions with each other.
(2).jpg)
Step 3: Go back to the old layer and duplicate it again. Right-click on that layer and select Convert to Smart Object. This way you will be able to adjust the filters after adding them. Name this layer Basic Sharpening.
(1).jpg)
Step 4: Select Filter > Sharpen > Smart Sharpen. This filter will add a sharpening effect by increasing the contrast of the edges. Drag the slider until the edges start to brighten, then reduce the effect a bit to find the perfect brightness.
Since the sharpening tool in Photoshop also helps highlight noise, use the Reduce Noise slider to limit this effect.
(1).jpg)
Step 5: You can pause editing here and compare the current result with the original photo. It is much sharper, but continue editing to make the photo more perfect. Continue to select and duplicate the Basic Sharpening layer. Right-click and select Clear Smart Filters. Name this layer Sharpen Details.
(1).jpg)
Step 6: Change the Blend Mode of this layer to Overlay. The colors will be slightly burnt but this is only temporary.
(1).jpg)
Step 7: Select Filter > Other > High Pass. Adjust the Radius so that only white lines are visible, no other colors.
(1).jpg)
Adjust Radius
(1).jpg)
Step 8: If you compare the results now, you will see a clear difference. However, we can still do more. Let's duplicate this layer again and increase the High Pass, making the effect a little bit too much. Name this layer Inner Sharpening.
(2).jpg)
Increase High Pass
(4).jpg)
Step 9: Duplicate this layer again and increase the High Pass even more – focus on the out of focus areas and try to sharpen them this way. Name this layer Open Sharpening, change the Blend Mode to Soft Light and reduce the Opacity to around 50%.
(1).jpg)
focus on out-of-focus areas
(3).jpg)
(5).jpg)
Step 10: Add a Layer Mask to both of these layers and fill them with black using the Paint Bucket Tool (U). This will make these layers invisible.
(4).jpg)
(5).jpg)
Fill it with black using the Paint Bucket Tool (U)
Step 11: This is the last part of the automatic stage and the rest you need to do manually. First, select the layer mask of the Inner Sharpening layer and choose a Soft Round Brush. Paint white over the areas that you want to sharpen further by revealing the parts of the sharpened layer that are invisible.
(2).jpg)
Paint white over areas you want to sharpen even more.
(6).jpg)
Step 12: Do the same with the Outer Sharpening layer, this time painting over the unclear areas to sharpen them.
(1).jpg)
paint over the unclear area to sharpen it
(7).jpg)
Step 13: Now, you can freely adjust the sliders of the filters you applied earlier to change the level of sharpening for the blurred image. You can change the Opacity to quickly reduce the effect or duplicate a layer to make the effect stronger. There is no certain and perfect method for sharpening images in Photoshop, you can freely experiment to create effects that suit your preferences.
(2).jpg)
Step 14: Check your final image from different angles by zooming in or out. If you want your image to look better at the highest resolution, you can select the top layer, then press Ctrl+Shift+Alt+E to create a merged layer.
Then select Filter > Noise > Reduce Noise. Follow this and try to strike a balance between blurring and losing detail.
(3).jpg)

Step 15: Hold down the Alt key and drag the layer mask from the Inner Sharpening layer to the current layer, then invert it by pressing Ctrl+I.
(9).jpg)
Above are the details on how to sharpen photos in Photoshop that SaDesign wants to share with readers. Hopefully, through this article, readers will have the sharpest, most vivid and attractive photos.


