Best Selling Products

MidJourney Account
29 USD

Upgrade genuine Capture One account
120 USD

Adobe Photoshop Copyright - Full App
120 USD

Freepik Premium Account
59 USD

Upgrade Duolingo Super
29 USD

Genuine Cheap Canva Pro
39 USD

Upgrade Genuine Office 365
49 USD

Genuine Adobe Illustrator account
99 USD

Adobe Premiere Pro Account
99 USD

Plugin Retouch4me
69 USD

Autodesk All App Account Copyright
120 USD

Copyright Adobe Lightroom Account
59 USD

ChatGPT Plus Account (GPT-4)
16 USD

Windows 10 & 11 Pro Key
36 USD

Capcut Pro 1 Year
39 USD
Light and Lighting Effects in Photography
Nội dung
Light is a crucial factor that determines the quality, color, and emotion of each photograph.
1. The role of light in photography
Without light, there is no image. Camera sensors work by capturing light reflected from the subject. The more light that reaches the sensor, the clearer and more accurate the image will be.
However, light not only affects the brightness of a photograph but also determines many other factors such as contrast, light and dark areas, surface texture, color, and the emotions that the viewer perceives.
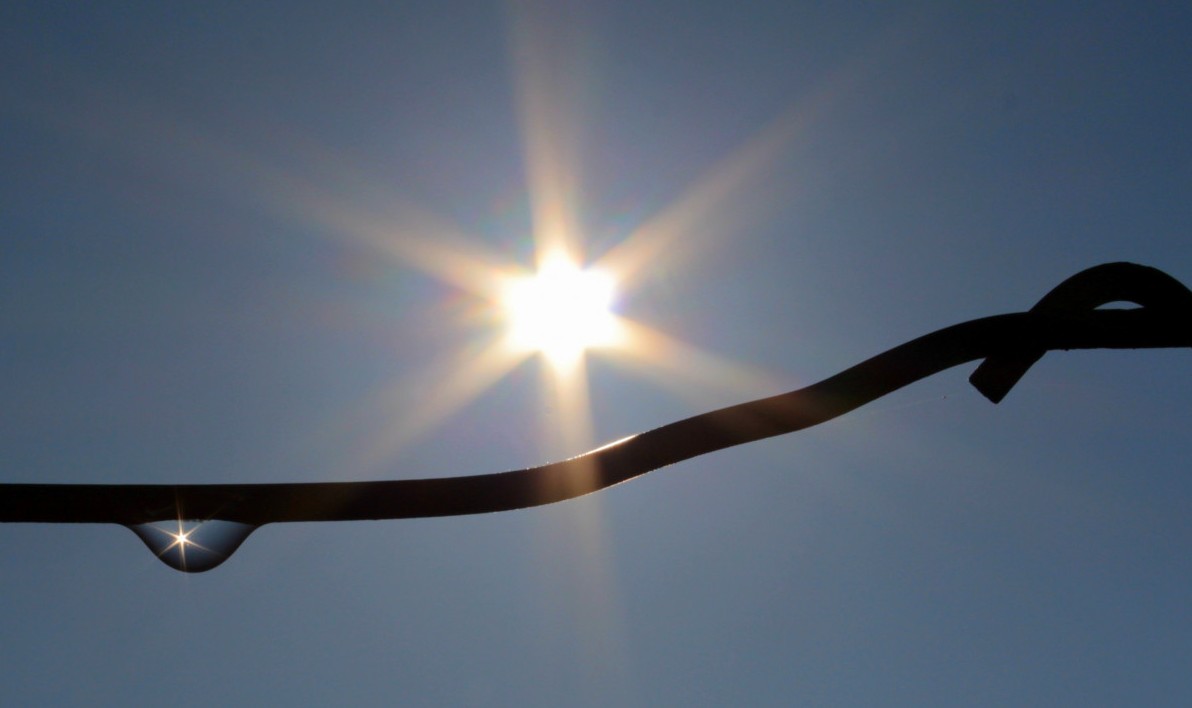
For example, a flower photographed in the morning sunlight will have a clear and fresh color. But if the same flower is photographed in the twilight or backlight, the image will become softer, more emotional, and have more depth.
In practice, professional photographers always observe the direction of the light before deciding where to position their camera. Instead of just focusing on the subject, they also consider where the light is coming from, its intensity, and how it will cast shadows on the subject.
2. Factors that determine lighting effects
The lighting effect in photography depends not only on the light source but is also influenced by many other factors.
First, there's the angle of light . This is the determining factor in which areas of the subject will be illuminated, which will be dark, and where shadows will appear.
Next is light intensity . Strong light creates high contrast and vibrant colors, while soft light makes images appear softer and more natural.
In addition, the distance between the light source and the subject , the color of the light , the time of day , and weather conditions also directly affect image quality.
Therefore, the same scene, when photographed in the morning, at noon, or at sunset, will evoke completely different feelings.
3. Direct light
Front lighting is a type of lighting where the light source is located behind the photographer and shines directly onto the subject's front.
This is the easiest type of lighting to use because the entire object is illuminated evenly, resulting in accurate color reproduction and clear detail rendering.
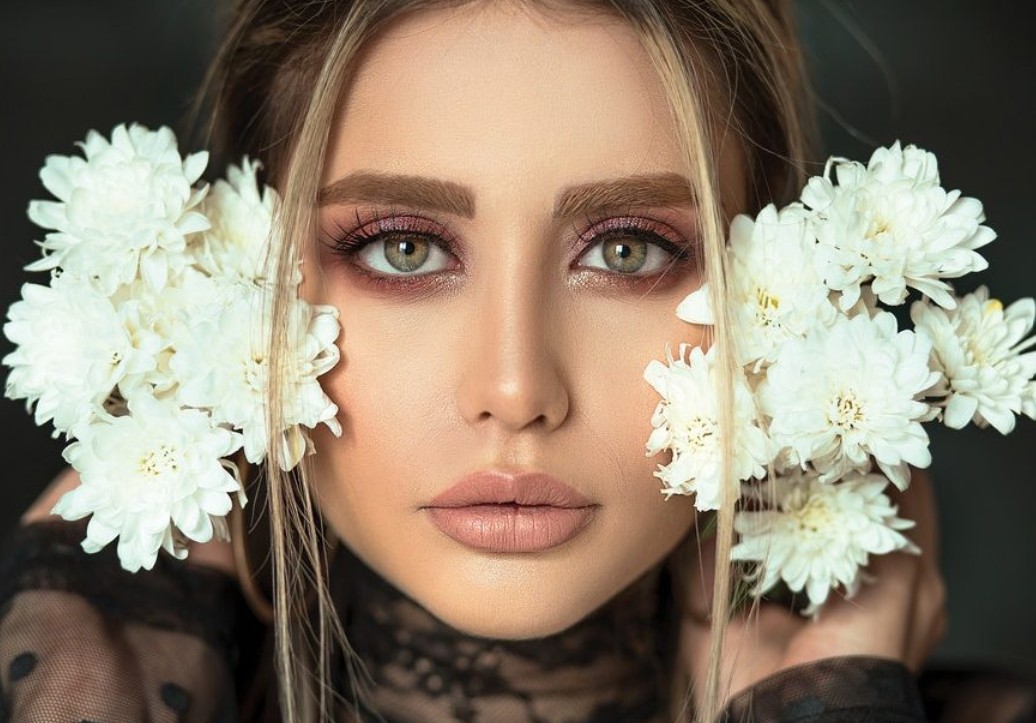
When using direct lighting, the shadows on the subject are almost completely minimized, resulting in a bright, clear, and easy-to-observe image.
This is an ideal choice for shooting landscapes, architecture, products, souvenirs, or any photos that require accurate color representation.
For example, when photographing a rice field in the morning sunlight with the sun behind the photographer, the green of the plants and the blue of the sky will appear vibrant, lively, and closer to what the human eye perceives.
However, direct lighting also has a limitation: it reduces the sense of depth because there are very few shadows. If shooting portraits, the face may sometimes appear flat and lack focus.
To remedy this, the photographer can change the camera angle or combine it with reflected light to create more depth in the face.
4. Side lighting
Side lighting is a type of lighting that shines from the left or right side of the subject.
This type of lighting is considered to create the most powerful effect in terms of depth and surface texture.
Because only a portion of the subject is illuminated, the rest will appear in distinct shadows. This difference between the light and dark areas creates a three-dimensional effect, making the image more vibrant.
Side lighting is particularly suitable for portrait photography because it helps to highlight facial features, the nose, cheekbones, and eyes.
For product or food photography, side lighting helps to highlight the texture, form, and shape of the object.
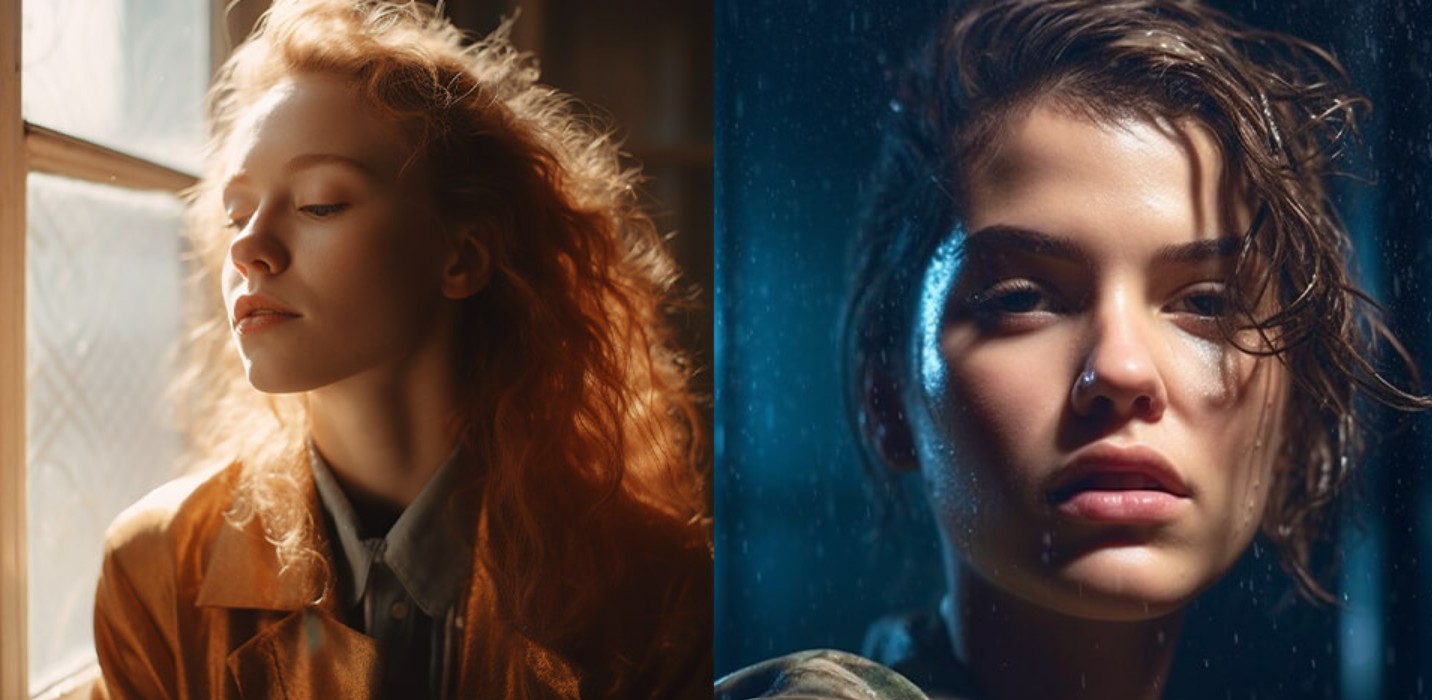
For example, when photographing a cup of coffee in the morning with light shining through a window, the viewer can clearly perceive the rising steam, the surface of the cup, and the texture of the coffee foam.
In landscape photography, side lighting in the early morning or late afternoon helps to create greater depth in mountains, fields, and trees through elongated shadows.
However, if the light is too strong, the high contrast can cause dark areas to lose detail. Therefore, many photographers often use a reflector to balance the light.
5. Backlighting
Backlighting is a type of lighting where the light source is located behind the subject and directed straight at the camera.
This is one of the most difficult types of lighting to use, but it also produces the most impressive artistic effects.
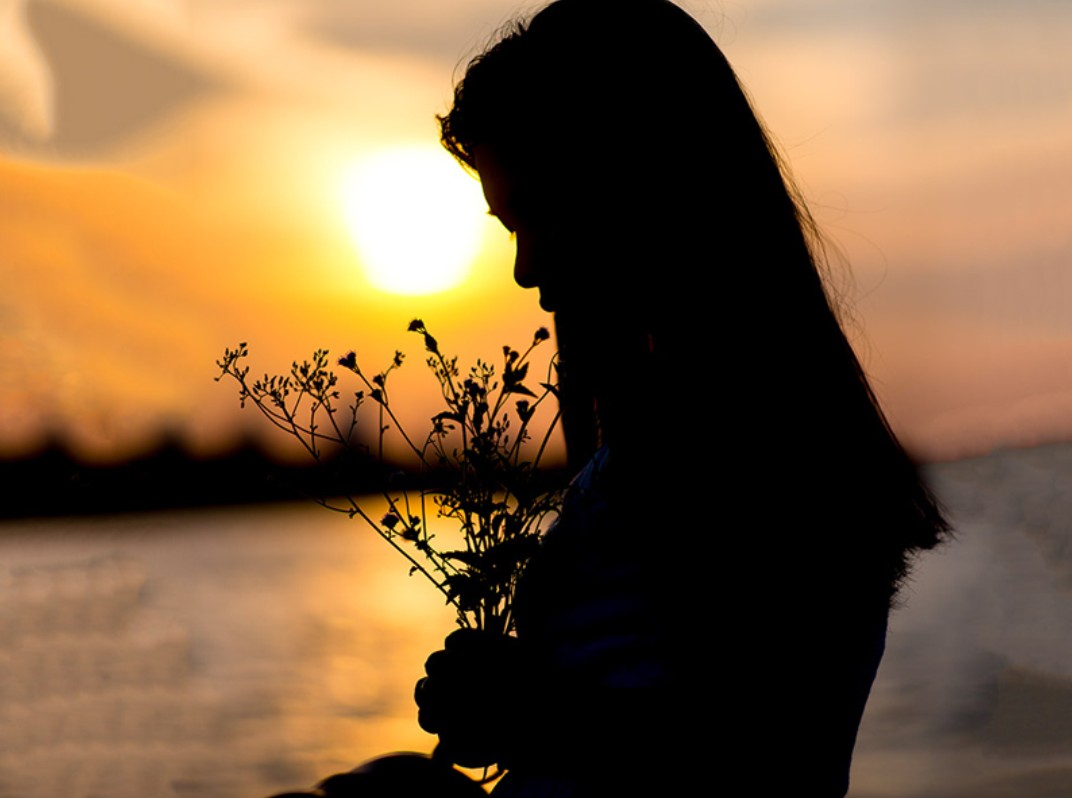
When shooting against the light, strong light creates a bright outline around the subject, also known as the Rim Light effect. This helps to separate the subject from the background and creates a soft, romantic feel.
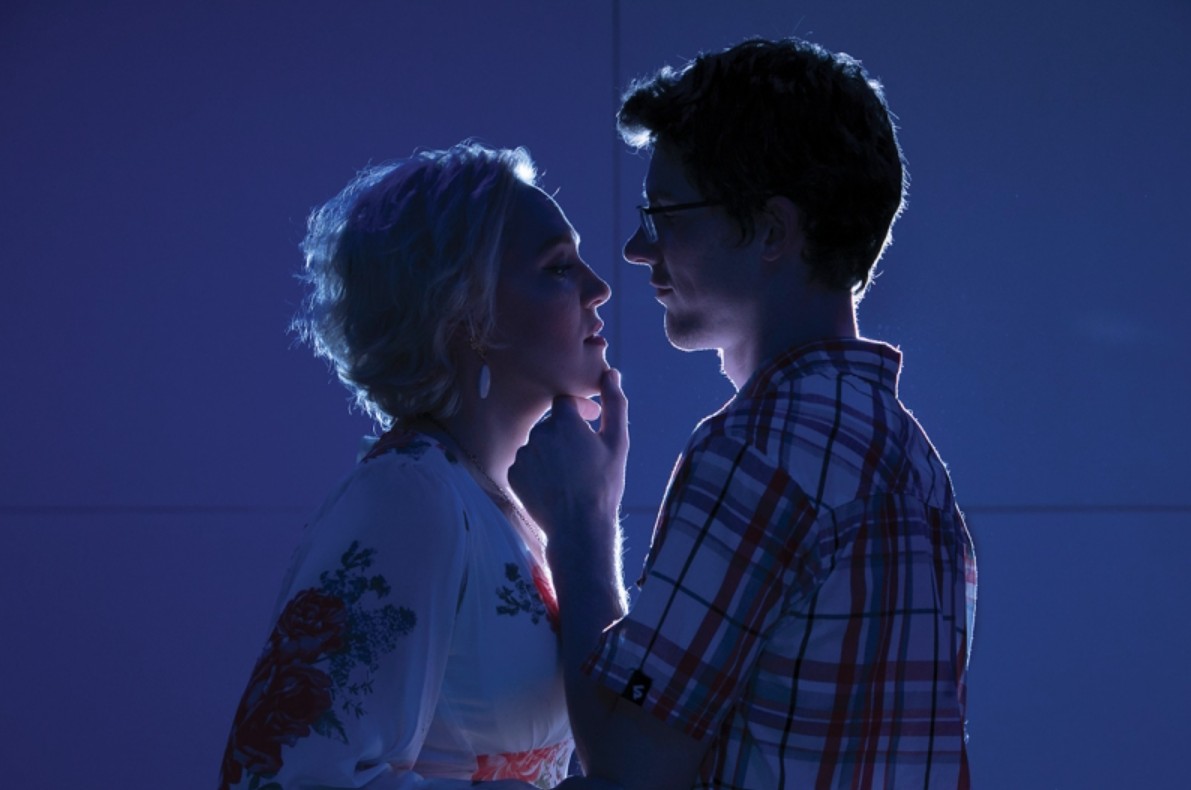
Backlighting is a favorite in outdoor portrait photography, wedding photography, family photos, and especially food photography.
For example, when photographing a glass of juice near a window with light coming from behind, the light shining through the liquid will make the colors appear much clearer and more appealing.
For photographing flowers or leaves, backlighting helps highlight the delicate texture of the petals and leaf veins, creating a very beautiful visual effect.
However, the drawback of this type of lighting is that the subject is often darkened because the camera prioritizes metering in the brighter background.
To overcome this, photographers can use the Exposure Compensation function to increase the brightness of the subject or use a flash or reflector to supplement the light in front.
If you want to create a silhouette effect, you can keep the exposure level the same so that the subject is just a prominent black shape against the bright sky.
6. Ways to utilize natural light
Natural light has always been favored by photographers because it provides true-to-life colors and a natural feel.
The ideal time to take outdoor photos during the Golden Hour is after sunrise or before sunset. At this time, the light is warm, soft, and creates gentle shadows.
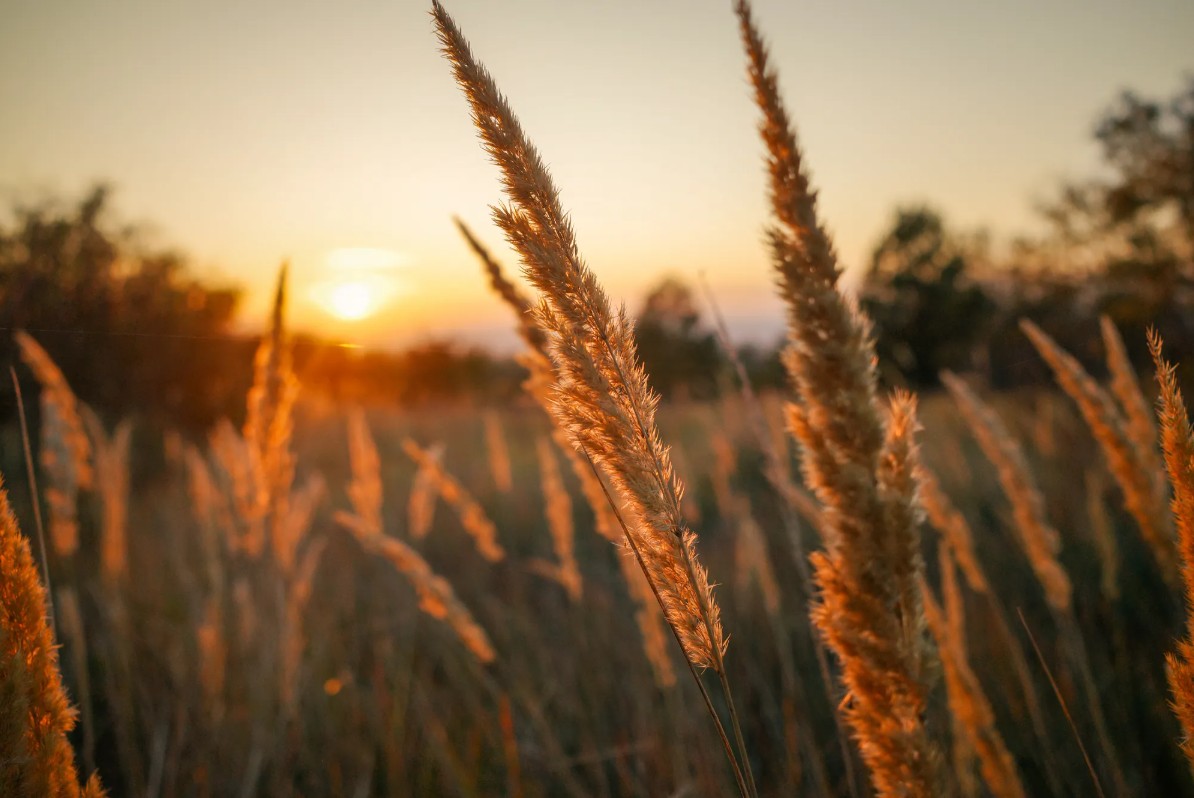
Conversely, midday often brings harsh overhead light, causing strong shadows to fall under the eyes and chin when taking portraits.
On cloudy days, the light is naturally diffused, making it ideal for portrait photography because people's skin appears softer and there are fewer harsh shadows.
For indoor shooting, the light source from a window is the most effective "natural studio." Simply by changing the subject's position relative to the window, you can create various types of front lighting, side lighting, or backlighting without needing specialized lights.
7. The application of light in different genres of photography
Each genre of photography is suited to a different type of lighting.
In landscape photography, front lighting helps to accurately reproduce the colors of nature, while side lighting creates depth in the terrain.
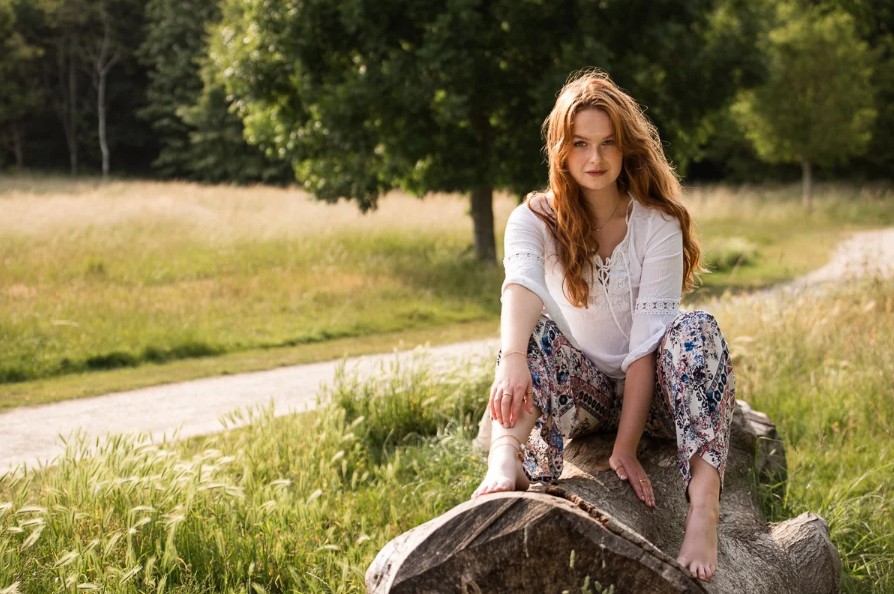
For portraits, side lighting and backlighting are often used more frequently because they help to enhance emotion and highlight facial features.
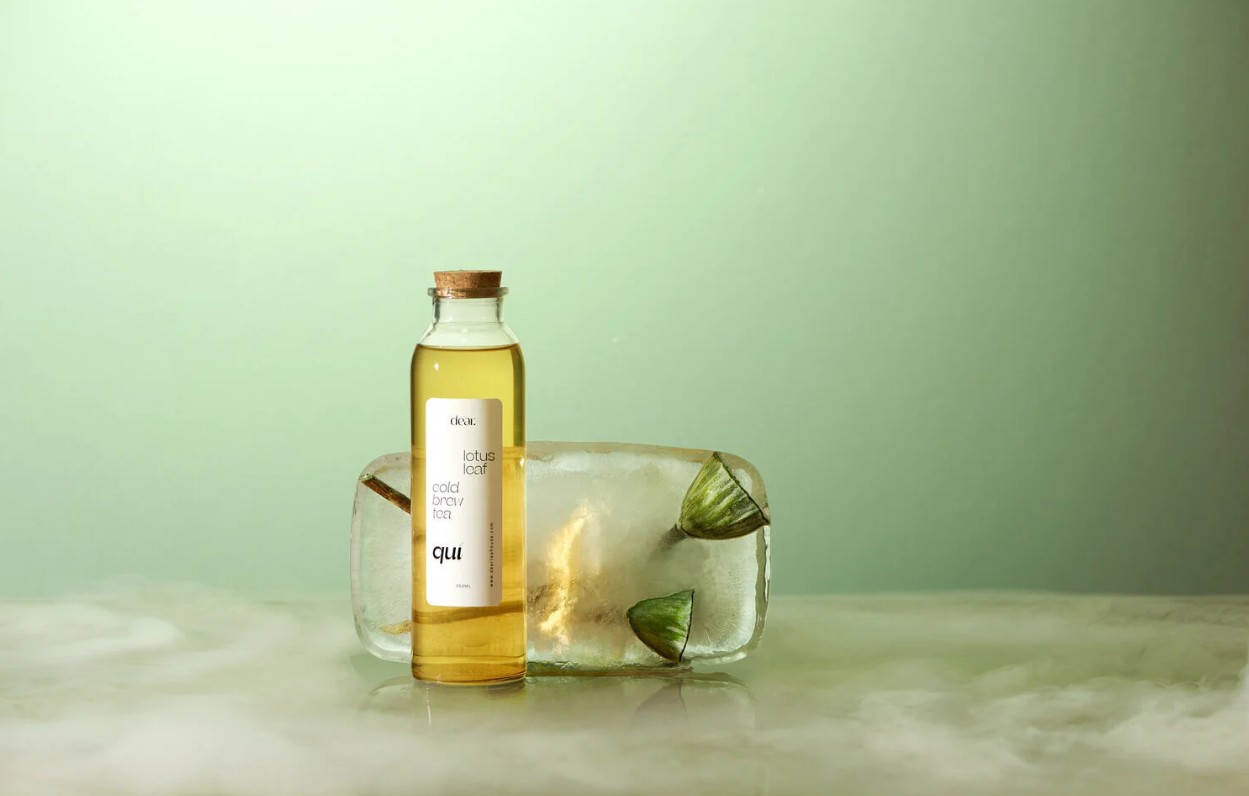
In food photography, backlighting or side lighting is preferred because it creates the illusion of fresher, more appealing food.

When photographing products, soft lighting combined with side lighting will help to clearly showcase the material and shape of the product.
For macro photography, light needs to be carefully controlled to highlight fine details while preserving natural colors.

8. Some things to keep in mind when taking photos with light.
To make the most of the lighting effect, photographers should observe the direction of the sun or light source before composing the shot.
You shouldn't focus solely on the subject while neglecting the placement of the light, as this will directly affect the color and contrast of the image.
If the light is too strong, find some shade or use a diffuser to soften the light source.
When shooting against the light, you should check the histogram or use the exposure compensation function to avoid the subject being too dark.
Additionally, combining natural light with accessories such as reflectors, diffusers, or LED lights allows for more flexible control of lighting in various shooting conditions.
9. Conclusion
The three basic types of lighting—front lighting, side lighting, and backlighting—each have their own advantages and are suitable for different genres of photography. Understanding the characteristics of each type of lighting will help you choose the right camera placement, adjust exposure settings, and utilize natural light to create more beautiful photographs.
Whether using a professional camera or a smartphone, observing and utilizing light is always a crucial skill for improving image quality. Take the time to practice under various lighting conditions to feel the changes in each frame and gradually refine your photography skills.





















VIP Products








Best Selling Products
MidJourney Account
29 USD
Upgrade genuine Capture One account
120 USD
Adobe Photoshop Copyright - Full App
120 USD
Freepik Premium Account
59 USD
Upgrade Duolingo Super
29 USD
Genuine Cheap Canva Pro
39 USD
Upgrade Genuine Office 365
49 USD
Genuine Adobe Illustrator account
99 USD
Adobe Premiere Pro Account
99 USD
Plugin Retouch4me
69 USD
Autodesk All App Account Copyright
120 USD
Copyright Adobe Lightroom Account
59 USD
ChatGPT Plus Account (GPT-4)
16 USD
Windows 10 & 11 Pro Key
36 USD
Capcut Pro 1 Year
39 USD