Best Selling Products
How to create Neon effects in Photoshop
Nội dung
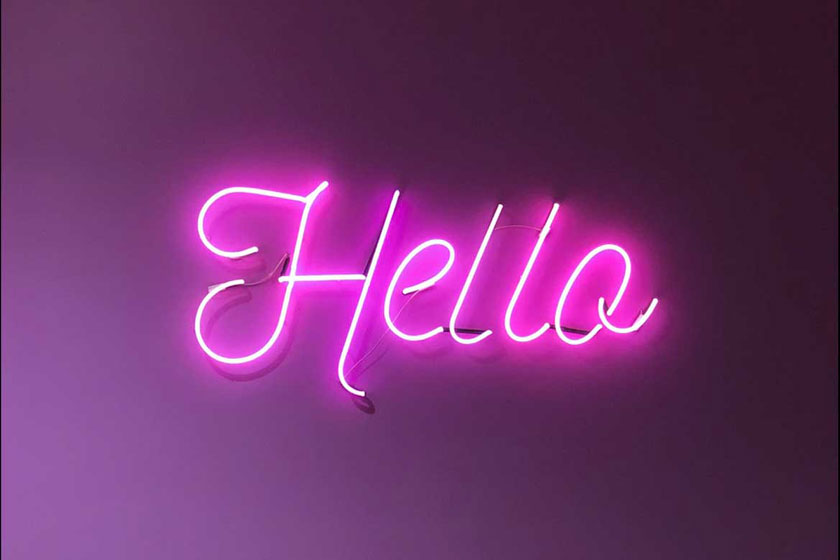
Neon effect will make your image editing works professional, creative and interesting to viewers. However, not everyone knows how to create Neon effects in Photoshop, so in this article SaDesign Retouching will give you information on this issue for your reference. 
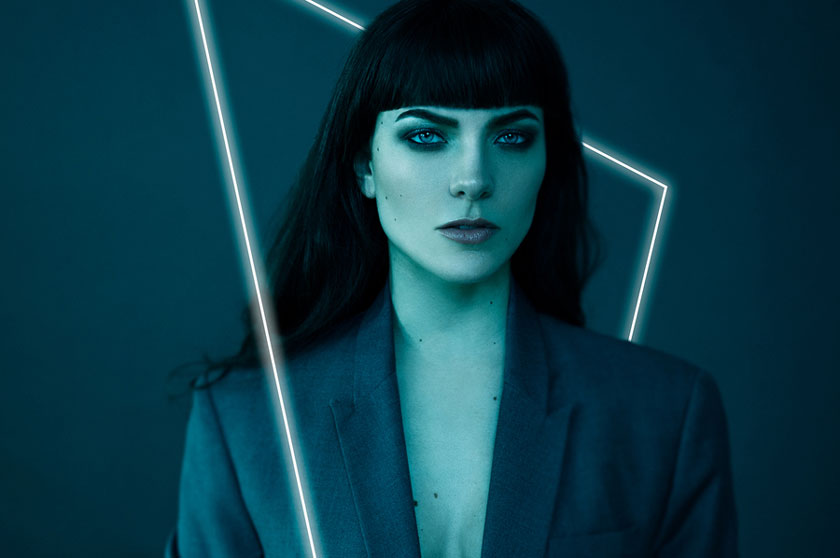 Neon effect This neon line effect is considered to be quite fun, but applying good color grading while the thoughtful application of the color palette brings things together, for a visually cohesive and cinematic look. . When adding special effects or artificial elements to your images make sure it's not done in a frivolous way but instead on purpose, otherwise it may look disjointed. and forcing, losing artistry.
  Techniques for creating neon effects If you are bored with the same old portraits and want to be creative on your products, then the Neon effect will be considered a worthy choice. In photo editing software Photoshop has given you a lot of ways to express your creativity, and sometimes the simplest tips yield the biggest results. While the technique of creating Neon effects in Photoshop may not be for everyone and certainly not for every situation. However, learning how to use the pen tool in this way will definitely help you become a better retoucher. For more details, please refer to the video tutorial below:

Neon effect in Photoshop
Neon is one of the prevailing trends in recent times, neon colors bring a feeling of nostalgia, but still very eye-catching and very modern. Moreover, neon color is also used by many designs to create inspiration from the future. Neon effect
Techniques for creating neon effects in Photoshop
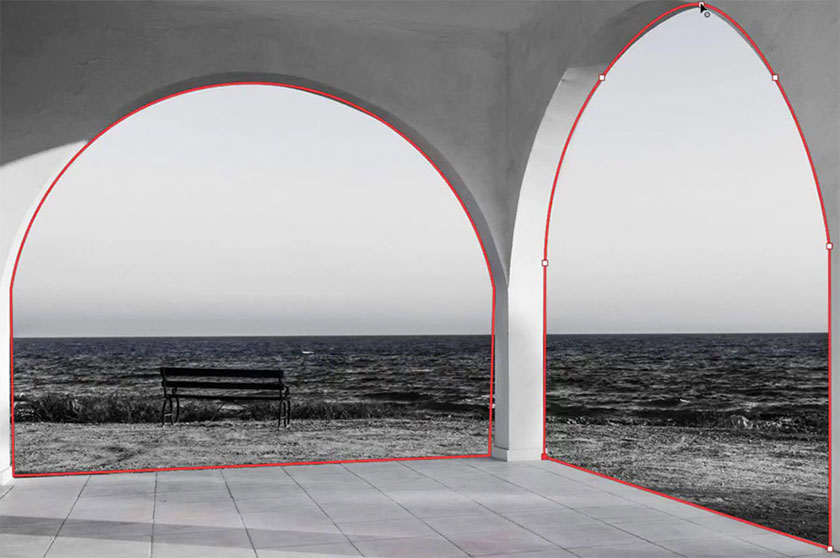
Learn how to create a fun glowing line effect that will add a dramatic and futuristic feel to your images. If you are not familiar with the tool, the Pen Tool creates vector paths that can be converted into selections. These selections can in turn be used to extract or mask groups of pixels. Techniques for creating neon effects
How to create Neon text in Photoshop
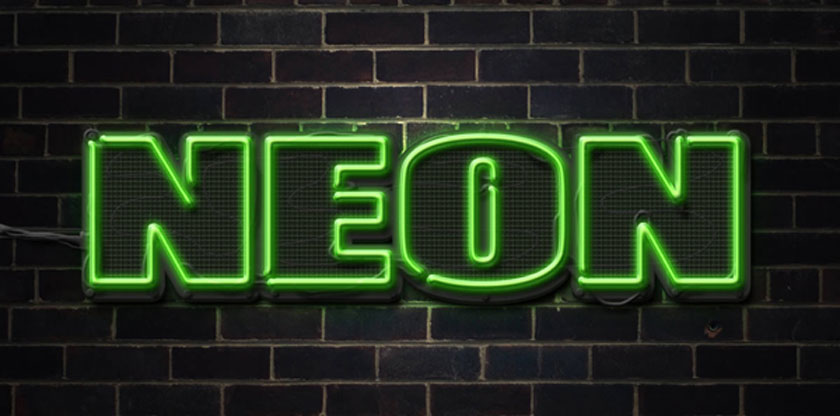
In addition to creating emphasized lines with Neon effect, you absolutely can create Neon text to highlight the content you want to convey in the picture by following the steps below:- Step 1: Create a text in your caps using the font Beon Medium. Then select # a33e88 color and size 103 pt.
- Step 2: Duplicate that layer with the keyboard shortcut Ctrl + J and turn off the eye icon. Then right-click on the duplicated layer and click on Rasterize Type. Now let's start separating the vertical and diagonal parts of each letter from the horizontal letters, to apply the effects with different angle values.
- Step 3: You can choose the Rectangular Marquee Tool to select the selection or any tool you want. Click on the add icon, you select all the horizontal parts of the letters.
- Step 4: To put the selected parts in a separate layer, click Edit => Cut, and then Edit => Paste Special => Paste in Place.
- Step 5: You edit the parameters on Vertical and Horizontal accordingly. You change the value of Vertical and Horizontal to zero.
- Step 6: Perform Duplicate Vertical and Horizontal twice. Group its layers into the Vertical and Horizontal groups.
- Step 7: You place the Horizontal group below the Vertical group.
Sadesign Co., Ltd. provides the world's No. 1 warehouse of cheap copyrighted software with quality: Panel Retouch, Adobe Photoshop Full App, Premiere, Illustrator, CorelDraw, Chat GPT, Capcut Pro, Canva Pro, Windows Copyright Key, Office 365 , Spotify, Duolingo, Udemy, Zoom Pro...
Contact information
SADESIGN software Company Limited


