Best Selling Products

Plugin Retouch4me
69 USD

Copyright Adobe Lightroom Account
59 USD

Windows 10 & 11 Pro Key
36 USD

ChatGPT Plus Account (GPT-4)
16 USD

Adobe Photoshop Copyright - Full App
120 USD

Capcut Pro 1 Year
39 USD

Genuine Adobe Illustrator account
99 USD

Freepik Premium Account
59 USD

Adobe Premiere Pro Account
99 USD

Autodesk All App Account Copyright
120 USD

Upgrade genuine Capture One account
120 USD

Genuine Cheap Canva Pro
39 USD

Upgrade Genuine Office 365
49 USD

Upgrade Duolingo Super
29 USD

MidJourney Account
29 USD
How to fix eyelashes and eyebrows in photoshop
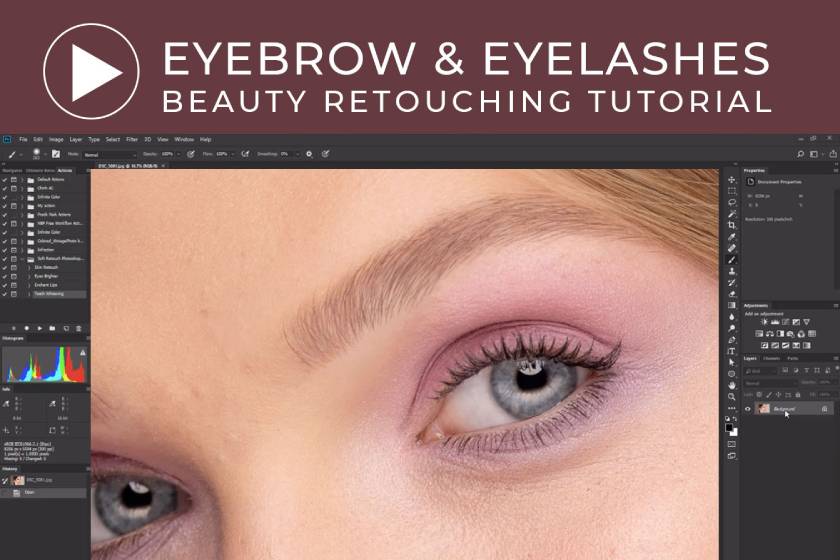
Correcting eyelashes and eyebrows in photoshop requires a high level of concentration, careful attention and attention to detail. Many beautiful images are ruined due to the poorly edited or edited area. Retouching proficient lashes and eyebrows is no easy feat, they require you to be very careful and familiar with your tools.
fix eyelashes and eyebrows in photoshopIntroduction
In this tutorial, SaDesign Retouching will share with you how to make your eyebrows and eyelashes retouch in post-production ensuring the best and most impressive look. Help ensure your photos are beautiful "spotless". It can be seen that, for those who edit photos and use photoshop, this is one of the very useful and necessary jobs.
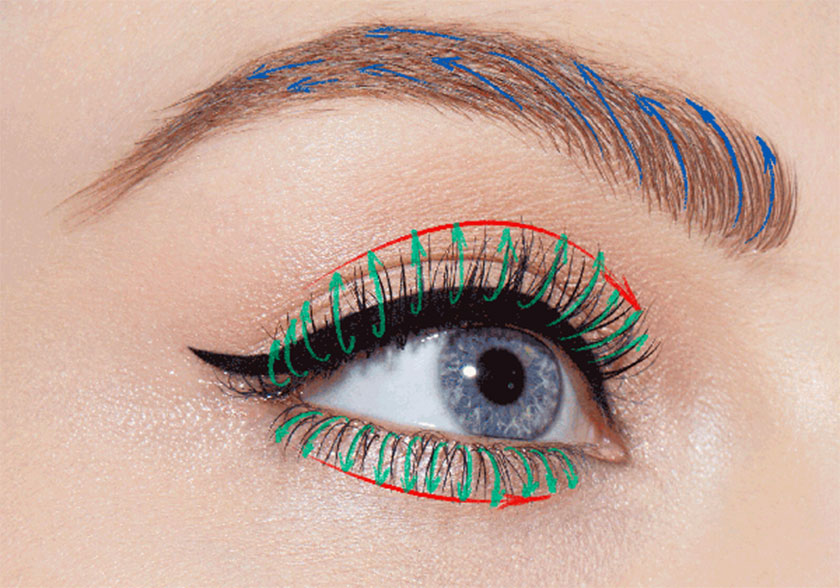
First of all, you need to study natural eyelashes with different angles. It is important to understand the direction of the hair growth in these areas so that you can apply the correct strokes when correcting. We can see the example below to see this clearly:
 example
- Blue is a color that helps express the flow of eyebrows.
- Green is a color that helps express the flow of eyelashes.
- Red color is used to adjust the shape and length of the eyelashes.
In the image below, you can see what I did to improve those areas:
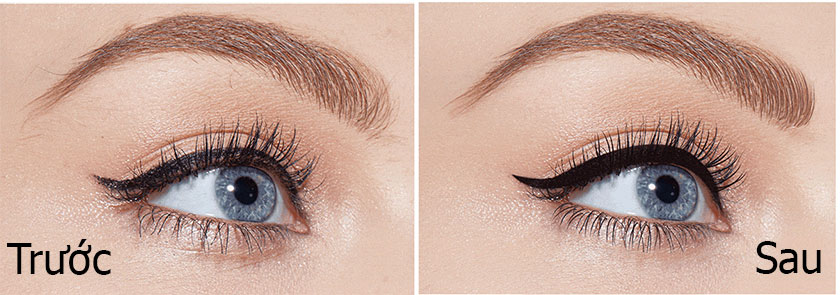 difference when editing
Brush Settings
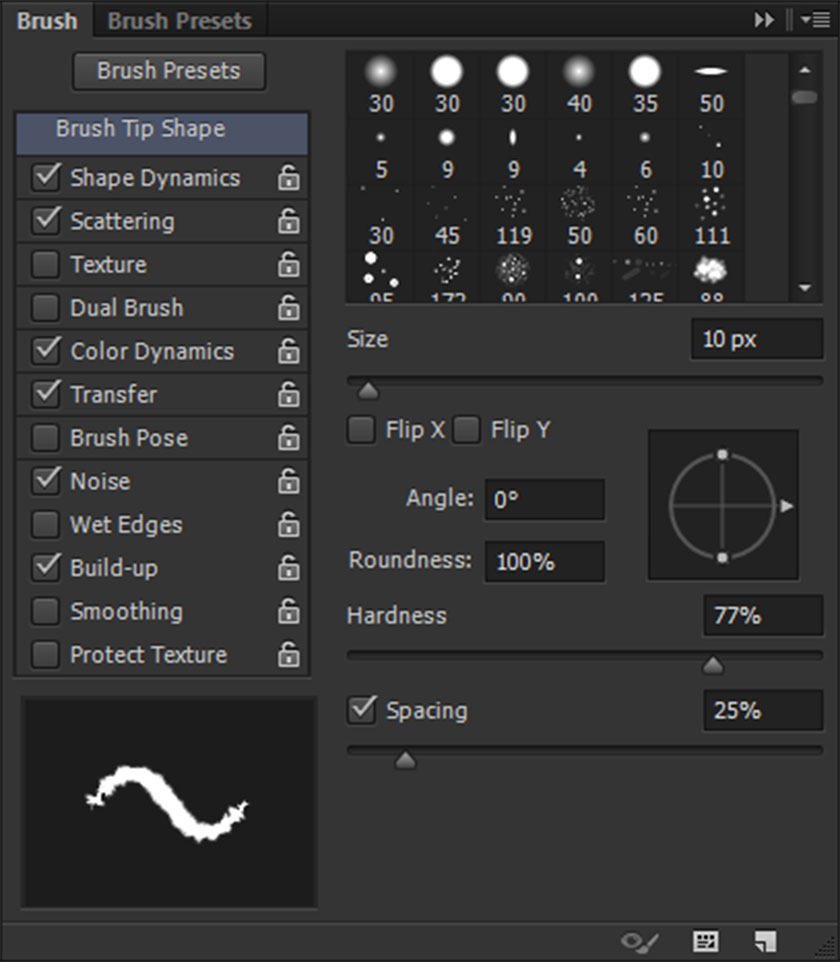
First, we will use a brush and adjust the brush settings accordingly to make the eyelash painting the most beautiful and natural.
Finding the right brush settings is a challenge for beginners. You can reference and copy the settings in our following example to the application as well as understand why SaDesign uses these specific settings. The important thing is how to create realistic eyelashes that resembles the brush strokes.
If you zoom in on a beauty photo and look closely at the lashes, you'll notice that the hairs aren't perfectly curled. When makeup artists brush the mascara, they become textured and appear jagged.
To be able to do this, you need the help of photoshop to be able to adjust the eyelashes. This software will help you regenerate to create the most lifelike and perfect lashes. First of all, SaDesign Retouching will use a round brush tip, the hardness can be changed from 50 to 85%, in this example we will use 70%.
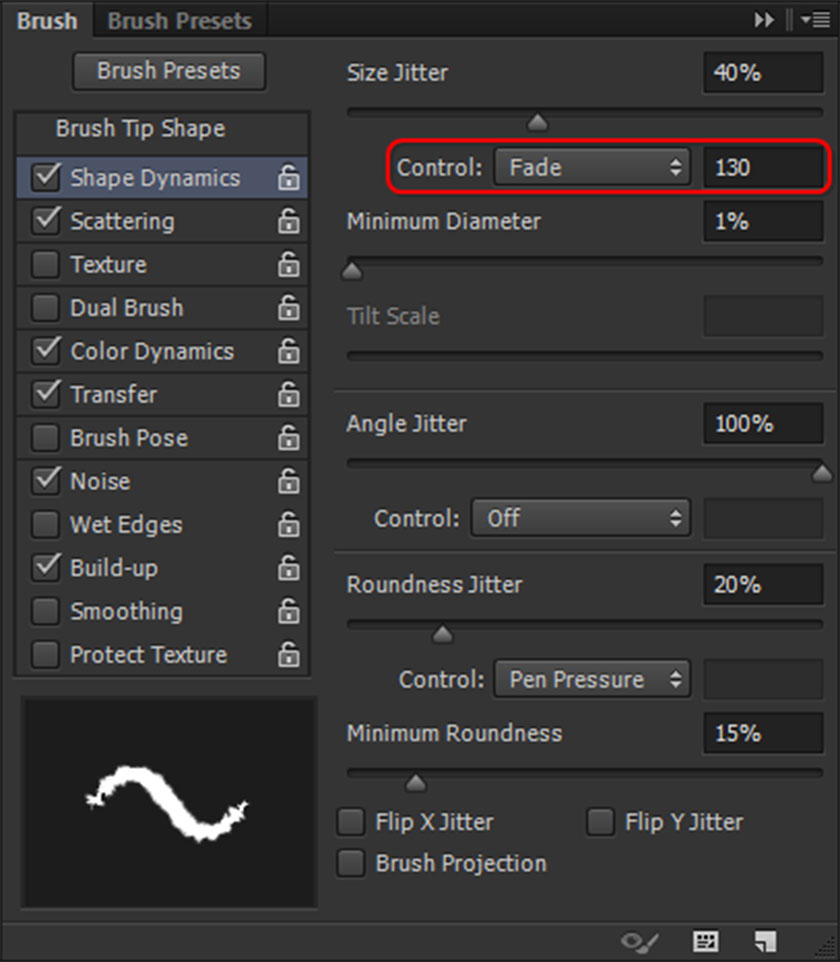
 Brush Settings
Take a look at the Size settings: Jitter, namely Control: Fade. The settings will be different, with this Fade setting you'll have more control over the lines and have a nice pointy tip when you draw new strands of hair or lashes.
Depending on the size of the brush, I usually choose the following Fade settings:- 6 / Fade brush size: 100 for shorter bristles on the lower eyelid.
- Brush size 7 / Fade: 120 for longer hairs on lower eyelids and shorter hairs on upper eyelids.
- Brush Size 10 / Fade 160 for longer upper eyelashes.
For this setting, you will also need to make adjustments based on your image resolution.
 Fade settings
Scattering is one of the particularly important settings. It helps us create this jagged look when recreating real eyelashes covered with mascara.
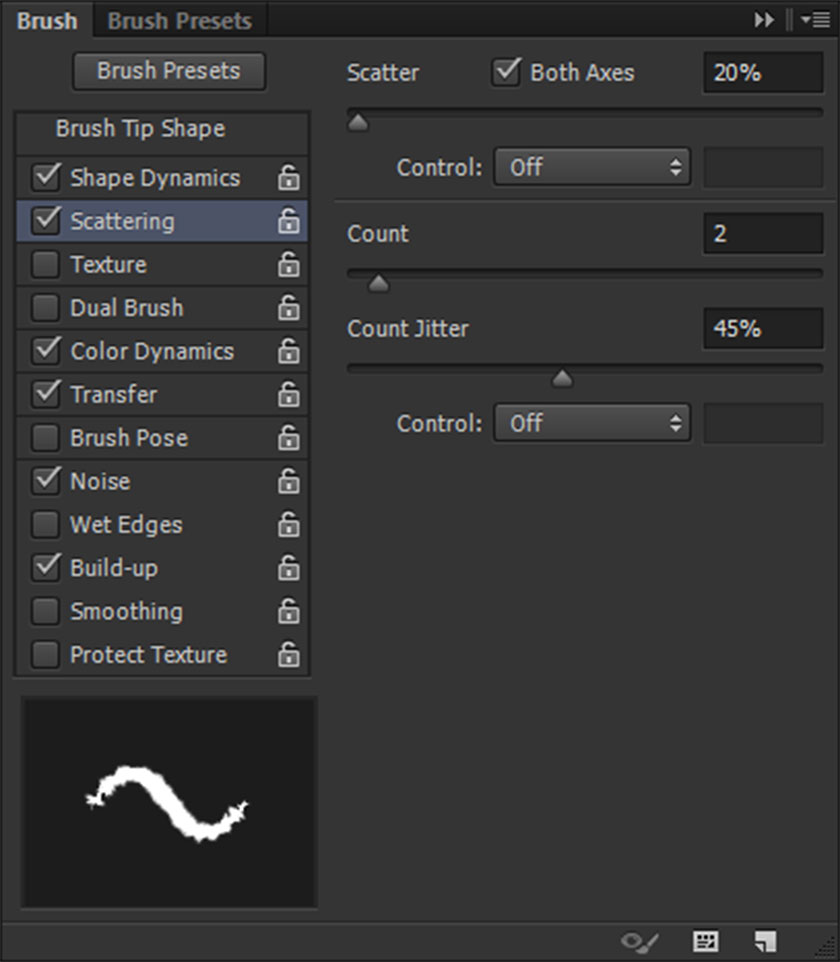 Scattering
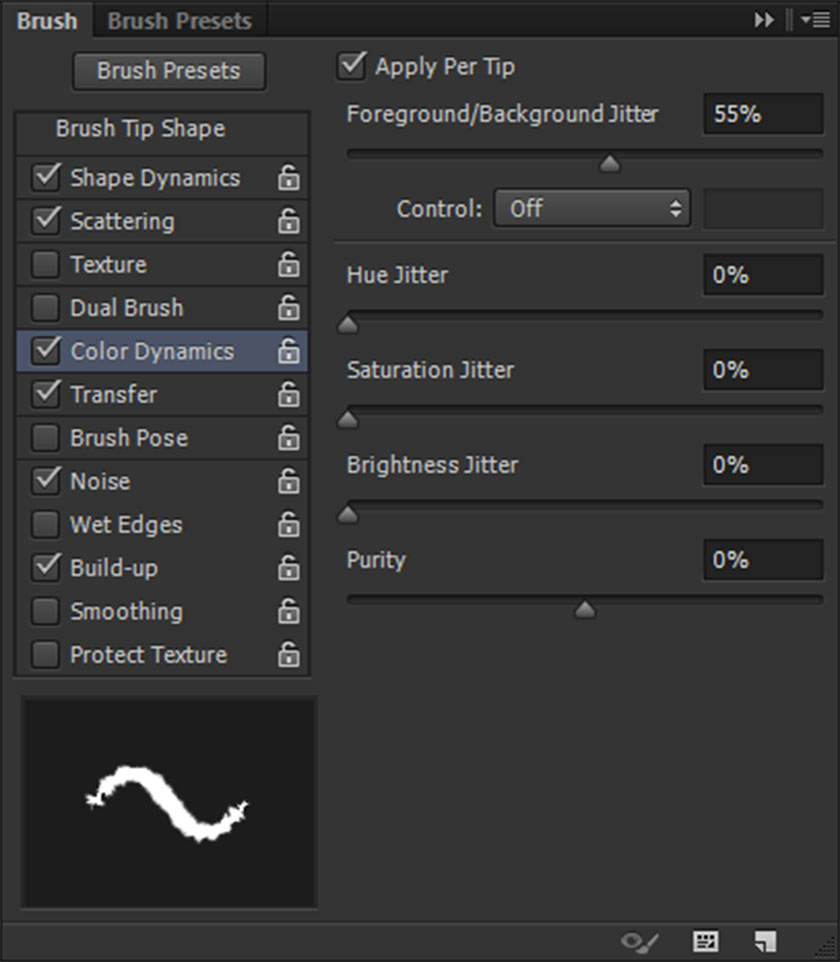
Color Dynamics is an optional setting, users can turn them off or on, SaDesign recommends that you turn them on. You may notice that the eyebrows or eyelashes are not made up of a uniform color. They are blends of two or more colors.
Color Dynamics allows me to select the foreground and background colors and create a mixture of the two, thus making the strokes look more natural.
Choosing the right color and getting the right blend is pretty hard and important. If you don't get a match, simply turn off Color Dynamics.
 Color Dynamics
Transfer is not a very important setting for the brush. You can turn it off. When using it we usually add a little Opacity Jitter when we don't get the results we want.
Here is the final result you can observe to see the change in your edits:
 finally
Paint on the lashes
Once you have created the brush, you can start adding the lashes.
First, we draw on the lower eyelid. As I mentioned earlier, you need to adjust your Fade controls in the brush settings. It controls the length of your lines. For best results, you need to work with a stylus. This way, you can precisely adjust to your movement and create beautiful lines.
Then I started working on the upper eyelid. I used a bigger brush and changed the Fade to 140-160 to get longer strokes.
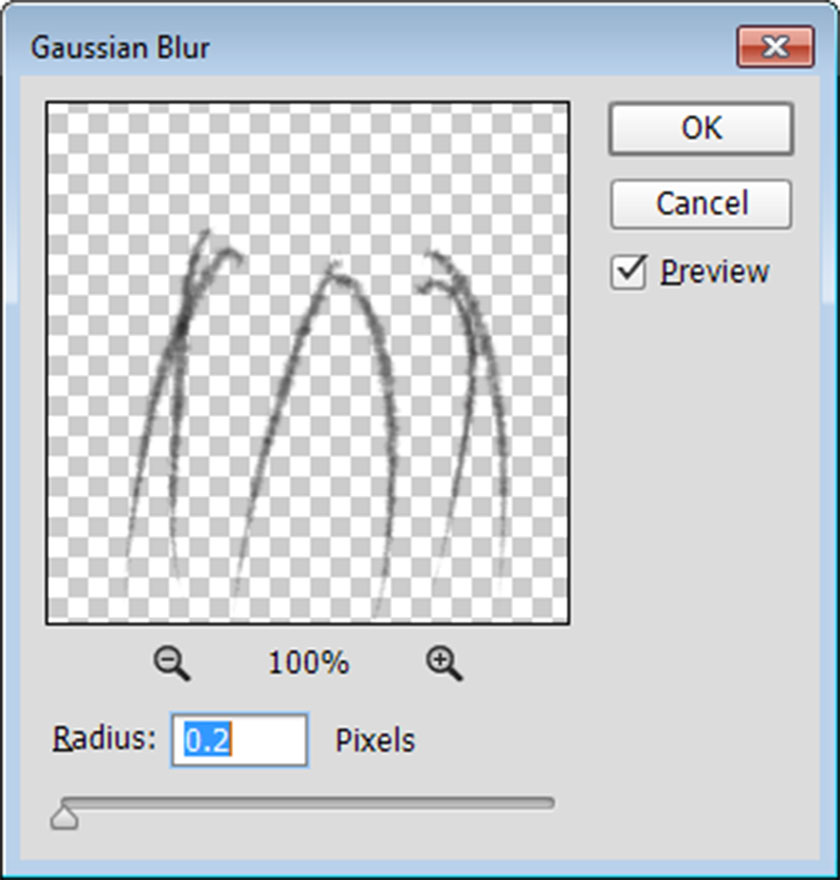
Finally, I took a basic brush and added shadow under the lower eyelid where the new eyelash was filled.
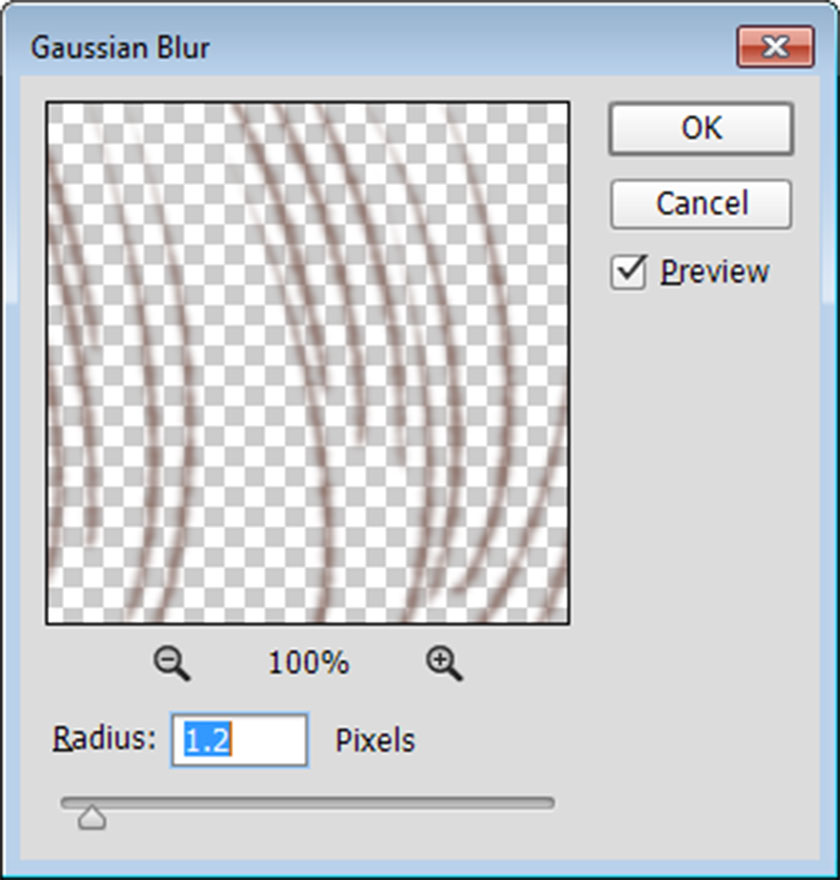
We chose a radius following the very nearby hairs to give the brush a similar softness. The blurring radius is quite low in most cases.
 Paint on the lashes
Fill the eyebrows
Now let's take care of the eyebrows. The approach is basically the same.
You can see that the eyebrows differ in color. There are basically 3 main colors in this case. Firstly, I painted hairs with a slightly blueish tone.
Then I colored darker inside the eyebrows and was reder and more saturated.
Finally, I painted the ball to make it look more authentic. I also blur my lines a little to match the hairs around me.
 Fill the eyebrows
Some tips for you
If you pick the wrong color or can't see where you're making the lines, you can paint the strands in magenta or lime green. Then you can easily change the color of the strokes with a large soft brush.
Just don't forget to paint your hairs on a separate layer and turn on Transparent Pixel Lock while you're changing colors.
Take care not to rush the processes. You should use the rotating canvas to find the best position to add your strokes. I can do it over and over until I'm satisfied with one and decide to move on to the next.
Use reference images of beautiful eyes with natural lashes and beautiful eyebrows.
Constantly assessing what you are doing. You can easily add too much and overdo it, which can be counterproductive. What is as simple as beautiful.
You should regularly review your retouching activities to get the best choice to bring a beautiful and natural lashes and eyebrows.
So in the above article, SaDesign Retouching has introduced in detail what you need to do when you want to edit eyelashes and eyebrows in photoshop. I hope you found the above tutorial on how to work on eyelashes and eyebrows with Photoshop really helpful. Wish you all success with your image through the steps we have introduced above.
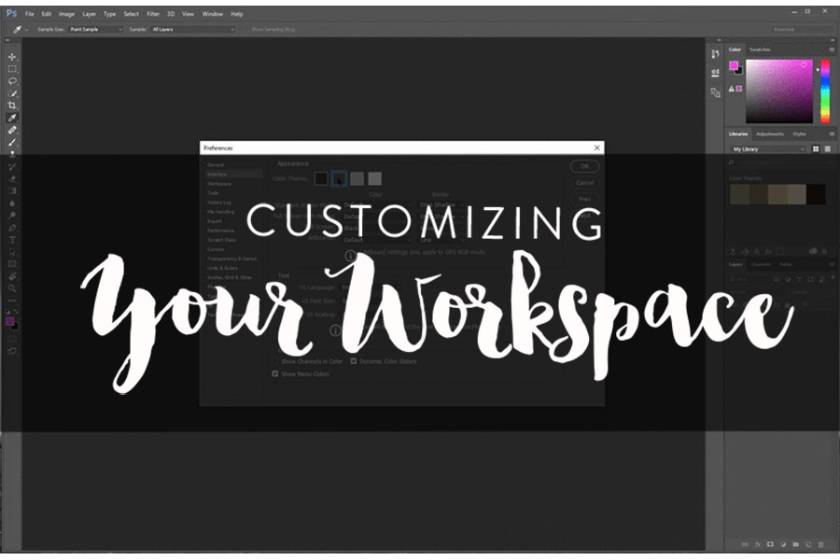
See more How to customize workspaces in Photoshop


VIP Products


Best Selling Products
Plugin Retouch4me
69 USD
Copyright Adobe Lightroom Account
59 USD
Windows 10 & 11 Pro Key
36 USD
ChatGPT Plus Account (GPT-4)
16 USD
Adobe Photoshop Copyright - Full App
120 USD
Capcut Pro 1 Year
39 USD
Genuine Adobe Illustrator account
99 USD
Freepik Premium Account
59 USD
Adobe Premiere Pro Account
99 USD
Autodesk All App Account Copyright
120 USD
Upgrade genuine Capture One account
120 USD
Genuine Cheap Canva Pro
39 USD
Upgrade Genuine Office 365
49 USD
Upgrade Duolingo Super
29 USD
MidJourney Account
29 USD