Best Selling Products
Steps to create engraving effect in Photoshop
Nội dung
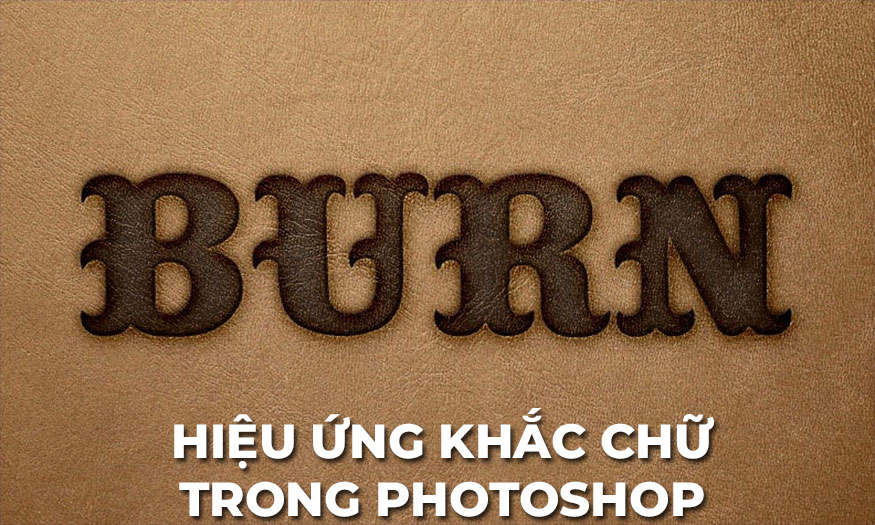
Engraving effects in Photoshop will make your design more impressive and attractive. The engraving effect stands out with concave lines. You can create this effect by combining the tools in Layer Style in Photoshop. Let's refer to the detailed implementation steps with Sadesign right below

Resources needed to create a lettering effect in Photoshop
In today's post on how to create a text engraving effect in Photoshop, we need to use some of the following resources:
Big Top Font
The-Auteur-Stock Leather Texture
Subtle Textures Backgrounds Patterns
You can also use similar resources that you find. Download them to use for the following steps.
1. How to create a background for the engraving effect in Photoshop
To create the engraved text effect in Photoshop, we first need an impressive background layer. Here we will create the engraved text effect on the skin, so we need a skin background.
Step 1: Create a new document with the size of 1024 x 683px. Then on the menu bar go to File => Place Linked to add the downloaded skin texture image to Photoshop.
Resize the image to fit the document and try to keep the darkest bottom right corner on the outside.
.jpg)
Step 2: On the menu bar, go to Image => Adjustments => Shadows/Highlights.
Check the Show More Options box and use the values below for the rest of the Photoshop texture settings:
Shadows:
Amount: 1
Tone: 50
Radius: 30
Highlights:
Amount: 20
Tone: 50
Radius: 30
Adjustments:
Color: 0
Midtone: 0
.jpg)
Step 3: Click the Create new fill or adjustment layer icon at the bottom of the Layers panel and select Gradient…
.jpg)
Step 4: Create a Transparent to Fill Color gradient effect using the colors #eaeaea on the left and #816f69 on the right.
Change the Style to Radial and the Scale to 350 and check the Dither box.
.jpg)
Step 5: Change the Blend Mode of the Gradient layer to Linear Burn.
.jpg)
2. Create text for engraving effect in Photoshop
To get the engraving effect in Photoshop, we need the text part, right? Let's do it right away.
Step 1: Create your custom text using Big Top font. Change the Size to 200 pt and Tracking to -50. Here I write BURNT.
.jpg)
Step 2: Change the Fill value of the text layer to 0.
.jpg)
Step 3: Select the text layer, then press Ctrl + J to duplicate this layer.
.jpg)
3. How to apply Layer Style to the original text layer
Double-click the original text layer to open the Layer Style panel and apply the following settings:
Step 1: Click on Bevel and Emboss with the following settings:
Size: 30
Gloss Contour: Ring - Double
Tick the Anti-aliased box
Highlight Mode: Overlay
Shadow Mode: Multiply
Color: #675b47
.jpg)
Step 2: Select Contour and set up the parameters as follows:
Contour: Rolling Slope - Descending
Tick the Anti-aliased box.
Range: 100%
.jpg)
Step 3: Select Texture and set the parameters as follows:
Pattern: Subtle Textures Backgrounds downloaded
.jpg)
Step 4: Continue to select Color Overlay and set the parameters as follows:
Color: #3f3d43
Blend Mode: Multiply
Opacity: 90%
.jpg)
Step 5: Continue to select Drop Shadow and set the parameters as follows:
Blend Mode: Linear Burn
Color: #74838e
Opacity: 65%
Distance: 5
Spread: 10
Size: 20
.jpg)
4. How to use the Blend If option
Still in the Layer Style panel, we adjust Blend If as follows:
Step 1: Click the Blending Options tab at the top of the Layer Style box.
In the Blend If section near the bottom, click and drag the Underlying Layer's white slider to the left.
Note, this correction will affect the text in the document, you will start to see bright areas appear.
.jpg)
Step 2: Now hold the Alt key and click-drag the slider to split it. Move each end separately to create a smooth transition.
Adjust the slider until you get the effect you like.
.jpg)
This helps protect the texture's highlights from being affected by the text effects you've applied.
.jpg)
5. How to apply Layer Style to copy text layer
Double-click the copied text layer to apply the following Layer Style:
Step 1: Add Bevel and Emboss and set the following parameters:
Style: Pillow Emboss
Size: 15
Tick the Anti-aliased box
Highlight Mode: Overlay
.jpg)
Step 2: Add Contour and set according to the following parameters:
Contour: Cover - Deep
Tick the Anti-aliased box.
.jpg)
Step 3: Add Inner Shadow and set the following parameters:
Blend Mode: Linear Burn
Color: #85552f
Opacity: 35%
Distance: 5
Size: 10
.jpg)
Step 4: Click the + sign to the right of the Inner Shadow tab to add another Inner Shadow effect with the following settings:
Blend Mode: Linear Burn
Color: #85552f
Opacity: 35%
Distance: 0
Size: 25
.jpg)
Step 5: Add Outer Glow and set it according to the following parameters:
Blend Mode: Linear Burn
Opacity: 70%
Color: #b2b0af
Size: 10
.jpg)
Step 6: Add Drop Shadow and set the following parameters:
Blend Mode: Linear Dodge (Add)
Color: #ccdfe0
Opacity: 45%
Distance: 0
Size: 5
.jpg)
Step 7: Click the + sign next to the Drop Shadow tab to add another Drop Shadow effect, then set the following parameters:
Blend Mode: Vivid Light
Color: #c9c7ad
Opacity: 35%
Distance: 5
Size: 15
.jpg)
Now we have completed the engraving effect in Photoshop with the result as shown.
.jpg)
Above is a summary of the steps to create a lettering effect in Photoshop. The implementation is not too difficult, you can try changing the parameters to get the most unique results.


