How to treat with fluff in Photoshop
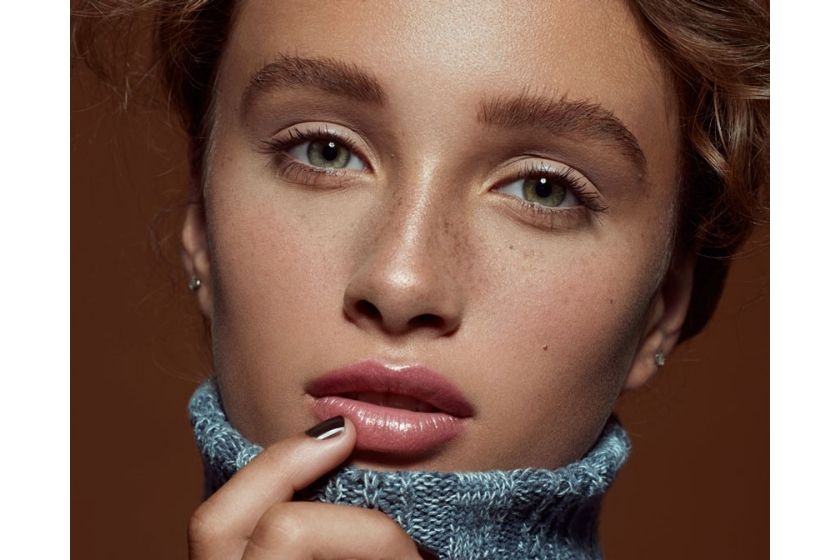
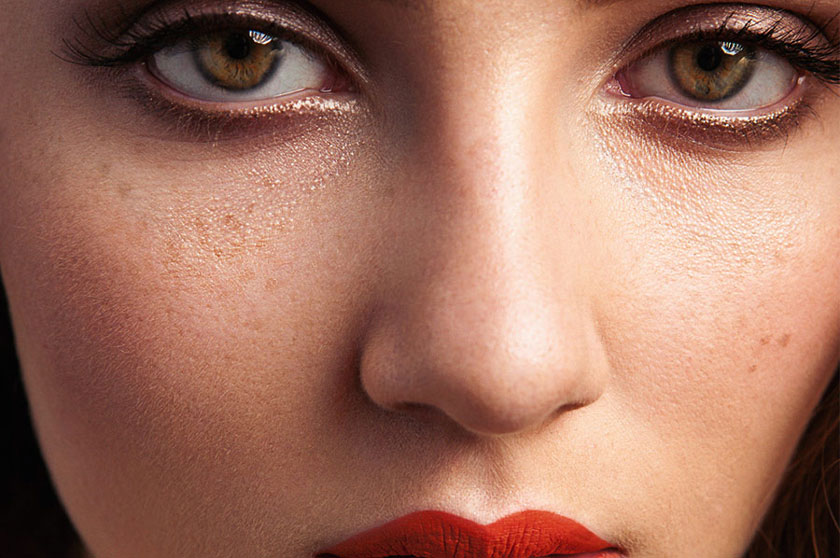
Fluff is also known as vellus, which are fine, lightly pigmented hair on the face, neck and other parts of the body. Usually they can only be noticed when taken extremely close or under certain light. In many cases, fluff enhances the texture of the skin and the natural feel of the image, but sometimes you may find it distracting and you should deal with this problem in your post production. The following article will help you the most effective treatment of fluff on the skin. treat with fluff in Photoshop According to the famous photographers, in most of the images, the visibility of fluff is reduced and it is rarely completely erased. However, this will be dependent on many factors including your aesthetic. In the section below, let's take a nice photo of Michael Woloszynowicz and try to slightly reduce the visibility of the fluff on the model's cheeks. The workflow will consist of two parts and the intensity and amount of time you spend on each of those parts is entirely dependent on your desired result. 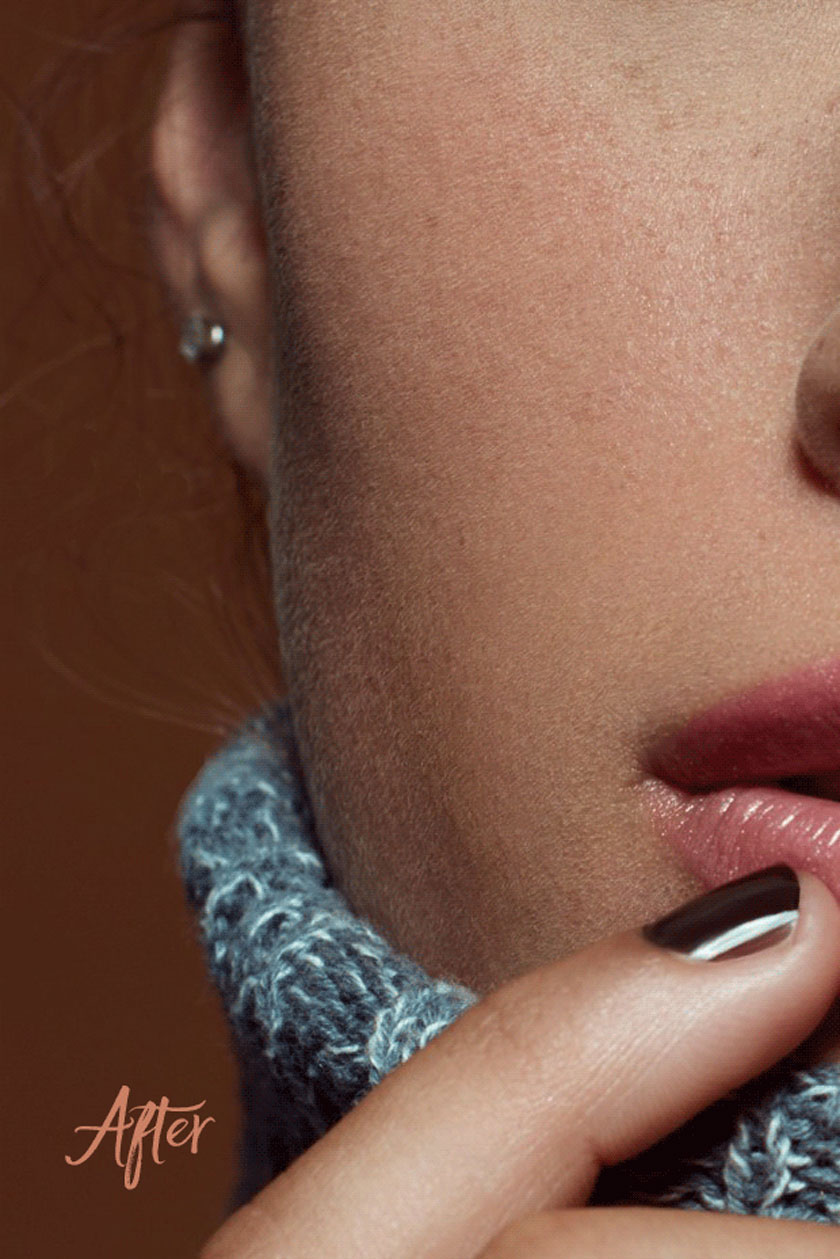 Removing the fluff with the Clone Stamp
 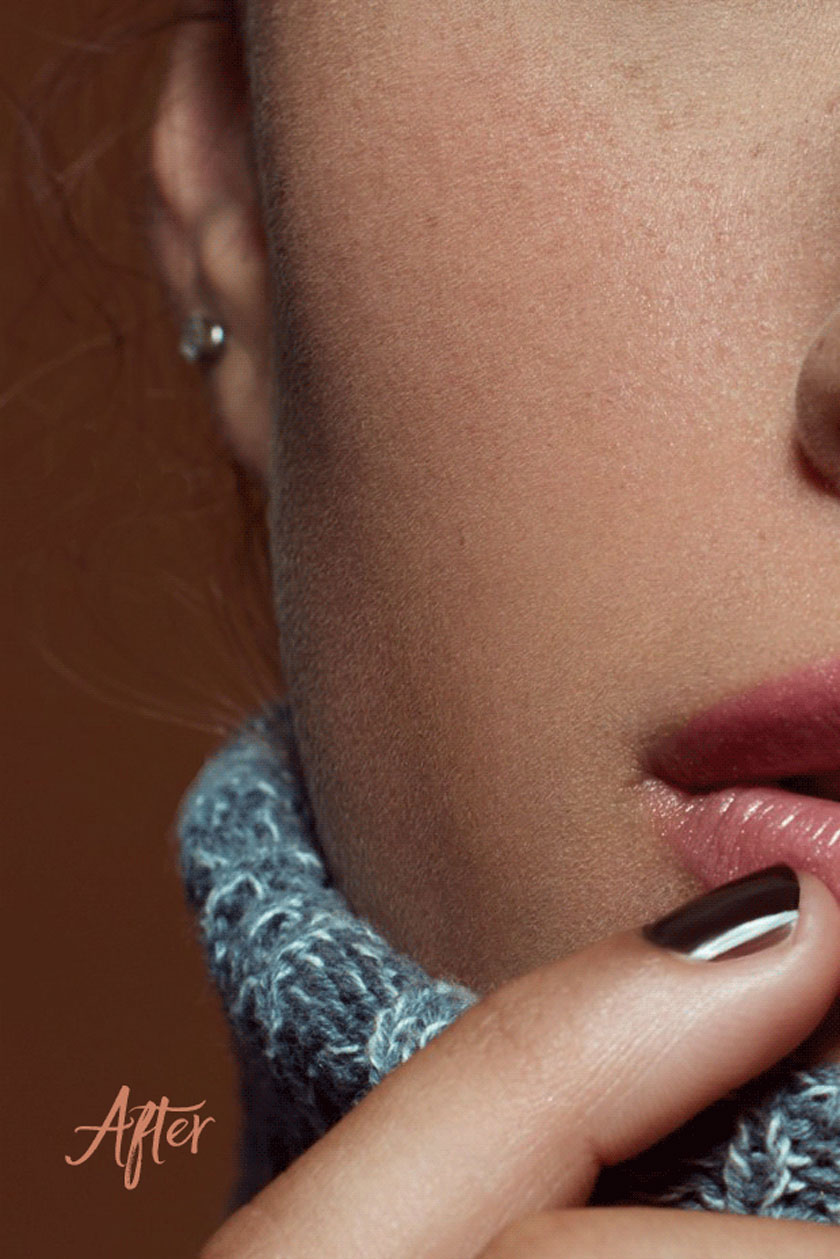 Dodging and Burning Pick your favorite brush for D&B and set a really small size as you'll handle very small lines. Use visual help if you need, you just need to click the button “Visual assistance”. If not, create a 50% gray layer set to Blend Mode and Curves to add contrast. You need to move around the burning area of the brightest hairs. Usually try zooming out and check how the area blends with the rest of the texture. Then, you may get a saturation change after starting D&B. This happens because shadows are often more saturated with average tones or highlights. This can easily be solved by clipping a Hue / Saturation layer for each of your Curves. You will need to reduce some of the saturation on the adjustment that you cut into the Dodge Curve and add some to the adjustment cut into the Burn Curve.
 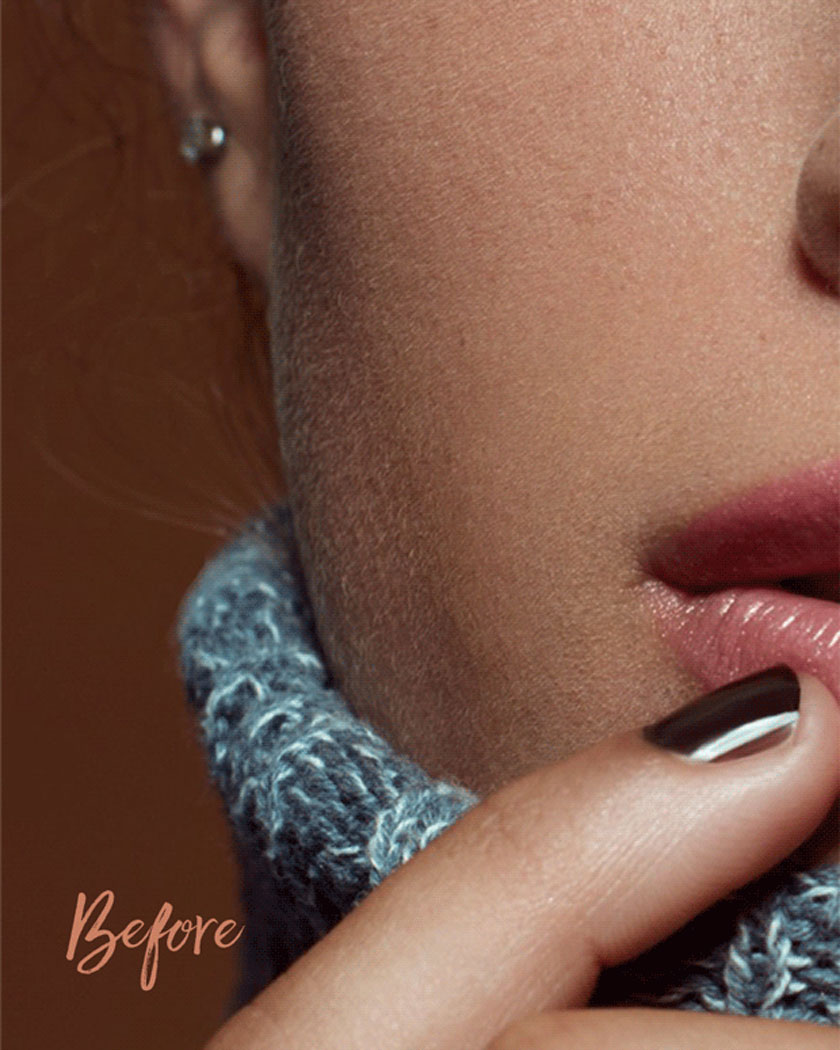 Hue/Saturation This works very effectively with Curves as a tool of choice for Dodging and Burning. The reason is that the Saturation adjustment will only affect the areas you've drawn on your Curve mask. In case you are using a 50% gray layer, you will need to manually target to the affected areas. These two steps are used to reduce peach fluff. It's entirely up to you, as you can adjust as you like, but try to keep in mind that the purpose of the image is to enhance the value of your product. Above is sharing about how to treat fluff on skin in beauty retouching, SaDesign Retouching hopes to help you get useful information. If you find the article interesting and necessary, don't forget to click the Like and Share buttons. See more Find out 10 causes of blurry photos and how to fix them
treat with fluff in PhotoshopRemoving the fluff with the Clone Stamp
Since the fluff is markedly paler when compared to the skin, we will start by removing the most prominent hairs with the Clone Stamp in darkening mode: Removing the fluff with the Clone Stamp- Create a new empty layer and set the blending mode to Darken.
- Next, select your Clone Stamp tool, set its blending mode to Darken and Opacity 100%.
- Now start removing the most prominent hairs.
Dodging and Burning (D&B)
After we have removed the most annoying hairs, move on to the next step of Dodging and Burning that area. The most effective method is to set up a double curve for dodge and another curve for burning. This gives you more flexibility to adjust for variations in saturation, which is a definite benefit. Dodging and Burning Hue/Saturation