Best Selling Products

MidJourney Account
29 USD

Upgrade genuine Capture One account
120 USD

Adobe Photoshop Copyright - Full App
120 USD

Copyright Adobe Lightroom Account
59 USD

Adobe Premiere Pro Account
99 USD

Upgrade Genuine Office 365
49 USD

Upgrade Duolingo Super
29 USD

Genuine Cheap Canva Pro
39 USD

Genuine Adobe Illustrator account
99 USD

Windows 10 & 11 Pro Key
36 USD

Autodesk All App Account Copyright
120 USD

ChatGPT Plus Account (GPT-4)
16 USD

Capcut Pro 1 Year
39 USD

Freepik Premium Account
59 USD

Plugin Retouch4me
69 USD
Turn Your Photo into The Look and Feel of a Maxfield Parrish Painting
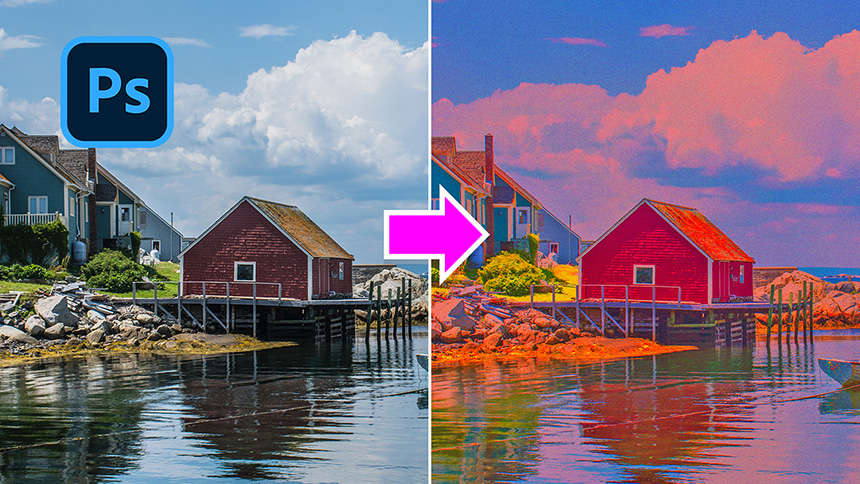
Hi there, welcome back to our SaDesign channel. In this video, I’ll share with you the way to transform your photo into the look of Maxfield Parrish paintings.
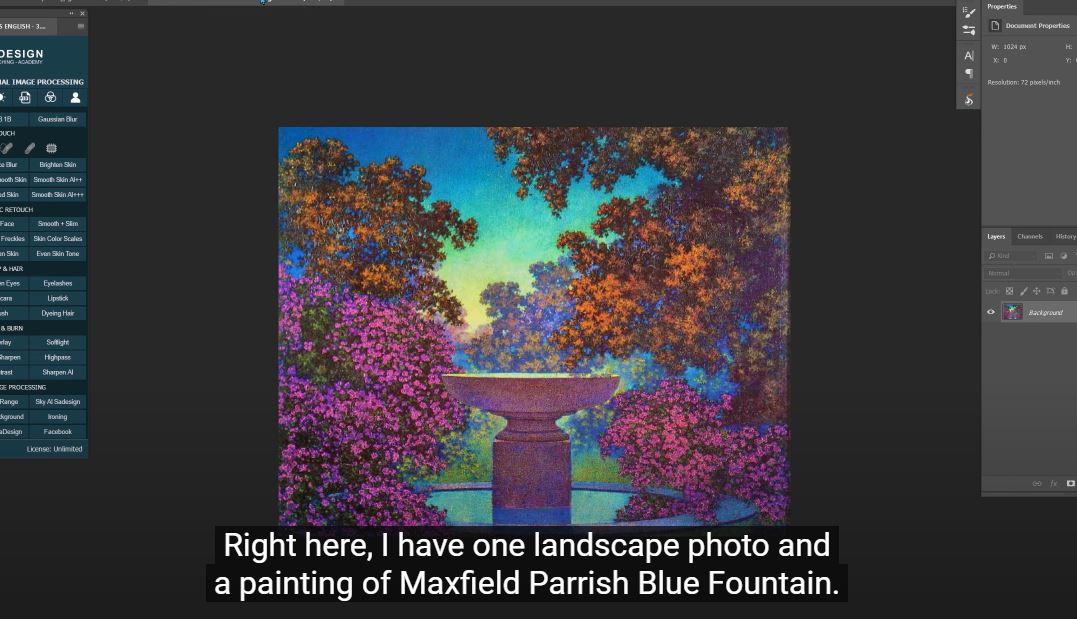
Right here, I have one landscape photo and a painting of Maxfield Parrish Blue Fountain.
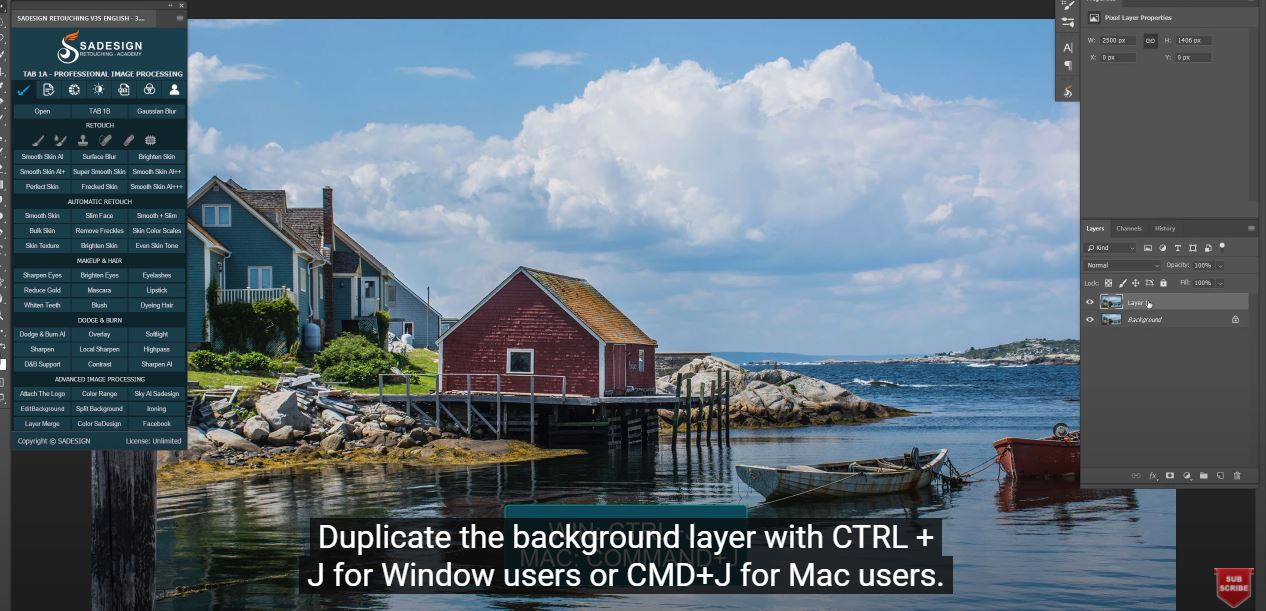
Duplicate the background layer with CTRL + J for Window users or CMD+J for Mac users.
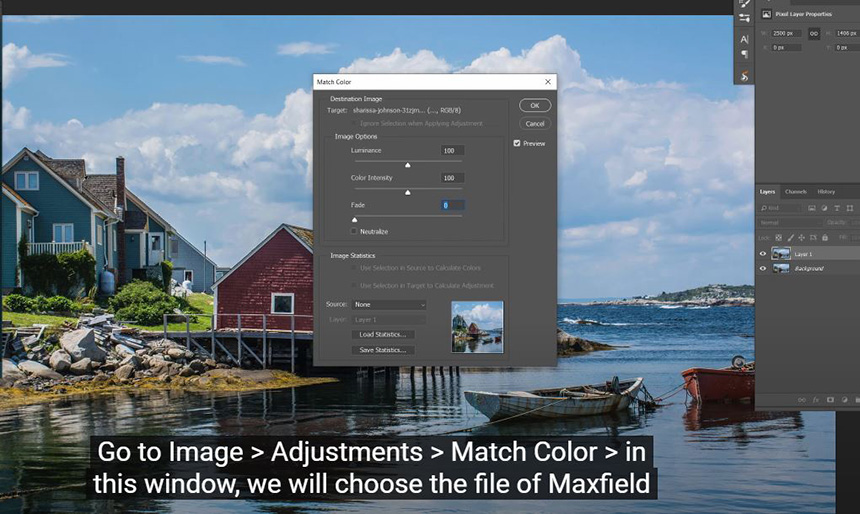
o to Image > Adjustments > Match Color > in this window, we will choose the file of Maxfield Parrish in source for color matching. Set Luminance and color intensity to maximum. Then OK
Convert layer 1 to smart object so we can modify it non-destructively.
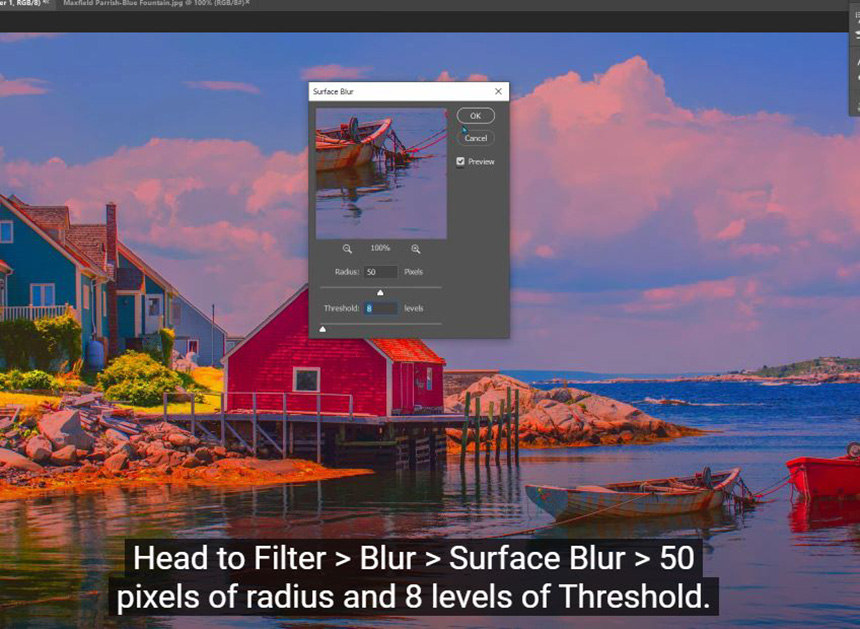
Head to Filter > Blur > Surface Blur > 50 pixels of radius and 8 levels of Threshold.
Click to adjustment icon, select Vibrance > Increase vibrance to 80 In layer 1, Image > Adjustment > Shadows/Highlights, increase shadow to 35% Add filter of grain to it, Filter > Filter Gallery > in Texture folder, choose Grain. Intensity 15 Contrast 50
Alright! If you like this tutorial, like and subscribe to our channel for learning more tips on a daily basis. Thanks for watching!
Watch the video here:
REGISTER FOR FREE PHOTOSHOP LEARNING
============================
The most powerful Retouch tool processor
DOWNLOAD:
✅ SADESIGN PANEL ENGLISH: https://sadesign.ai/retouching/
✅ SADESIGN PANEL VIETNAM: https://www.retouching.vn/


VIP Products


Best Selling Products
MidJourney Account
29 USD
Upgrade genuine Capture One account
120 USD
Adobe Photoshop Copyright - Full App
120 USD
Copyright Adobe Lightroom Account
59 USD
Adobe Premiere Pro Account
99 USD
Upgrade Genuine Office 365
49 USD
Upgrade Duolingo Super
29 USD
Genuine Cheap Canva Pro
39 USD
Genuine Adobe Illustrator account
99 USD
Windows 10 & 11 Pro Key
36 USD
Autodesk All App Account Copyright
120 USD
ChatGPT Plus Account (GPT-4)
16 USD
Capcut Pro 1 Year
39 USD
Freepik Premium Account
59 USD
Plugin Retouch4me
69 USD