Best Selling Products
Tutorial on Creating Shadows in Photoshop Using 3D Extrusion
Nội dung
- 1. Shadowing is an important technique in Photoshop
- 2. Steps to create shadows in Photoshop using 3D Extrusion
- 2.1. Step 1 - Duplicate the main subject
- 2.2. Step 2 - At the duplicate layer, convert to 3D Extrusion
- 2.3. Step 3 - Match the 3D perspective with the scene perspective
- 2.4. Step 4 - Adjust Extrusion Depth
- 2.5. Step 5 - Merge 3D model with Pixel layer
- 2.6. Step 6 - Adjust Infinite Light
- 2.7. Step 7 - Adjust the softness of the Shadow
- 2.8. Step 8 - Render shadows
- 2.9. Step 9 - Rasterize 3D Layer
- 2.10. Step 10 - Adjust the shadow to match the scene
- 2.11. Step 11 - Shadow mask
- 2.12. Step 12 - Shading
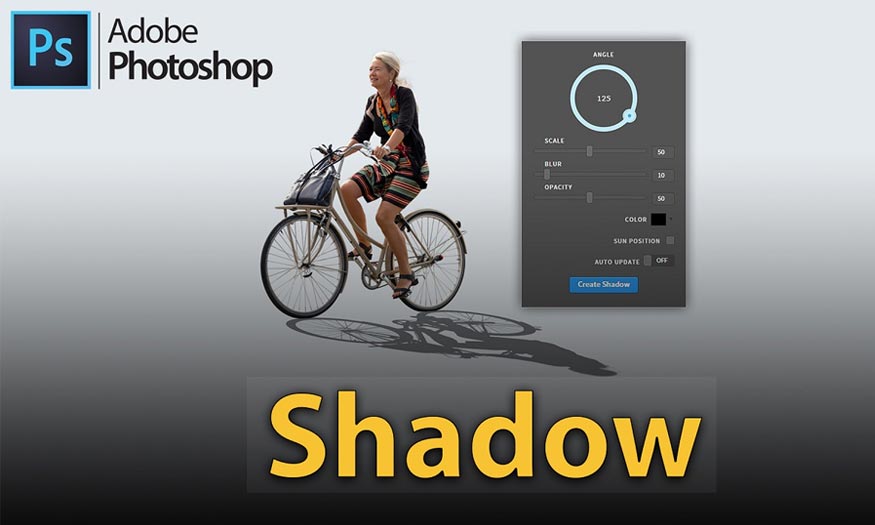
Shading an object is one of the especially important techniques to help the object have more depth. Below, Sadesign will guide you on how to create shadows in Photoshop using 3D Extrusion extremely easily to help the shadow be the most natural and realistic.

1. Shadowing is an important technique in Photoshop
Performing shadows correctly will help the objects of the subject to be connected, and realistic as if they already existed in the scene. The most difficult part of creating shadows is how to get the right shape and perspective for the shadow.
The technique for creating shadows in Photoshop involves transforming layers. You need to manipulate pixels to create shapes with the right perspective. Distorting layers is not easy, especially if the objects are complex or the angles are awkward.
(1).jpg)
Below, Sadesign will introduce to readers the application of shading techniques in Photoshop using 3D. This method will help your shading become more realistic.
2. Steps to create shadows in Photoshop using 3D Extrusion
2.1. Step 1 - Duplicate the main subject
First, you need to duplicate the object, in our example, the horse will be the object so duplicate this layer by pressing Ctrl J (Mac: Command J).
.jpg)
2.2. Step 2 - At the duplicate layer, convert to 3D Extrusion
Use the 3D feature to create a realistic shadow in Photoshop, convert this duplicate layer into a 3D Object as follows: Go to 3D => New 3D Extrusion from Selected Layer.
.jpg)
Note: If the 3D menu is grayed out, it means your computer does not meet the minimum system requirements for Photoshop 3D.
In Photoshop, 3D objects are created by extruding a 2D shape onto the Z axis. In this example, we will extrude the shape of a horse.
(1).jpg)
The ground plane is the mesh we see underneath the 3D object that can capture the shadows of the scene. To help create realistic shadows in Photoshop, it is important to match the object to the 3D model plane and the ground.
2.3. Step 3 - Match the 3D perspective with the scene perspective
When compositing images make sure the perspective is matched to give the most realistic results. It is best to match the background horizon lines with the foreground elements.
To find the horizon, trace all the parallel converging lines to find where they meet. The meeting point is the vanishing point on the horizon.
.jpg)
If the 3D scene horizon matches the photo horizon, then there should be a perspective match. The horizon in 3D appears as a grayscale that crosses the canvas.
.jpg)
At the bottom left, we will see 3 camera control icons. Click and drag on the Orbit 3D Camera icon to orbit around the 3D layer. Rotate the 3D scene to match your background horizon.
.jpg)
2.4. Step 4 - Adjust Extrusion Depth
The default Extrusion Depth in the 3D model can be a bit thick, so you may want to reduce it if necessary. Adjust the Extrusion Depth slider to suit.
.jpg)
2.5. Step 5 - Merge 3D model with Pixel layer
Once the perspective matches the scene you need to reposition the 3D model to match the pixel layer. Select the 3D object, use the Move handle to move the 3D model.
.jpg)
The most important areas are where the shadow hits the main object on the plane.
2.6. Step 6 - Adjust Infinite Light
In Photoshop 3D we can completely control the emitted light as well as the shadow on the ground plane with Infinite Light. From the 3D Panel select Infinite Light => use the overlay to adjust the direction of the light source.
.jpg)
As you click and drag on the overlay the shadow will move. Match the shadows on the image for a more realistic result.
2.7. Step 7 - Adjust the softness of the Shadow
To adjust the softness (sharpness) of the shadow, adjust the Softness slider in the Properties Panel.
.jpg)
2.8. Step 8 - Render shadows
When working with 3D, we need to render the scene to calculate the shape, perspective, and shadow appearance. The low-quality shadow we see on the screen is just a representation of the result, it is not the final image.
.jpg)
To display the shadow and see the final image, you need to use the Marquee tool to select the shadow. Next, click Render in the Properties Panel.
Rendering a 3D scene will take some time, this will depend on the complexity of the scene and the speed of your computer.
Note: To use or cancel rendering, press Esc on the keyboard.
2.9. Step 9 - Rasterize 3D Layer
Once the shadows are finished rendering, rasterize them (convert them to a normal pixel layer). Do this by right-clicking on the layer, then selecting Rasterize 3D.
2.10. Step 10 - Adjust the shadow to match the scene
From the Layers Panel, move the shadow layer just below the horse layer and rename the layer to Shadow.
.jpg)
If you want to reposition the ball to better fit the combination, press V to select the Move tool and then drag the ball to place it accordingly.
2.11. Step 11 - Shadow mask
Once the shadow is in place, hold down the Alt key and enter Layer Mask to create a black mask instead of a white mask. A black layer mask will hide all the pixels in this layer.
.jpg)
2.12. Step 12 - Shading
Paint the shadow by selecting the Brush tool to paint white on the Layer Mask to show the shadow. To render the shadow but without the 3D Object, click the “Invisible” search box in the Properties Panel. This option will hide the 3D object while ensuring the shadow remains on the ground.
.jpg)
Here is the result:
.jpg)
It can be seen that creating shadows in Photoshop using 3D Extrusion helps the object to be much more realistic.


