Best Selling Products

ChatGPT Plus Account (GPT-4)
16 USD

Adobe Premiere Pro Account
99 USD

Windows 10 & 11 Pro Key
36 USD

Autodesk All App Account Copyright
120 USD

Upgrade Duolingo Super
29 USD

Adobe Photoshop Copyright - Full App
120 USD

Upgrade genuine Capture One account
120 USD

Capcut Pro 1 Year
39 USD

Freepik Premium Account
59 USD

Upgrade Genuine Office 365
49 USD

Plugin Retouch4me
69 USD

Copyright Adobe Lightroom Account
59 USD

MidJourney Account
29 USD

Genuine Adobe Illustrator account
99 USD

Genuine Cheap Canva Pro
39 USD
Understanding Light Range in Travel Photography
Nội dung
- 1. What is the light spectrum?
- 2. Why is the dynamic range important for travel photography?
- 3. How does the dynamic range of light affect travel photos?
- 3.1. Impact on detail in bright areas
- 3.2. Impact on detail in dark areas
- 3.3. Impact on post-production capabilities
- 4. Situations in travel photography with a high dynamic range.
- 4.1. Photographing landscapes in sunny weather.
- 4.2. Photographing sunrises and sunsets
- 4.3. Photographing architecture in strong light conditions
- 5. How to control dynamic range when taking travel photos.
- 5.1. Shoot when the lighting is right.
- 5.2. Histogram Examination
- 5.3. Prioritize protecting the illuminated area.
- 5.4. Using RAW format
- 6. How can HDR solve the dynamic range problem?
- 7. Light frequency range and photographic equipment
- 8. Post-processing to optimize the dynamic range.
- 9. Common mistakes when handling light frequency ranges
Understanding the dynamic range helps you minimize overexposure, loss of detail in dark areas, and improve post-processing results.
1. What is the light spectrum?
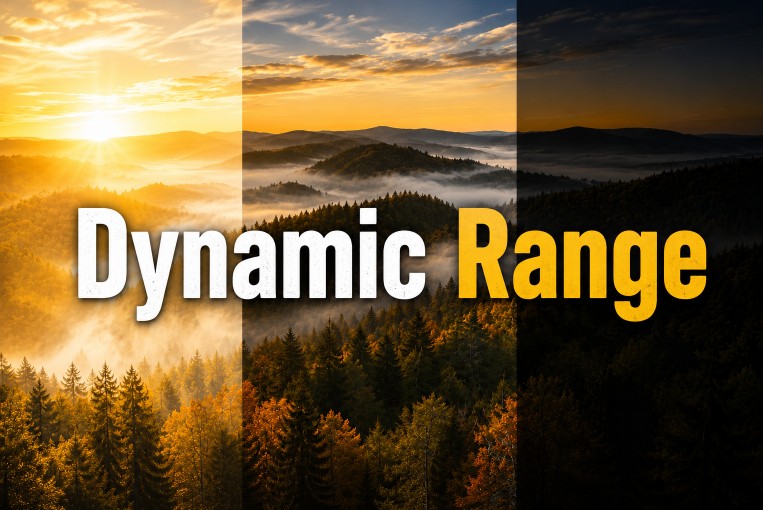
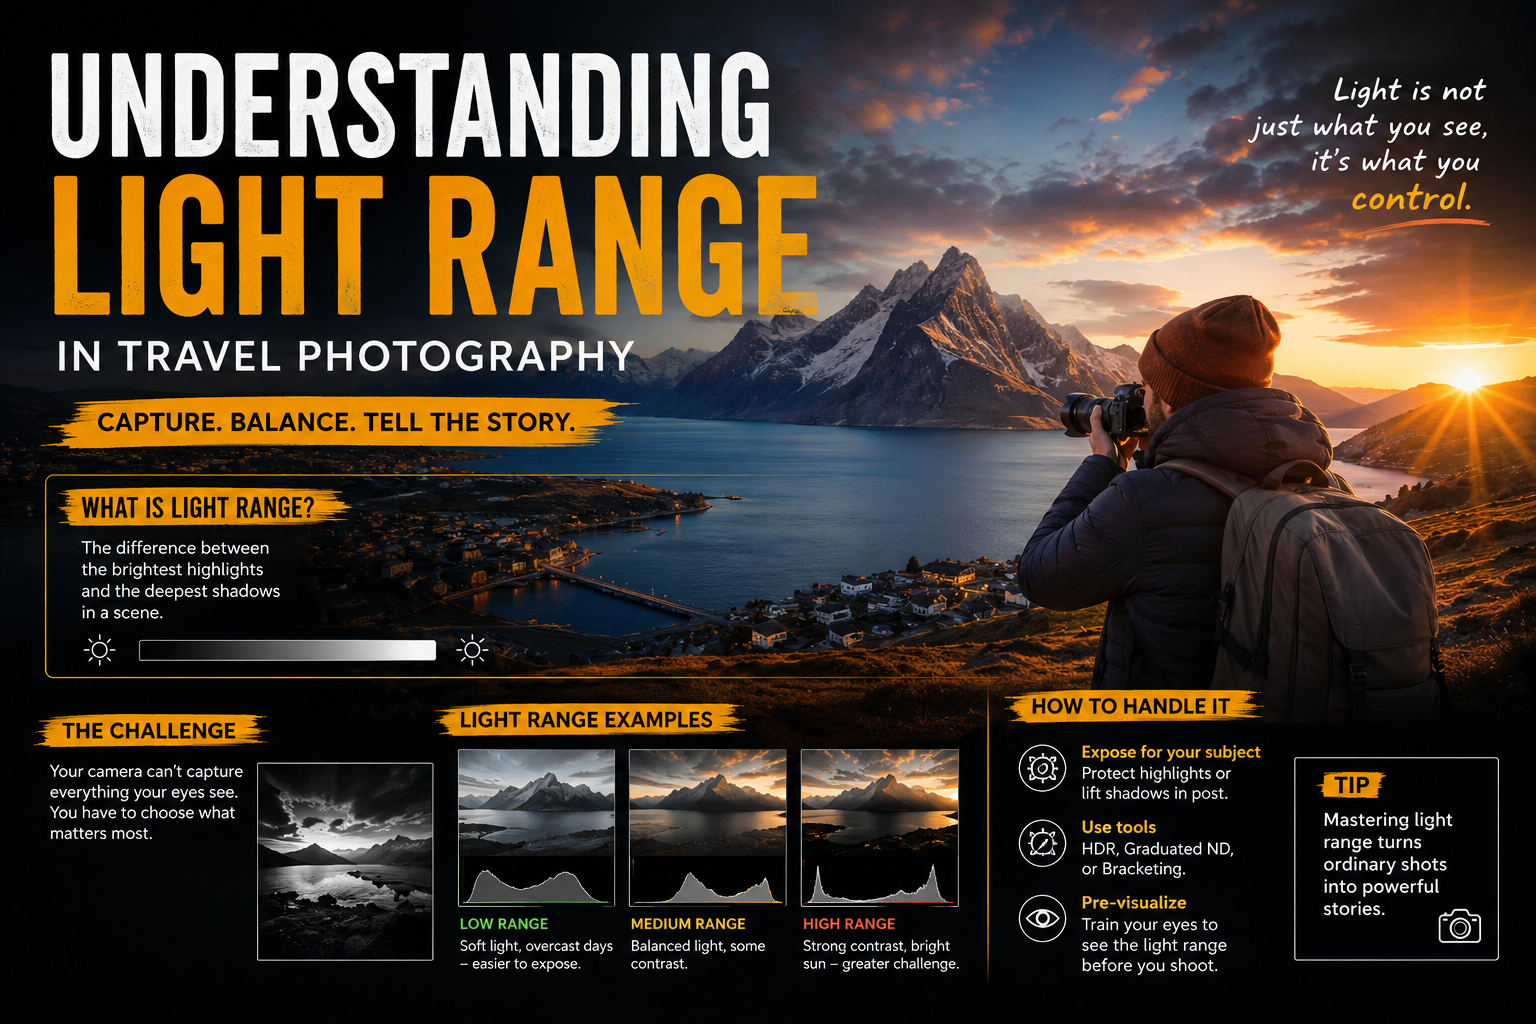
Dynamic range can be understood as the distance between the darkest and brightest areas that a camera can capture detail in within the same frame.
A scene with a wide dynamic range typically occurs when an image contains both very bright and very dark areas simultaneously. For example, when standing in an old street and photographing a window bathed in strong sunlight, the area outside might appear very bright while the interior remains quite dark.
If the camera isn't capable of capturing the full range of light in a scene, one of two things usually happens: the bright areas lose detail, or the dark areas become too black. This is one of the common problems when taking travel photos.
Simply put, the dynamic range is like a camera's "vision" in complex lighting conditions. The wider the dynamic range, the better the camera can capture information in both bright and dark areas.
2. Why is the dynamic range important for travel photography?
Travel photos are often taken in a wide variety of environments. Photographers may have to deal with direct sunlight, bright skies, shadows, water reflections, or high-contrast structures.
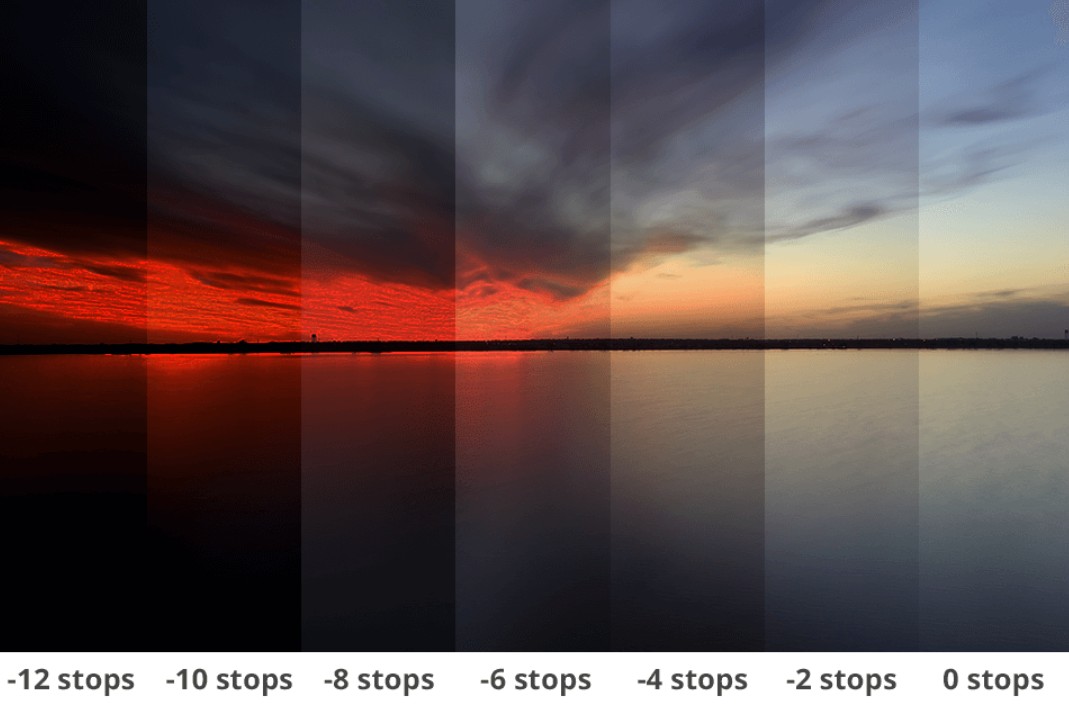
Landscape photography, in particular, often contains significant variations in light and shadow. A photograph of mountains under a cloudy sky might have a significantly brighter sky than the foreground. If the camera cannot capture enough information, it becomes difficult to simultaneously retain detail in both the clouds and the scenery below.
A wide dynamic range provides the image with more information to process. In post-processing, the photographer can brighten dark areas or dim overly bright areas while still retaining a significant amount of original detail.
This is especially useful for travel photography because photographers often want to recreate scenes that are as close to what the human eye perceives as possible.
3. How does the dynamic range of light affect travel photos?
3.1. Impact on detail in bright areas
One of the most noticeable problems is overexposure . When the bright area exceeds the sensor's detection capacity, details can disappear and the area becomes completely white.
The sky is a prime example. When photographing a scene with both ground and sky under strong sunlight, prioritizing exposure for the foreground can overexpose the sky. Clouds, which typically have many shapes and textures, will become blank white masses lacking detail.
3.2. Impact on detail in dark areas
Conversely, if exposure is based on the bright areas, the shaded areas may become too dark.
For example, when photographing a street with strong sunlight shining from behind, buildings or people in the foreground may become dark areas where detail is difficult to see.
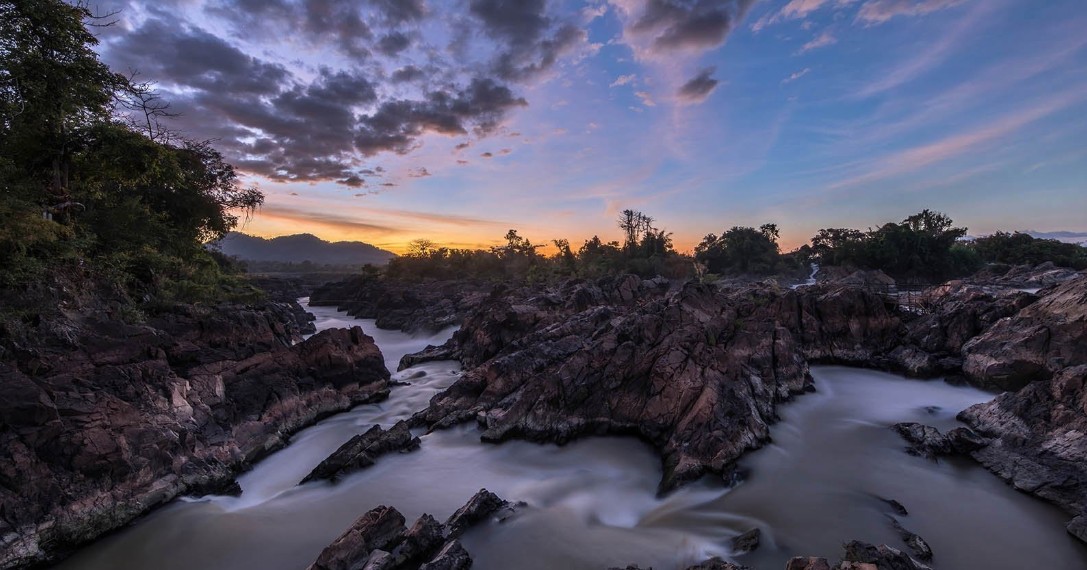
If the dark areas still retain image data, the photographer can increase the shadows during post-processing. However, if too much information has been lost in the dark areas, aggressively increasing the brightness can cause the image to appear noisy or have unnatural colors.
3.3. Impact on post-production capabilities
An image with a good dynamic range usually allows the user more flexibility when editing.
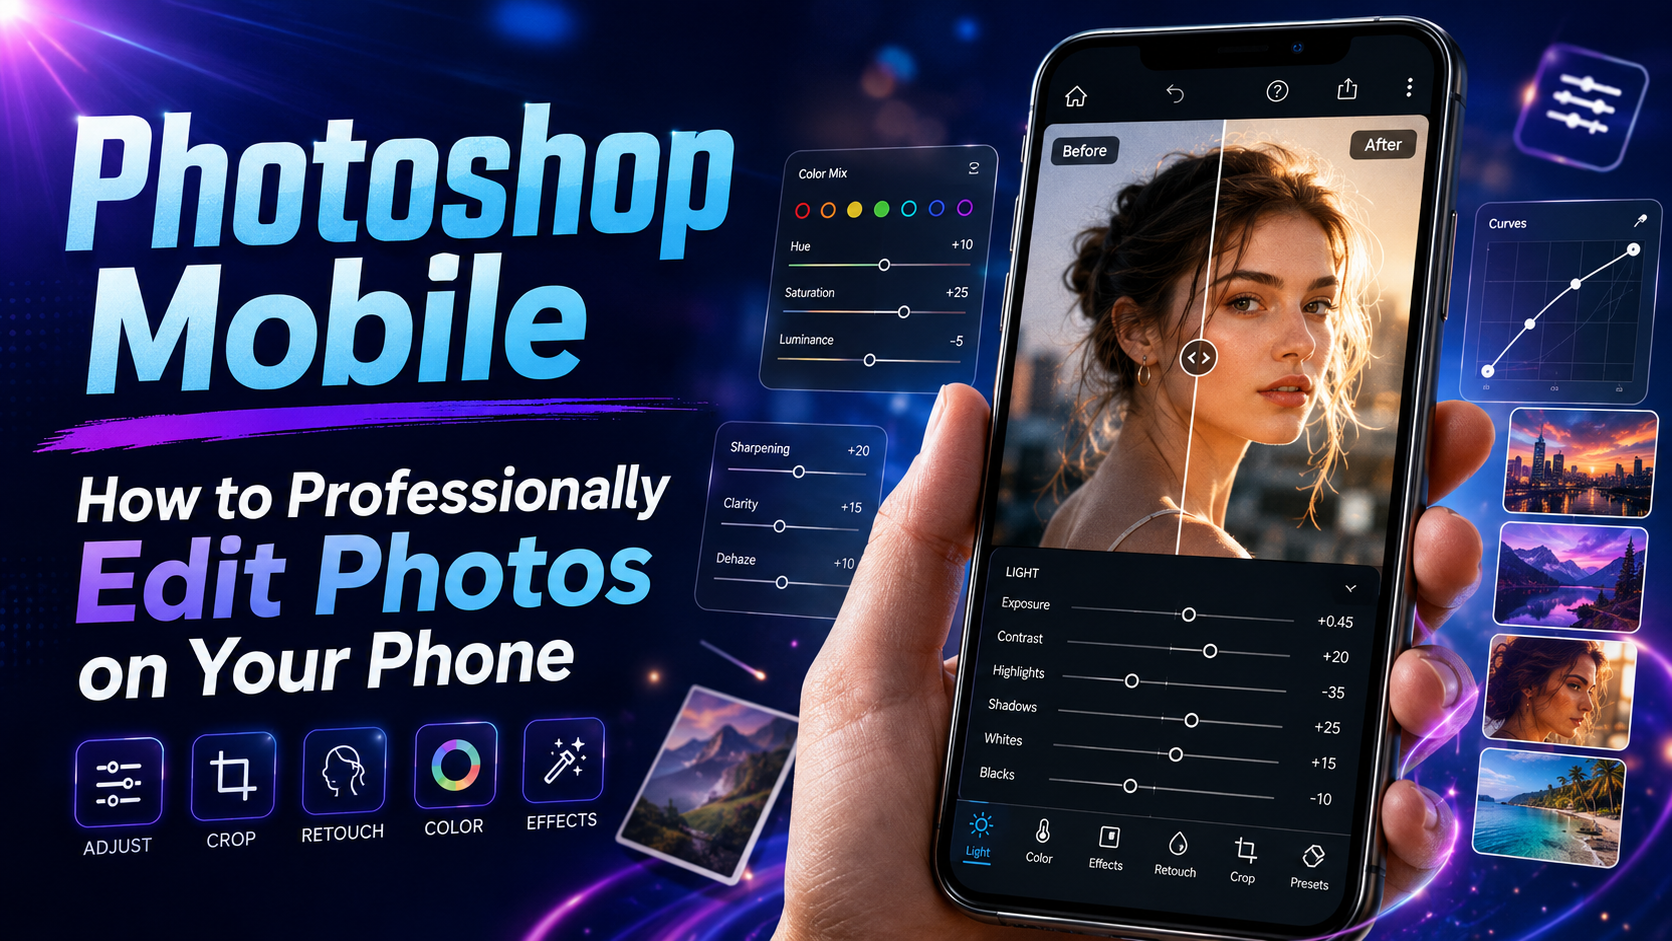
When processing images in software like Adobe Lightroom or Photoshop, photographers can adjust Exposure, Highlights, Shadows, Whites, and Blacks to balance the image. Areas where data remains intact are more likely to be recovered.
This is why RAW images are often preferred when taking travel photography seriously. RAW retains more image information than JPEG images, which are processed and compressed in the camera, thus providing more room for post-processing.
4. Situations in travel photography with a high dynamic range.
Not all travel scenes have high contrast. However, some specific situations are more likely to produce a high range of bright light frequencies.
4.1. Photographing landscapes in sunny weather.
This is the most common scenario. The sky may be very bright while the mountains, trees, or structures below are in shadow.
If you only use one exposure level, it's difficult to preserve the full detail of both areas.
4.2. Photographing sunrises and sunsets
Sunrise and sunset often feature a significant difference between the light source in the sky and the foreground.
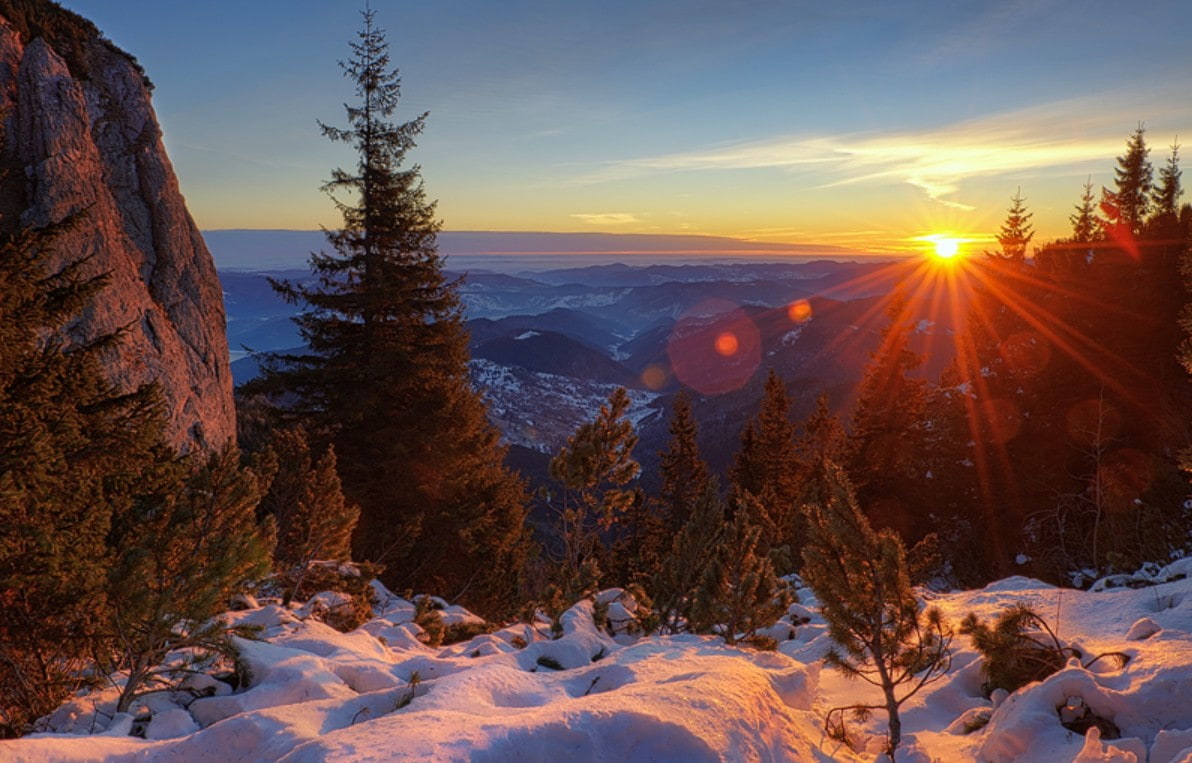
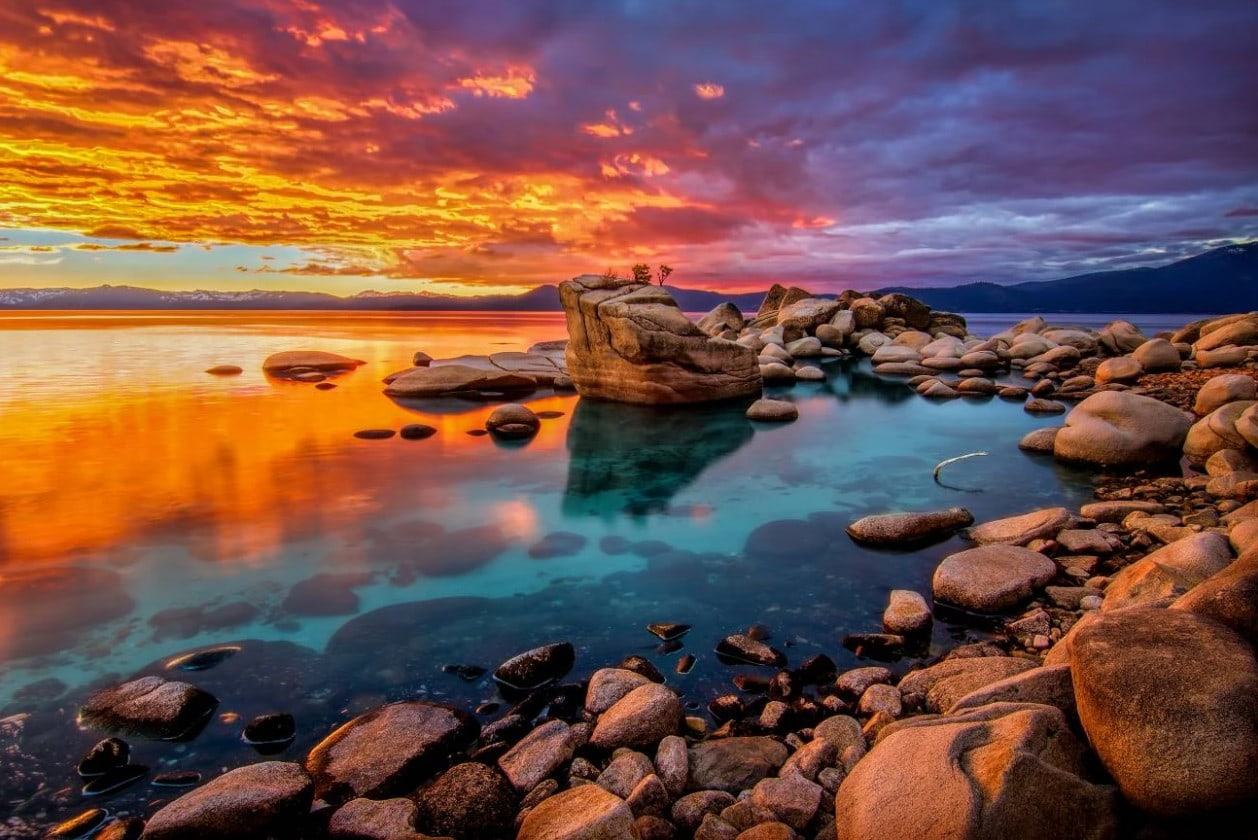
A common technique is to overexpose to protect the bright areas of the sky, then process the dark areas in post-processing. However, if the difference is too great, the photographer may need to use HDR or multiple exposures.
4.3. Photographing architecture in strong light conditions
Landmarks, churches, temples, or streets with many shadows can also create high contrast.
One side of the building may receive direct sunlight, while the other is completely in the shade. Without proper control of exposure, one of the areas may lose detail.
5. How to control dynamic range when taking travel photos.
Understanding dynamic range is the first step. More importantly, knowing how to apply it in practice is crucial.
5.1. Shoot when the lighting is right.
The timing of the shot greatly affects the contrast of the scene. Midday light is usually strong and creates distinct shadows, increasing the dynamic range of the scene.
Meanwhile, early morning or late afternoon usually offer softer light. This is also why the "golden hour" is favored by many photographers when shooting travel photos.
Soft lighting not only helps reduce contrast but also creates depth and more pleasing colors in the photograph.
5.2. Histogram Examination
Histograms are very useful tools for evaluating the distribution of light in an image.
If the histogram is heavily skewed to the right, the photo risks being overexposed. If it's too heavily skewed to the left, the photo may be underexposed.
Instead of relying solely on the LCD screen, photographers should combine the histogram with the actual scene to make more accurate exposure decisions.
5.3. Prioritize protecting the illuminated area.
In many situations, especially when shooting landscapes, retaining detail in bright areas is crucial.
A slightly underexposed dark area can sometimes be enhanced in post-production. Conversely, a completely overexposed bright area is often very difficult to restore detail to.
Therefore, the photographer can reduce the exposure slightly when necessary, as long as important areas are still preserved and no information is lost.
5.4. Using RAW format
If your camera supports RAW, this is a worthwhile option to consider when you want to post-process your travel photos.
RAW files retain more information from the sensor, allowing for adjustments to highlights and shadows after shooting. This difference can be quite noticeable, especially in high-contrast scenes.
6. How can HDR solve the dynamic range problem?
HDR, short for High Dynamic Range , is a technique that combines multiple images taken at different exposure levels into a single image capable of displaying a wider range of light.
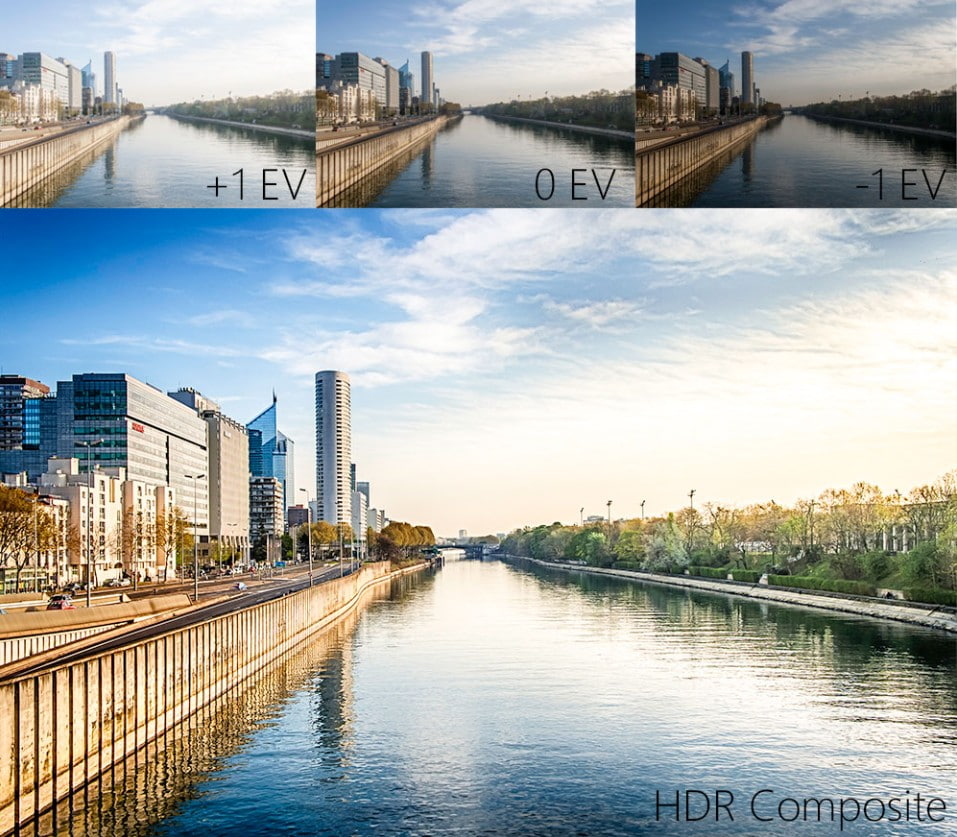
For example, you might take a slightly underexposed photo to preserve the sky, a photo with average exposure for the overall scene, and a brighter photo to retain detail in the shadows. These photos are then combined using post-processing software.
This technique is particularly useful for landscapes, architecture, and scenes with strong contrast.
However, HDR should not be overused. If processed too aggressively, the image can become unnatural, the colors too harsh, and lose the inherent authenticity of travel photography.
7. Light frequency range and photographic equipment
The dynamic range of light depends not only on the shooting technique but also on the camera's sensor.
Modern cameras with advanced sensors are generally capable of capturing a wider range of light than many older devices. However, that doesn't mean a device with a high dynamic range will automatically produce beautiful photos.
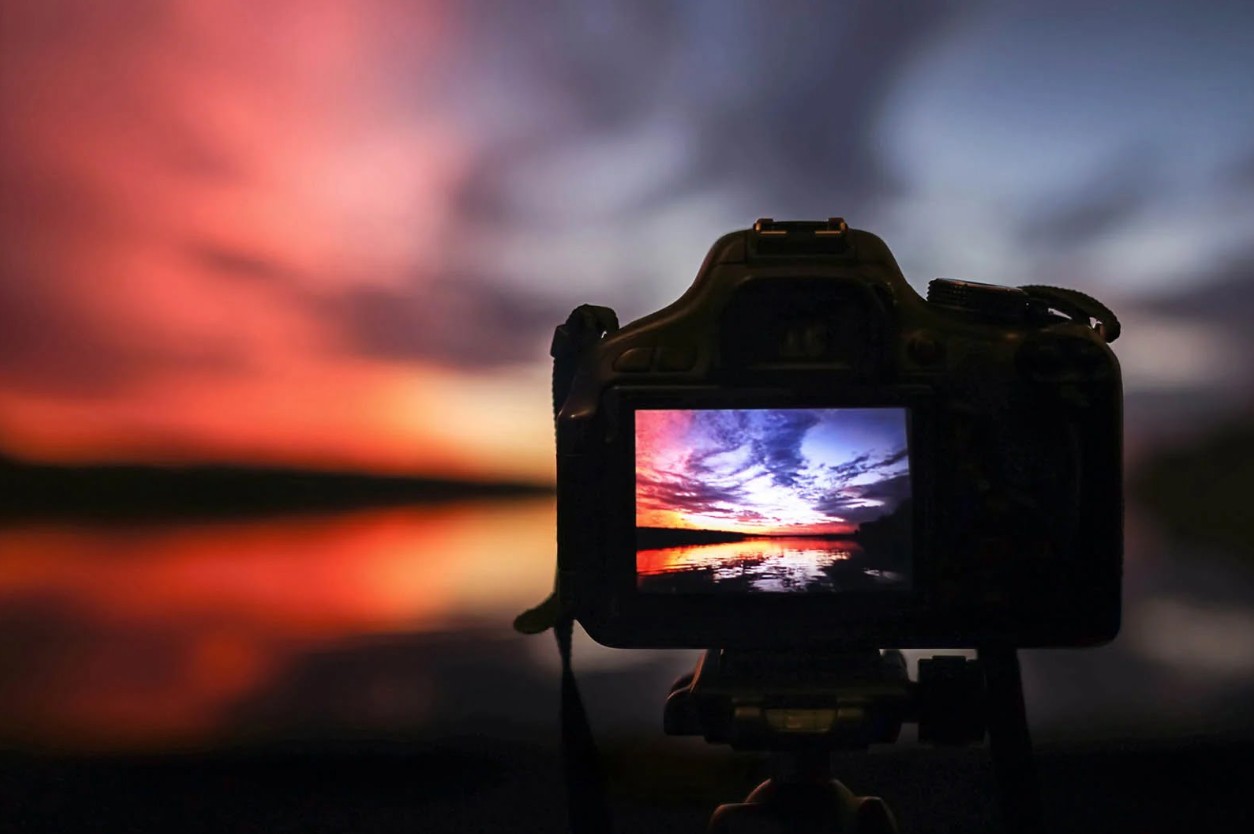
Skills in metering, timing, composition, and post-processing still play a crucial role.
Even with a professional camera, shooting directly into a very strong light source or choosing the wrong exposure can still result in a loss of detail in the image.
Therefore, instead of focusing solely on equipment specifications, photographers should understand how light works and know how to take advantage of the camera's limitations.
8. Post-processing to optimize the dynamic range.
After taking the photo, photo editing software can help balance the light and dark areas in the image.
In Lightroom, the Highlights and Shadows sliders are often the first tools used. Highlights can help reduce the brightness of bright areas, while Shadows help brighten dark areas.
Next, Whites and Blacks can be adjusted to reset the white and black points, helping the image maintain the necessary contrast.
However, post-processing cannot completely recreate details that were never captured by the sensor. Therefore, getting the shot right from the start remains crucial.
A logical process is to control the light during shooting → save the image as RAW → balance the highlights and shadows → adjust the color and contrast → finalize the image .
9. Common mistakes when handling light frequency ranges
A common mistake is trying to boost the shadows too much to brighten all the dark areas. This can make the image appear noisy and unnatural.
Conversely, reducing highlights too much can also make the image appear flat and lacking in contrast.
Another mistake is the overuse of HDR. The goal of HDR is not to make all bright and dark areas the same brightness level, but to create a more balanced image while still maintaining depth.
The most important thing is for the photo editor to identify the key highlights and shadows, and the emotion the photo aims to convey.
For SaDesign, photography is not just about capturing a place, but about telling the story of an experience through images. And by mastering light, every moment of your travel journey has the potential to become a stunning photograph.





















VIP Products








Best Selling Products
ChatGPT Plus Account (GPT-4)
16 USD
Adobe Premiere Pro Account
99 USD
Windows 10 & 11 Pro Key
36 USD
Autodesk All App Account Copyright
120 USD
Upgrade Duolingo Super
29 USD
Adobe Photoshop Copyright - Full App
120 USD
Upgrade genuine Capture One account
120 USD
Capcut Pro 1 Year
39 USD
Freepik Premium Account
59 USD
Upgrade Genuine Office 365
49 USD
Plugin Retouch4me
69 USD
Copyright Adobe Lightroom Account
59 USD
MidJourney Account
29 USD
Genuine Adobe Illustrator account
99 USD
Genuine Cheap Canva Pro
39 USD