Best Selling Products

Upgrade Genuine Office 365
49 USD

ChatGPT Plus Account (GPT-4)
16 USD

MidJourney Account
29 USD

Copyright Adobe Lightroom Account
59 USD

Adobe Premiere Pro Account
99 USD

Upgrade Duolingo Super
29 USD

Adobe Photoshop Copyright - Full App
120 USD

Genuine Cheap Canva Pro
39 USD

Upgrade genuine Capture One account
120 USD

Autodesk All App Account Copyright
120 USD

Capcut Pro 1 Year
39 USD

Freepik Premium Account
59 USD

Genuine Adobe Illustrator account
99 USD

Windows 10 & 11 Pro Key
36 USD

Plugin Retouch4me
69 USD
What is Opacity? How to Reduce Opacity in Capcut from A to Z
Nội dung
- 1. Learn about the Opacity feature in CapCut
- 2. Detailed instructions on how to reduce opacity in CapCut
- 2.1 How to reduce Opacity in CapCut on PC
- 2.2 How to reduce Opacity in CapCut on your phone
- 3. Things to know when reducing Opacity in CapCut
- 4. Compare other tools that can reduce opacity.
- 5. When should you choose CapCut to reduce Opacity?
- 6. Upgrade to genuine CapCut at AI Software World.
- 7. Conclusion
Opacity blur is a crucial element in video editing, helping to create smooth frames, seamless transitions, or subtly highlight key content.

1. Learn about the Opacity feature in CapCut
Opacity in CapCut is a crucial tool that allows users to adjust the transparency of images, videos, or stickers within a frame. Reducing the opacity causes the content layer to become blurred, creating a softer feel and blending seamlessly with other layers. This is a vital element in video editing, as it not only enhances aesthetics but also helps highlight the message you want to convey. Thanks to this feature, editors can create emotionally rich scenes, making videos more engaging and professional.
In practice, opacity has very flexible and diverse applications. You can use it to subtly insert logos without cluttering the frame, create a soft, dreamy lighting effect for footage, or combine multiple video layers to add depth to the content. Additionally, opacity helps to blur the background, thereby highlighting the main subject and increasing viewer focus. By knowing how to adjust opacity properly, you can elevate your videos, transforming simple clips into impressive works of art.
2. Detailed instructions on how to reduce opacity in CapCut
Below is a step-by-step guide to reducing opacity in CapCut on PC and mobile phones , making it easy for you to manipulate and create impressive blur effects for your videos.
2.1 How to reduce Opacity in CapCut on PC
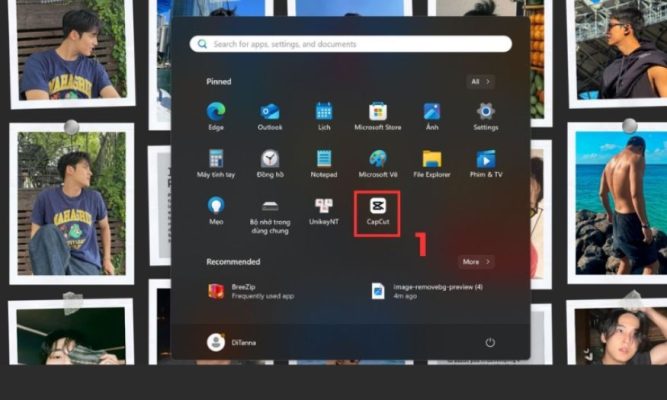
Step 1: Open the CapCut software on your computer.
Launch the CapCut application on your computer by clicking on the software icon. When the main interface appears, you will see options such as creating a new project or opening a saved project. This is an important first step to ensure all features, including Opacity, work stably and accurately.
Step 2: Create or open a new project and import media files.
Select “New Project” to create a new project or “Open Project” to open an existing one. Then, click “Import” to add videos, images, or stickers from your computer to the software. You can drag these files directly into the timeline for editing. Using high-quality files will make the opacity effect clearer and more professional.

Step 3: Select the video or image you want to reduce the opacity of. Click on the clip or image on the timeline that you want to adjust the opacity of. When selected, the clip will have a bright border, and the Properties section on the right side of the interface will display editing options. This ensures that the operation only applies to the selected clip and does not affect other layers.
Step 4: Find and open the Opacity option on the toolbar.
In the Properties section , look for the Opacity setting . If you don't see it immediately, you can open the Adjust or Edit tab to find it. This is where the slider for adjusting the transparency of the video or image is displayed, usually located alongside basic parameters like Scale and Position.

Step 5: Drag the slider to reduce the opacity as desired.
Move the Opacity slider from 100 (perfectly sharp) down to lower values to gradually make the video more transparent. For example, at 50 , the video layer will have a moderate level of blur, easily blending with other layers. If you want to create a fading or fading effect, you can use keyframes to place multiple different points and adjust the Opacity at each point. Finally, click Save to save the project and Export to export the finished video.

2.2 How to reduce Opacity in CapCut on your phone
Step 1: Open the CapCut application and create a new project.
Launch the CapCut app on your phone and select " New Project " . Next, add a video or image from your phone's library to begin the editing process. It's a good idea to choose the correct aspect ratio from the start, such as 9:16 for TikTok or 16:9 for YouTube, to save time on editing later.

Step 2: Select the clip you want to adjust the opacity of on the timeline.
Tap on a video or image in the timeline to select it. Once the clip is selected, a toolbar will appear at the bottom of the screen, displaying all the editing options. You can zoom in on the timeline for more precise manipulation, especially with videos that have multiple layers and overlapping effects.
Step 3: Access the Opacity section in the toolbar.
Swipe down the toolbar and select Opacity . In some versions, this might be in the Edit or Adjust section , so look carefully to avoid missing it. When you select Opacity, a slider will appear for easy adjustment.

Step 4: Reduce transparency and check the display effect.
Drag the slider down to the desired level, for example 40 or 50 , to make the video or image layer blurry and blend with the background or other layers. You can also combine keyframes to create a continuously increasing and decreasing opacity effect, making the transitions smoother and more natural. Once finished, review the entire video to ensure the effect is suitable, then press Export Video to save and share to social media platforms.

3. Things to know when reducing Opacity in CapCut
Reducing opacity in CapCut is a great technique for creating aesthetically pleasing videos, from blurring backgrounds and subtly inserting logos to layering multiple images. However, if not used correctly, this effect can degrade video quality and make the content look unprofessional. To achieve optimal results, keep the following important points in mind:
- Maintain sharpness for the main content: Avoid reducing the opacity too low, especially for layers containing important content such as the main character or the video's main message. Excessive blur makes it difficult for viewers to discern details, resulting in a lack of focus and hindering the clear transmission of the message. A reasonable opacity level of 50%–70% typically strikes a balance between aesthetics and clarity.
- Harmonious color coordination: When working with multiple video or image layers with varying transparency, pay attention to the overall color palette. If the colors between layers are too different or conflicting, the video will look cluttered and lack cohesion. Prioritize complementary tones or use the color correction tool in CapCut to balance brightness, contrast, and saturation, allowing the layers to blend more naturally.
- Combine motion effects to enhance dynamism: Reducing opacity looks better when combined with subtle motion effects. For example, you can use keyframes to create the effect of image layers slowly appearing or disappearing, giving a smooth and professional feel. This is especially effective when you want to transition scenes or highlight a detail in the video without feeling forced.
- Check the background quality before applying: The background plays a crucial role in determining the effectiveness of Opacity. If the background is too dark or contains too much detail, the opacity layer will be "submerged" and will not produce the desired transparency effect. Conversely, a bright, simple background will help the Opacity layer stand out and create visual balance. Before applying, preview it on the screen to assess and make adjustments as needed.
- Export video in high quality to maintain smooth transparency: After editing, don't forget to export the video in high resolution, at least 1080p or higher. This helps the opacity layers display clearly, avoiding pixelation or blurring, and ensures the final product looks professional when uploaded to social media platforms.
4. Compare other tools that can reduce opacity.
| Tools | Concept | Advantage | Disadvantages |
| CapCut | A free, easy-to-use video editing app that supports both PCs and mobile phones. | – Intuitive interface, fast operation. – Many free effects. – Features keyframe for dynamic opacity adjustment. – Supports standard TikTok and Reels vertical video formats. | – Some advanced features require a fee. – Maximum video output is limited to 4K. – Not very strong in advanced color grading. |
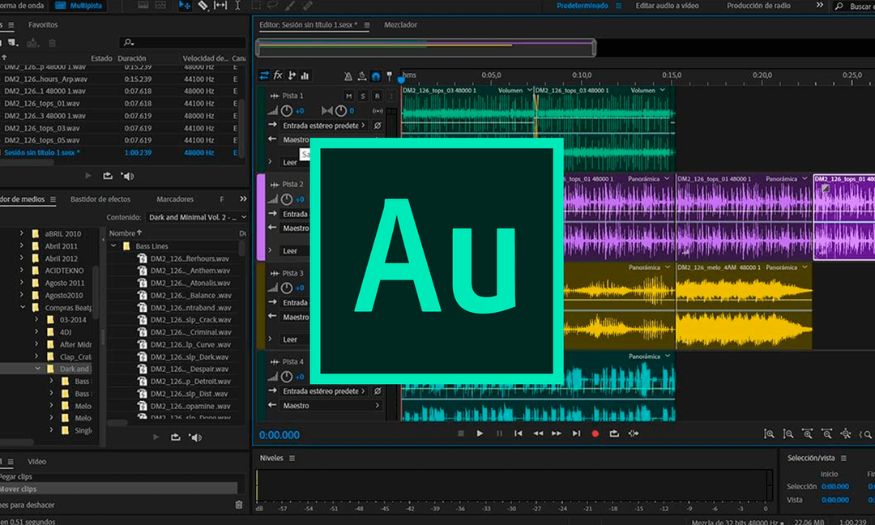
| Adobe Premiere Pro | Professional video editing software, commonly used in film and advertising production. | – Precisely adjust opacity frame by frame. – Advanced Layer and Mask support. – Export high-quality videos. – Suitable for in-depth editing. | – Learning to use it takes time. – Requires a powerful computer. – The software is expensive. |
| Filmora | This video editing software is user-friendly, easy to learn, and suitable for beginners. | – Simple operation to reduce opacity. – Many ready-made templates available. – User-friendly interface, even for beginners. | – The free version has a watermark. – Customization options are not as extensive as in Premiere. |
| iMovie | A video editing app exclusive to the Apple ecosystem. | – Built-in integration on Mac and iOS. – Easily reduce opacity via the Overlay feature. – Works smoothly on Apple devices. | – Limited advanced effects. – Only usable on Mac, iPhone, and iPad. |
| DaVinci Resolve | This video editing tool is renowned for its professional color grading capabilities. | – Precise opacity adjustment. – Excellent color correction capabilities. – Free yet powerful. – Supports 4K video export. | – Complex interface for beginners. – Requires high system specifications. – Some advanced features require purchasing the Studio version. |
5. When should you choose CapCut to reduce Opacity?
- Need to create content quickly for social media: Suitable when you want to complete a short clip to post on TikTok, Reels, or Shorts with quick operations, using standard aspect ratios and quick effects to instantly reduce blur.
- For beginners or those unfamiliar with professional software: The intuitive interface makes basic edits easy to perform without requiring extensive learning time, while still producing professional-looking results.
- Want to save money and time? Many useful features are free, enough to create overlay effects, blurred logos, or blurred backgrounds without investing in paid software.
- Requires editing on both phone and computer: Supports synchronization between the two platforms, suitable if you start editing on your mobile device and then want to finalize it on your PC.
- The project doesn't require complex color grading or masking: If the work only involves adjusting transparency, layering, or simple transitions, this is a faster and more efficient solution than more sophisticated video editing tools.

6. Upgrade to genuine CapCut at AI Software World.
If you're looking for a reputable place to upgrade CapCut with full features and a reasonable price, AI Software World is the ideal choice. This is one of the leading companies in Vietnam specializing in providing licensed software, from CapCut Pro, Canva Pro , Photoshop , Zoom Pro , Google One to ChatGPT , meeting diverse needs from individuals to businesses.
With many years of experience in the software industry, AI Software World always prioritizes product quality and customer rights . The company is legally registered and issues full VAT invoices to both individual and corporate customers, ensuring you can confidently use genuine software without worrying about legal issues.
Key features of upgrading CapCut at AI Software World :
- Commitment to genuine products : All accounts and software are fully licensed and guaranteed to be completely secure.
- Professional support team : Our staff are ready to advise, answer your questions, and support you throughout the entire usage process.
- Continuous feature updates : CapCut Pro is always updated quickly, allowing you to take full advantage of the latest features.
- Collaborating with numerous large businesses : Many individuals and organizations, both domestic and international, have trusted and chosen our services, affirming our reputation and quality.
- Dedicated and attentive support : Providing a convenient shopping experience and ensuring all technical issues are resolved quickly.
7. Conclusion
In summary, this article has helped you understand what Opacity is and provided detailed instructions on how to reduce Opacity in CapCut on both phones and computers. With just a few simple steps, you can adjust the blur to create impressive effects, improve video quality, and convey your message more professionally. Try it today to discover the power of Opacity and transform your creative ideas into unique and engaging video products.


VIP Products


Best Selling Products
Upgrade Genuine Office 365
49 USD
ChatGPT Plus Account (GPT-4)
16 USD
MidJourney Account
29 USD
Copyright Adobe Lightroom Account
59 USD
Adobe Premiere Pro Account
99 USD
Upgrade Duolingo Super
29 USD
Adobe Photoshop Copyright - Full App
120 USD
Genuine Cheap Canva Pro
39 USD
Upgrade genuine Capture One account
120 USD
Autodesk All App Account Copyright
120 USD
Capcut Pro 1 Year
39 USD
Freepik Premium Account
59 USD
Genuine Adobe Illustrator account
99 USD
Windows 10 & 11 Pro Key
36 USD
Plugin Retouch4me
69 USD