Best Selling Products

Upgrade Genuine Office 365
49 USD

Upgrade genuine Capture One account
120 USD

Plugin Retouch4me
69 USD

Copyright Adobe Lightroom Account
59 USD

Freepik Premium Account
59 USD

MidJourney Account
29 USD

Genuine Adobe Illustrator account
99 USD

Capcut Pro 1 Year
39 USD

Adobe Premiere Pro Account
99 USD

Autodesk All App Account Copyright
120 USD

Upgrade Duolingo Super
29 USD

ChatGPT Plus Account (GPT-4)
16 USD

Genuine Cheap Canva Pro
39 USD

Adobe Photoshop Copyright - Full App
120 USD

Windows 10 & 11 Pro Key
36 USD
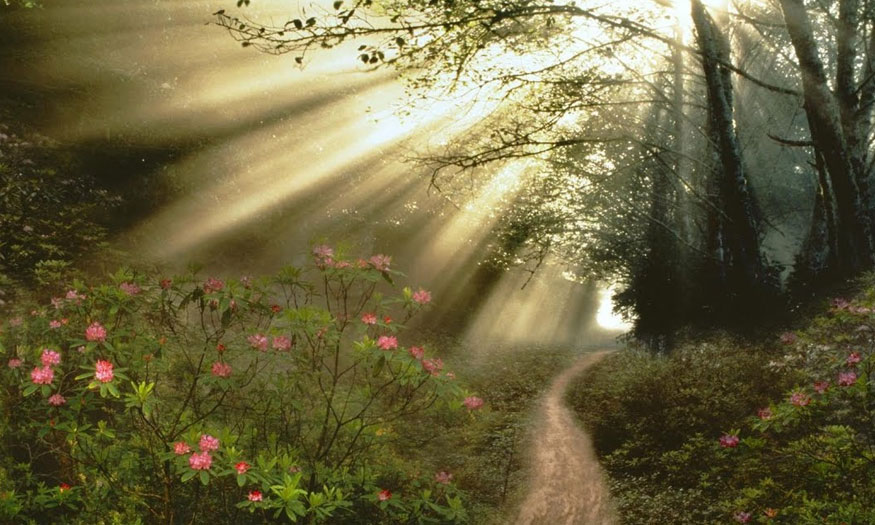
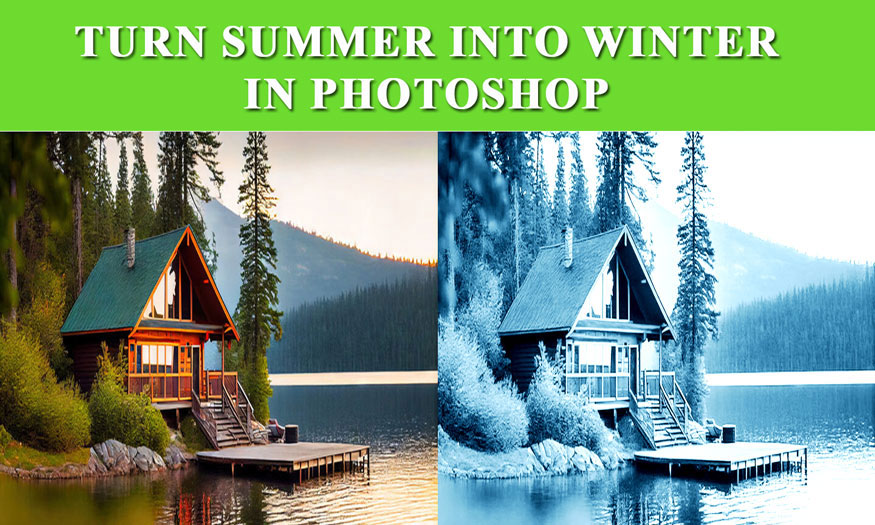
How to create wind effects in Photoshop
Nội dung
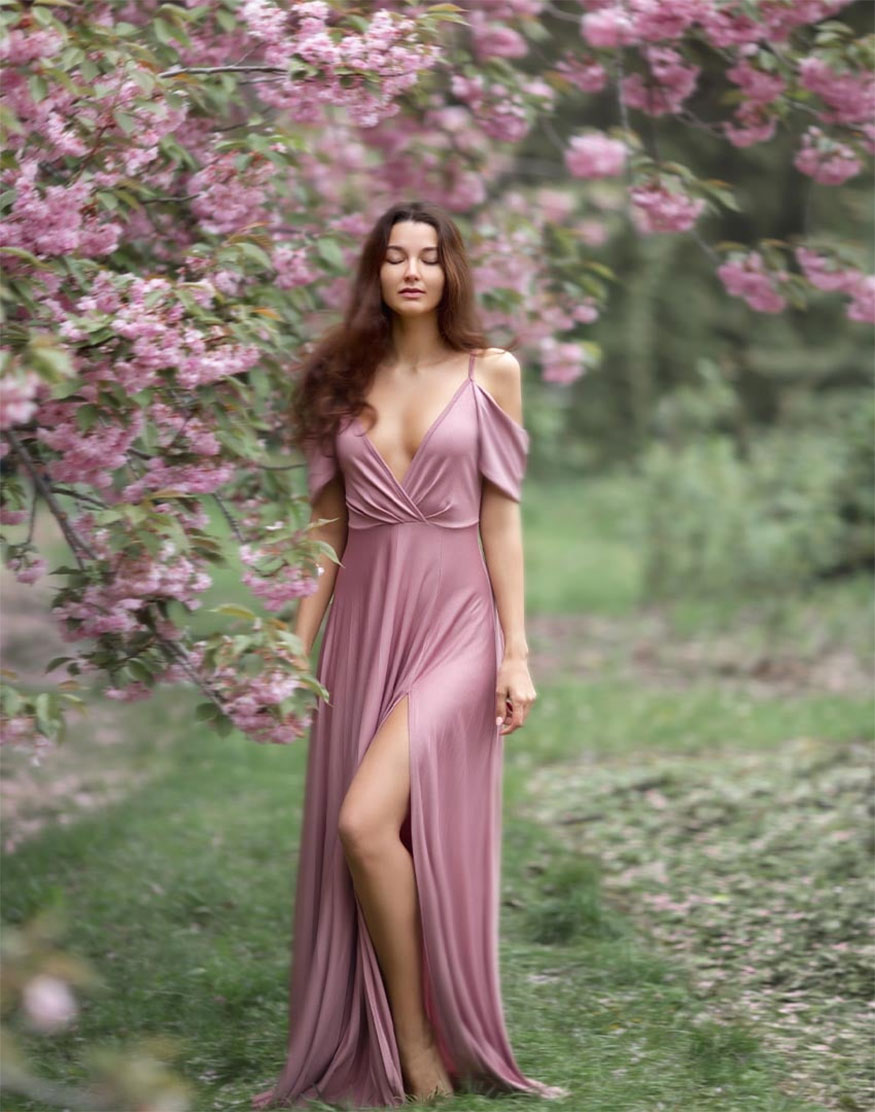
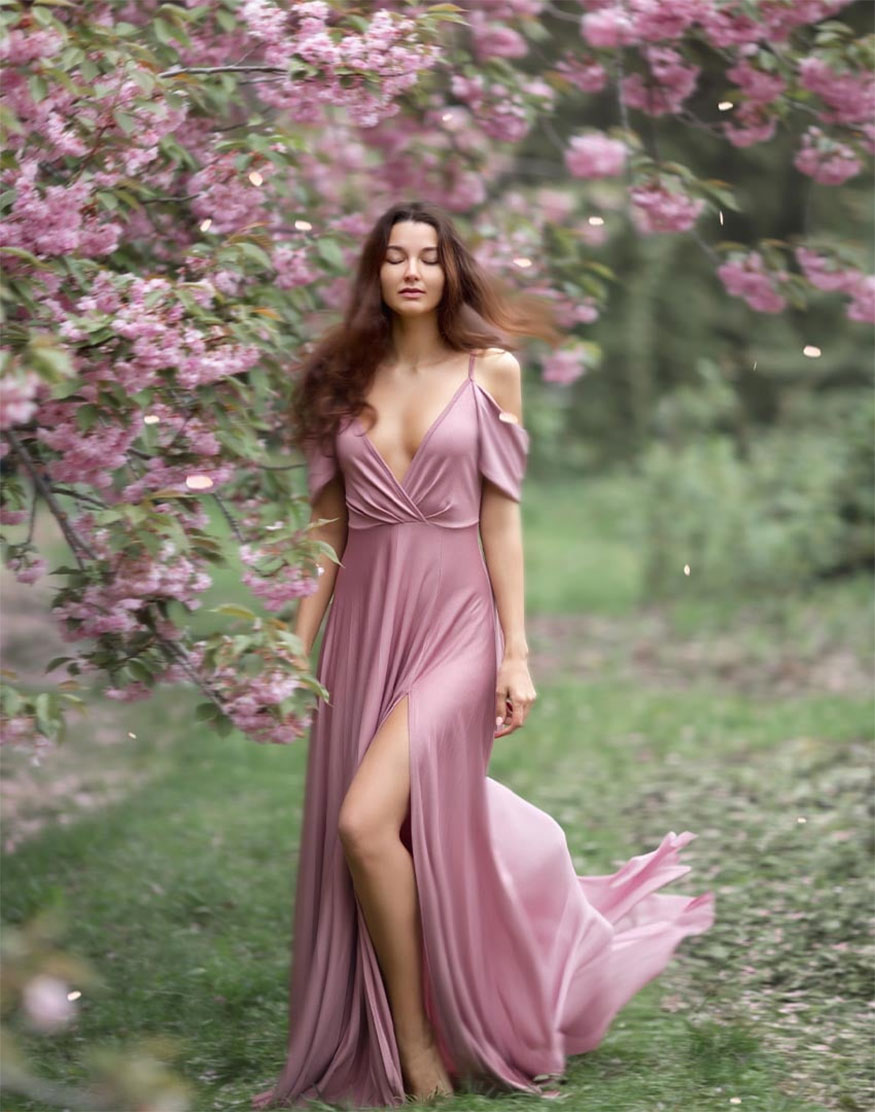
The technique of creating wind effects in Photoshop is one of the skills worth learning to apply to our designs. With this effect, you will see that the design has soul and becomes more vivid. Specifically, SaDesign will guide you in detail in the following article!
The technique of creating wind effects in Photoshop is one of the skills worth learning to apply to our designs. With this effect, you will see that the design has soul and becomes more vivid. Specifically, SaDesign will guide you in detail in the following article!

1. The steps to create a wind effect in Photoshop
- Step 1: First we need to separate the subject from the background and duplicate the subject. With the duplicate layer active, we use the Select Subject tool to select around the object. Then add a Layer Mask to the copied objects to mask them. Name the duplicate layer "Subject" and the original image "Background".
You can make quick adjustments to the layer mask by using the Select and Mask tool in the Properties panel. This tool is very useful for complex subjects or subjects with a lot of hair and fabric.
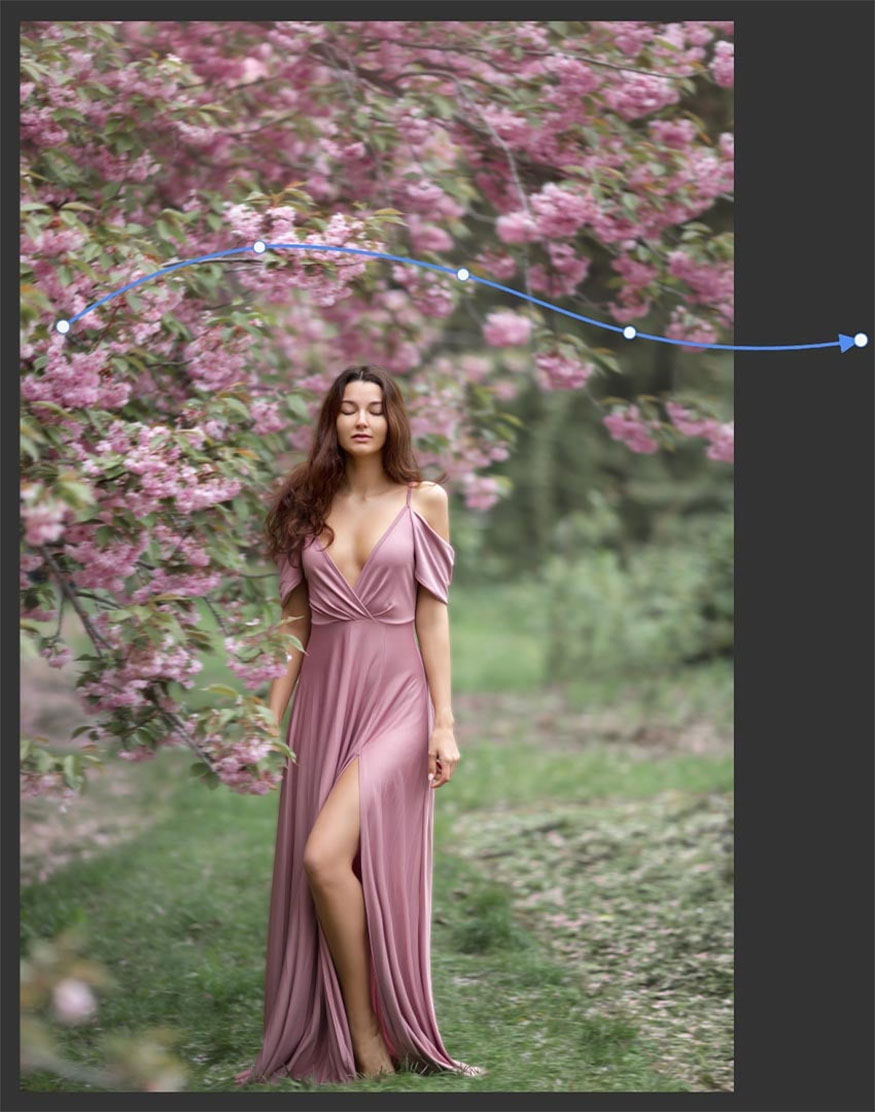
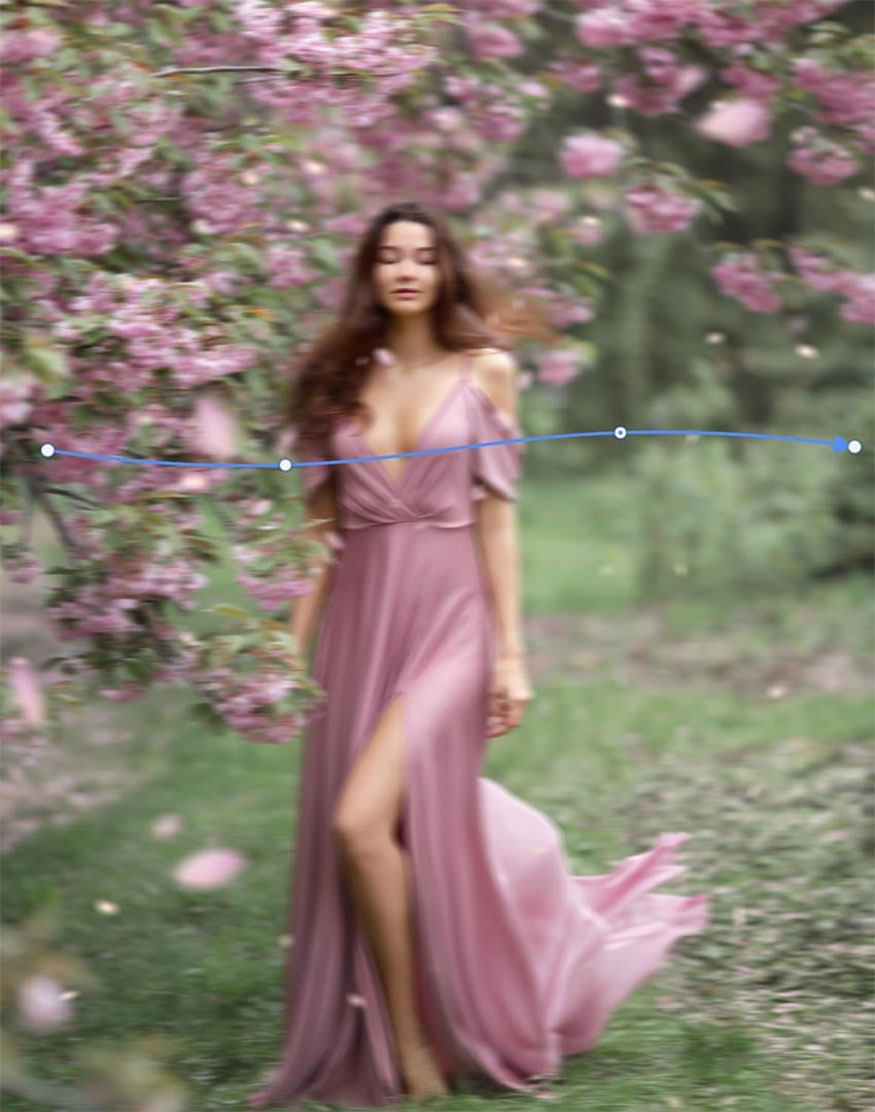
- Step 2: Select the "Background" layer and right-click to make the conversion to Smart Object.
Next, go to Filter => Blur => Path Blur and set Speed to 25-35%. You can set arbitrary parameters to the level at which you want the wind effect to appear.
Use the blue path to create a vertical line that will go in the direction you want. Click to place Points on this blue path and drag the points in different directions to add movement to the wind effect.
Because we've converted the Background into a Smart Object, we can go back and adjust the path and speed settings at any time.
- Step 3: Select the Layer Mask of the "Subject" layer. Use a soft round brush set to black to erase some edges of the subject so that the lower wind effect begins to appear. Focus on the subject's edges and hair to create blur and slight motion in the areas you cover.
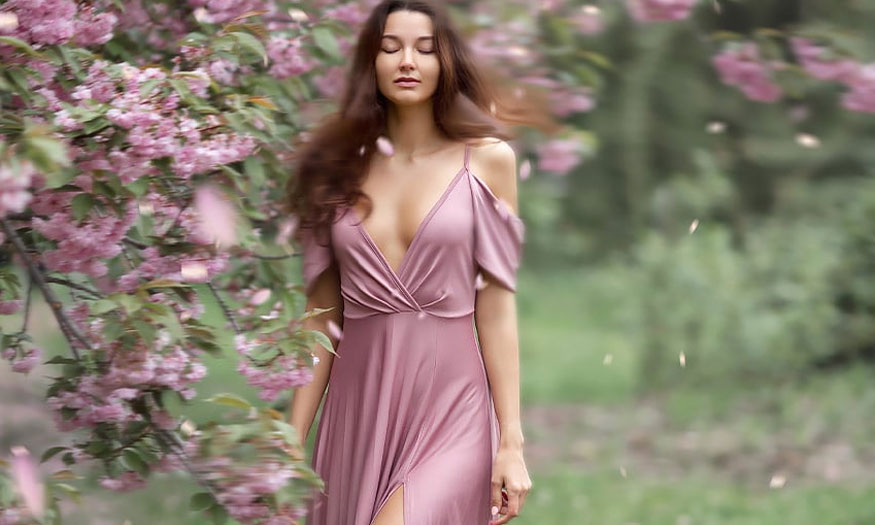
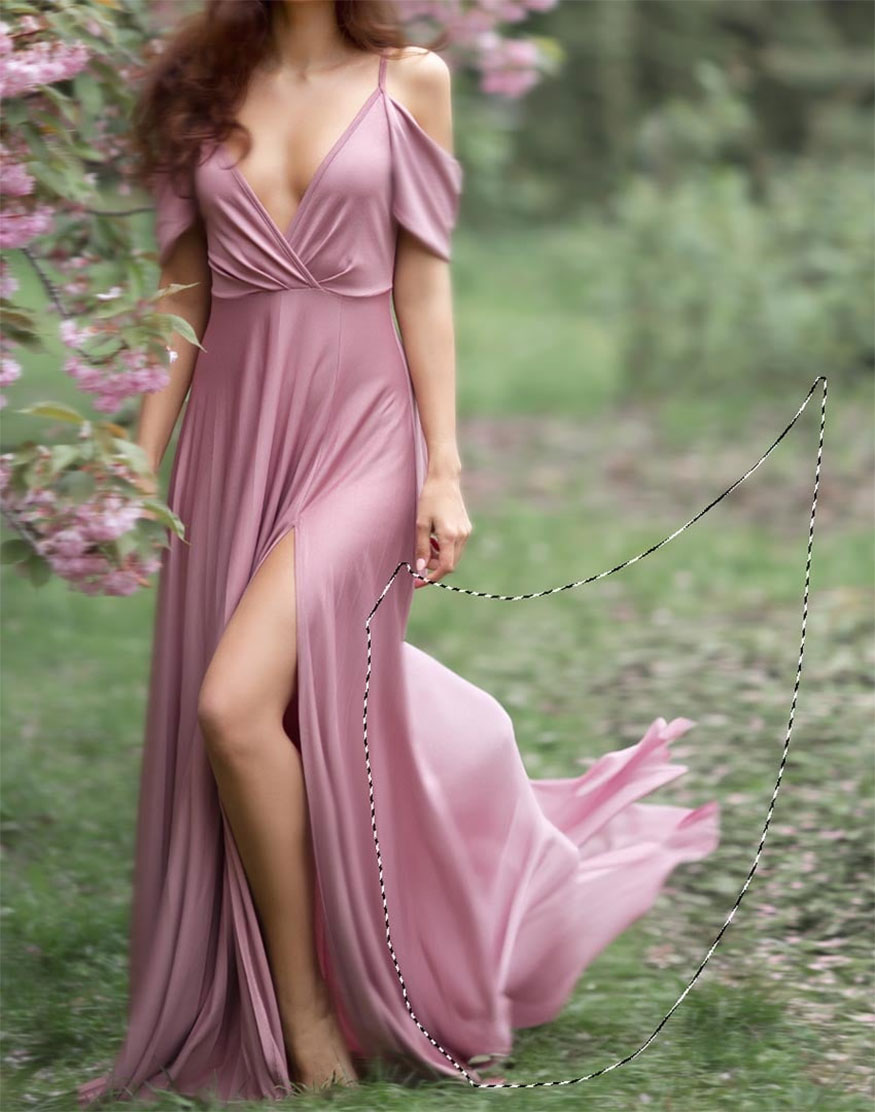
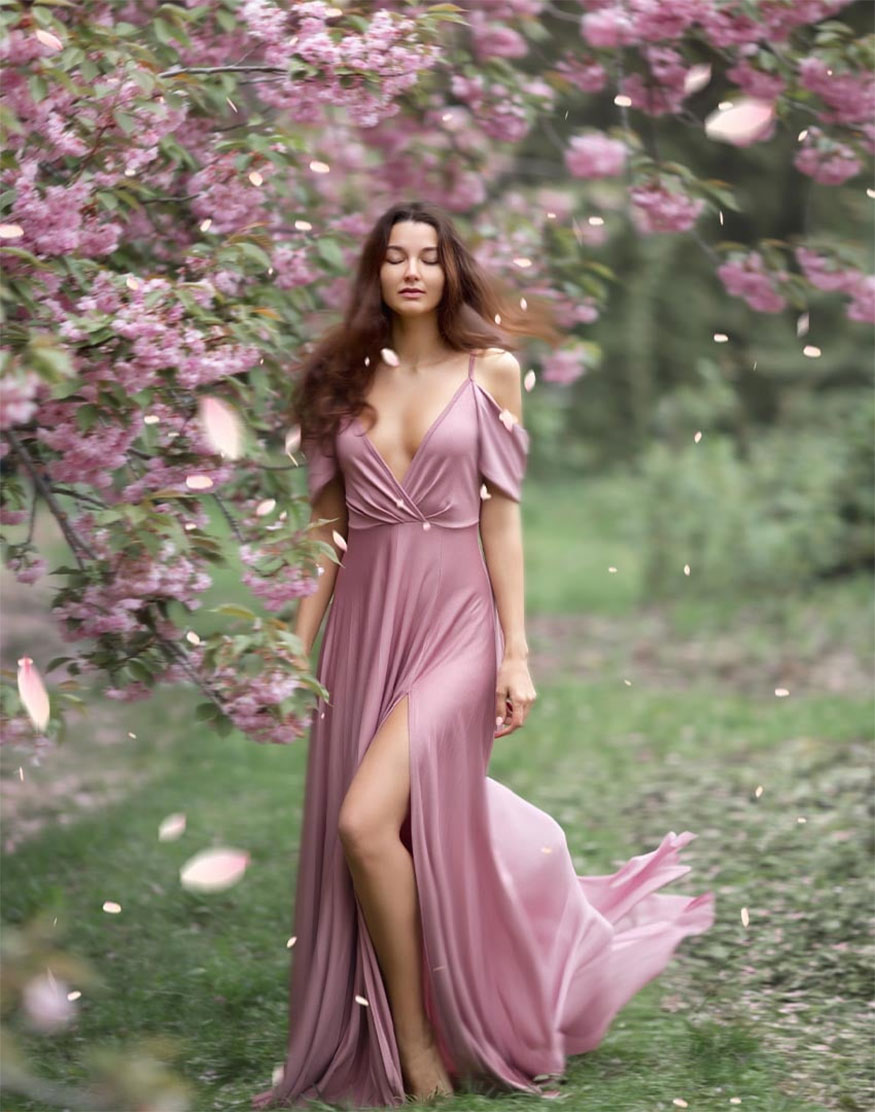
- Step 4: Use the Lasso Tool to create a selection of the parts affected by the wind, like the example below, the dress seems to be flying.
Select Generative Fill in the Context bar, enter “windy cloth” and click Generate. Select the best variation in the properties panel or press Generate to get three more variations.
When using Generative Fill, you should select the important part above the subject's original outfit. This makes Generative Fill more capable of considering both fabric color as well as material better.
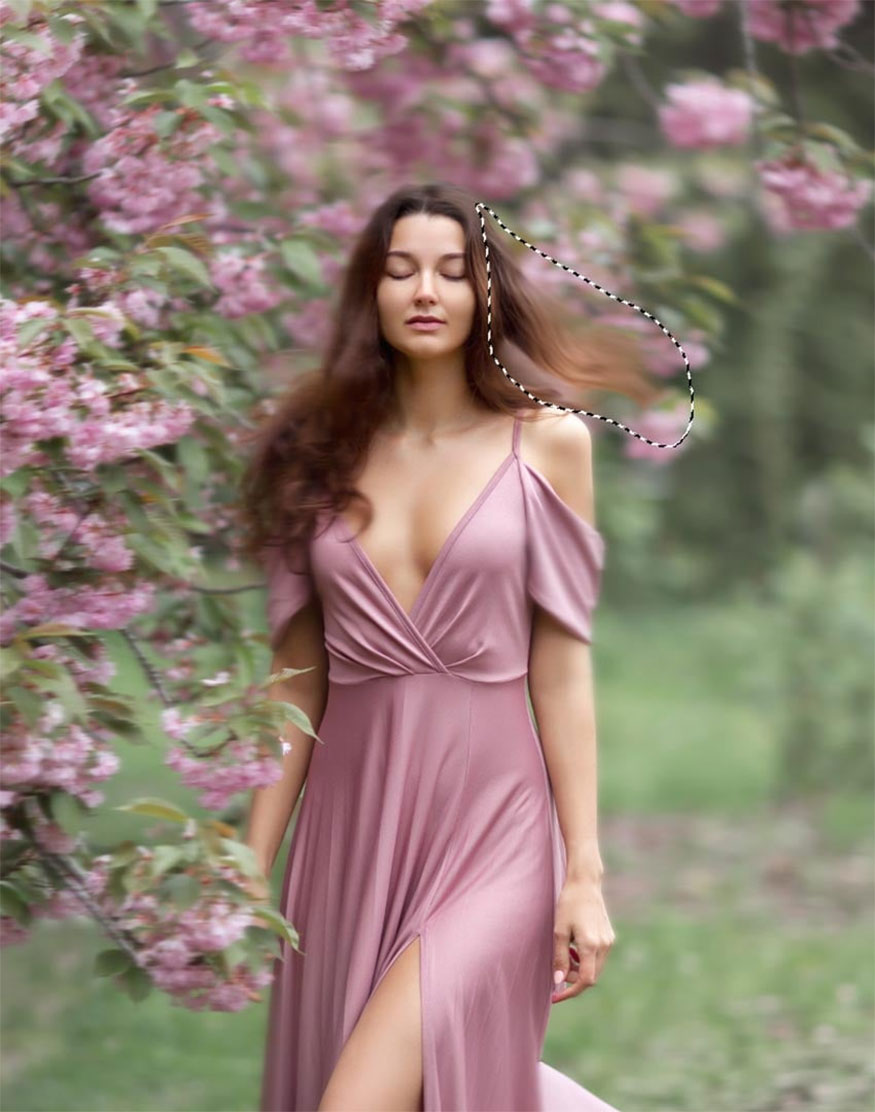
- Step 5: Repeat the above step with the subject's hair. In this example we used the "Hair" prompt to achieve the results shown.
When you select a variation in the properties panel, be sure to choose a variation that accurately reflects the subject's hair color and texture. Because Generative Fill tends to default to straight hair.
Generative Fill will take into account the shape of the selection, so you need to pay attention to the shape of windy hair when creating a selection.
- Step 6: Install the petals flying in the wind by installing smaller fragments below the "Subject" layer.
You can absolutely paint flower petals with a brush to achieve the same effect.
- Step 7: Install larger petals in the foreground and above the subject. Use variations with different sizes, placing large petals in front, medium petals closer to the subject.
- Step 8: Add Filter => Blur Gallery => Path Blur similarly to all petals as you did for the "Background" layer.

- Step 9: Create a Stamp Layer using Ctrl-Shift-Alt/Option, then go to Filter => Blur Gallery => Path Blur and add a similar curve. This step is to apply the wind effect to the entire image.
- Step 10: Add a Layer Mask to the Stamp Layer and use Ctrl-I to invert them.
Use the soft round Brush tool set to white to mask areas that need more motion blur such as: the bottom of the dress , twigs and some flower petals.

2. Some impressive Photoshop weather effects
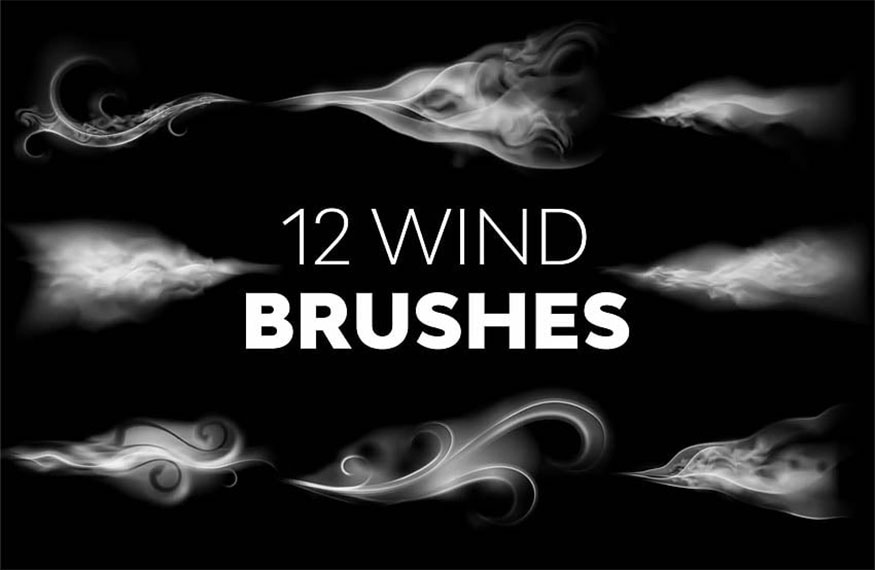
2.1. Wind brushes effect
This wind brush effect helps bring a perfect artistic touch to designs. Effect set with 12 "wind gust" brushes that you can use with any design.
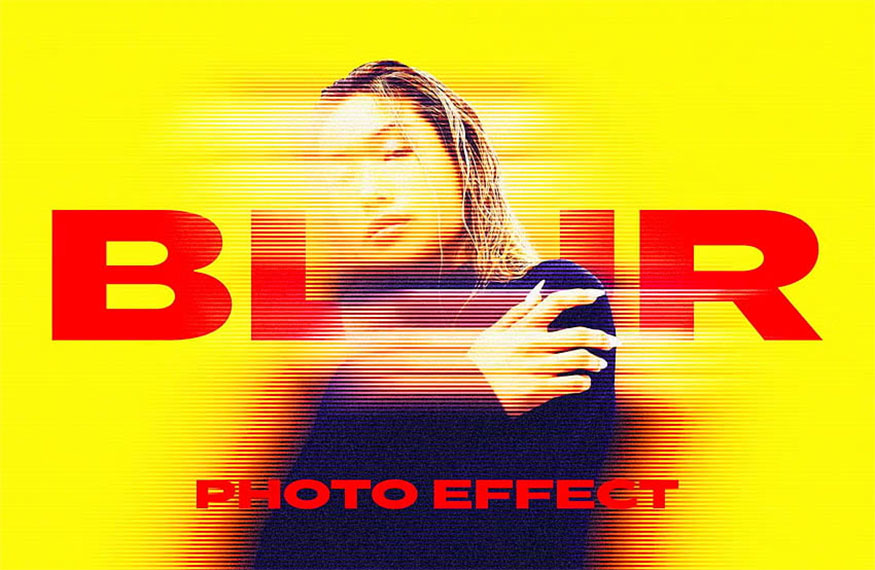
2.2. Striped motion blur effect
With just one click, you can add a modern and sharp motion blur effect to your photos. Everything in this effect is customizable because it's based on Smart Objects, so you'll always be in control of the end result.
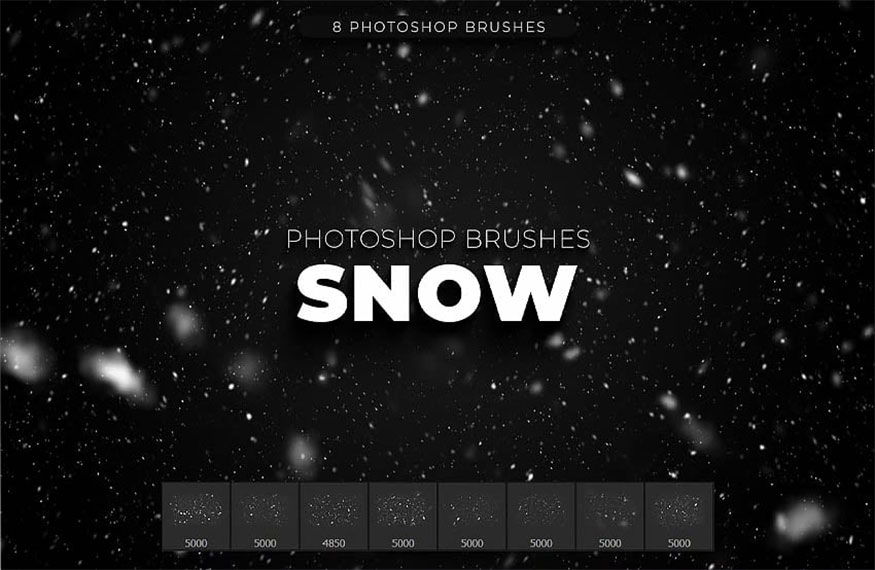
2.3. Eight Snow Brush Templates in Photoshop
If you're wondering how to change the weather in Photoshop, you'll need both wind and snow. These brushes are the perfect combination of wind and snow to represent snow flying to create the perfect blizzard.
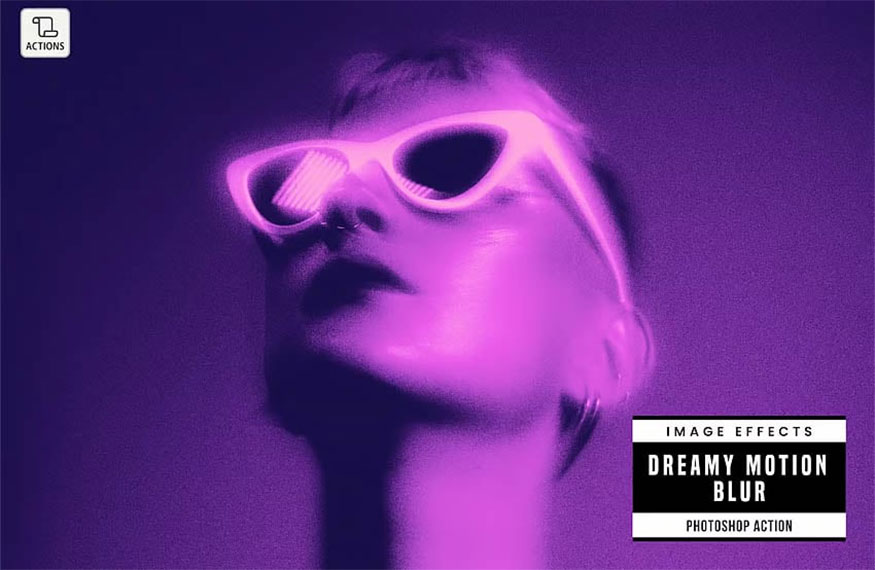
2.4. Dreamy motion blur effect
This is an edgy, modern and incredibly vibrant effect, perfect for use on CD covers and posters. Try it and you will see surprising results.
We hope our sharing above can help you understand how to quickly and easily create wind effects in Photoshop. Wishing you success in your design!


VIP Products


Best Selling Products
Upgrade Genuine Office 365
49 USD
Upgrade genuine Capture One account
120 USD
Plugin Retouch4me
69 USD
Copyright Adobe Lightroom Account
59 USD
Freepik Premium Account
59 USD
MidJourney Account
29 USD
Genuine Adobe Illustrator account
99 USD
Capcut Pro 1 Year
39 USD
Adobe Premiere Pro Account
99 USD
Autodesk All App Account Copyright
120 USD
Upgrade Duolingo Super
29 USD
ChatGPT Plus Account (GPT-4)
16 USD
Genuine Cheap Canva Pro
39 USD
Adobe Photoshop Copyright - Full App
120 USD
Windows 10 & 11 Pro Key
36 USD