Best Selling Products

Capcut Pro 1 Year
39 USD

Autodesk All App Account Copyright
120 USD

Genuine Adobe Illustrator account
99 USD

Windows 10 & 11 Pro Key
36 USD

Genuine Cheap Canva Pro
39 USD

Upgrade Genuine Office 365
49 USD

ChatGPT Plus Account (GPT-4)
16 USD

Freepik Premium Account
59 USD

Plugin Retouch4me
69 USD

Adobe Premiere Pro Account
99 USD

Copyright Adobe Lightroom Account
59 USD

Upgrade genuine Capture One account
120 USD

MidJourney Account
29 USD

Upgrade Duolingo Super
29 USD

Adobe Photoshop Copyright - Full App
120 USD
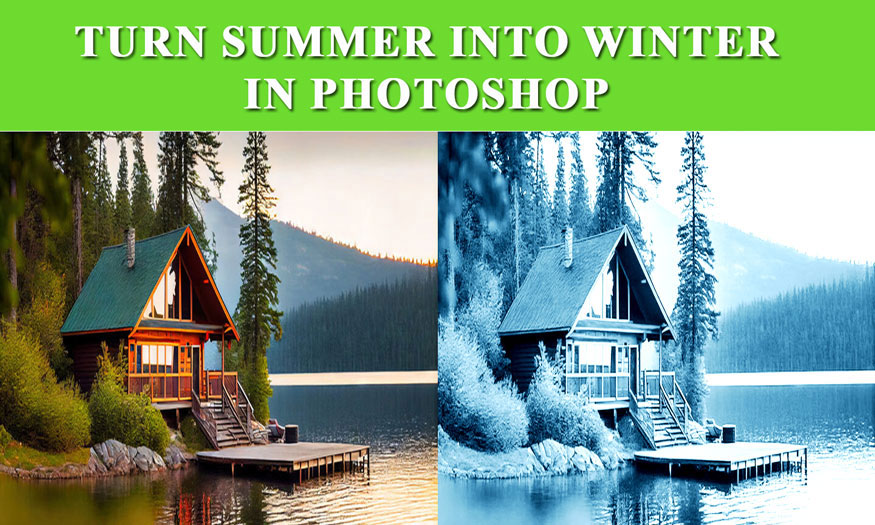
How to add sun rays in Photoshop
Nội dung
Adding sun rays in Photoshop is one of the useful tips in design. If you don't know how to add sun rays in Photoshop, you should absolutely not ignore the detailed instructions that SaDesign brings below!

Adding sun rays in Photoshop is one of the useful tips in design. If you don't know how to add sun rays in Photoshop, you should absolutely not ignore the detailed instructions that SaDesign brings below!

1. The steps to add sunrays in Photoshop
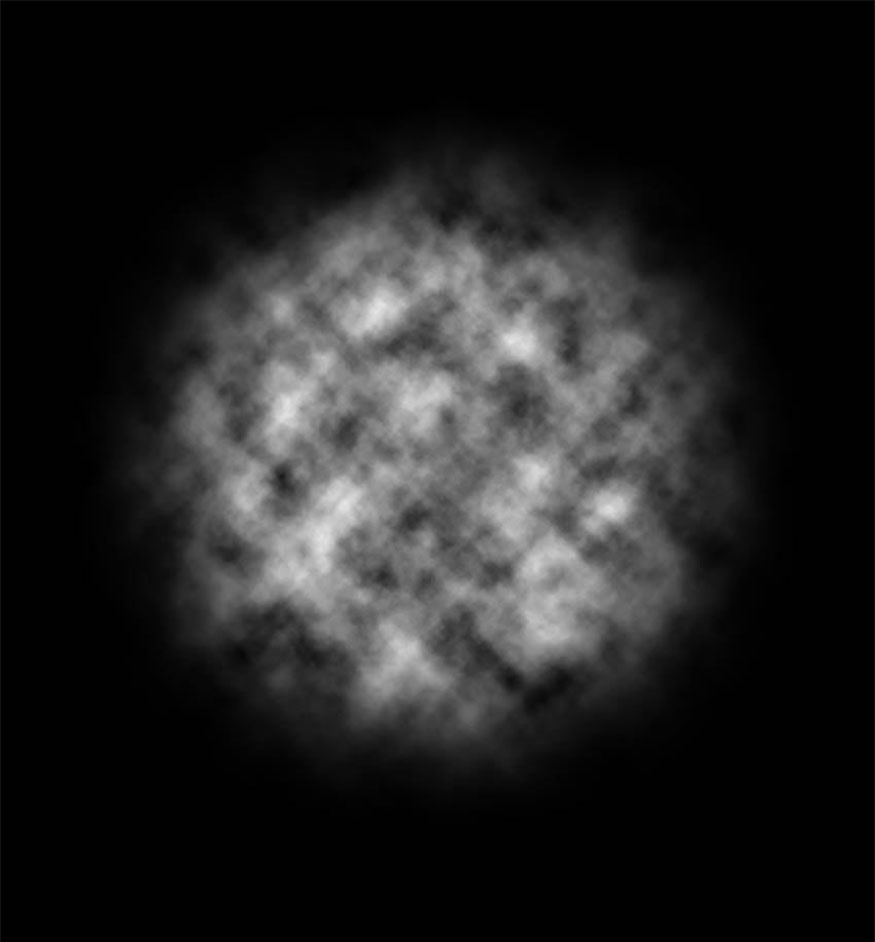
- Step 1: First we need to create a sunray Photoshop Brush. Create a new design set of 3000 x 4000 px and fill it with black. Select the Elliptical Marquee tool, set the Feather to 200px. Create a circular selection in the center of the canvas.
Create a new Layer, go to Render => Clouds, duplicate the cloud layer twice then merge all 3 clouds together. This has the effect of making the clouds brighter.
- Step 2: Filter => Blur => Radial Blur, change the settings:
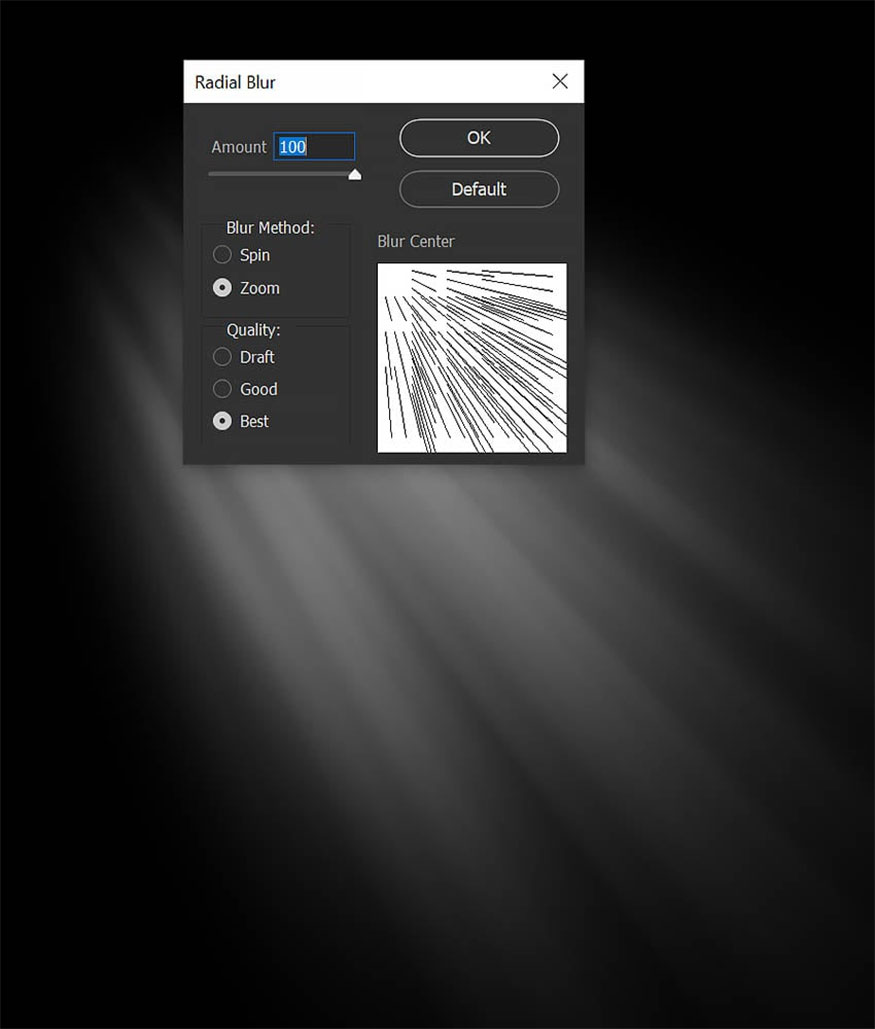
If the rays have too much texture, you apply another layer of Radial Blur.
Or you can also experiment with Motion Blur.
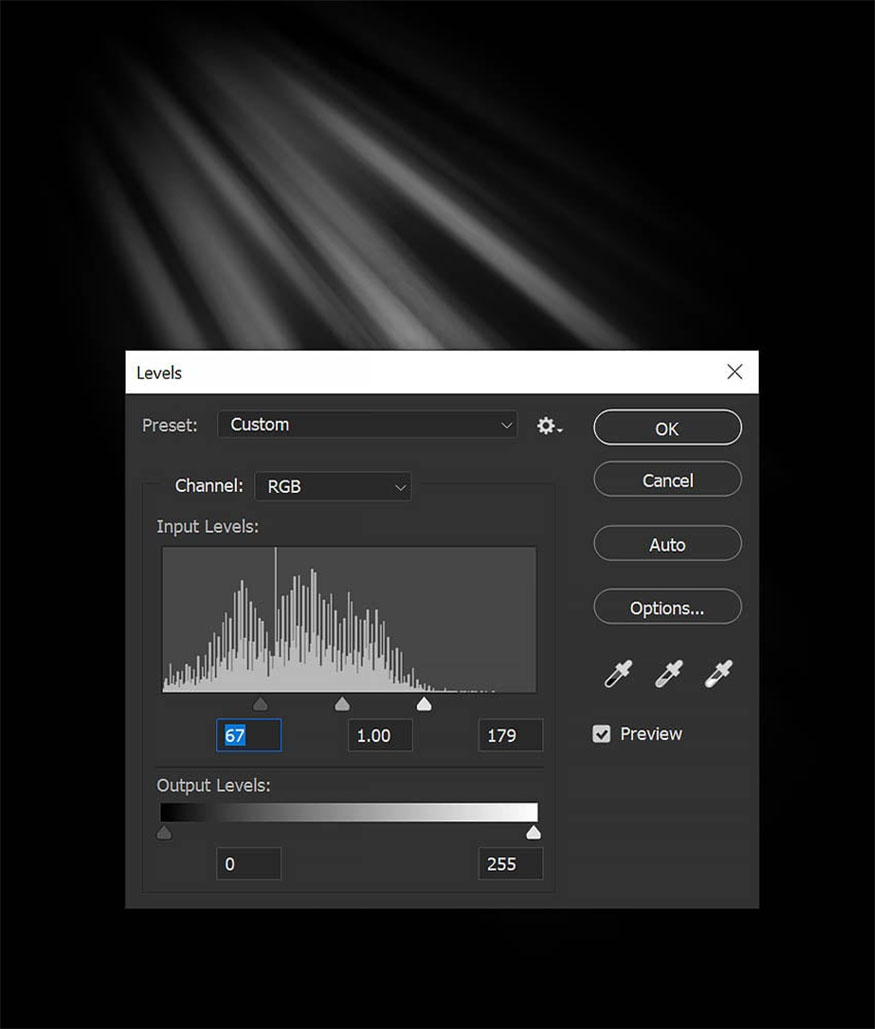
- Step 3: Duplicate this layer twice, then merge all 3 layers together again. Next, go to Image => Adjustments => Levels and set the parameters as in the image below. This is useful for identifying light rays.
Merge all the layers together, then invert the merged layers by using Control/Command-I.
Next, go to Edit => Define Brush Preset. Let's name the brush "Sun Rays".
You can duplicate these layers as many times as you want until they are bright enough as desired.

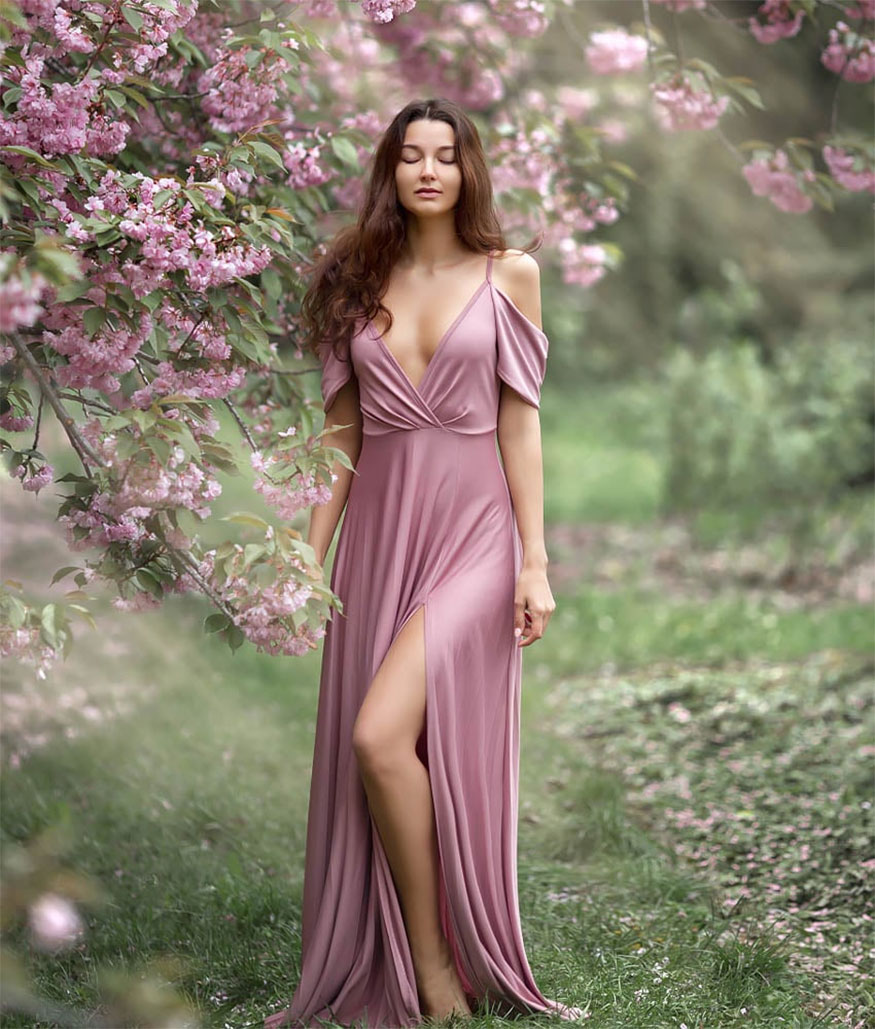
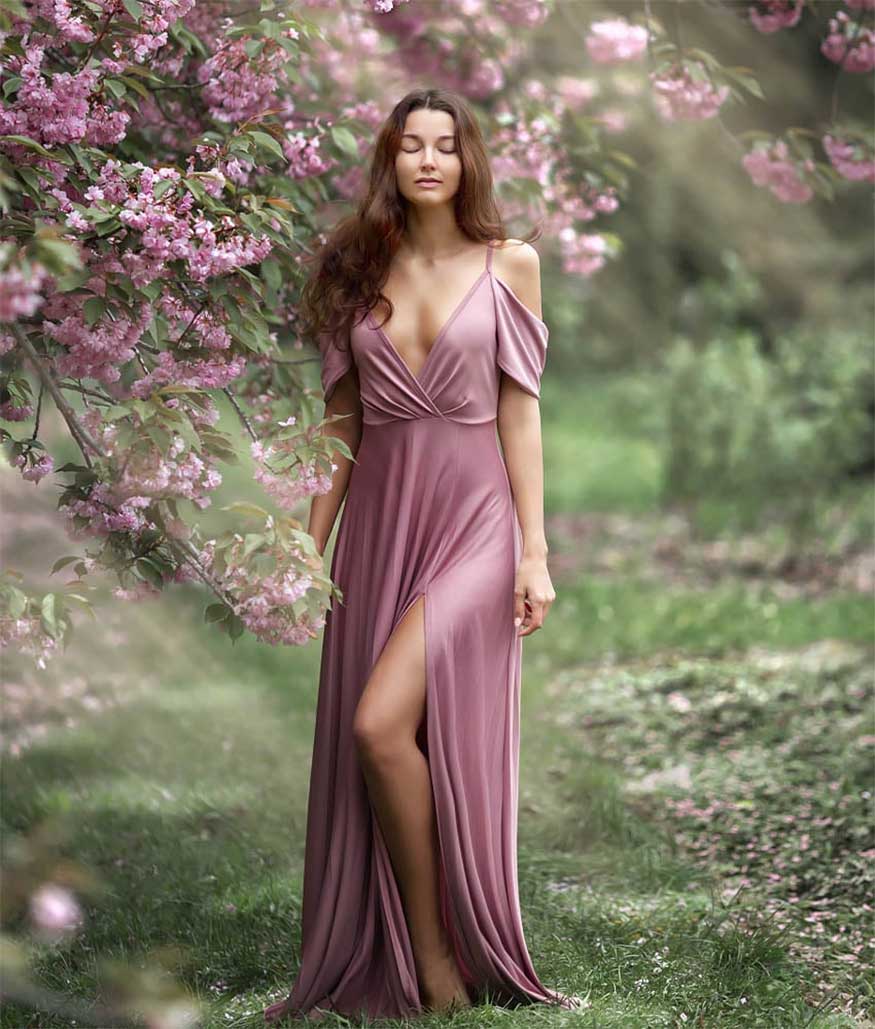
- Step 4: Extract objects using the method you want, then create new layers below them. We used Select Subject and Layer Mask.
Set the new layer to Screen and stamp the sun rays behind the object. We used the color #ffe5b7 for the shadow. Then reduce the layer's Opacity to 60%.
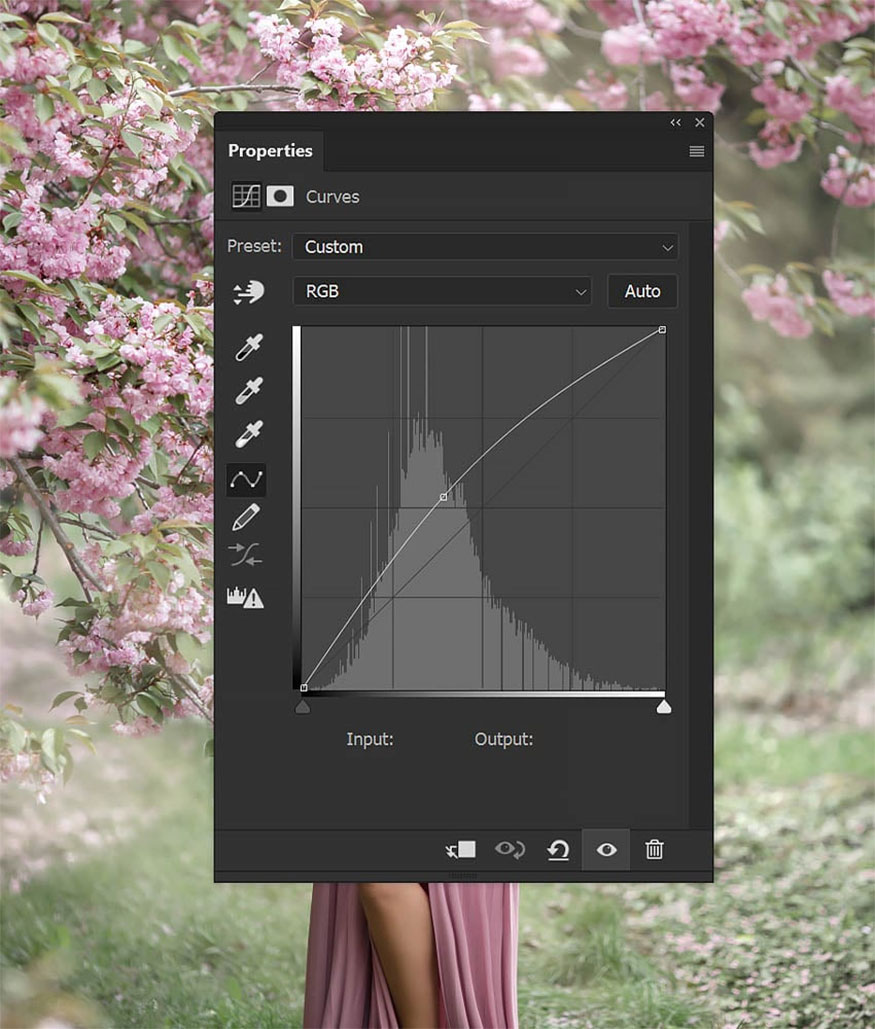
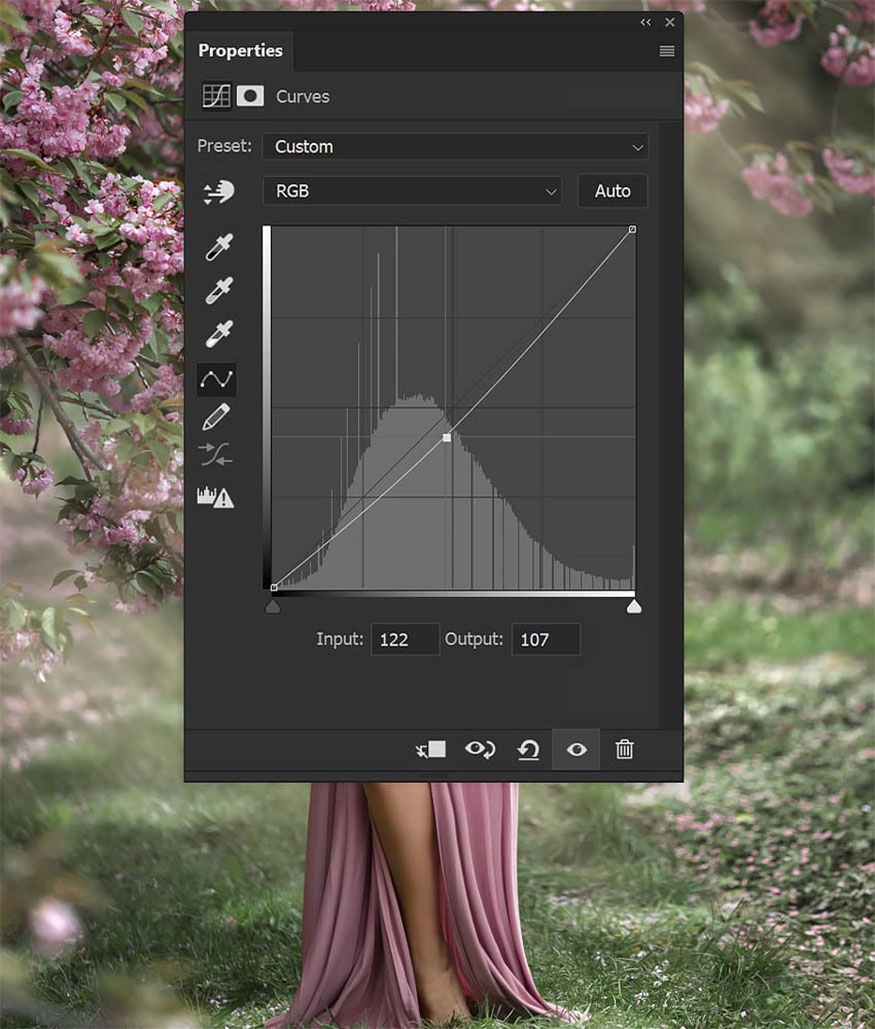
- Step 5: Create a Curves adjustment layer, highlighting the neutral tones like the image you see below. Fill the layer mask with black.
Use the default Round Brush tool to paint white circles on the black mask. Use the Transform tool to flatten these circles and match the perspective of the grass. You should make circles of different sizes.
Here's a view of the mask so you can see the layer mask more clearly.
You can use your hand to draw the dots, they don't have to be perfect circles, you can use a leaf-patterned brush to help create a more realistic effect.

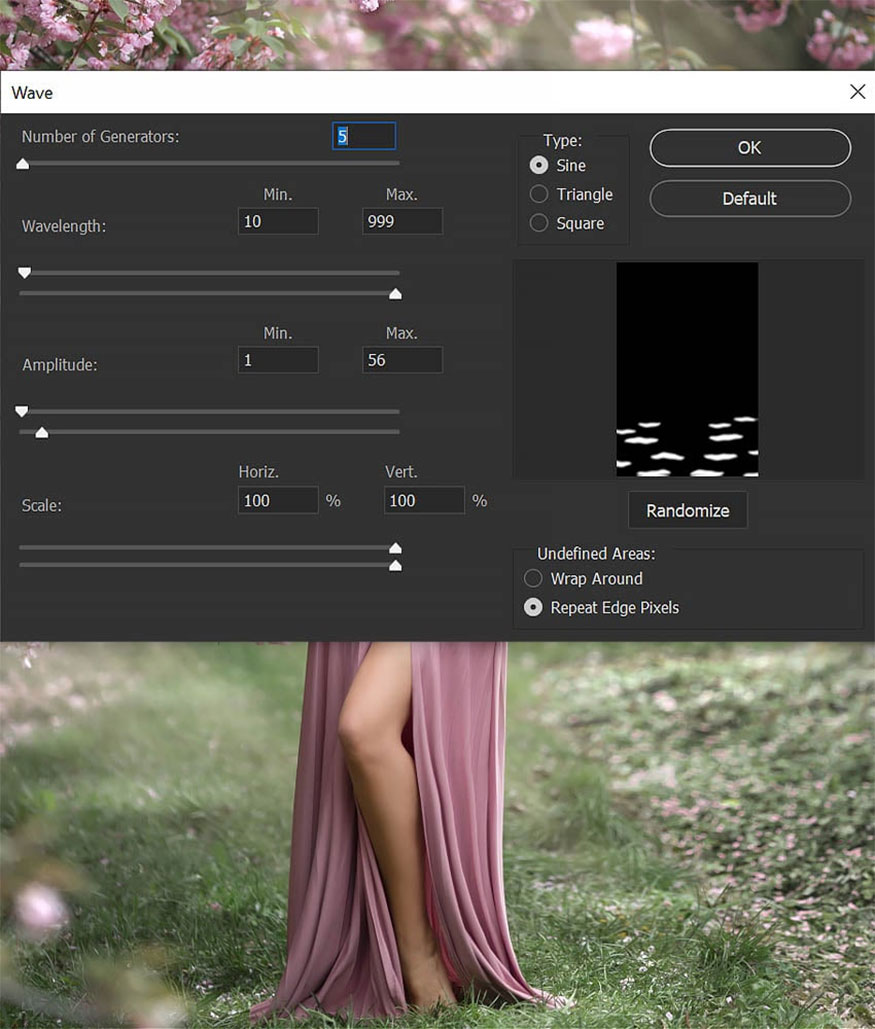
- Step 6: With the layer mask selected, go to Filter => Gaussian Blur, then set the Radius to 25 px. Go to Filter => Distort => Wave and set them according to the parameters below the image.
- Step 7: Duplicate the Curves layer, then invert the layer mask using the Control/Command-I tool.
Change the Curve anchor to reduce the midrange.
- Step 8: Finish by bringing both the shadow and some sun rays cut into the subject layer. So, we have finished adding sun rays in Photoshop!
Knowing how to add sunlight will help you easily change the weather in Photoshop. You can apply this to portraits, landscape photos or to highlight other light beam effects.
2. Refer to some weather effects in Photoshop
We can completely change the weather in Photoshop with the instructions we introduced above or refer to the following Photoshop weather effects:
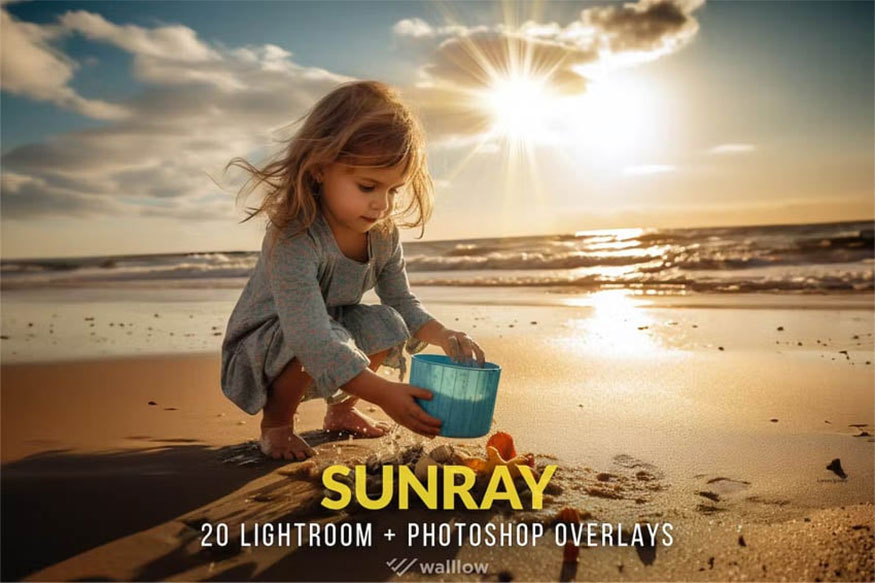
2.1. 20 lighting effects sunlight
You can absolutely use these 20 sunlight effect brushes to make things faster and simpler. With high resolution and many different rays of sunlight, adding light to your design is easy and useful.

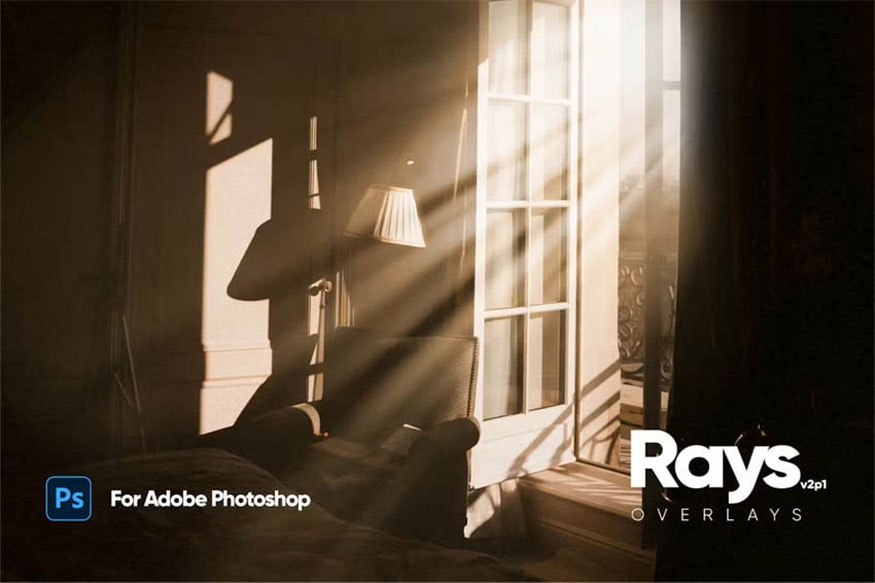
2.2. Sunlight Overlays
These sunburst Photoshop overlays will help meet a variety of creative needs, helping to deliver incredibly realistic sunlight and rays effects. This effect will include 20 high quality overlays in transparent JPG and PNG formats.
2.3. Hyperrealistic Sunlight Overlay
Easy to use and high resolution, they are perfect for photographers and graphic designers. Not only do they add depth and dimension to images, but they also give them a unique and sophisticated touch.
2.4. Magical book light overlay
With this effect you can turn ordinary images into extraordinary masterpieces thanks to the easy-to-use PNG overlay. You can create fairy-tale sparkles to sunbeams with this effect.

Above are the most detailed instructions on how to add sunlight in Photoshop. Hope to bring the most useful information so that you can create your own rays of sunshine in the designs!


VIP Products


Best Selling Products
Capcut Pro 1 Year
39 USD
Autodesk All App Account Copyright
120 USD
Genuine Adobe Illustrator account
99 USD
Windows 10 & 11 Pro Key
36 USD
Genuine Cheap Canva Pro
39 USD
Upgrade Genuine Office 365
49 USD
ChatGPT Plus Account (GPT-4)
16 USD
Freepik Premium Account
59 USD
Plugin Retouch4me
69 USD
Adobe Premiere Pro Account
99 USD
Copyright Adobe Lightroom Account
59 USD
Upgrade genuine Capture One account
120 USD
MidJourney Account
29 USD
Upgrade Duolingo Super
29 USD
Adobe Photoshop Copyright - Full App
120 USD