Best Selling Products

Upgrade Duolingo Super
29 USD

Upgrade Genuine Office 365
49 USD

Freepik Premium Account
59 USD

Capcut Pro 1 Year
39 USD

Windows 10 & 11 Pro Key
36 USD

Adobe Premiere Pro Account
99 USD

Genuine Adobe Illustrator account
99 USD

Adobe Photoshop Copyright - Full App
120 USD

ChatGPT Plus Account (GPT-4)
16 USD

Plugin Retouch4me
69 USD

Autodesk All App Account Copyright
120 USD

Genuine Cheap Canva Pro
39 USD

Copyright Adobe Lightroom Account
59 USD

Upgrade genuine Capture One account
120 USD

MidJourney Account
29 USD
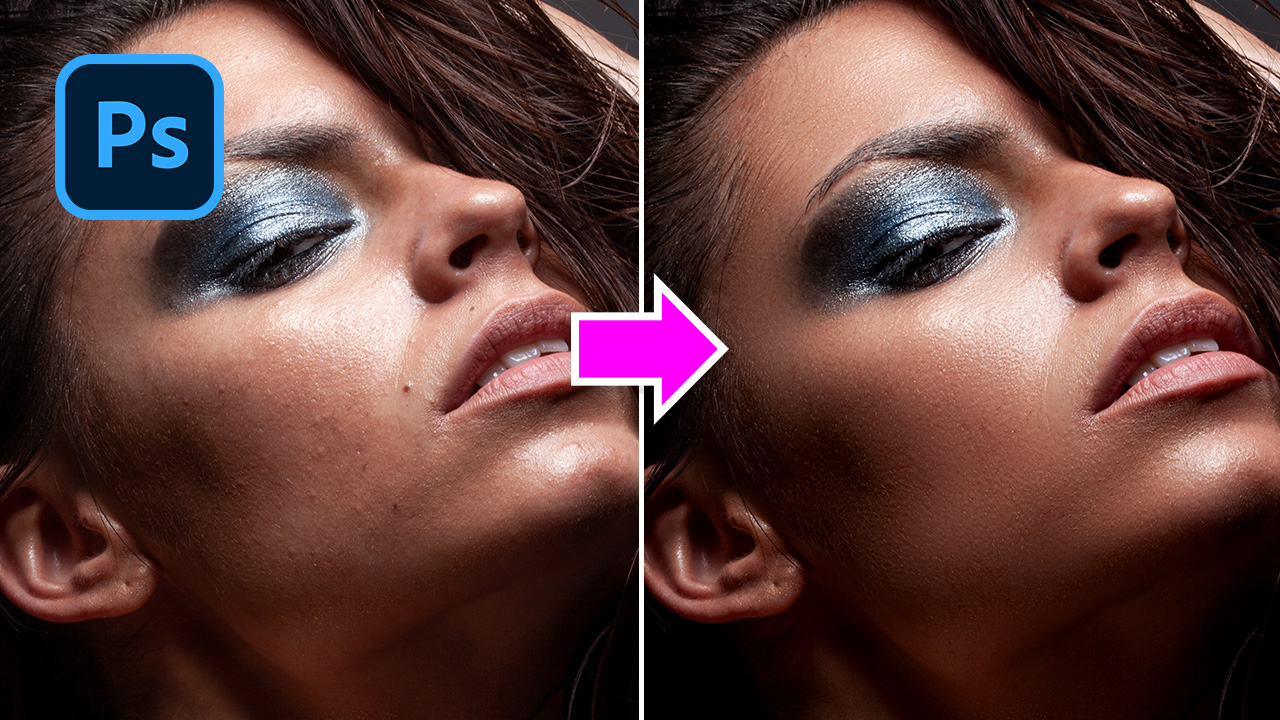
3 Steps to Create Soft and Dream Photos in Photoshop
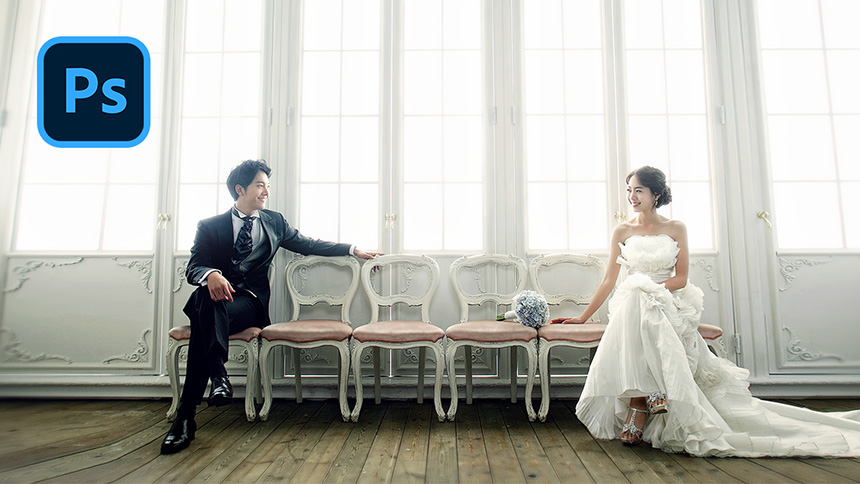
Hi guys, welcome to SaDesign channel, today I’ll show you how to make the photo look dreamy in Photoshop.
(1). First, duplicate background with CTRL or CMD + J, right click to Layer 1 and choose “Convert to Smart Object”. Go to Filter > Blur Gallery > Iris Blur, expand the circle to cover all the image and adjust the blur pixels to around 21 in the middle or on the right-hand side.

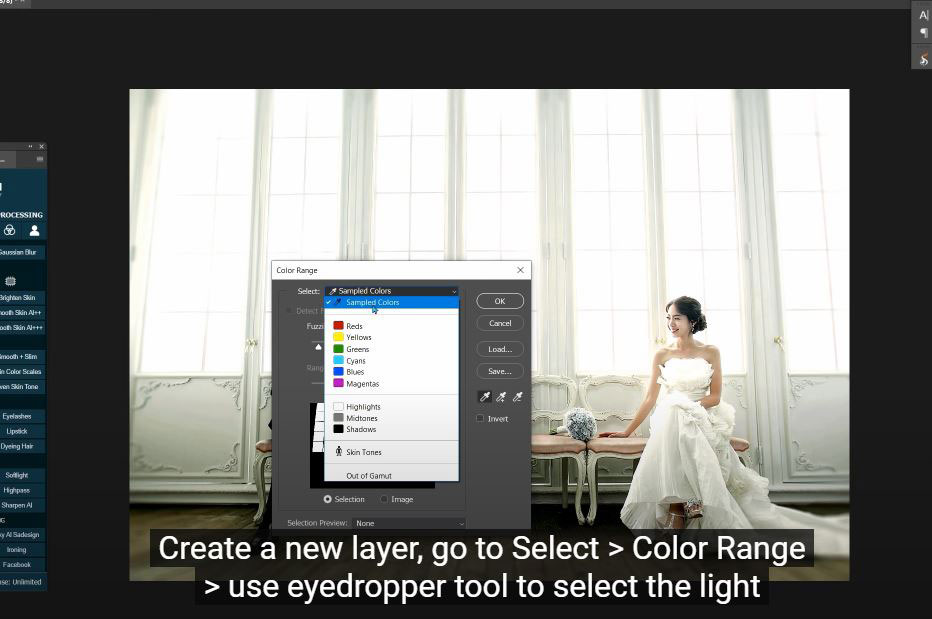
(2) Create a new layer, go to Select > Color Range > use eyedropper tool to select the light come from the window, increase fuzziness until all the light is selected. Use “Lasso tool” (L shortcut), pick the third icon which is “subtract from selection” in tool tab. Then, we circle the areas that we don’t want to select just like the faces.
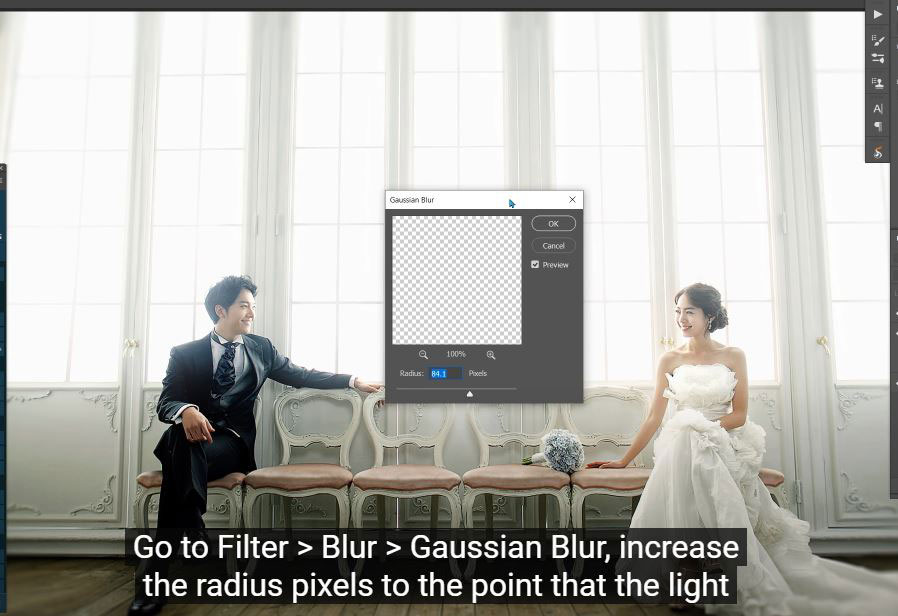
(3). Press SHIFT + F5 and choose “White” in contents. Deselection with CTRL or CMD + D. Now we have the selection of the light, convert it to smart object. Go to Filter > Blur > Gaussian Blur, increase the radius pixels to the point that the light looks like is in heaven. Reduce the fill a bit and duplicate it. In the new layer, choose gaussian blur and reduce the radius, keep the fill about 100%.
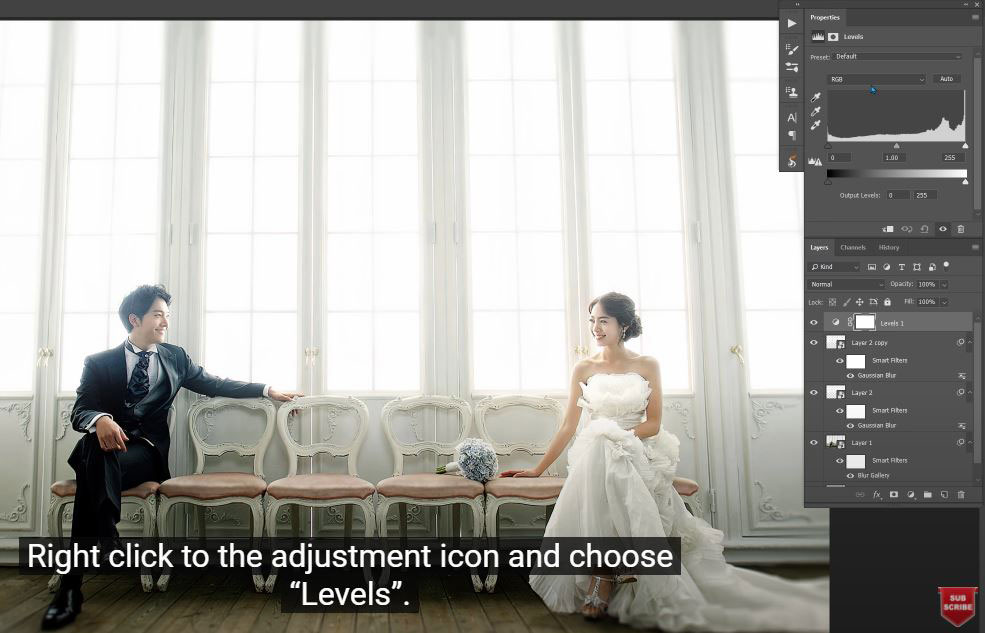
(4). Right click to the adjustment icon and choose “Levels”. Go to Blue channel and change the output levels of black from 1 to 16 and white from 255 to 254.
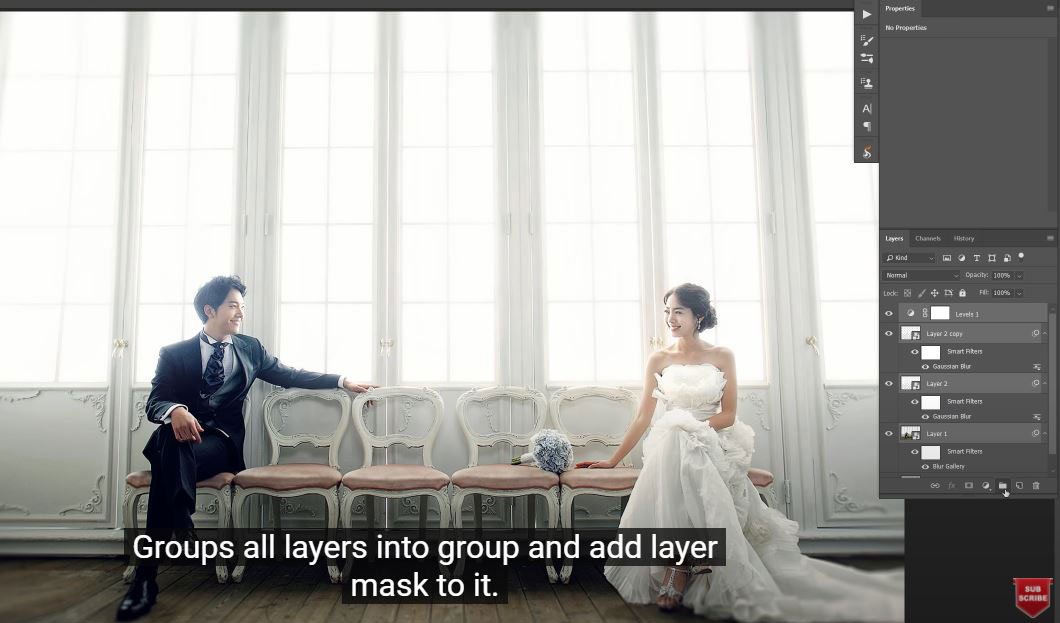
(5). Groups all layers into group and add layer mask to it. Use brush tool with back in foreground and paint over the areas that we don’t want to apply the effect. Reduce the opacity to make it looks more natural. That’s it. Have fun with the result.
(If you like Photoshop and Photograph just like SaDesign and you want to get more and more tips, techniques, experience from us. Make sure to subscribe our channel by simply clicking the subscribe button and you will get tons of free tutorials that SaDesign share about Photoshop technique on a daily basic. If you have any ideas, don’t hesitate to leave comments right below the video. We look forward to see your thoughts. Thanks so much for following and supporting SaDesign. See you guys in the following tutorials. Bye Bye!
Watch the video here:
Watch the video here:
REGISTER FOR FREE PHOTOSHOP LEARNING
============================
The most powerful Retouch tool processor
DOWNLOAD:
✅ SADESIGN PANEL ENGLISH: https://sadesign.ai/retouching/
✅ SADESIGN PANEL VIETNAM: https://www.retouching.vn/


VIP Products


Best Selling Products
Upgrade Duolingo Super
29 USD
Upgrade Genuine Office 365
49 USD
Freepik Premium Account
59 USD
Capcut Pro 1 Year
39 USD
Windows 10 & 11 Pro Key
36 USD
Adobe Premiere Pro Account
99 USD
Genuine Adobe Illustrator account
99 USD
Adobe Photoshop Copyright - Full App
120 USD
ChatGPT Plus Account (GPT-4)
16 USD
Plugin Retouch4me
69 USD
Autodesk All App Account Copyright
120 USD
Genuine Cheap Canva Pro
39 USD
Copyright Adobe Lightroom Account
59 USD
Upgrade genuine Capture One account
120 USD
MidJourney Account
29 USD