Best Selling Products
How to Change Eye Color in Photoshop
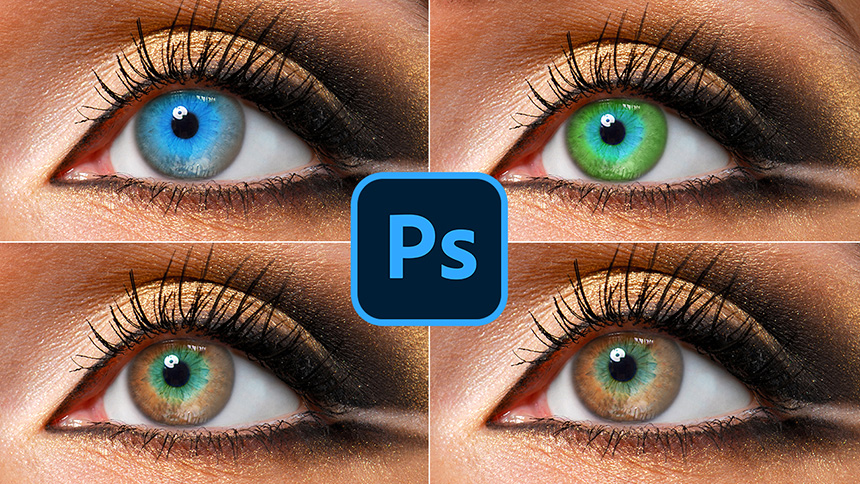
Hi there, in this video, I’ll share with you how to change eye color in Photoshop. Let’s get started!
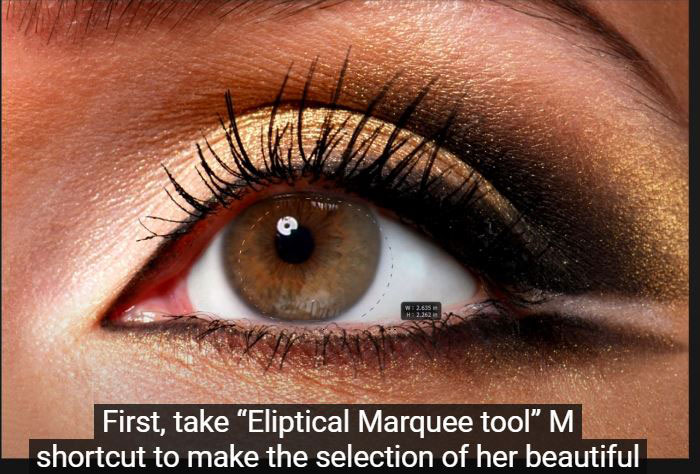
(1). First, take “Eliptical Marquee tool” M shortcut to make the selection of her beautiful eye. Right lick to adjustment icon and choose “Curves” and brighten the eyes by increasing mid tone.
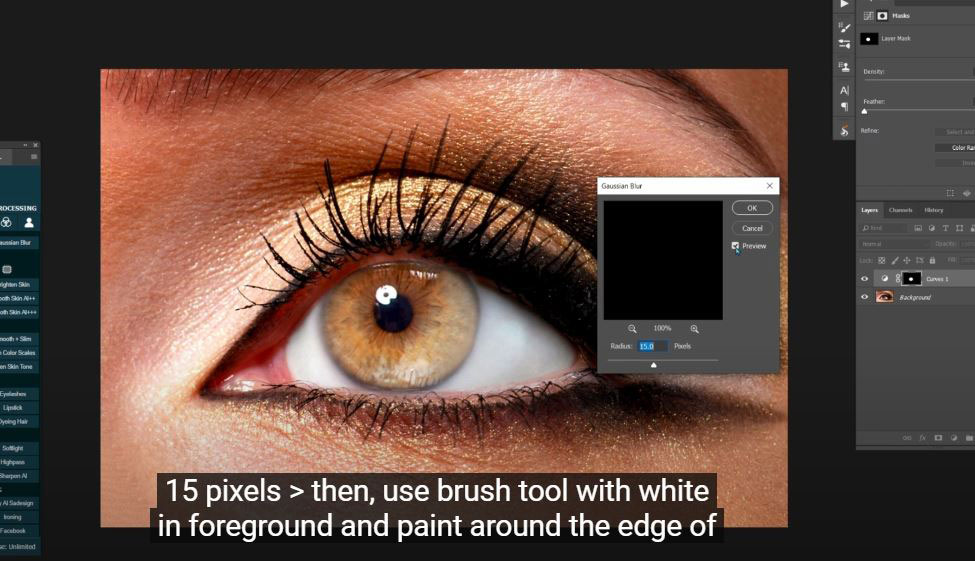
(2). Choose layer mask of curves layer, go to Filter > Blur > Gaussian blur > Radius is around 15 pixels > then, use brush tool with white in foreground and paint around the edge of eyes.
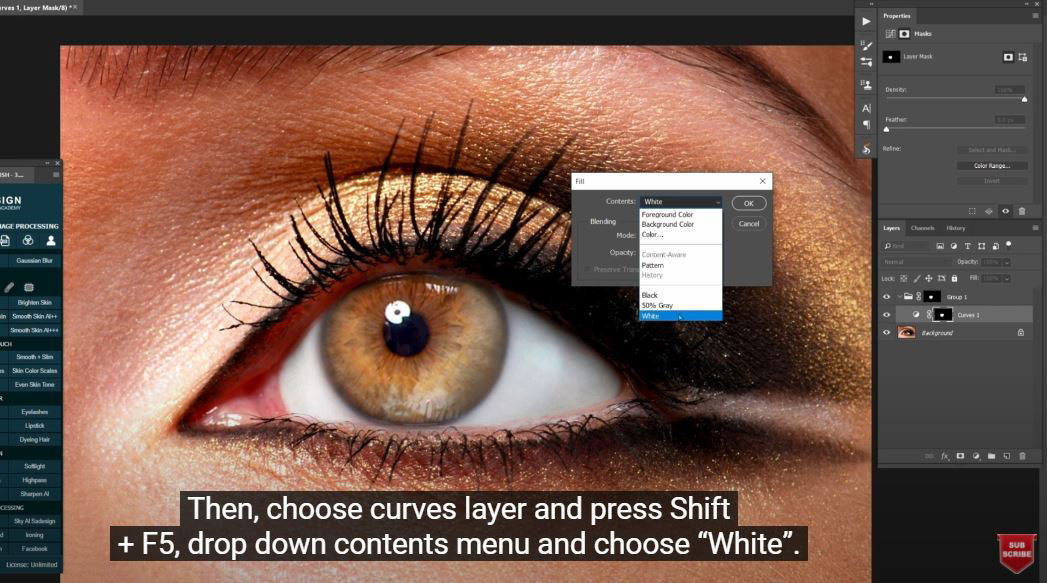
(3). Create a group and put the curves layer into it. Copy curves layer to group by clicking and dragging the mask into group. Then, choose curves layer and press Shift + F5, drop down contents menu and choose “White”. Create “Hue/Saturation”, now you can change eyes color in Hue channel. When you are done, choose layer mask in group and use brush again to bring back the black pupil
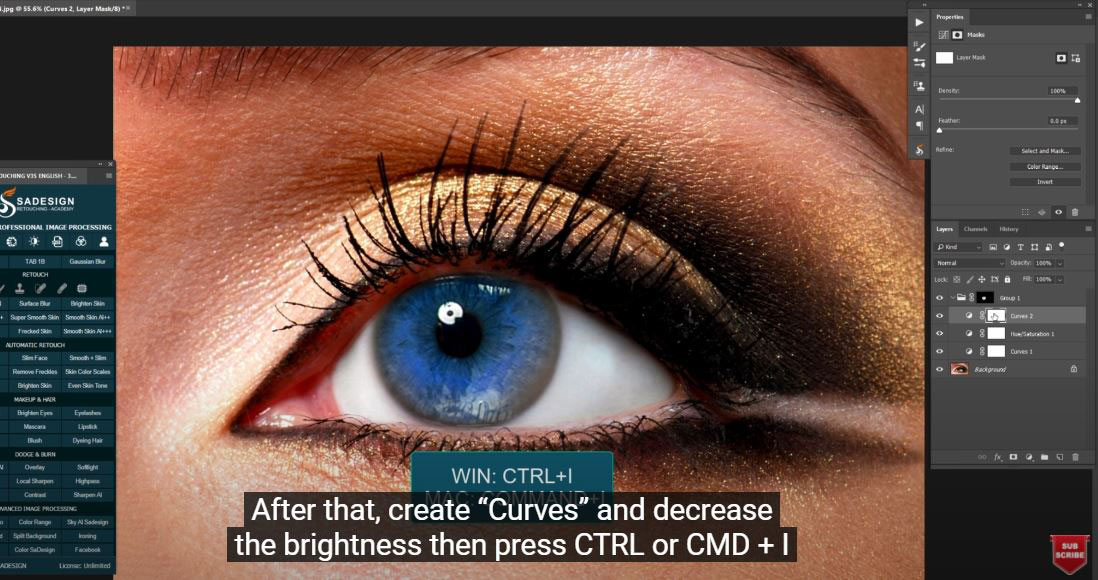
(4). After that, create “Curves” and decrease the brightness then press CTRL or CMD + I to reverse the mask to black. Use brush with 30% flow and paint around the iris. Add another curves and increase mid tone a little bit in RGB channel, then decrease the mid tone in Blue one.
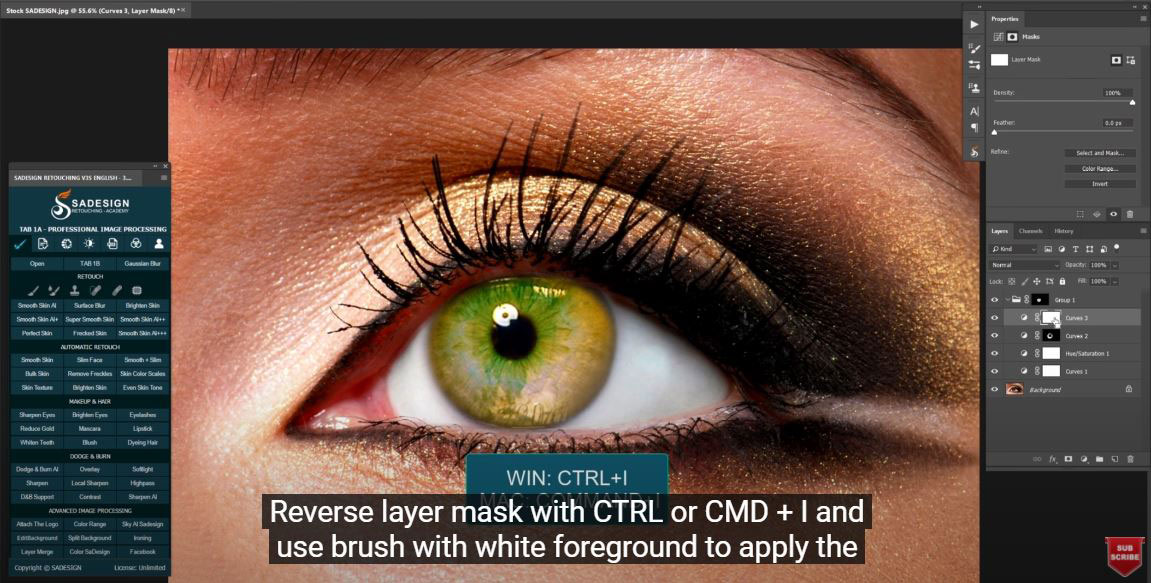
(5). Move to Green channel, decrease a little bit. In Red channel, adjust the mid tone to change the color that you prefer. Reverse layer mask with CTRL or CMD + I and use brush with white foreground to apply the effect to the eyes. Increase the flow if needed, Reduce the opacity to 92.
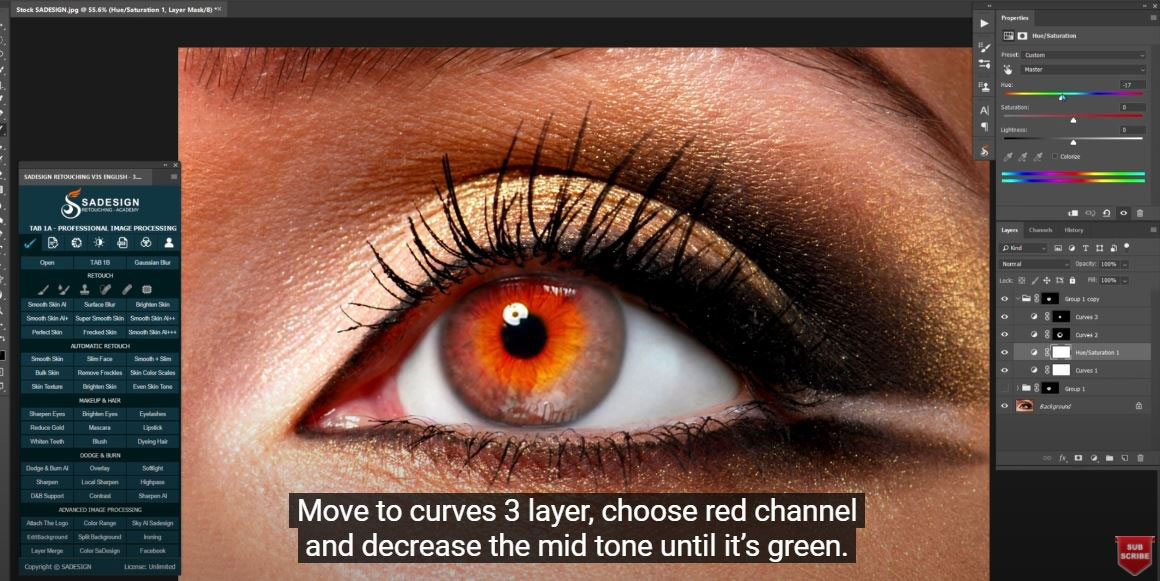
(6). Duplicate group with CTRL or CMD + J, Turn off group 1 and drop down group 1 copy, change eye color to red in hue/saturation layer. Move to curves 3 layer, choose red channel and decrease the mid tone until it’s green. Increase Hue channel in “Hue/saturation” to 36 to match with the eye color.
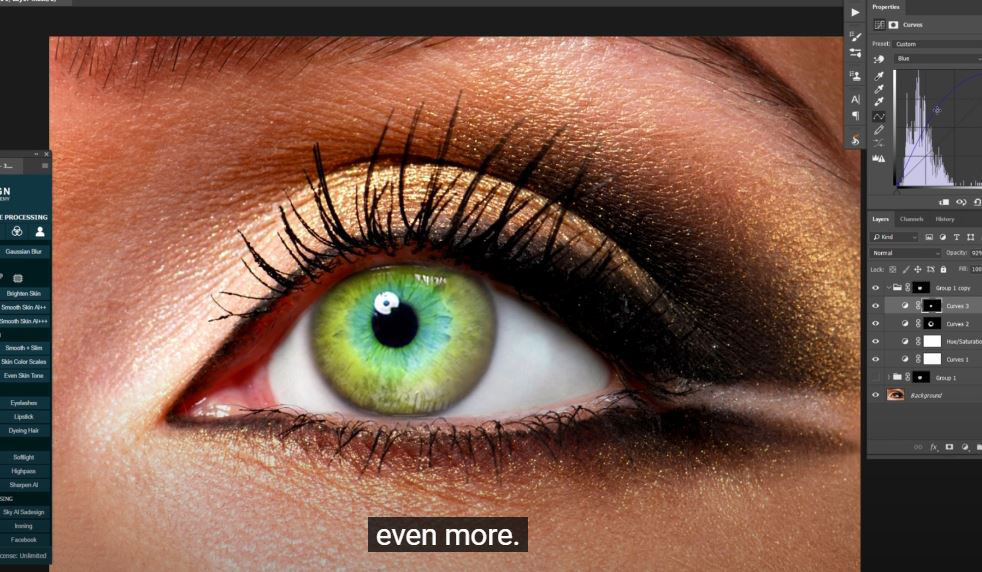
(7). Enhance brightness in RGB channel of curves 3 layer, and blue channel increase mid tone even more. This is green color.
Now, we will try with another one.
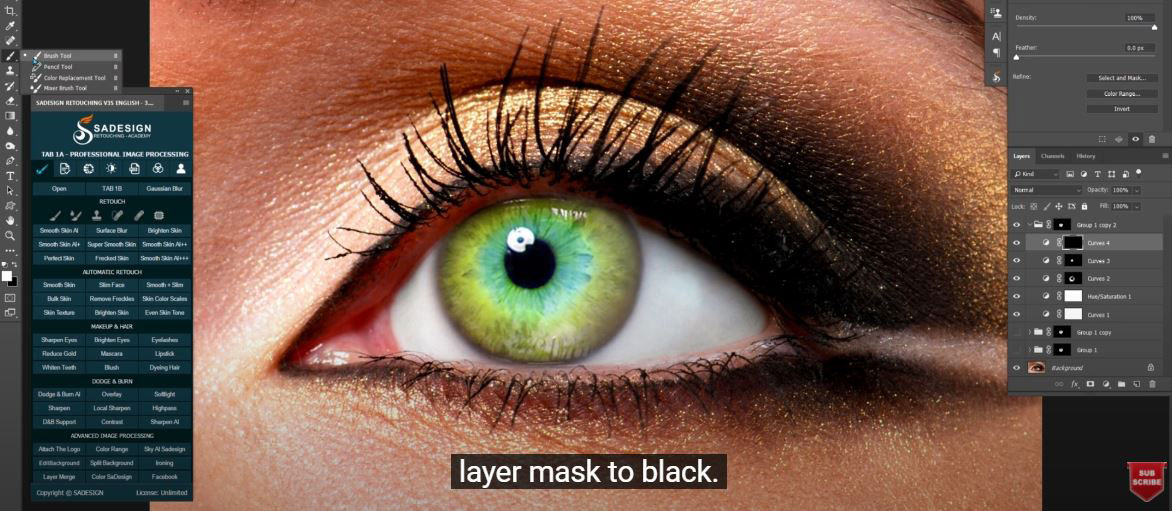
(8).Copy group with CTRL + J, turn off the old one. Create a new curves layer and increase mid tone in RGB and RED channels, then reverse layer mask to black. Use brush to paint some line in iris and go to Filter > Blur > Gaussian Blur, 5 pixels is OK. Darken mid tone in RGB channel and enjoy!
If you like Photoshop and Photograph just like SaDesign and you want to get more and more tips, techniques, experience from us. Make sure to subscribe our channel by simply clicking the subscribe button and you will get tons of free tutorials that SaDesign share about Photoshop technique on a daily basic. If you have any ideas, don’t hesitate to leave comments right below the video. We look forward to see your thoughts. Thanks so much for following and supporting SaDesign. See you guys in the following tutorials. Bye Bye!
Watch the video here:
REGISTER FOR FREE PHOTOSHOP LEARNING
============================
The most powerful Retouch tool processor
DOWNLOAD:
✅ SADESIGN PANEL ENGLISH: https://sadesign.ai/retouching/
✅ SADESIGN PANEL VIETNAM: https://www.retouching.vn/


