Best Selling Products

Capcut Pro 1 Year
39 USD

Adobe Premiere Pro Account
99 USD

Adobe Photoshop Copyright - Full App
120 USD

Upgrade Duolingo Super
29 USD

Genuine Adobe Illustrator account
99 USD

ChatGPT Plus Account (GPT-4)
16 USD

Freepik Premium Account
59 USD

Windows 10 & 11 Pro Key
36 USD

Plugin Retouch4me
69 USD

Upgrade genuine Capture One account
120 USD

MidJourney Account
29 USD

Copyright Adobe Lightroom Account
59 USD

Autodesk All App Account Copyright
120 USD

Upgrade Genuine Office 365
49 USD

Genuine Cheap Canva Pro
39 USD
How to Make a 3D Pop Out Photo Effect in Photoshop
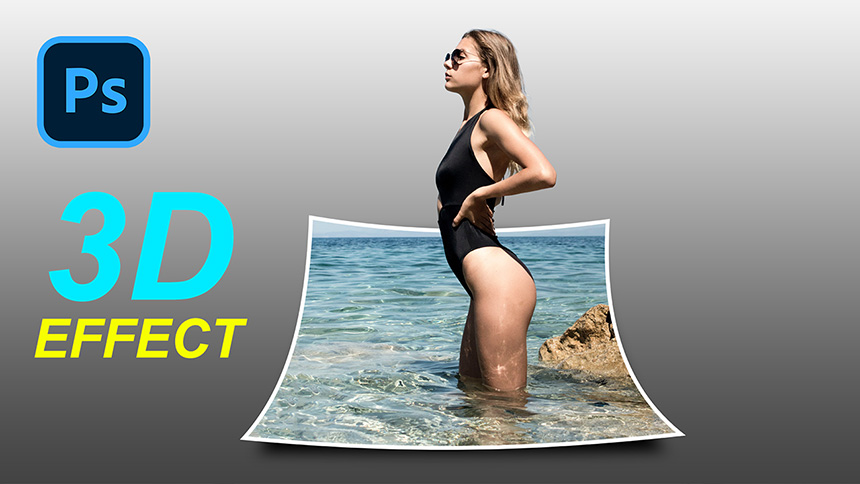
Hi there, I’ll show you how to create 3D pop out photo effect in Photoshop. Stay tuned!
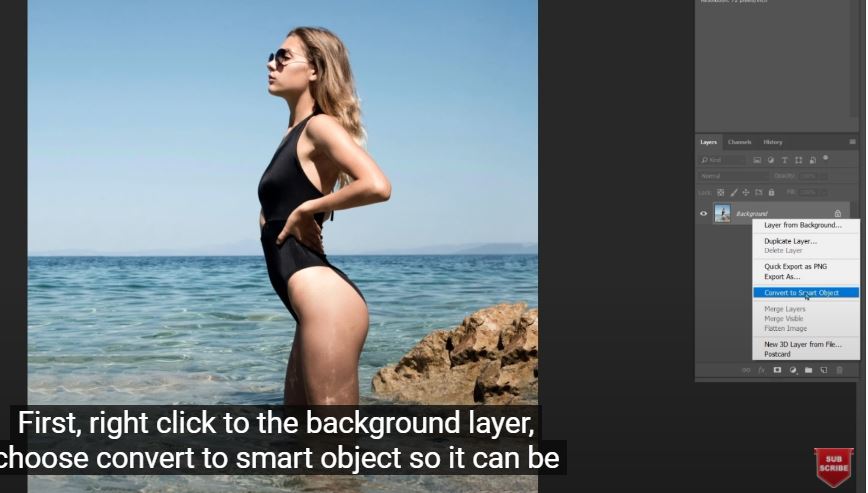
(1). First, right click to the background layer, choose convert to smart object so it can be modified non-destructively, then duplicate the layer twice by CTRL or CMD + J,
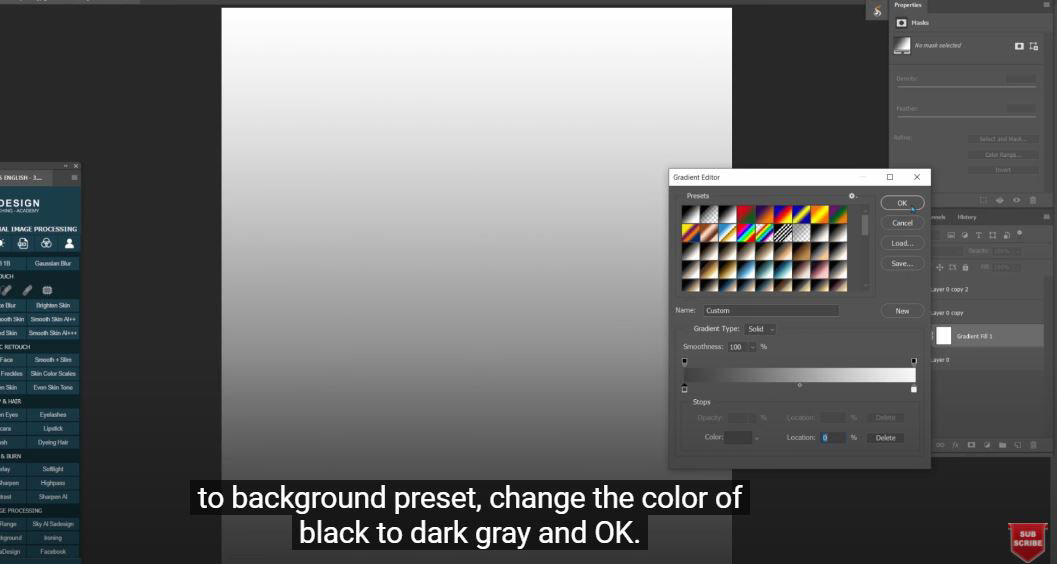
(2). Now, just turn of these two first layer, open “gradient fill”, choose “foreground to background preset, change the color of black to dark gray and OK.
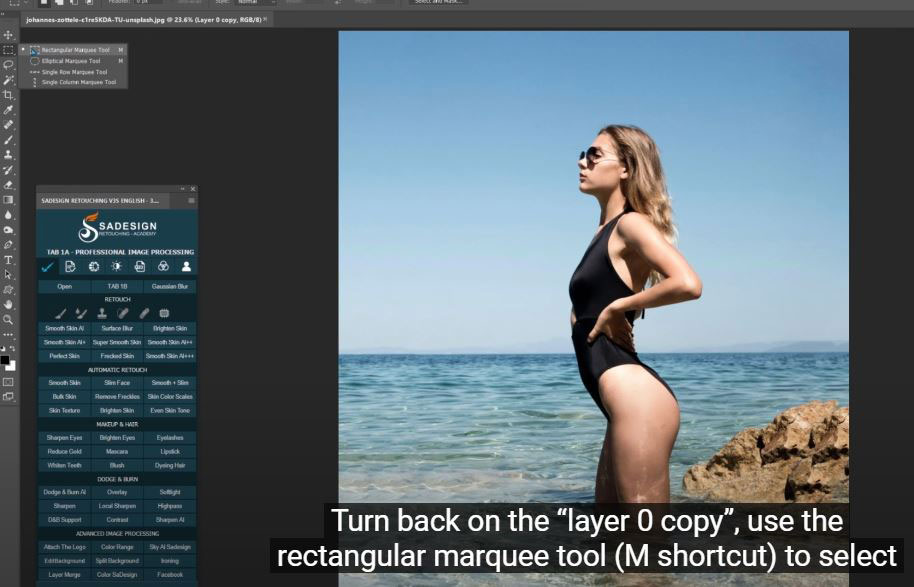
(3). Turn back on the “layer 0 copy”, use the rectangular marquee tool (M shortcut) to select the area that you want to be the base of photo. Use move tool (V shortcut) to put it close to the bottom.
(4). Then, transform the selection by SELECT > “Transform selection” and Edit > Transform > Perspective, now click to the top left corner and drag out to make the selection lie on the surface.

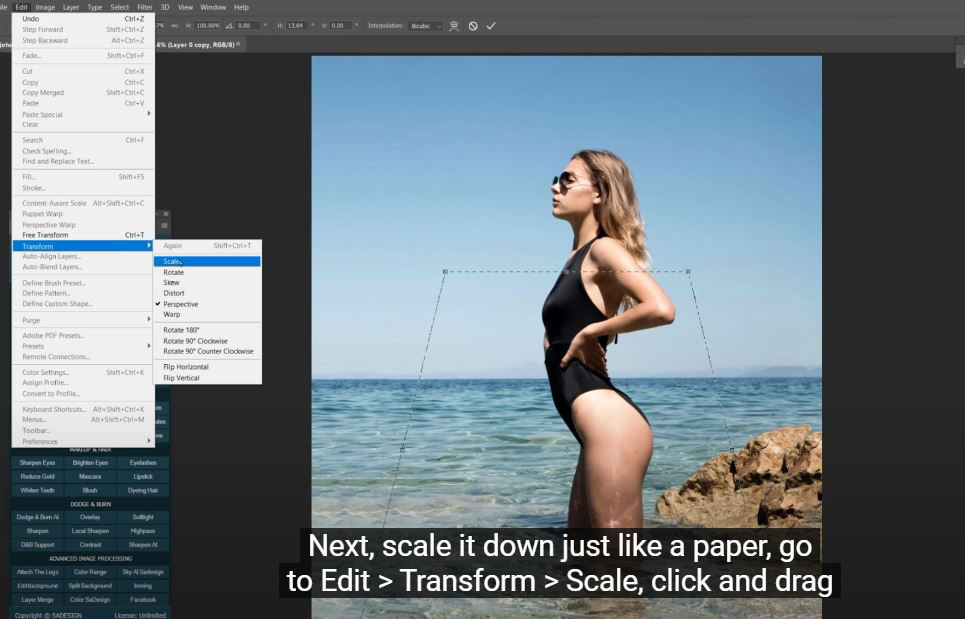
(5). Adjust the bottom corner as well. Next, scale it down just like a paper, go to Edit > Transform > Scale, click and drag at the top of the selection and pull down in nearly half. When you are done, add layer mask to it with the second icon and you will see the result of these steps you are just finished. If you want to move the photo inside, not the layer mask position. Remove the connection between them by click to the chain icon, then use move tool to reposition as you wanted.
(6). After that, add border to it so it will look like a real 3D photo, to do that open “Blending Options”, check to “Stroke”, in stroke window, you can freely choose size of border, the position and color of border. I’ll leave the size at 40, white color looks nice to me. 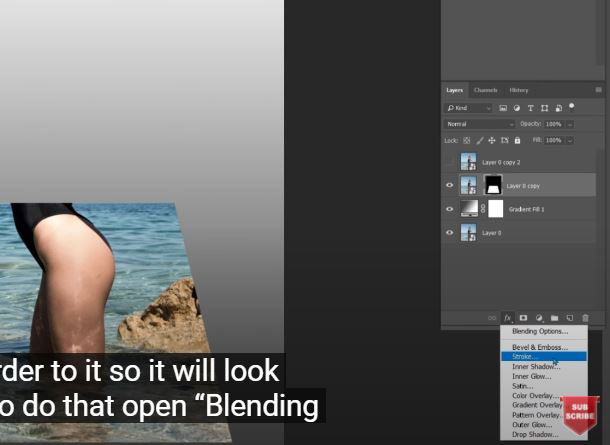
(7).Now we will create the shadow of 3D photo in a new layer, create a new layer first, select the 3D photo by hold CTRL or CMD and click to the layer mask of 3D photo to get the selection. Choose the new layer that just created and press Alt or Option + Delete to fill the selection of 3D photo to new layer with black color.

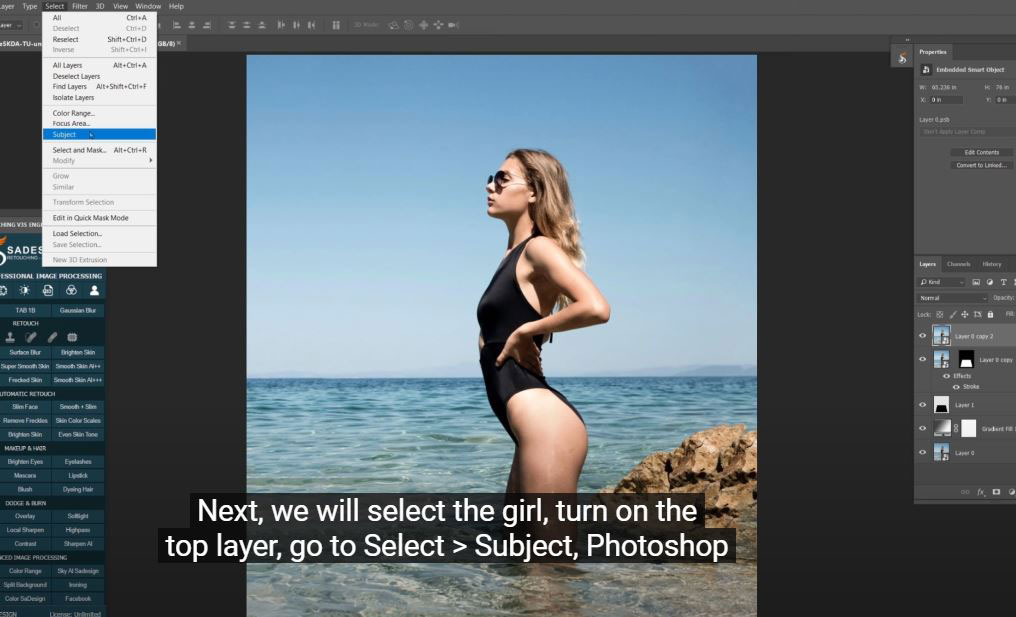
(8). Next, we will select the girl, turn on the top layer, go to Select > Subject, Photoshop is automatically select the subject for us although it’s not completely as we wanted. Go to Select > “Select and Mask” to remove some areas that we don’t want to select by using “Refine edge brush tool” and paint slightly on her hair and the edge of her body. Make sure to choose “Selection” in output to box, then add layer mask to it to separate the subject that we just selected.
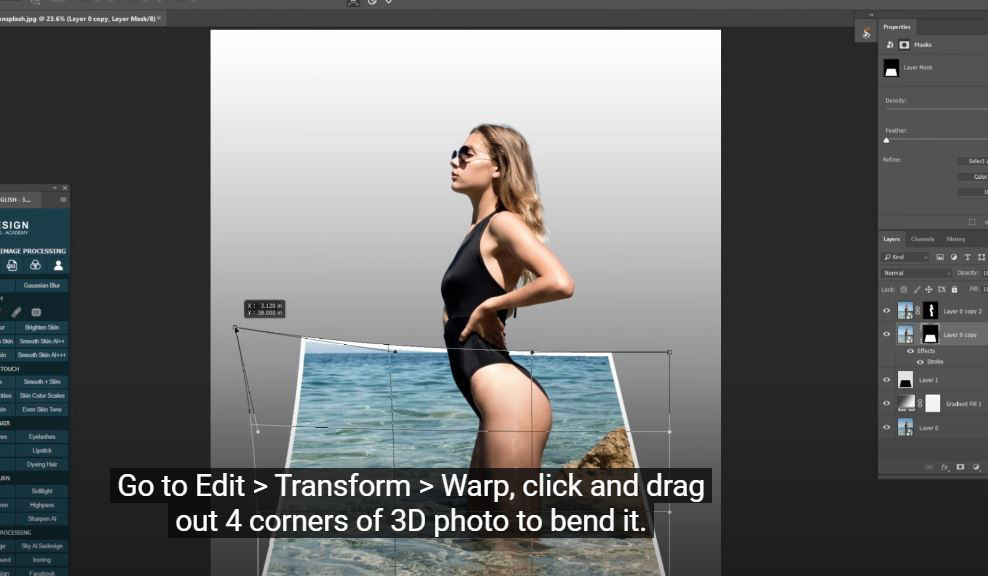
(9). We are nearly close to the final result, now just add some adjustment to the 3D photo, bend it by using warp tool. Go to Edit > Transform > Warp, click and drag out 4 corners of 3D photo to bend it.
(10). Blur the shadow a little, select layer 1, go to Filter > Blur > Gaussian Blur > put the radius around 70 pixels and bend the shadow to follow the 3D photo as well by using warp tool.
Enjoy with the final result!
Thank for watching! If you like these kinds of tutorials, make sure to subscribe, like and hit the bell to get the update when our new videos released on a daily basis. Bye bye.

Watch the video here:
REGISTER FOR FREE PHOTOSHOP LEARNING
============================
The most powerful Retouch tool processor
DOWNLOAD:
✅ SADESIGN PANEL ENGLISH: https://sadesign.ai/retouching/
✅ SADESIGN PANEL VIETNAM: https://www.retouching.vn/


VIP Products


Best Selling Products
Capcut Pro 1 Year
39 USD
Adobe Premiere Pro Account
99 USD
Adobe Photoshop Copyright - Full App
120 USD
Upgrade Duolingo Super
29 USD
Genuine Adobe Illustrator account
99 USD
ChatGPT Plus Account (GPT-4)
16 USD
Freepik Premium Account
59 USD
Windows 10 & 11 Pro Key
36 USD
Plugin Retouch4me
69 USD
Upgrade genuine Capture One account
120 USD
MidJourney Account
29 USD
Copyright Adobe Lightroom Account
59 USD
Autodesk All App Account Copyright
120 USD
Upgrade Genuine Office 365
49 USD
Genuine Cheap Canva Pro
39 USD