Best Selling Products

Upgrade Genuine Office 365
49 USD

Windows 10 & 11 Pro Key
36 USD

Plugin Retouch4me
69 USD

Adobe Photoshop Copyright - Full App
120 USD

Copyright Adobe Lightroom Account
59 USD

Genuine Adobe Illustrator account
99 USD

Autodesk All App Account Copyright
120 USD

Upgrade Duolingo Super
29 USD

ChatGPT Plus Account (GPT-4)
16 USD

Freepik Premium Account
59 USD

Capcut Pro 1 Year
39 USD

Adobe Premiere Pro Account
99 USD

Genuine Cheap Canva Pro
39 USD

MidJourney Account
29 USD

Upgrade genuine Capture One account
120 USD
5 Advanced Photography Composition Techniques to Create More Depth
Nội dung
Composition is a crucial element that determines the depth, balance, and appeal of a professional photograph. Beyond the basic principles, advanced composition techniques allow photographers to actively guide the viewer''s gaze and create a more impactful visual experience.
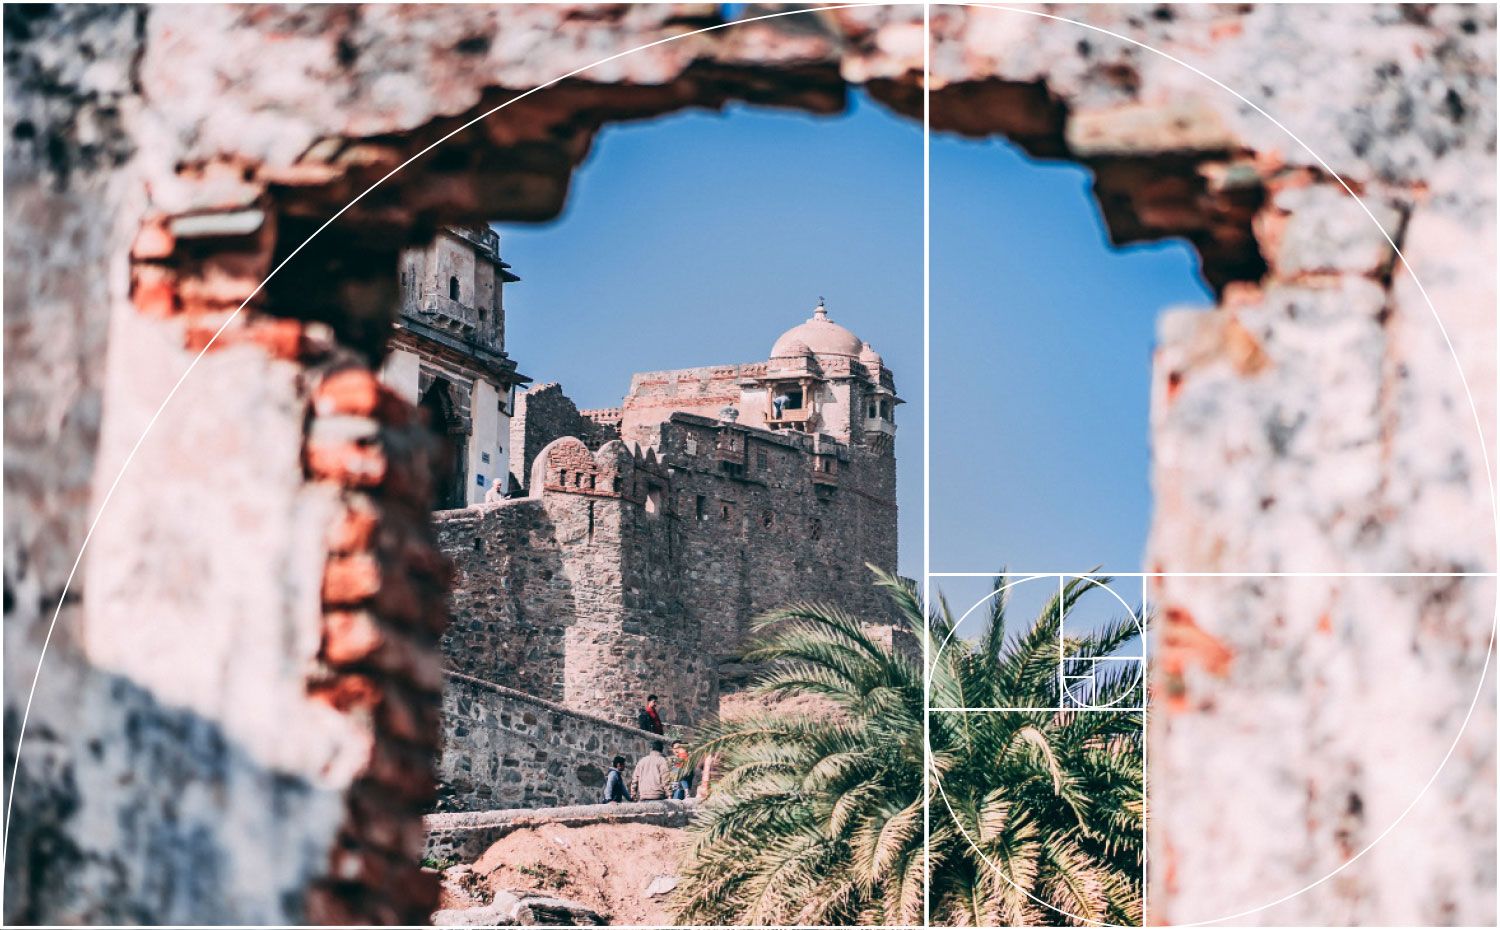
1. Create visual anchor points.
A visual anchor point is one of the important elements that helps stabilize the overall frame. Simply put, it's a point of reference that causes the viewer's eye to linger before exploring other areas of the image.
An anchor point can be a character, object, bright area, dark area, or a highly contrasting image. It's important to note that the anchor point doesn't necessarily have to be the main subject of the photograph. A small detail, but one that is well-placed and visually striking, can still act as a "gravity" for the entire composition.
For example, when photographing a vast mountain landscape, if the entire frame consists only of the sky, mountains, and ground, the viewer may find it difficult to determine the focal point. A single tree in the foreground, a uniquely shaped rock, or a person standing in the distance can become an anchor point, helping to clarify the composition.

In landscape photography, anchor points are particularly useful when the scene has multiple layers of space. You can place an object in the foreground, then use layers of mountains, trees, or the horizon in the midground and background. Anchor points not only help balance the image but also create a sense of proportion, distance, and depth.
To create an effective anchor point, before pressing the shutter button, observe the entire frame instead of focusing solely on the subject. Ask yourself: "Where will the viewer's gaze first?" and "After that point, where will their gaze move?". If the answer is unclear, you can change your position, focal length, or camera angle to build a more logical visual path.
2. Managing emotional distance
Emotional distance in photography refers to the degree of psychological connection that the viewer feels with the subject. This is not a distance measured in meters between the camera and the subject, but rather a visual and emotional distance.
Even with the same subject, simply changing the camera angle, focal length, aperture, or position within the frame can completely alter the feeling the photograph evokes.
For example, a close-up portrait taken with a large aperture can create a sense of intimacy and focus. When the background is blurred, the face becomes the center of the visual experience, making it easier for the viewer to notice the subject's expression and eyes.
Conversely, using a wide focal length and placing the subject in a large space can make the subject appear small amidst its surroundings. This compositional approach is suitable when wanting to tell a story about the relationship between humans and space.
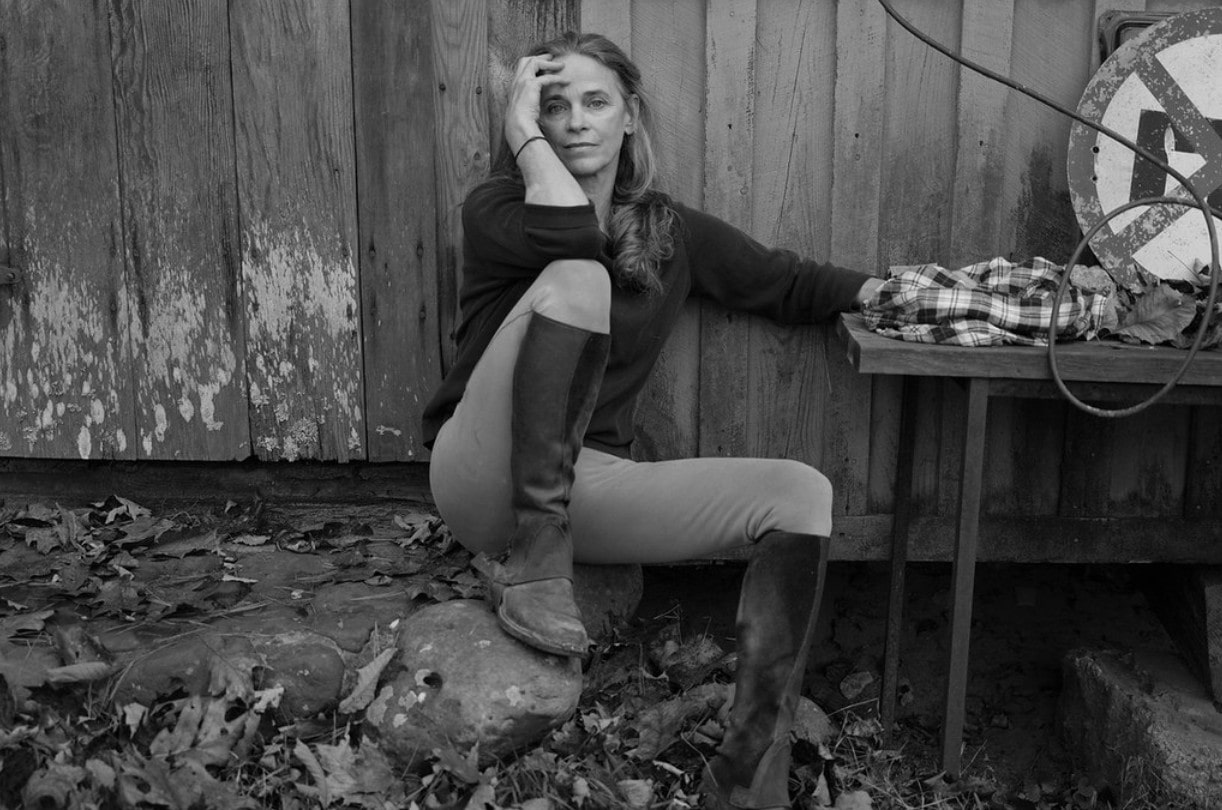
Camera angles also have a strong impact on emotions. Low angles can make the subject appear more prominent, powerful, or in a higher position. Meanwhile, eye-level angles tend to create a more natural, direct, and engaging feel. When the camera is positioned higher than the subject, the perception of the subject's scale and status can also change.
Eye contact is another element that requires special attention. When the subject looks directly into the camera, the viewer feels like they are having a direct "conversation" with the character. If the subject looks in another direction, their gaze can create a void, allowing the viewer to imagine what the character is observing.
3. Harnessing vertical strength
In landscape, street, or architectural photography, horizontal framing is commonly used because it mimics the natural field of view and allows for capturing more space. However, that doesn't mean vertical composition is less effective.
Vertical framing has the potential to emphasize height, depth, and spatial layering. This is a particularly useful option when the subject has an elongated shape vertically, such as a building, tree trunk, lamppost, staircase, or a figure standing in the middle of a large environment.
Another advantage of vertical composition is its ability to limit distracting elements on either side of the frame. When the surrounding space is too cluttered, switching to vertical composition can help narrow the visual field and bring attention back to the subject.

Vertical layouts also facilitate the creation of multiple layers of imagery. For example, you can place an object at the bottom of the image, the main subject in the center, and architectural lines extending upwards. The viewer's eye will move from one layer to another, creating a more pronounced sense of depth.
It's not necessary to decide on a vertical composition right from the start. In some cases, horizontally shot photos can still be cropped into a vertical composition in post-processing. However, this is only effective if the original image has sufficient resolution and the important elements are not too close to the edges of the frame.
4. Use soft blur to create a frame.
Framing, or the technique of creating a frame, is a familiar method in photography. Instead of using a physical outline, photographers utilize objects in the environment to surround or direct the viewer's gaze towards the subject.
One way to enhance this technique is to use blurred foreground layers. Elements close to the camera can be placed out of focus, creating soft, blurred areas on part or more sides of the frame.
In street photography, this technique is particularly useful because the surrounding environment often contains many moving elements. A person walking by, trees, windows, railings, or objects near the camera can all become foreground elements.
The key is that the frame shouldn't take up too much attention. If the foreground is too sharp or has an overly prominent shape, it can compete with the main subject. Conversely, when blurred just enough, the frame almost becomes an unconscious part of the composition.

Viewers may not realize that their gaze is being guided through a blurry foreground. However, since the sharpest area is usually the subject, the eye will naturally gravitate towards it.
To apply this technique, first identify the subject and the area to focus on. Then, find an object close to the camera that can create a frame. You can move closer to the object, open the aperture to reduce the depth of field, or use an appropriate focal length to soften the foreground.
It's important to check all four edges of the frame. A nice blur at the corner of the image that inadvertently obscures the face or creates an unpleasant cut-out on the subject's body will detract from the overall effect.
5. Separate the subject from the background.
Separating the subject from the background is often mentioned alongside the bokeh effect, but in professional photography, this technique is much broader. The goal is not just to blur the background, but also to give the subject depth and a clear visual position.
One common problem that causes the subject to "blend in" is when the background has similar colors or brightness. For example, a person wearing dark clothing standing in front of a dark wall may be difficult to distinguish. Conversely, when there is a reasonable contrast between the subject and the background, the figure will be easier to identify.
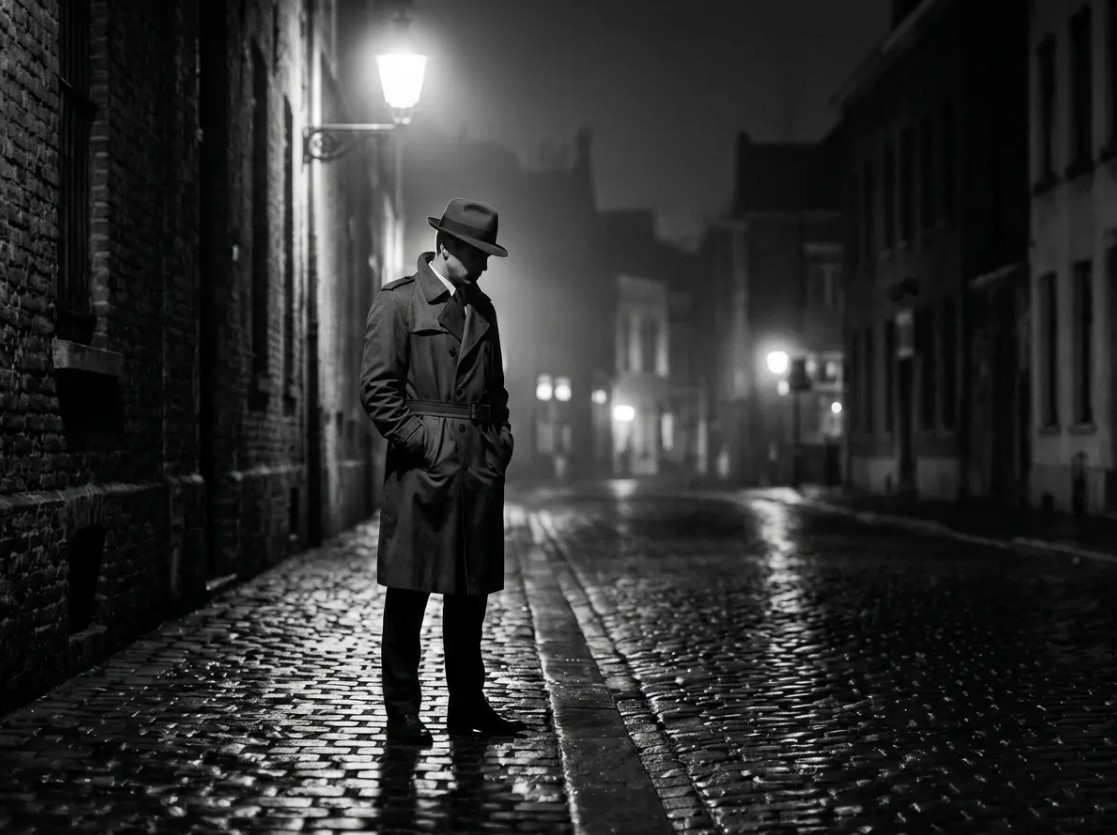
The background also needs careful examination. Tree branches, utility poles, power lines, or architectural edges positioned directly behind the subject's head and body can create the illusion that details are "piercing" through the subject. This is a compositional error that is often only noticed upon reviewing the photo.
The simplest solution is to change the shooting position. Just moving slightly to the left or right can completely alter the outline of the background. You can also lower or raise the camera to control the relationship between the subject and the background.
A large aperture can also help separate the subject by reducing the sharpness of the background. However, you shouldn't rely entirely on bokeh. A photo with a heavily blurred background but where the colors and lighting match the subject may still lack focus.
6. Combine techniques to elevate the composition.
These five techniques don't exist in isolation. In fact, a professional photograph can simultaneously employ multiple compositional methods.
For example, when photographing a person on the street, you can use a sign or bright area as a visual anchor, place a blurred object in the foreground to create framing, and choose the right camera angle and aperture to separate the person from the background. If the person is standing near a tall building, a vertical composition can also be used to emphasize the height of the space.
This shows that advanced composition isn't about memorizing a lot of rules. The core lies in the ability to observe and make deliberate decisions.
Before shooting, observe the subject, background, lighting, and surrounding details. Then determine the main point of view, how the viewer's gaze will move, and what elements are distracting. From there, you can adjust the position, camera angle, focal length, or arrangement of the subject to achieve the desired composition.
Advanced composition is the process of transforming seemingly small elements within a frame into powerful storytelling tools. Visual anchors stabilize the composition, emotional distance shapes the connection with the subject, vertical framing exploits height and depth, blurred foreground creates natural framing, while the ability to separate the subject makes the image clearer and more focused.
By flexibly combining these five techniques, photographers can be more proactive in guiding the viewer's gaze and controlling their emotions. Instead of just searching for a beautiful moment, you begin building the image even before pressing the shutter button.





















VIP Products








Best Selling Products
Upgrade Genuine Office 365
49 USD
Windows 10 & 11 Pro Key
36 USD
Plugin Retouch4me
69 USD
Adobe Photoshop Copyright - Full App
120 USD
Copyright Adobe Lightroom Account
59 USD
Genuine Adobe Illustrator account
99 USD
Autodesk All App Account Copyright
120 USD
Upgrade Duolingo Super
29 USD
ChatGPT Plus Account (GPT-4)
16 USD
Freepik Premium Account
59 USD
Capcut Pro 1 Year
39 USD
Adobe Premiere Pro Account
99 USD
Genuine Cheap Canva Pro
39 USD
MidJourney Account
29 USD
Upgrade genuine Capture One account
120 USD