Best Selling Products

Copyright Adobe Lightroom Account
59 USD

Windows 10 & 11 Pro Key
36 USD

Adobe Photoshop Copyright - Full App
120 USD

Freepik Premium Account
59 USD

Adobe Premiere Pro Account
99 USD

MidJourney Account
29 USD

ChatGPT Plus Account (GPT-4)
16 USD

Upgrade Genuine Office 365
49 USD

Genuine Cheap Canva Pro
39 USD

Upgrade genuine Capture One account
120 USD

Upgrade Duolingo Super
29 USD

Capcut Pro 1 Year
39 USD

Plugin Retouch4me
69 USD

Genuine Adobe Illustrator account
99 USD

Autodesk All App Account Copyright
120 USD
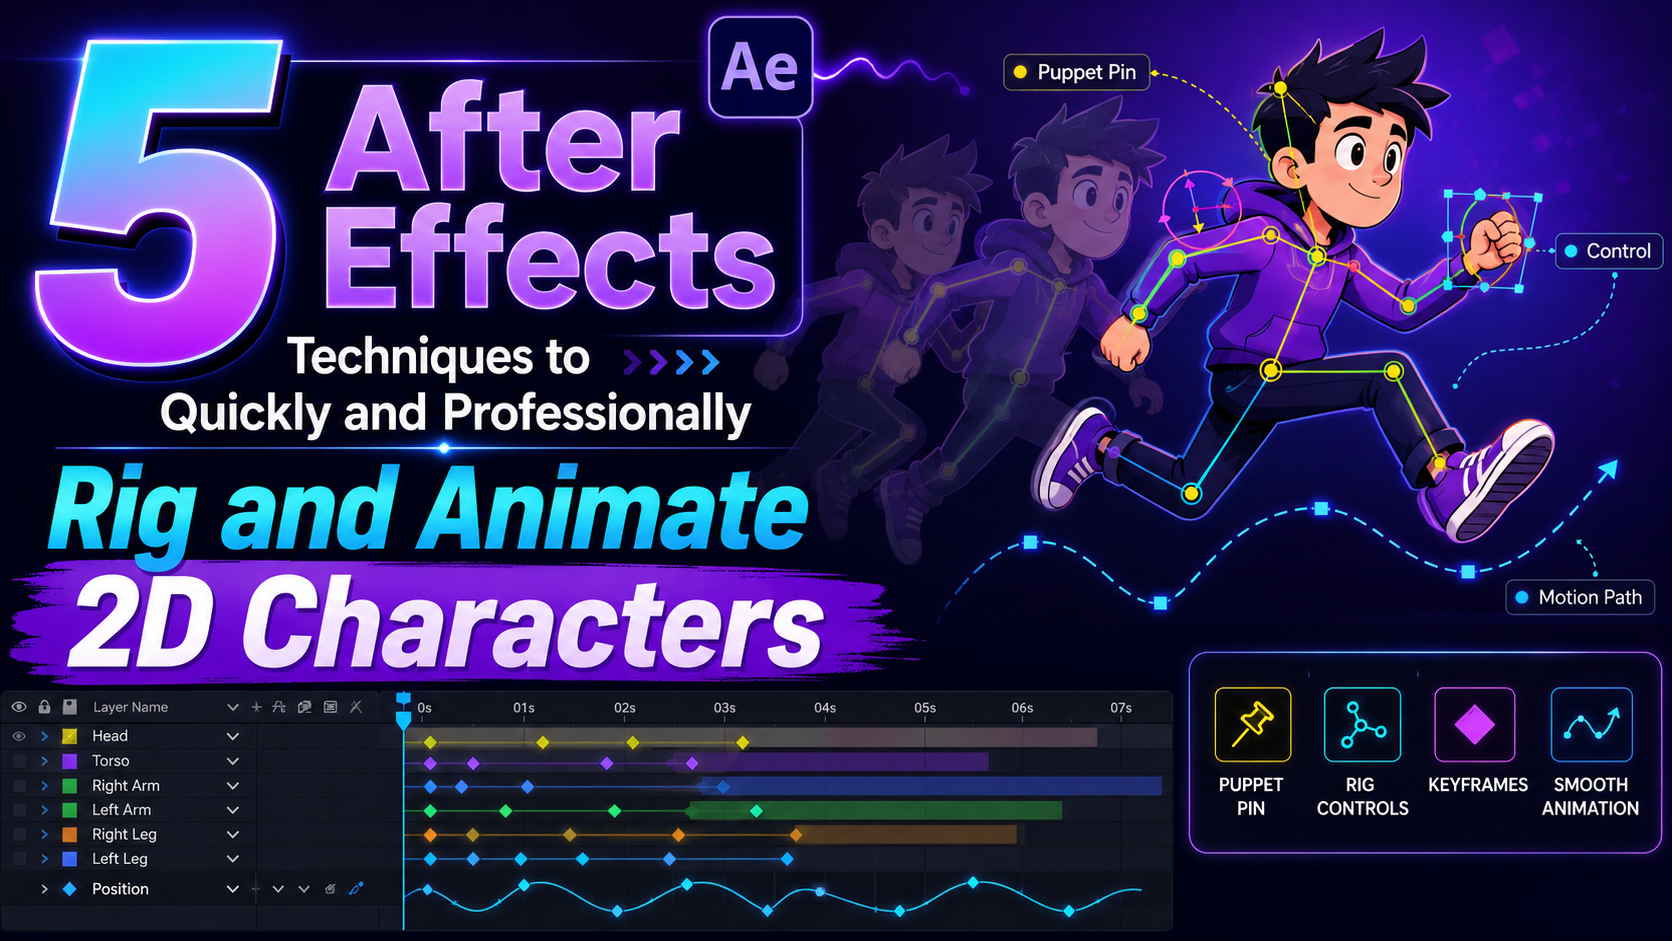
5 After Effects Techniques to Quickly and Professionally Rigging and Animate 2D Characters
Nội dung
Animating 2D characters in After Effects becomes faster and more professional when you know how to optimize your workflow.
1. Use Null Objects to control the joints.
One of the most common problems when animating characters is that the timeline quickly becomes cluttered. Each arm, forearm, hand, leg, or foot has its own keyframe, making subsequent editing a nightmare. Just a small change to movement requested by the client can result in having to edit dozens of keyframes scattered across multiple layers.
The most effective solution is to use Null Objects as controllers for the character's joints. Instead of placing keyframes directly on each part, link (Parent) the limbs to Null Objects placed correctly at the joint positions. These Null Objects will act as central controllers, making all movements more logical and easier to control.
The steps are very simple. First, create a Null Object by going to Layer > New > Null Object . Then place the Null correctly over the joint, for example, shoulder, elbow, or knee. Next, use the Parent & Link tool to link the arm or leg layer to the Null you just created.
Once complete, you simply rotate or move the Null Object instead of manipulating each layer directly. For example, rotating the Null at the elbow will cause the forearm to move naturally according to the joint's mechanism. This makes the entire animation system much cleaner, more intuitive, and easier to edit.
This is also the rigging principle that professional animators use in large animation projects. Understanding the Parenting Hierarchy system will help you build a stable character structure that is easy to expand and convenient for multiple revisions.

A very important tip is to give Null Objects clear names, such as L_Vai_CTRL , R_CuiCho_CTRL , L_Goi_CTRL , or R_CoChan_CTRL . As the number of controls increases, consistent naming will help you identify the correct layer in seconds.
2. Master Anchor Point for Precise Movement
Many After Effects beginners encounter a situation where the character's arm or leg rotates around a very strange position instead of rotating at the joint. This is because After Effects defaults to placing the anchor point in the center of the layer, while body parts need to rotate around joints.
If anchor points aren't handled properly from the start, the entire animation process will become incredibly difficult. Even after creating dozens of keyframes, you might discover the pivot point is in the wrong position and have to redo almost everything.
The solution is to use the Anchor Point Tool with the Y shortcut key or use the Anchor Point Mover script to quickly move the pivot point to the desired position.
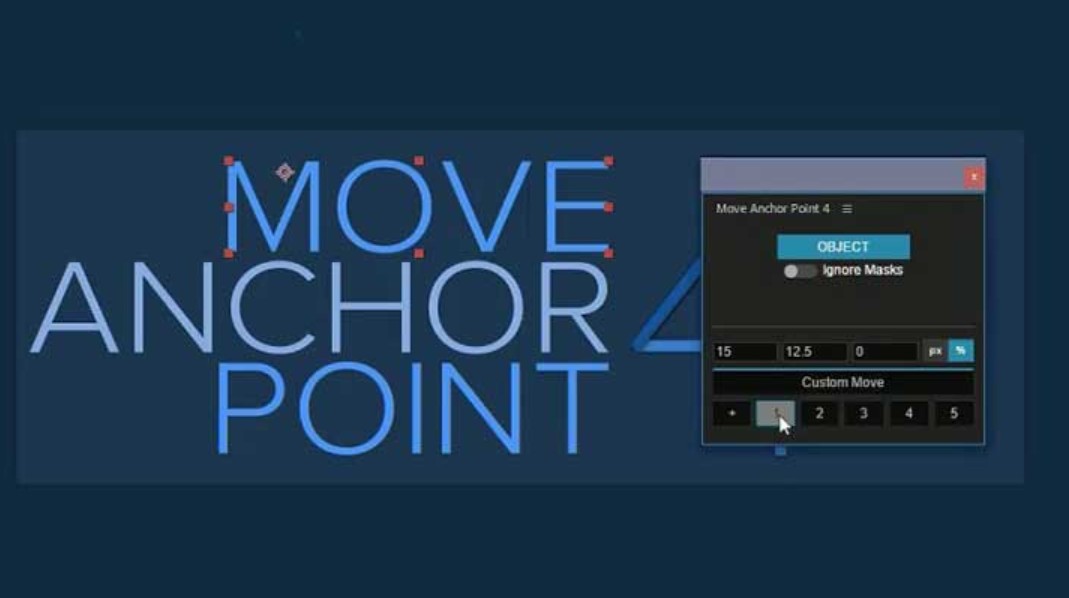
For example, for the bicep, the anchor point should be placed at the shoulder. For the forearm, the anchor point should be at the elbow. For the foot, the pivot point should be at the ankle or heel depending on the movement. When all anchor points are standardized, the rotations will become natural and consistent with the character's movement mechanics.
If you frequently import files from Adobe Illustrator or Photoshop, this step is even more important. After importing, After Effects usually places an anchor point in the middle of each layer. Therefore, take a few minutes to check all the anchor points before you start creating keyframes. This short time will save you hours of editing later.
Standardizing anchor points from the start also helps speed up the rigging process, reduces motion errors, and creates a good foundation for advanced animation techniques.
3. Use Expressions to automate repetitive movements.
In character animation, there are many repetitive movements such as breathing, blinking, hair blowing gently, or clothes swaying. Manually creating each keyframe for these movements would be very time-consuming and not very effective.
Expression is a solution that automates repetitive motion while maintaining flexibility. With just a short piece of code, After Effects can create continuous motion throughout the composition.
For example, to create a breathing effect for the character, insert the expression below into the Scale property of the chest layer.
freq = 0.5; // number of breaths per second
amp = 5; // zoom level (%)
[100 + amp * Math.sin(freq * time * Math.PI * 2), 100];
After applying this code, the character's chest will automatically enlarge and shrink in a regular cycle, creating a natural breathing effect.
If you want the character to breathe faster, simply increase the freq value . If you want clearer movement, increase the amp value . If you want the shoulders or abdomen to move in sync with the breathing, simply apply the same expression and adjust the amplitude accordingly.
The biggest advantage of Expression is that it doesn't break the existing keyframe system at all. You can still create the main movements using keyframes and let Expression handle the repetitive secondary movements. This is the non-destructive method that is very commonly used in animation studios.
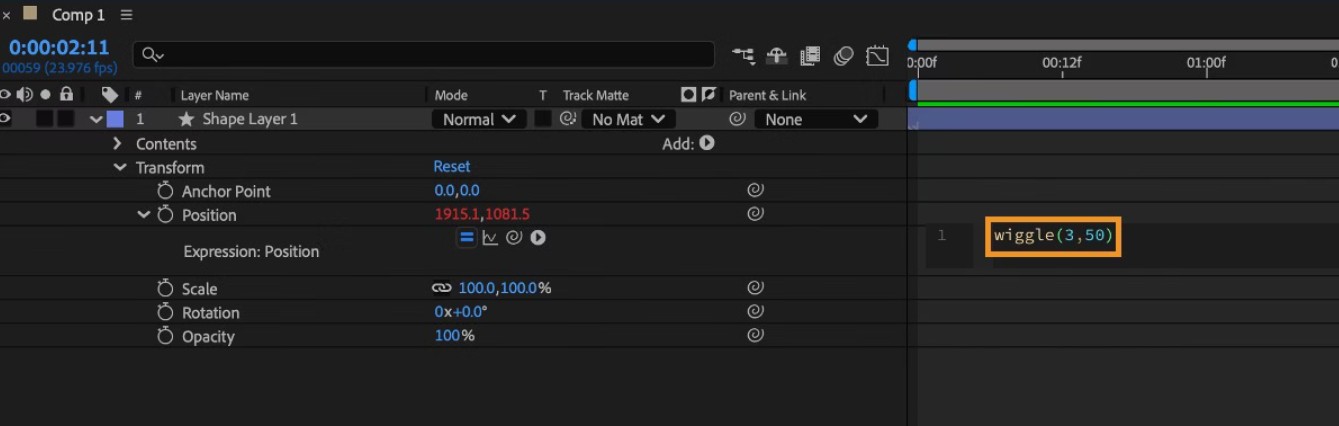
After getting familiar with Expressions, you should continue to learn commands like loopOut("cycle") to create a perfect loop or wiggle to create natural, random movements for hair, clothing, accessories, or environmental details.
4. Use scientific layer naming conventions for effective project management.
An animation project that lasts for weeks or months can contain hundreds of layers. If they all have default names like Layer 15, Layer 38, or Shape Layer 62, finding the right object becomes almost impossible.
From the very beginning of the project, establish a consistent naming convention. This will not only help you work faster but also make it easier for teammates to take over the project when needed.
You can use prefixes to categorize layers, such as L and R for left and right, _BASE for the main body, _CTRL for Null controls, FG for the foreground, and BG for the background.
For example, a logical structure would be:
NhanVat_BASE
├─ L_Baptism
│ └─ L_BapTay_CTRL
├─ L_CangTay
│ └─ L_CangTay_CTRL
├─ R_Baptism
└─ R_BapTay_CTRL
In addition to naming conventions, take advantage of After Effects' color system. You can specify that all Null Objects have a single color, limbs have a different color, and facial details use distinct colors.
As timelines become increasingly complex, differentiating layers by color will help you find the right object in an instant. This is especially effective when working for extended periods or editing old projects.
Once all layers are properly named, you can also use After Effects' search feature by pressing Cmd/Ctrl + F in the Timeline to quickly access any layer.
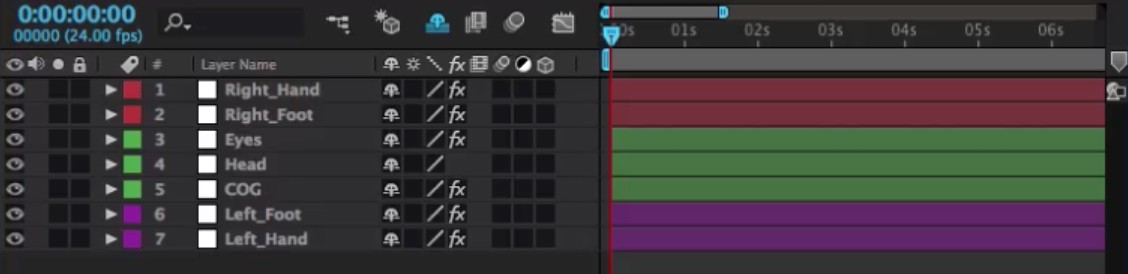
A well-organized project always significantly increases work speed and minimizes errors during the production process.
5. Use Shape Layers to make the arms and legs more flexible.
Many animators choose to draw the entire character in Illustrator or Photoshop and then import it into After Effects. This is a common method, but it reveals many limitations when the project enters the editing phase.
If a client simply requests to lengthen the arms or change the thickness of the legs, you'll have to go back to Illustrator, edit, save the file, re-import, and adjust everything. This process is quite time-consuming, especially for projects with multiple revisions.
A more efficient solution is to use Shape Layers directly in After Effects to build the character's parts.
Shape Layers work as vectors, so they can be edited directly without reducing image quality. To lengthen an arm, simply adjust the Path. To increase the thickness of an arm or leg, just change the Stroke Width parameter. All changes are updated instantly without needing to switch to other software.
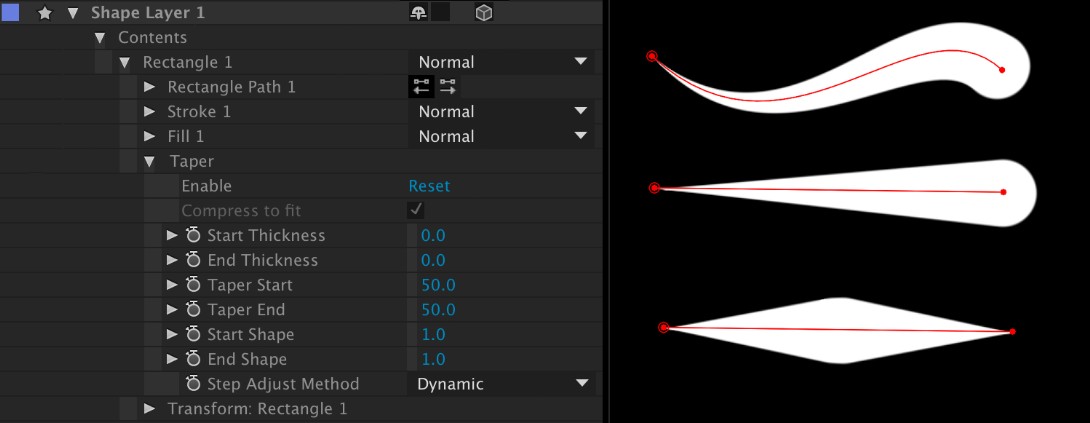
For beginners, you can start with basic shapes like rectangles for arms and legs and circles for joints. Then, combine them with rigging tools like Joysticks 'n Sliders to build a more flexible control system, including for faces.
The biggest advantage of Shape Layers is their unlimited editing capabilities. Each element exists as a parameter, so changing its size, shape, or movement happens very quickly. Compared to editing processes in Illustrator or Photoshop, Shape Layers significantly shorten processing time when clients request changes.
Additionally, you should also try using Trim Paths on Shape Layers to create a self-appearing line effect. This is a very common technique when creating transition scenes or introducing characters, giving the video a professional and modern feel.
6. Conclusion
Whether you're new to After Effects or have experience working in studios, applying these five techniques simultaneously will help streamline your timeline, create a more professional animation process, and significantly reduce editing time when clients request changes. These are all fundamental skills that any 2D animator should master to improve productivity and create high-quality products.





















VIP Products








Best Selling Products
Copyright Adobe Lightroom Account
59 USD
Windows 10 & 11 Pro Key
36 USD
Adobe Photoshop Copyright - Full App
120 USD
Freepik Premium Account
59 USD
Adobe Premiere Pro Account
99 USD
MidJourney Account
29 USD
ChatGPT Plus Account (GPT-4)
16 USD
Upgrade Genuine Office 365
49 USD
Genuine Cheap Canva Pro
39 USD
Upgrade genuine Capture One account
120 USD
Upgrade Duolingo Super
29 USD
Capcut Pro 1 Year
39 USD
Plugin Retouch4me
69 USD
Genuine Adobe Illustrator account
99 USD
Autodesk All App Account Copyright
120 USD