Best Selling Products

Genuine Cheap Canva Pro
39 USD

Upgrade Genuine Office 365
49 USD

Autodesk All App Account Copyright
120 USD

Capcut Pro 1 Year
39 USD

Upgrade genuine Capture One account
120 USD

Copyright Adobe Lightroom Account
59 USD

Adobe Premiere Pro Account
99 USD

ChatGPT Plus Account (GPT-4)
16 USD

Windows 10 & 11 Pro Key
36 USD

Upgrade Duolingo Super
29 USD

MidJourney Account
29 USD

Adobe Photoshop Copyright - Full App
120 USD

Freepik Premium Account
59 USD

Plugin Retouch4me
69 USD

Genuine Adobe Illustrator account
99 USD
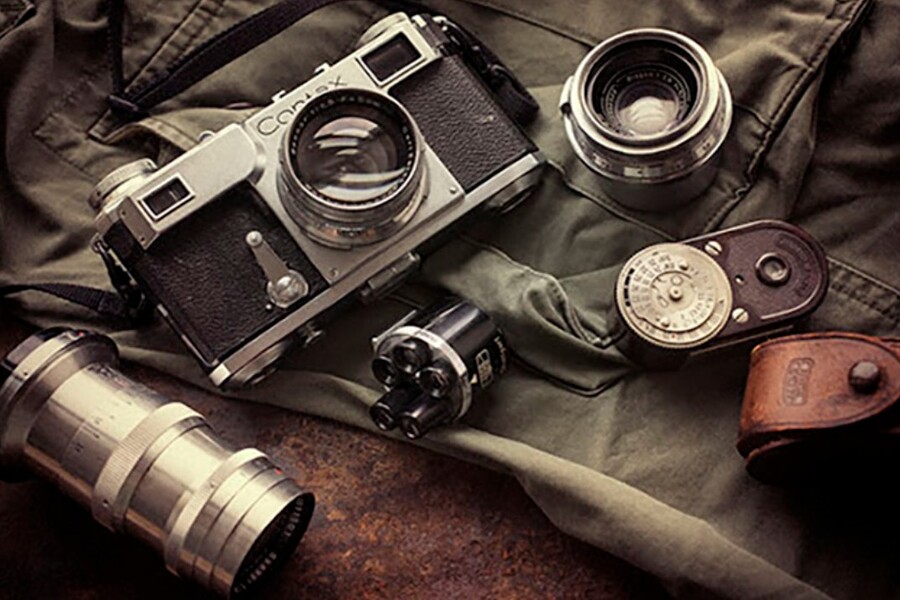
5 Camera Features That Make Photography Easier But Few People Talk About
Nội dung
- 1. Zebra Stripes: A tool for real-time exposure diagnostics.
- 2. Adjust Diopter: Don't let your eyes deceive you.
- 3. Focus Peaking: The most powerful weapon for manual focus lens and vintage lens enthusiasts.
- 4. Embedding copyright information: A "silent shield" protecting your work.
- 5. Custom Modes: An "emergency switch" for every situation.
High skill doesn't always mean complicated procedures. The tools available on your camera can help you shoot faster, more accurately, and with fewer errors if you know how to use them.
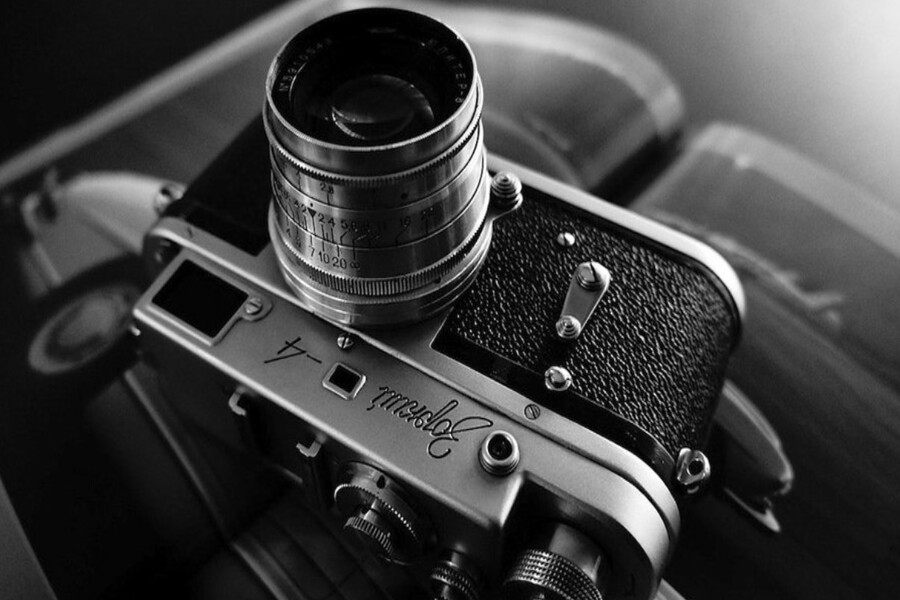
Mirrorless cameras are gradually replacing DSLRs, sensors are getting larger, video recording capabilities are approaching cinematic quality, and autofocus systems are so intelligent they can recognize human eyes, animals, and even flying birds. On the surface, modern cameras seem to have done almost everything for the user.
However, the paradox lies in the fact that the smarter the camera becomes, the less users exploit its full potential. Many photographers, from amateur to professional, are still shooting with only 30-40% of the true potential of their cameras. This isn't due to a lack of skill, but because they haven't been adequately taught about the "hidden" features—tools designed to assist photographers in real-world situations, not just for display in menus.
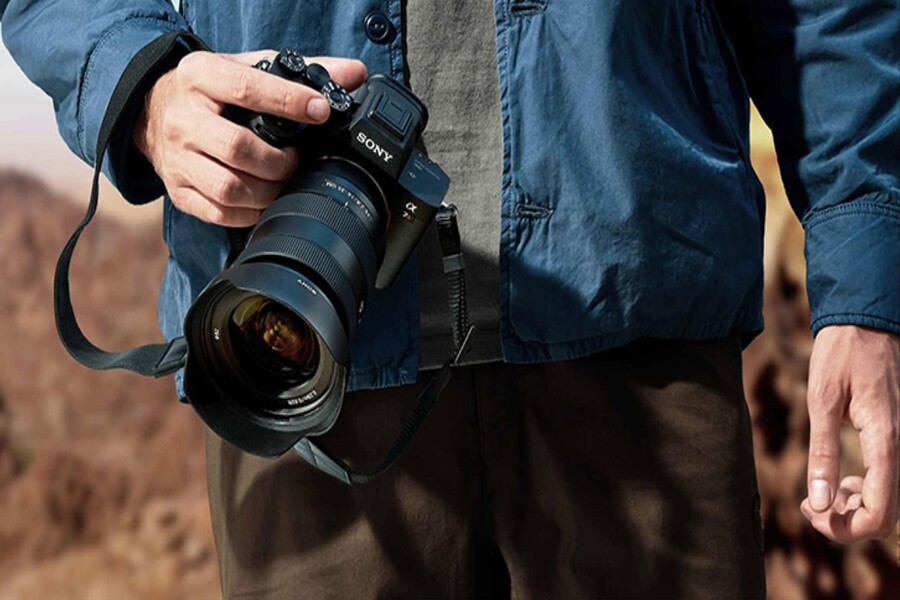
For designers, photography isn't just about pressing a button to capture an image; it's a continuous series of decisions about light, color, contrast, sharpness, and visual rhythm. Every small misstep can have significant consequences in post-production, affecting the quality of the final product. Therefore, utilizing supporting tools right from the shooting stage is crucial, not optional.
This article isn't about "commonplace" features like aperture, shutter speed, or ISO. Instead, we'll delve into five incredibly powerful features found on most modern cameras, yet often overlooked or misused. Understanding and mastering them will not only allow you to shoot more accurately and quickly, but also elevate your work ethic to a much more professional level.
1. Zebra Stripes: A tool for real-time exposure diagnostics.
In digital photography, exposure is the foundation of everything. An incorrectly exposed image, especially one with overexposed highlights, is almost impossible to completely salvage in post-processing. Even with today's sensors boasting very wide dynamic ranges, overexposed areas are still a permanent loss of data. The problem is that humans are easily deceived by LCD screens and EVFs, especially when shooting outdoors or in challenging lighting conditions.
Histograms have long been considered the standard tool for checking exposure. However, histograms have an inherent drawback: they are small, abstract, and don't pinpoint exactly which areas of the frame are problematic. Meanwhile, highlight warnings (blinkies) only appear after you've pressed the shutter button, meaning you may have missed a crucial moment.
Zebra Stripes precisely addresses this gap. It's a system that displays stripes directly onto areas of the image that are approaching or exceeding the allowed exposure limit, right as you're framing. No need for test shots, no need to guess; everything happens in real time.
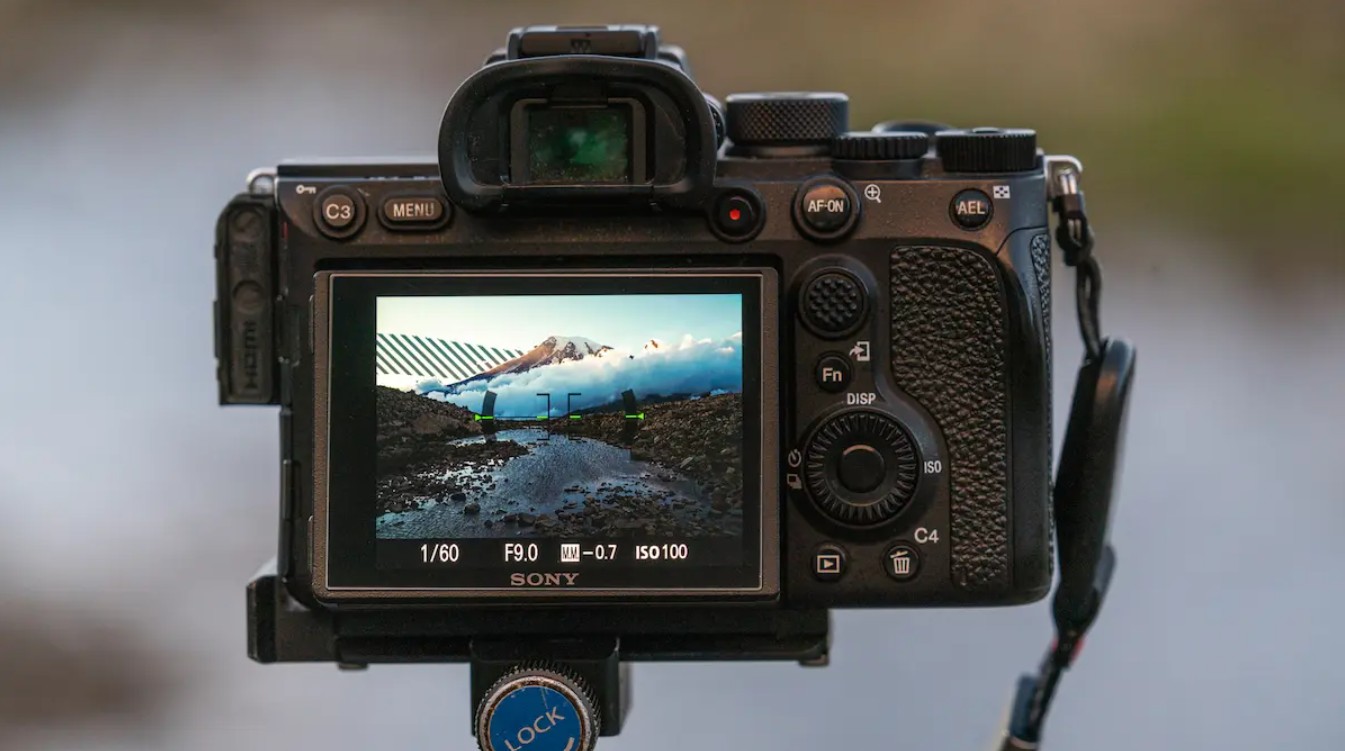
However, the reason zebra stripes are often misunderstood or overlooked lies in the default settings. Most cameras set the zebra level to around 70 IRE, which is optimized for video recording, especially to protect skin tones. If you keep this level for still photography, you'll see the zebra appear too early, leading you to overexpose and create dark, noisy images.
To truly unleash the power of zebras in still photography, you need to set it to the highest level the camera allows, usually 100%, 100+, or 255. At that point, the zebra will only appear when the bright area is really about to be overexposed, meaning it's close to reaching the dynamic range limit of the sensor.
The process of using zebras is now extremely intuitive. You adjust the EV, aperture, or shutter speed until the zebra streaks disappear from the critical area. The result is optimal exposure, maximizing sensor data, preserving detail in highlights, and reducing noise in shadows. This is a much more intuitive, faster, and safer version of the "expose to the right" technique, which is typically only used by experienced RAW shooters.
For designers, especially those working in product, fashion, or architecture photography, zebra stripes help you control lighting precisely from the start, reducing editing time and minimizing errors that cannot be fixed in post-production.
2. Adjust Diopter: Don't let your eyes deceive you.
Many photographers have experienced a familiar situation: looking through the viewfinder, they see a blurry, unpleasant image, but when they open the file on a computer, the image is perfectly sharp. Conversely, some people believe they have focused perfectly, but the output file is slightly soft. In many cases, the problem is not with the focusing system, not with the lens, but with the diopter .
The diopter is the focus adjustment knob for the viewfinder, allowing you to fine-tune it to suit your individual eyesight. This is a basic feature, yet it's often overlooked. Partly because the diopter knob is small and easily misaligned when the camera is placed in a backpack. Another reason is that many people are unaware of its existence or misunderstand its function.
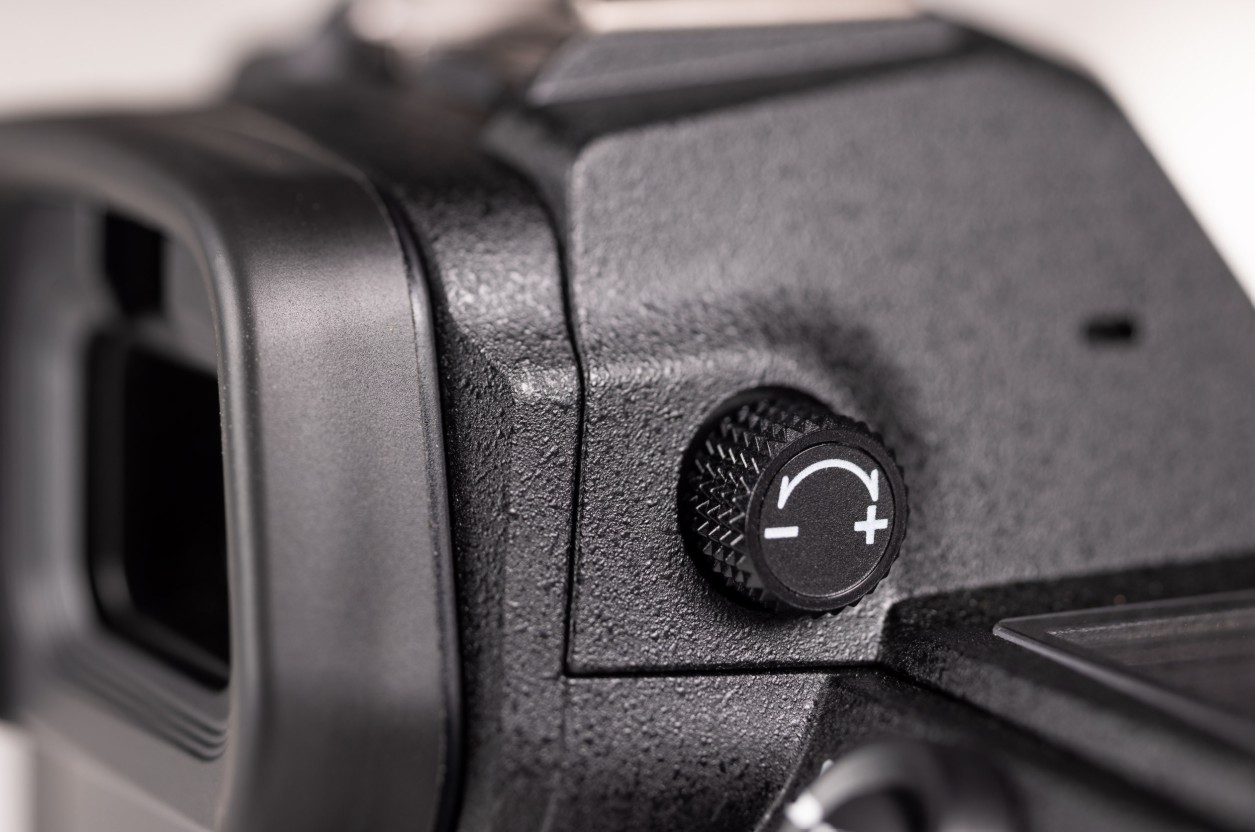
When the diopter is off, all the information you see in the viewfinder becomes unreliable. You might think the focusing system is faulty, that the lens is front-focus or back-focus, when in reality your eyes are simply looking through a display system that is incorrectly calibrated.
Adjusting the diopter correctly isn't complicated, but it requires concentration. With a DSLR, you should point the camera at a smooth surface like a white wall or the sky, avoiding distracting details. With a mirrorless camera, simply hold down the lens cap to create a dark background. Then, press the shutter button halfway to display the parameters in the viewfinder and rotate the diopter until the numbers are perfectly sharp.
It's important to remember that you adjust the diopter according to the text and symbols, not the image of the scene. Once the displayed parameters are sharp, your viewfinder is properly calibrated for your eyes. Then, you should secure the diopter knob with a thin piece of tape to prevent it from rotating out of place during use.
A small step, but it can help you avoid many unnecessary misunderstandings about the device, and increase your confidence when working with manual focus or in challenging lighting situations.
3. Focus Peaking: The most powerful weapon for manual focus lens and vintage lens enthusiasts.
The resurgence of manual focus (MF) lenses and vintage lenses in recent years is no accident. They offer unique optical qualities, color, and bokeh that many modern, overly "perfect" lenses sometimes fail to replicate. However, the biggest challenge when using MF lenses on modern digital cameras is achieving accurate focus .
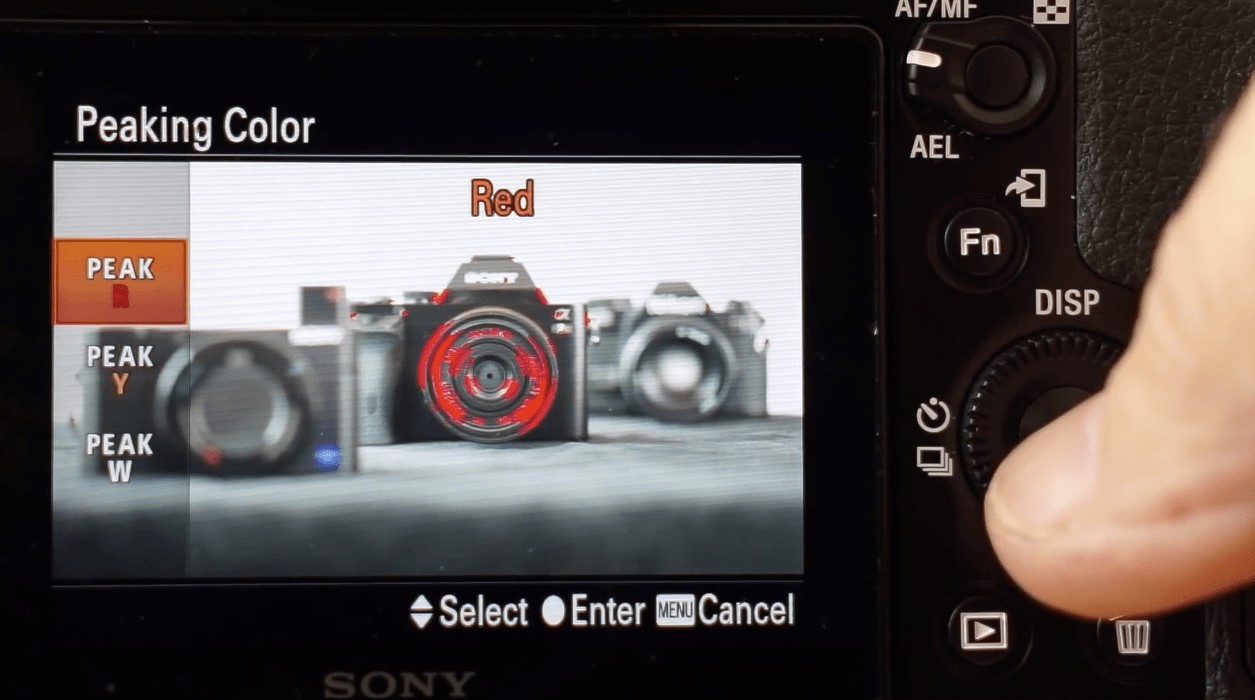
Focus peaking was developed to solve this problem. By analyzing the contrast in the frame, the camera will add a color border to the areas that are at their sharpest. This allows you to quickly identify the sharpest areas without having to zoom in on the entire frame.
However, many users misuse focus peaking and conclude that it is "inaccurate." This is often due to setting the sensitivity to High. At this level, the camera marks too many areas, including those that are not actually in focus, making it difficult to distinguish the precise focus point.
To make focus peaking a reliable tool, you should reduce the sensitivity to Low or Standard. This ensures that only areas with truly high contrast are highlighted, giving you better control, especially when shooting at large apertures or long focal lengths.
In situations requiring absolute precision, such as macro photography, large-aperture portraits, or product photography, focus peaking is most effective when combined with 100% focus magnification. Peaking helps you quickly identify the area to be examined, while magnification allows for fine-tuning of even the smallest details. This combination provides superior control, helping you maximize the optical quality of both manual focus and vintage lenses.
4. Embedding copyright information: A "silent shield" protecting your work.
In the digital age, images can be copied, edited, and disseminated in seconds. For creative professionals, protecting their work is not just a legal issue, but also a matter of ownership and professional value. One of the simplest yet most effective protection tools is found right in the camera itself: copyright metadata .
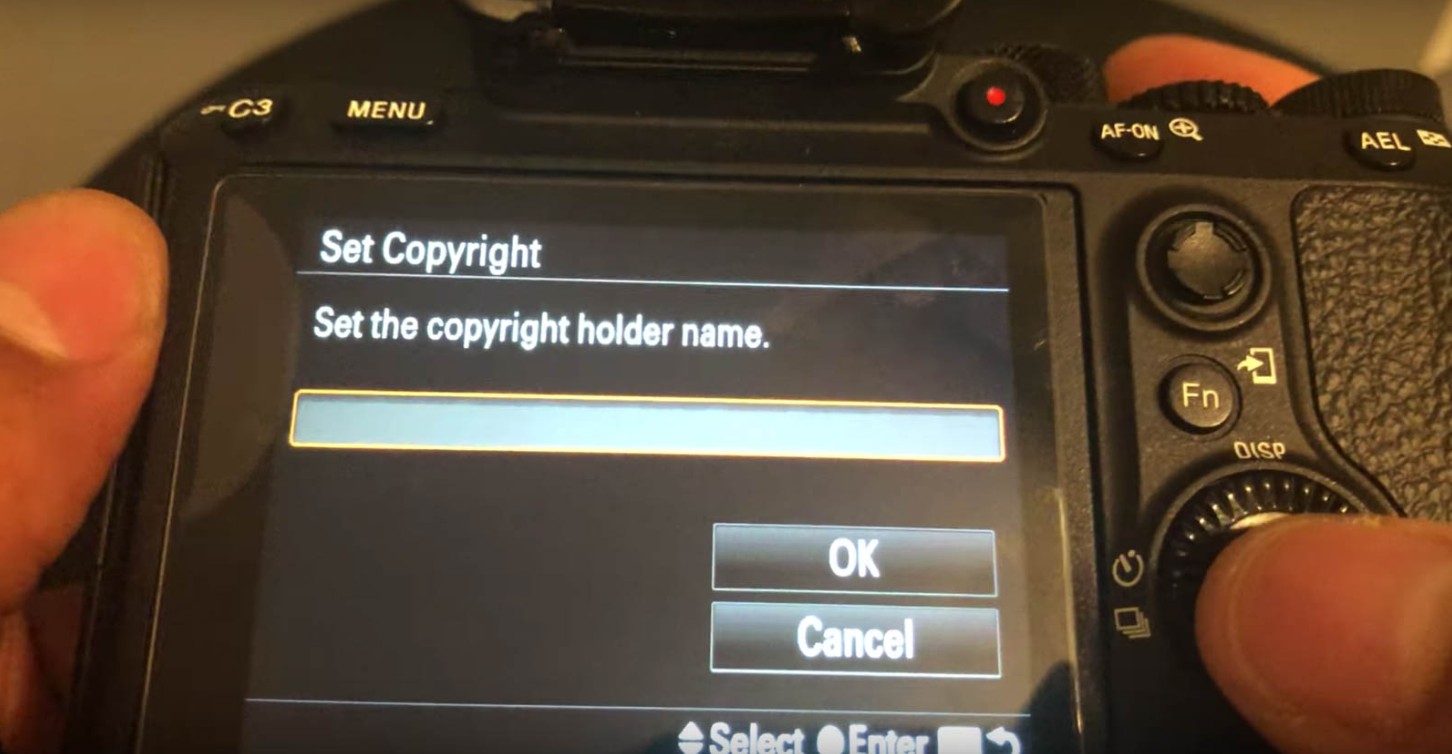
Most mid-range and higher-end cameras allow users to set authoring and copyright information in EXIF/IPTC. This information is embedded directly into the image file, including RAW files, and remains with the image throughout its lifespan.
The biggest advantage of metadata is its permanence. Even if an image is copied, emailed, or posted to a website, the copyright information persists. Many image search engines and professional platforms still read and display metadata, helping to identify the source of the work.
While some social media platforms may remove metadata when uploading images, this doesn't diminish the value of embedding the information from the start. Personal websites, portfolios, blogs, and professional platforms still retain EXIF/IPTC data, turning metadata into an "invisible signature" associated with your work.
Setting up metadata only needs to be done once when you first buy the camera. But its benefits last throughout your creative career, and are especially important for freelancers and commercial photographers.
5. Custom Modes: An "emergency switch" for every situation.
In real-world photography, things rarely go according to plan. The light changes, the subject moves, the background shifts abruptly. Having to readjust a multitude of parameters in a matter of seconds is almost impossible. This is where custom modes truly demonstrate their value.
Custom modes allow you to save your entire camera configuration, from shooting mode, ISO, shutter speed, aperture, AF, drive mode to additional settings, into presets such as C1, C2, C3 or U1, U2, U3. With just one turn, you're ready for a completely different situation.
For professionals, custom modes not only save time but also act as an "emergency switch," allowing you to react quickly to unpredictable moments. One preset for fast action, one for portraits, and one for candid shots offer flexibility.
However, there's an important detail that many people overlook. Some manufacturers allow custom modes to automatically update when you change parameters during use. If you're not careful, your presets might be overwritten and no longer work as intended. Checking and disabling this option will help keep your presets stable and reliable.
5. Modern cameras aren't lacking in features. What's often missing is the understanding and habit of using them correctly. These five features aren't some kind of secret, but when used properly, they can completely change the way you work with your camera.


VIP Products


Best Selling Products
Genuine Cheap Canva Pro
39 USD
Upgrade Genuine Office 365
49 USD
Autodesk All App Account Copyright
120 USD
Capcut Pro 1 Year
39 USD
Upgrade genuine Capture One account
120 USD
Copyright Adobe Lightroom Account
59 USD
Adobe Premiere Pro Account
99 USD
ChatGPT Plus Account (GPT-4)
16 USD
Windows 10 & 11 Pro Key
36 USD
Upgrade Duolingo Super
29 USD
MidJourney Account
29 USD
Adobe Photoshop Copyright - Full App
120 USD
Freepik Premium Account
59 USD
Plugin Retouch4me
69 USD
Genuine Adobe Illustrator account
99 USD