Best Selling Products

Adobe Premiere Pro Account
99 USD

Windows 10 & 11 Pro Key
36 USD

Freepik Premium Account
59 USD

Adobe Photoshop Copyright - Full App
120 USD

Genuine Adobe Illustrator account
99 USD

Plugin Retouch4me
69 USD

Autodesk All App Account Copyright
120 USD

Upgrade Duolingo Super
29 USD

Genuine Cheap Canva Pro
39 USD

ChatGPT Plus Account (GPT-4)
16 USD

Capcut Pro 1 Year
39 USD

Copyright Adobe Lightroom Account
59 USD

Upgrade Genuine Office 365
49 USD

Upgrade genuine Capture One account
120 USD

MidJourney Account
29 USD
5 Ways to Successfully Shoot Close-Ups in Film and Video for Beginners
Nội dung
When used correctly, close-up shots can help viewers focus entirely on the subject, appreciating every glance, smile, or subtle change in facial expression that other shot sizes struggle to capture.

1. Choose the right lens to minimize distortion.
The first factor determining the quality of a close-up shot is the choice of lens. Many beginners often use wide-angle lenses because they are easier to shoot in confined spaces. However, this is the reason why the subject's face is distorted, especially in the nose, forehead, and chin areas. When the camera is placed too close to a wide-angle lens, perspective distortion becomes more pronounced, making the subject look unnatural and the frame less cinematic.
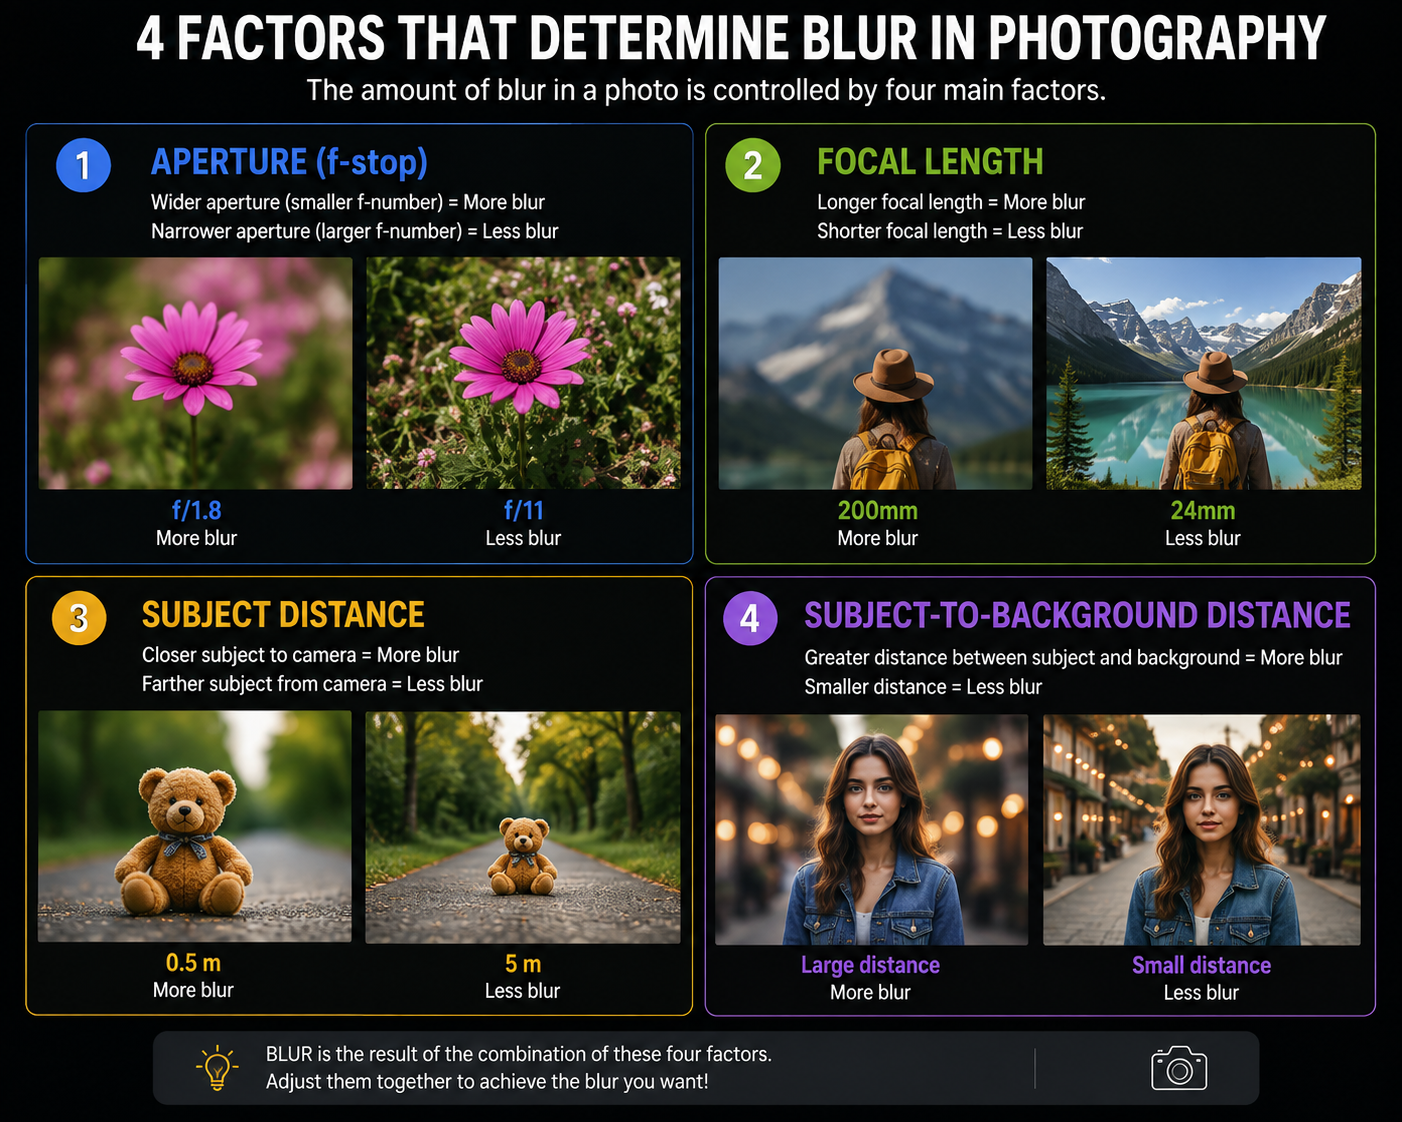
To overcome this problem, cinematographers often prefer using lenses with focal lengths from 85mm to 135mm when shooting close-ups. This focal length range is considered ideal because it creates a natural perspective, maintains accurate facial proportions, and provides a perspective compression effect that makes the background appear closer while highlighting the subject.
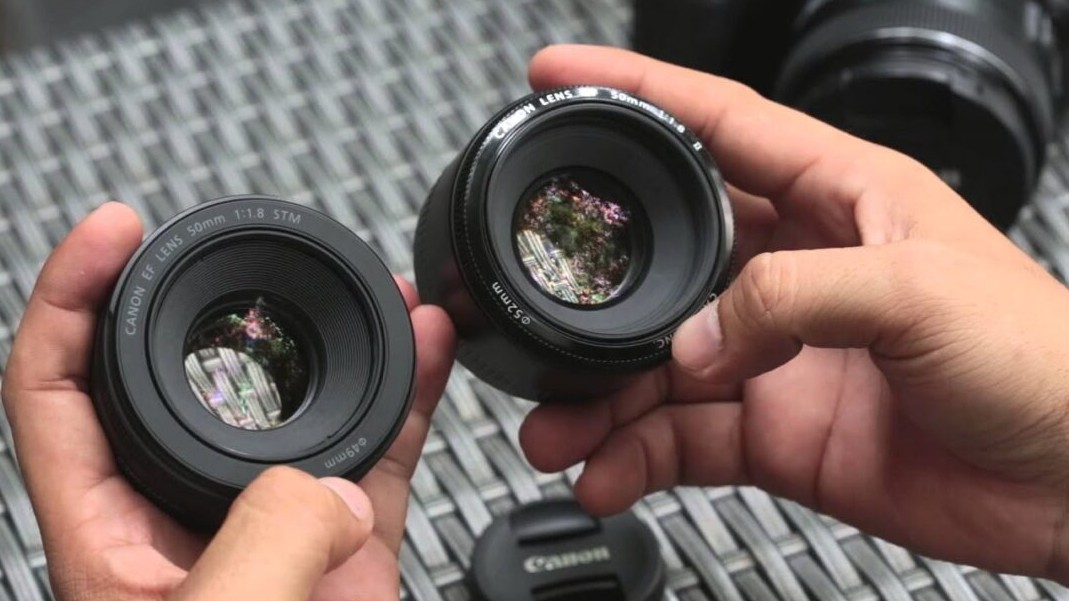
Besides minimizing distortion, telephoto lenses also create a shallow depth of field, allowing for a soft blurring of the background. This effect draws the viewer's attention entirely to the subject, while also giving the image a sophisticated and professional feel.
Even without specialized lenses, you can still create a similar effect by standing further away from the subject and using the longest focal length your camera or phone supports. It's important to avoid placing the camera too close to the face with a wide angle, as this is a common mistake that often diminishes the image quality of close-ups.
2. Set the frame from the shoulders up to enhance connection.
After selecting the appropriate lens, the next step is to determine the composition of the close-up shot. One of the most commonly applied principles is to frame the shot from the shoulders up or move closer depending on the storytelling objective.
This framing allows viewers to clearly observe the face, eyes, and subtle facial movements while preserving part of the neck and shoulders for balance. If the frame is too wide, the emotions will be distracted by the surrounding space. Conversely, if it's cropped too close, leaving the forehead or chin missing, viewers may feel uncomfortable and the frame will appear awkward.
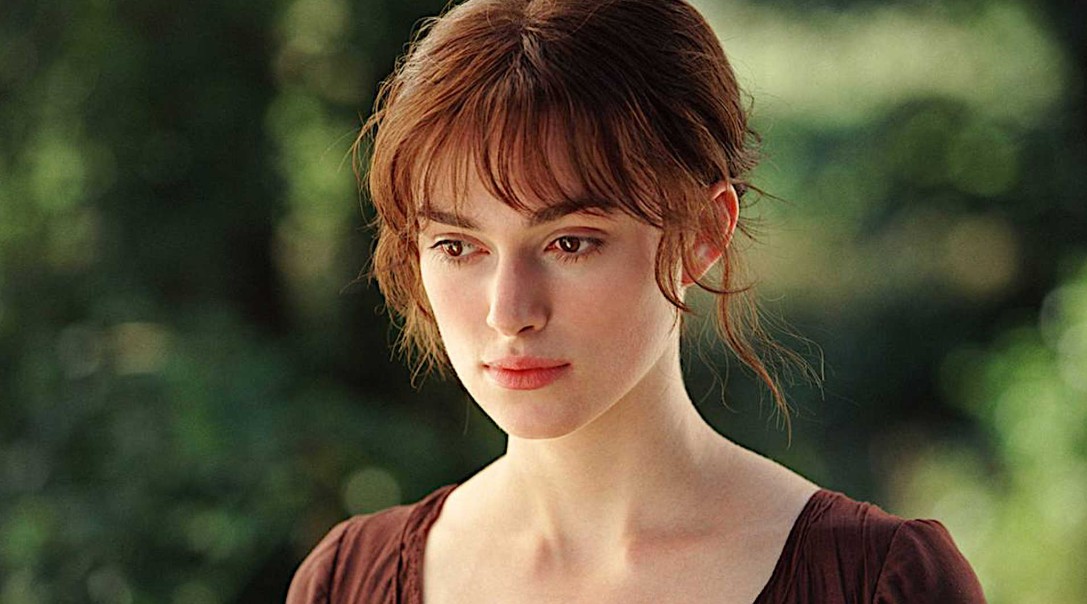
A well-shot close-up always feels natural, like you're having a direct conversation with the character. Therefore, balancing the space above the head and the distance between the character and the edge of the frame is crucial. Cinematographers often apply the rule of thirds to position the character's gaze near the top horizontal line of the frame. This creates a harmonious composition and a pleasant viewing experience.
Additionally, pay attention to the character's gaze direction. If the character is looking to one side, leave extra space in that direction to create depth and a more natural feel in the frame.
3. Always focus on the character's eyes.
If the face is the focal point of a close-up shot, then the eyes are the most powerful attraction. In cinema, the eyes are considered the clearest way to convey a character's emotions. A look of anxiety, joy, disappointment, or hope can tell a story without any dialogue.
Therefore, the most important principle when shooting close-ups is to always ensure the eyes are in precise focus. If the eyes are blurry while the hair or ears are sharp, the entire frame will lose its focal point and look unprofessional.
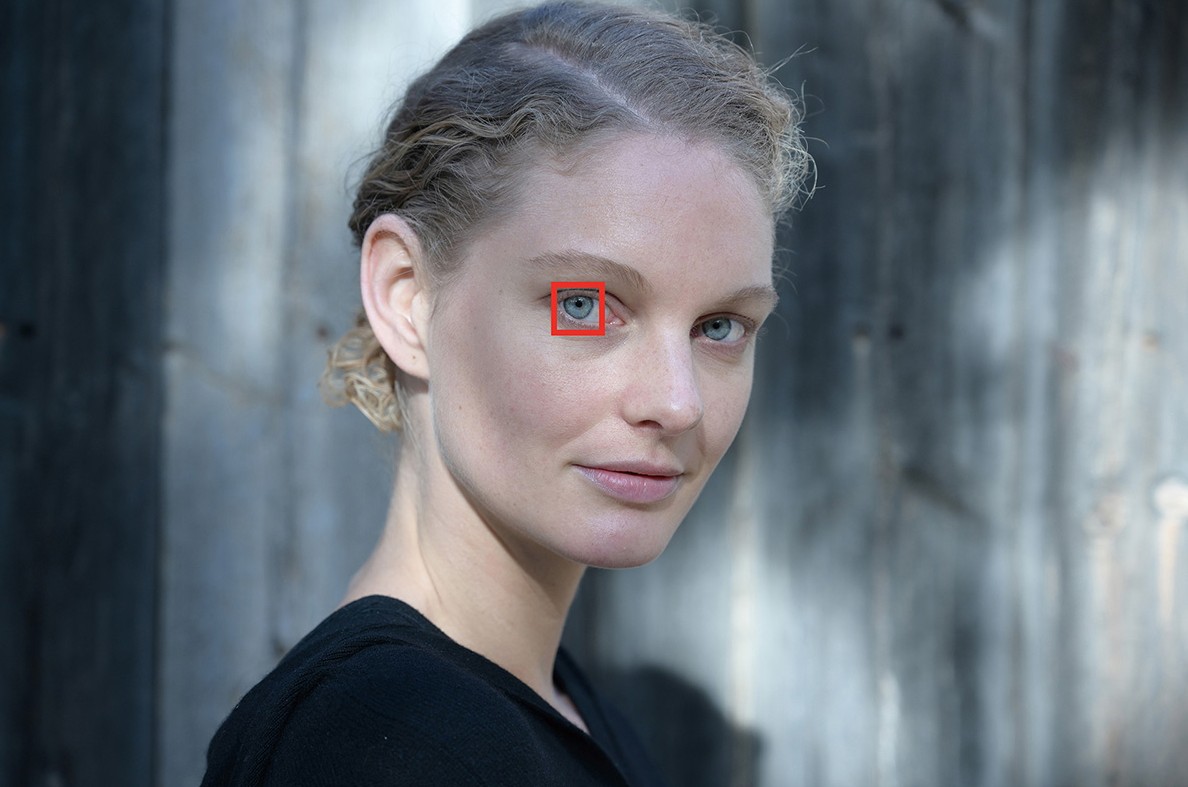
Many cameras and camcorders are now equipped with Eye AF or Eye Tracking technology, which allows the system to automatically detect and track a subject's eyes even when they move. This is a very useful tool for maintaining sharpness throughout the recording process.
If using manual focus, double-check before pressing the shutter button and avoid letting the subject move beyond the focus area. For scenes with large apertures like f/1.8 or f/2.0, the focus area will be very shallow, making focus control even more crucial.
Sharp, expressive eyes not only enhance the visual appeal of a scene but also create a direct connection between the character and the viewer, allowing emotions to be conveyed more authentically and powerfully.
4. Utilize soft lighting to highlight emotions.
Lighting is a crucial factor in determining the quality of any shot, especially close-ups. When a face occupies a large portion of the frame, any change in lighting directly impacts the emotions the viewer feels.
Instead of using harsh lighting, cinematographers often prefer soft, gentle light. This type of lighting makes skin look smoother, reduces harsh shadows on the face, and creates natural color transitions. At the same time, soft light also gives the eyes a subtle highlight, making the character appear more vibrant.
In natural conditions, light from a window or early morning and late afternoon is ideal. If shooting in a studio, you should use a softbox, LED lights combined with a diffuser or reflector to create even and soft lighting.
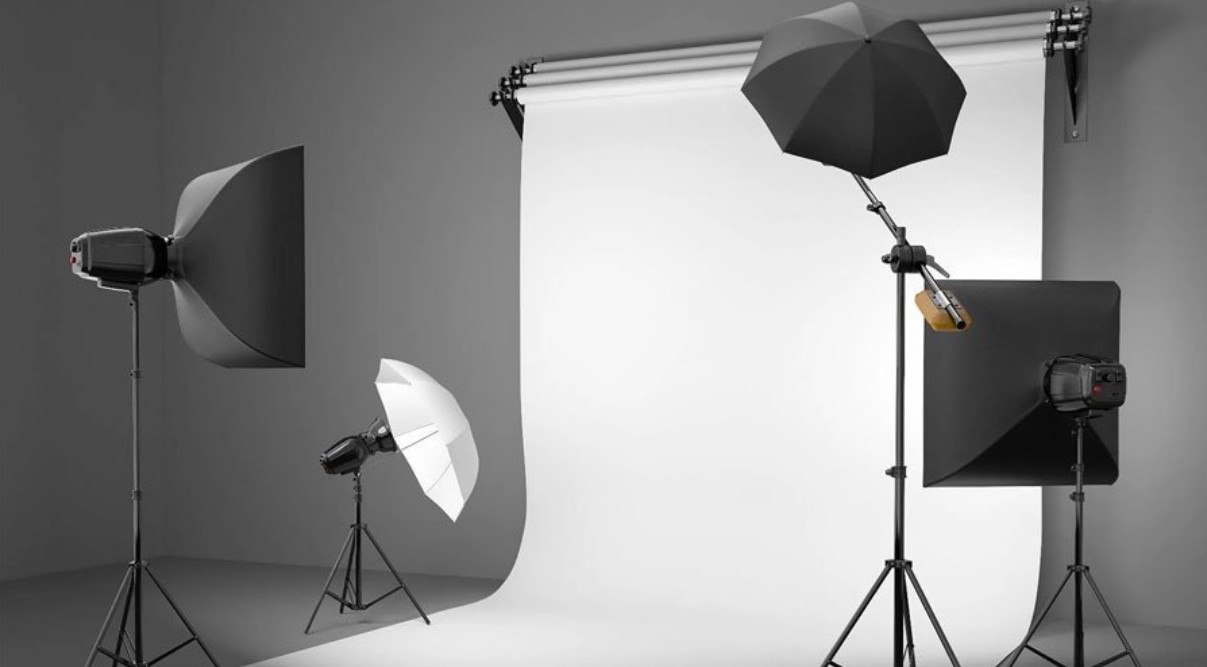
In addition to ensuring sufficient lighting, consider the direction of the light to suit the mood of the scene. Direct lighting often creates a friendly and approachable feel. Side lighting adds depth to the face. Meanwhile, backlighting or strong contrasting lighting can create a mysterious, tense, or cinematic atmosphere.
A successful close-up shot should not only capture the face but also convey emotion. And lighting is a crucial tool in amplifying that emotion.
5. Combine close-ups with other camera angles for effective storytelling.
A common mistake made by many novice filmmakers is overusing close-ups throughout their videos. While close-up shots can convey powerful emotions, their excessive use can quickly tire viewers out and disorient them regarding the narrative's spatial context.
In filmmaking, each type of shot serves a specific purpose. Wide shots introduce the setting and the character's position. Medium shots showcase the action and the character's relationship with their environment. Close-ups are used to emphasize emotions or important moments. When these three types of shots are combined effectively, the film's rhythm becomes more natural and engaging.

For example, a dialogue scene might begin with a wide shot to introduce the setting, then switch to a medium shot as the two characters converse, and finally use a close-up at the moment the character expresses the strongest emotion. This transition makes it easier for the viewer to follow the story and feel the emotional shift at each stage.
Additionally, when editing, pay attention to the connection between different shot sizes. A close-up shot will be much more effective if placed after a medium or wide shot, because at this point the viewer already understands the context and can fully focus on the character's emotions.
In other words, close-ups shouldn't exist in isolation but should be considered a link in the film's overall visual language. When seamlessly integrated with surrounding camera angles, close-ups create powerful emotional impact, enhancing the storytelling and delivering a more professional cinematic experience.
6. Conclusion
Close-up photography may seem like a simple technique, but it requires a harmonious combination of lens, composition, focus, lighting, and storytelling. By applying just five principles—choosing a focal length of 85–135mm, framing the shot from the shoulders up, focusing precisely on the eyes, using soft lighting, and combining close-ups with other shot sizes—you can create emotionally rich and cinematic images.
Whether you're a professional filmmaker, a content creator, or just starting to learn video production, understanding and effectively utilizing close-up shots will make your work more engaging, convey your story better, and create a stronger connection with viewers. It's the small details in a close-up shot, when executed correctly, that contribute to creating memorable and emotionally resonant footage.





















VIP Products








Best Selling Products
Adobe Premiere Pro Account
99 USD
Windows 10 & 11 Pro Key
36 USD
Freepik Premium Account
59 USD
Adobe Photoshop Copyright - Full App
120 USD
Genuine Adobe Illustrator account
99 USD
Plugin Retouch4me
69 USD
Autodesk All App Account Copyright
120 USD
Upgrade Duolingo Super
29 USD
Genuine Cheap Canva Pro
39 USD
ChatGPT Plus Account (GPT-4)
16 USD
Capcut Pro 1 Year
39 USD
Copyright Adobe Lightroom Account
59 USD
Upgrade Genuine Office 365
49 USD
Upgrade genuine Capture One account
120 USD
MidJourney Account
29 USD