Best Selling Products

Upgrade Genuine Office 365
49 USD

MidJourney Account
29 USD

Copyright Adobe Lightroom Account
59 USD

Genuine Adobe Illustrator account
99 USD

Genuine Cheap Canva Pro
39 USD

Upgrade Duolingo Super
29 USD

Capcut Pro 1 Year
39 USD

ChatGPT Plus Account (GPT-4)
16 USD

Freepik Premium Account
59 USD

Autodesk All App Account Copyright
120 USD

Upgrade genuine Capture One account
120 USD

Adobe Photoshop Copyright - Full App
120 USD

Plugin Retouch4me
69 USD

Windows 10 & 11 Pro Key
36 USD

Adobe Premiere Pro Account
99 USD
90% of New Creators Shoot Video the Wrong Way. Here’s the Secret to Effective Video Stabilization
Nội dung
Most beginners make mistakes that cause shaky videos without even realizing it. This article will point out the most common errors and show you easy-to-apply solutions. Once you understand the right techniques, your videos will become much smoother.
1. Stabilize Videos with Google Photos
One of the simplest ways to create smoother videos without investing in additional equipment is by using post-production software. Among these solutions, Google Photos stands out as a free, user-friendly tool suitable for all types of users.
The biggest advantage of Google Photos is its ability to automatically analyze movement within a video and apply image stabilization algorithms with just a few taps. This is especially useful when you capture spontaneous footage without preparation or when you do not have access to a gimbal or tripod.
To stabilize a video using Google Photos, follow these steps. First, make sure the application is installed or updated to the latest version on your device. Then, open the app and access the video you want to edit. In the video interface, tap the edit icon, select the Stabilize feature, and wait for the system to process the footage.
.jpg)
The process usually takes only a few seconds to a few minutes, depending on the length and complexity of the video. Once completed, you can preview the result and save the stabilized version. One notable advantage is that Google Photos saves a new file instead of overwriting the original video, making it easy to compare versions or re-edit if necessary.
However, it is important to understand that software-based stabilization has certain limitations. In some cases, the video may be slightly cropped or experience a minor reduction in image quality. Even so, for casual users or beginners, these differences are often negligible.
Additionally, if you use Google Camera for recording videos, you can enable stabilization directly in the settings before shooting. This reduces post-production work and often produces better results.
More importantly, even when using stabilization software, you should still pay attention to basic shooting techniques such as holding the device steadily, avoiding sudden movements, and maintaining a consistent distance from your subject. These factors have a major impact on video quality right from the recording stage.
2. Use YouTube as a Video Stabilization Tool
Many people do not realize that YouTube is not only a video-sharing platform but also offers useful editing tools, including video stabilization features. This is a rather unique way to reduce camera shake by taking advantage of an existing platform without installing additional software.
The process is quite simple. Upload the video to your personal YouTube channel, then access YouTube Studio. From there, select the Content section, locate the video you want to edit, and open the Editor tool.
.jpg)
Within the editing interface, YouTube provides an Effects section where you can apply features such as Auto-Fix or Stabilize Video. One of the key advantages is the ability to adjust the stabilization level according to your needs, giving you greater control over the final output.
After completing the edits, simply save and publish the video. YouTube will process the changes and update the video without deleting the original version. This is particularly useful if you want to experiment with multiple versions of the same footage.
However, YouTube’s stabilization feature works best with videos that have light to moderate shaking. If the footage is extremely shaky or recorded in poor lighting conditions, the results may not meet expectations.
Nevertheless, for beginners or those without access to professional editing software, YouTube remains a convenient solution. It provides a simple introduction to post-production workflows while helping users gradually improve their video editing skills.
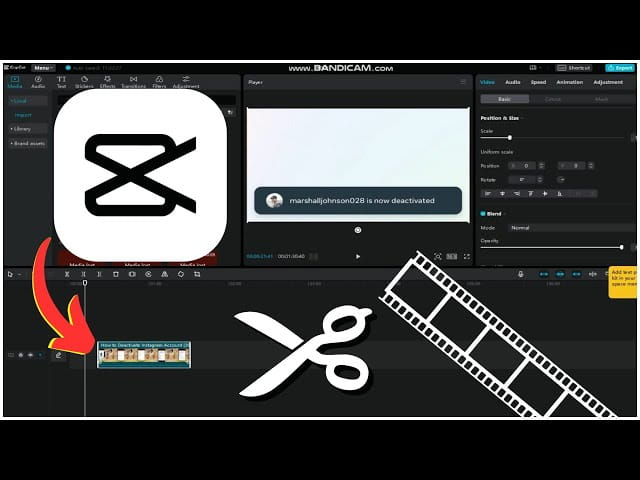
3. Stabilize Videos with Movavi Software
If you want more control over the editing process and technical settings, Movavi Video Editor is worth considering. It is a video editing program designed for beginners and semi-professional creators, offering an intuitive interface while still providing powerful tools for correcting shaky footage.
Unlike mobile applications, Movavi allows deeper customization of the stabilization process. After installing and launching the software, you can create a new project and import your footage into the timeline.
.jpg)
Once you select the video clip you want to stabilize, navigate to Tools and choose Stabilization. Here, the software provides adjustable parameters such as Accuracy and Shaking, allowing you to fine-tune the effect based on the actual level of camera movement.
After making your adjustments, process the video and apply the changes. Finally, export the video in various formats suitable for YouTube, social media platforms, or personal storage.
One thing to keep in mind is that the free version of Movavi may have feature limitations or add a watermark. However, if you regularly create videos, upgrading to the paid version can be a worthwhile investment.
Movavi not only helps stabilize footage but also unlocks additional creative possibilities such as color correction, video editing, and effects. When combined with strong shooting skills, it can become a complete video production solution from start to finish.
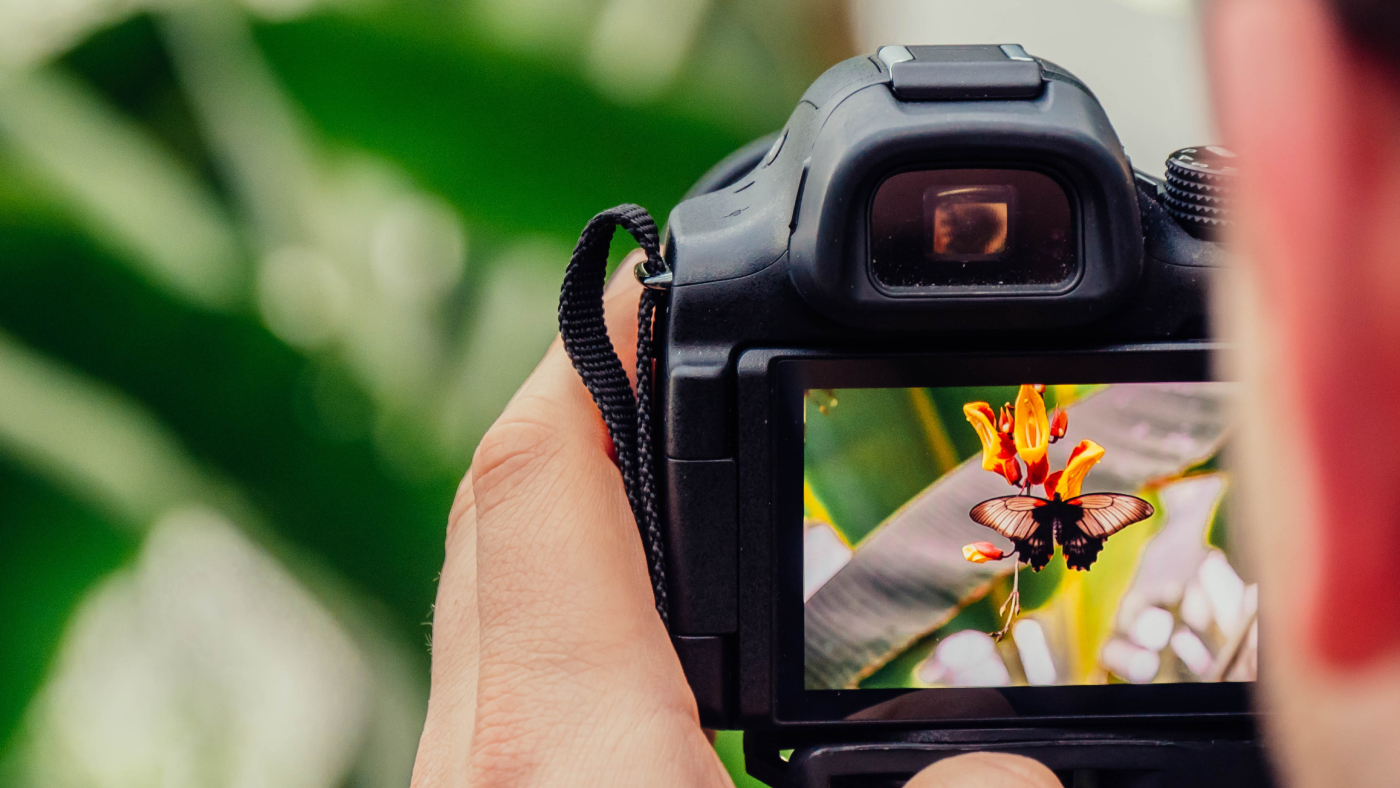
4. Stabilization While Shooting with a Gimbal
While software solutions help fix shaky footage after recording, a gimbal addresses the problem at its source. A gimbal is a three-axis stabilization device that uses electronic motors to keep the camera steady during movement.
Gimbals are especially useful for vlogs, product reviews, documentaries, or any type of content that involves constant motion. Instead of shaky footage, you can achieve smooth and professional-looking camera movements.
.jpg)
To use a gimbal effectively, you should balance the device before turning it on. Proper balancing reduces strain on the motors and extends battery life. You should also practice moving smoothly, taking even steps, and controlling camera speed.
An important point to remember is that a gimbal does not completely replace shooting skills. It is merely a supporting tool. The videographer still needs to understand framing, motion control, and subject interaction in order to create high-quality videos.
However, if you are serious about content creation, especially for creative or commercial purposes, a gimbal is almost an essential investment.
5. Choosing the Right Equipment for Different Situations
There is no single solution that works for every video stabilization scenario. Each shooting environment requires different equipment, and choosing the right tool not only improves stability but also optimizes your workflow and budget.
For stationary situations such as interviews, livestreams, or online teaching sessions, a tripod is a simple yet highly effective solution. A sturdy tripod with flexible adjustments helps maintain a perfectly stable frame while allowing you to position the camera at the ideal angle. It is almost essential when filming indoors or in situations that require little movement.
.jpg)
When mobility is necessary, a gimbal becomes the best option thanks to its dynamic stabilization capabilities. However, to achieve the best results, it should be combined with proper shooting techniques. Walking smoothly, maintaining consistent steps, and minimizing body movement all help the gimbal perform more effectively and produce natural-looking footage.
For aerial shots, drones provide unique and professional perspectives. Most modern drones already feature excellent stabilization systems, but you still need to consider environmental factors such as wind conditions and flight speed to ensure stable footage.
In certain specialized situations, you may also consider using a monopod for increased mobility or a shoulder rig for extended shooting sessions that require reduced arm fatigue. These solutions bridge the gap between tripods and gimbals and are particularly useful for event coverage or documentary-style filmmaking.
Meanwhile, software tools such as Google Photos serve as convenient post-production support. Although they are easy to use and cost-effective, they should be viewed as supplementary solutions because software stabilization can sometimes reduce image quality or crop the frame.
In summary, your equipment choice should be based on your actual needs and budget. Most importantly, successful video stabilization depends on the combination of the right tools and proper technique. Even the best equipment can only deliver its full potential when used correctly.
Creating stable videos is not a complicated skill, but it does require a combination of tools and technique. From software solutions such as Google Photos, YouTube, and Movavi to dedicated equipment like gimbals and tripods, each method plays its own role in improving video quality.


VIP Products


Best Selling Products
Upgrade Genuine Office 365
49 USD
MidJourney Account
29 USD
Copyright Adobe Lightroom Account
59 USD
Genuine Adobe Illustrator account
99 USD
Genuine Cheap Canva Pro
39 USD
Upgrade Duolingo Super
29 USD
Capcut Pro 1 Year
39 USD
ChatGPT Plus Account (GPT-4)
16 USD
Freepik Premium Account
59 USD
Autodesk All App Account Copyright
120 USD
Upgrade genuine Capture One account
120 USD
Adobe Photoshop Copyright - Full App
120 USD
Plugin Retouch4me
69 USD
Windows 10 & 11 Pro Key
36 USD
Adobe Premiere Pro Account
99 USD