
Best Selling Products
Windows 10 & 11 Pro Key
36 USD
Upgrade genuine Capture One account
120 USD

Capcut Pro 1 Year
39 USD

ChatGPT Plus Account (GPT-4)
16 USD

Upgrade Duolingo Super
29 USD

Adobe Photoshop Copyright - Full App
120 USD

Genuine Cheap Canva Pro
39 USD

Adobe Premiere Pro Account
99 USD

MidJourney Account
29 USD
Plugin Retouch4me
69 USD

Copyright Adobe Lightroom Account
59 USD

Genuine Adobe Illustrator account
99 USD

Upgrade Genuine Office 365
49 USD

Autodesk All App Account Copyright
120 USD

Freepik Premium Account
59 USD
A detailed guide on how to add music to videos using CapCut and remove noise, presented in the simplest way.
Nội dung
- 1. Why should you add music and filter out noise when editing videos using CapCut?
- 2. How to add music to a video using CapCut on a computer
- 2.1. Step 1: Open CapCut and create a new project
- 2.2. Step 2: Choose background music for the video
- 2.3. Step 3: Add music to the Timeline
- 2.4. Step 4: Adjust the volume and transition effects
- 2.5. Step 5: Listen and export video
- 3. Instructions on how to add music to a video using CapCut on your phone.
- 3.1. Step 1: Create a project and upload the video
- 3.2. Step 2: Select the Sound feature
- 3.3. Step 3: Add music to the video
- 3.4. Step 4: Trim the music and adjust the volume.
- 3.5. Step 5: Check and save the video
- 4. Guide to removing noise from videos using CapCut
- 4.1. Step 1: Import the video that needs audio processing.
- 4.2. Step 2: Select the video or audio segment you want to filter.
- 4.3. Step 3: Turn on noise reduction
- 4.4. Step 4: Adjust the sound after filtering.
- 4.5. Step 5: Listen again and export the complete video.
- 5. Some tips for adding music and filtering out noise more effectively.
- 6. Common mistakes when inserting music and noise filtering using CapCut
- 7. Conclusion
A compelling video needs not only beautiful visuals but also vibrant, clear sound that matches the content. Background music helps create emotion and enhances the appeal of each frame, while clear voiceovers make it easier for viewers to understand the information. However, not all videos have good sound quality from the start. Wind noise, traffic noise, fan noise, or other unwanted sounds in the surrounding environment can make a video look unprofessional. With CapCut, you can easily add music, adjust the volume, and use noise reduction tools without needing complex editing software. In this article, let''s explore with Sadesign how to insert music into videos using CapCut and filter out noise in detail to create polished, more engaging footage.

1. Why should you add music and filter out noise when editing videos using CapCut?
Sound is one of the crucial elements that determines the viewer's experience. A suitable piece of music can make a video more lively, evoke emotions, and convey its message more effectively. For example, travel videos often suit cheerful, lighthearted melodies, while product introduction videos might use modern background music to create a professional feel.
Besides adding music, noise filtering is also a crucial step. Sounds like wind, traffic, air conditioning, or ambient noise can drown out the voice. When properly addressed, the sound becomes easier to hear, ensuring the content is conveyed clearly and seamlessly.
CapCut offers a variety of convenient audio editing tools, suitable even for beginners. You can add music from your library, upload personal audio files, trim tracks, adjust volume, and use noise reduction features directly during video editing.
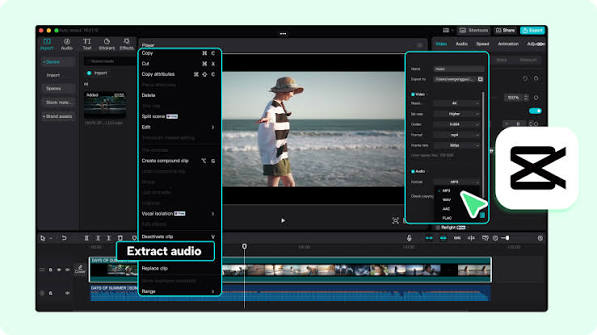
2. How to add music to a video using CapCut on a computer
The PC version of CapCut offers an intuitive and convenient editing space when you need to work with multiple video and audio clips simultaneously. Operations are performed on the timeline, making it easy to adjust the background music for each scene.
2.1. Step 1: Open CapCut and create a new project
First, open CapCut on your computer and log in to your account if prompted. On the main interface, select "New Project" to begin editing. Then, click "Import" to upload the video you want to edit from your computer to the software.
Once the video has been successfully imported, drag the file down to the Timeline area to begin editing. You should review the entire video before adding music to identify sections that need emphasis, transition points, and appropriate places to start or end the audio.
2.2. Step 2: Choose background music for the video
On the toolbar, find the Audio option to access sound options. Depending on the version of CapCut, you can choose music from the available library or use audio files saved on your computer. If you want to use personal music, select Import to upload the file.
After choosing a suitable piece of music, you can listen to it before using it. Prioritize melodies with rhythms and emotions that match the video's content. For example, educational videos should use gentle background music, while videos showcasing fun places can choose cheerful, energetic music.
2.3. Step 3: Add music to the Timeline
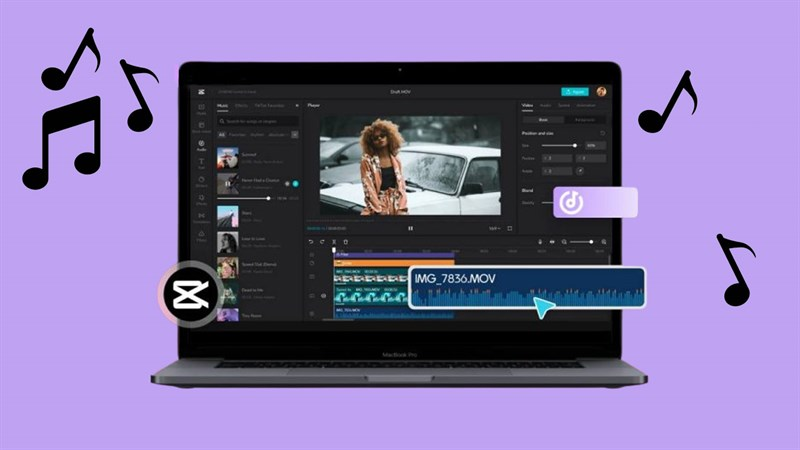
After selecting the audio file, drag the track down to a separate audio track on the Timeline. The background music will then be displayed as an audio track below or alongside the video segments, depending on the layout.
You can drag and drop to change the starting position of the music, ensuring the sound appears at the desired time. If the music is longer than the video, use the split tool or drag the end point to remove the excess. Conversely, if the music is too short, you can select a different section or add more suitable audio.
2.4. Step 4: Adjust the volume and transition effects
Select the music track on the Timeline, then find the Volume option in the editing panel to adjust the volume. If the video has dialogue, you should reduce the background music volume so that the speech remains clear. Avoid making the music too loud, as this can make it difficult for viewers to hear the main content.
Additionally, CapCut supports Fade In and Fade Out effects on versions that have this feature. Fade In starts the music softly and gradually increases the volume, while Fade Out fades the sound before ending. These two effects make the sound more natural, avoiding the feeling that the music appears or disappears too abruptly.
2.5. Step 5: Listen and export video
After adding the music, play the video from beginning to end to check for synchronization between the image and sound. Pay attention to scene transitions, dialogue, and music changes to ensure a seamless audiovisual experience.
If everything is set up correctly, click Export to export the video. You can choose the resolution, frame rate, and file format according to your needs. For videos uploaded to social media, prioritize setting appropriate image quality to maintain sharpness after uploading.
3. Instructions on how to add music to a video using CapCut on your phone.
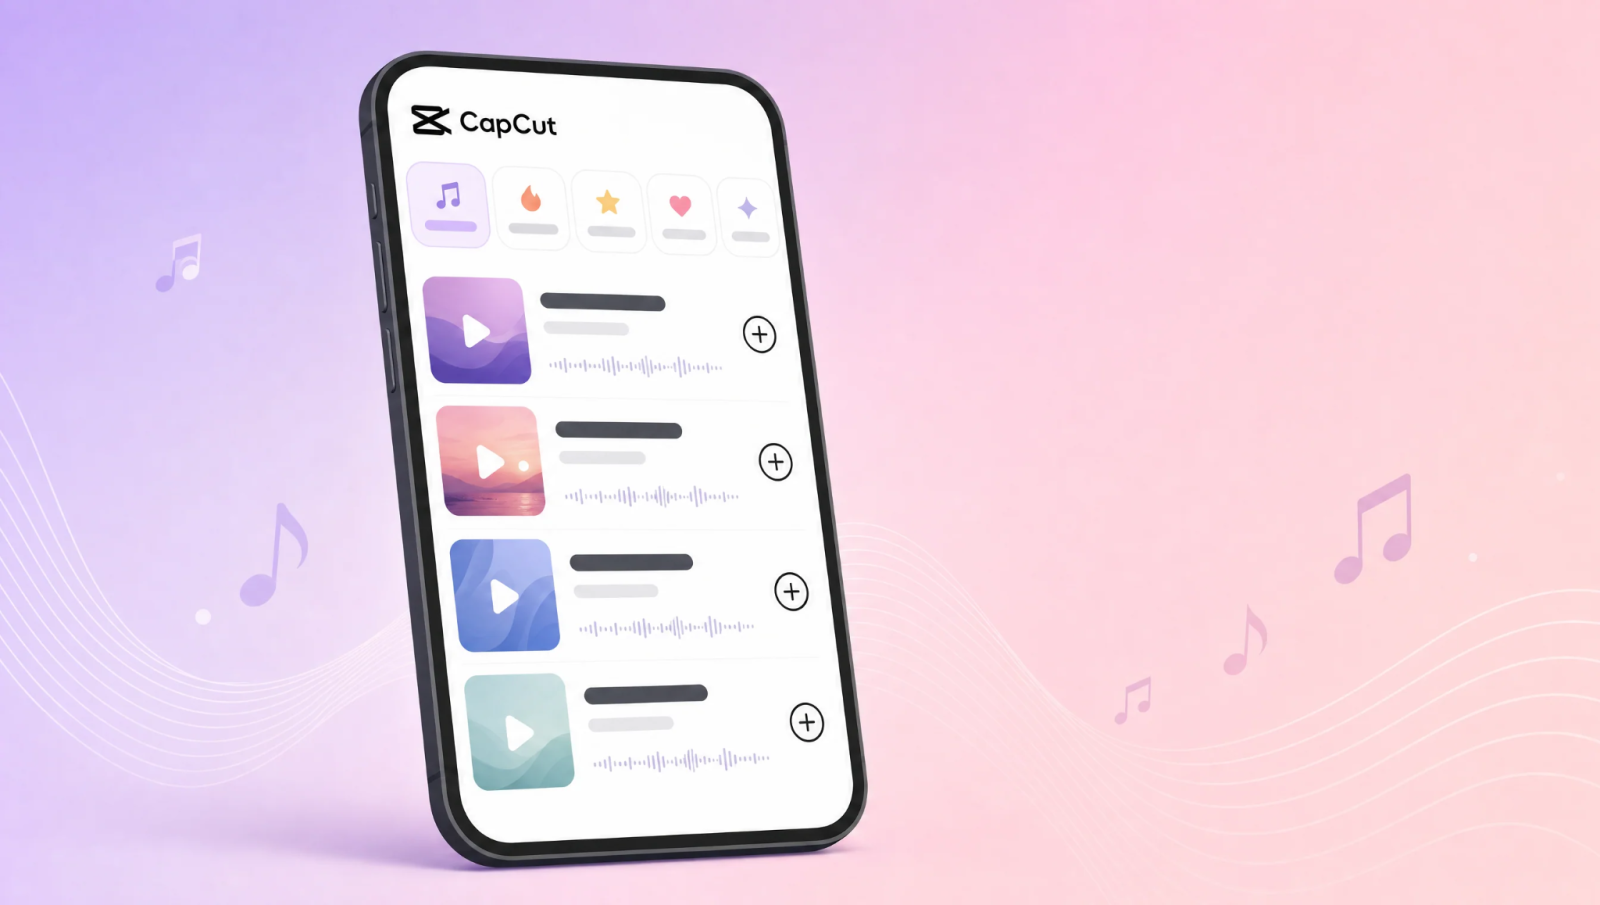
If you frequently edit videos on your phone, you can still quickly add background music with the CapCut app. The mobile interface is designed to be simple, and all the important tools are directly accessible during the editing process.
3.1. Step 1: Create a project and upload the video
Open the CapCut app on your phone, and on the main interface, select New Project. Next, choose the video from your photo library that you want to edit, then press Add to import the video into the editing interface.
Once the video appears on your Timeline, you can trim out unnecessary sections, rearrange the order of scenes, and adjust the duration. Completing the visuals first will make the process of choosing background music easier.
3.2. Step 2: Select the Sound feature
In the toolbar at the bottom of the screen, select the Audio option. CapCut will display options such as sound, sound effects, or audio extraction, depending on the application version.
If you want to use existing music, select the Audio option to explore the library. If you already have your own music files, use the appropriate audio import or extraction option to add them to your project.
3.3. Step 3: Add music to the video
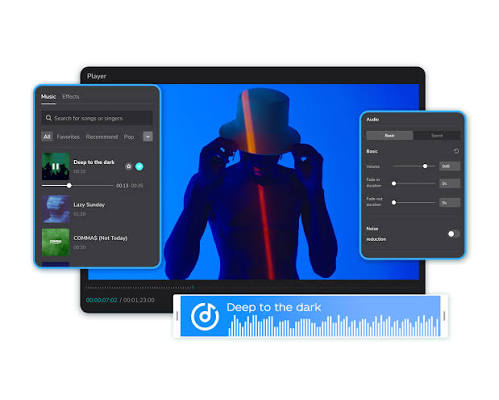
After finding a song you like, tap on it to listen to a preview, then select "Use" or "Add" accordingly. The song will be moved to the Timeline and appear as a separate audio track.
You can drag the music track to the left or right to change the start time. If you want the music to appear precisely when an important scene is taking place, zoom in on the Timeline and align it accurately. This is useful when creating product introduction videos, travel videos, or storytelling content.
3.4. Step 4: Trim the music and adjust the volume.
Tap on the music track on the Timeline to open the editing tools panel. Here, you can use the Split feature to divide the music into multiple parts, delete unnecessary sections, or drag the two ends of the audio track to change its duration.
Next, select Volume to adjust the sound level. If the video has voiceovers, keep the background music at a moderate volume so it doesn't drown out the dialogue. You can also use the volume increase and decrease effects at the beginning and end of the music if your app version supports it.
3.5. Step 5: Check and save the video
Once you've completed the steps, press the play button to listen to the entire video. Check if the background music is too loud, cuts off abruptly, or doesn't match the video content.
Finally, tap the Export icon in the upper corner of the screen to save the video to your device. Choose a resolution that suits your uploading purpose; for example, for high-quality videos, you can select 1080p if your device and video source are compatible.
4. Guide to removing noise from videos using CapCut
Besides adding music, noise reduction is a crucial step in improving video audio quality. CapCut offers noise reduction (Reduce Noise) and several speech processing tools depending on the version. Below are the basic steps.
4.1. Step 1: Import the video that needs audio processing.
Open CapCut and create a new project, then import the video containing the unwanted sounds. Drag the video down to the Timeline and play it to identify where the noise is coming from.
You should pay attention to whether background noise is present throughout the video or concentrated in certain sections. If the noise only appears in one scene, you can separate that section to process it, avoiding unnecessary interference with the already clear audio.
4.2. Step 2: Select the video or audio segment you want to filter.
Click on the video clip on the Timeline to open the editing tools panel. Find the Audio option or other audio processing options displayed in the interface.
If the audio has been separated from the video, select the specific audio segment you want to process. This makes it easier to control the dialogue and background noise, especially when the video has multiple layers of sound.
4.3. Step 3: Turn on noise reduction
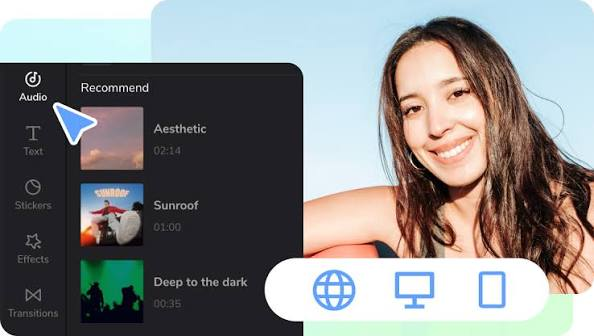
Find the Reduce Noise option in the audio editing panel and enable it if supported. CapCut will process the audio to reduce unwanted background noise.
Depending on the app version and audio type, the feature's location may vary. You should listen to the video again after applying the feature to assess its effectiveness. For recordings with fan noise, air conditioning, or other subtle ambient sounds, this feature can help your voice stand out more.
4.4. Step 4: Adjust the sound after filtering.
After reducing the noise, play back the audio clip to check the voice quality. If the voice is too quiet, you can increase the volume to a suitable level. Avoid pushing the volume too high, as this may make any remaining static or background noise more noticeable.
Additionally, if the video has background music, check the balance between the voice and the music. In sections where you need to convey information, the voice should be prioritized. For scenes with only visuals, you can increase the background music to add emotion to the video.
4.5. Step 5: Listen again and export the complete video.
This is a crucial step in evaluating the audio quality after processing. Listen to the video using headphones or external speakers to detect any remaining background noise, sound distortion, or unnatural-sounding voices.
If the results are satisfactory, press Export to save the video. If the noise is still too loud, you may need to use a more advanced audio processing tool instead of continuing to increase the noise reduction level in CapCut.

5. Some tips for adding music and filtering out noise more effectively.
To ensure your video has good audio quality, you shouldn't rely solely on built-in editing tools; you need to pay attention to the recording and sound quality right from the filming and recording stages. The following tips will make the editing process easier.
-
Choose music that suits the content: Background music should have a rhythm and emotion that matches the video's theme. Avoid overly energetic music for content that requires a calm and focused atmosphere.
-
Balance the volume: If the video has dialogue, reduce the background music so that the speech remains clear. Avoid having multiple layers of sound playing simultaneously at high volume.
-
Avoid overusing the noise reduction feature: Excessive noise filtering can distort your voice, make it sound unnatural, or cause you to lose some audio details.
-
Record in a quiet environment: Avoid filming near busy roads, fans, or equipment that constantly emits noise. This significantly reduces the amount of background noise that needs to be processed.
-
Check music copyright: If you're uploading videos to TikTok, YouTube, or other commercial platforms, prioritize music that is properly licensed for use in your uploads.
-
Test on multiple devices: The sound may differ when played through a phone, headphones, or computer speakers. Therefore, please test before uploading to minimize unexpected errors.
6. Common mistakes when inserting music and noise filtering using CapCut
During the editing process, new CapCut users may encounter some audio-related issues. Identifying the correct cause will help you resolve the problem quickly and avoid having to re-edit the entire video.
-
The background music is too loud, drowning out the dialogue: This is usually because the music volume hasn't been adjusted. Simply select a piece of music on your Timeline and reduce the volume so the dialogue becomes clearer.
-
Noise reduction feature not found: This option may be located differently on CapCut on your phone and computer. You should check the Audio settings or other audio editing tools after selecting the correct video segment.
-
Sound distortion after filtering: This can occur when the original recording is too quiet, heavily noisy, or the noise reduction level is inappropriate. Try reducing the processing intensity, adjusting the volume, and listening again to find the right balance.
-
Music doesn't match the video duration: If the music is longer or shorter than the video, use Split to trim the excess or change the audio position on the Timeline. You can also add a Fade Out effect for a more natural ending.
-
No music after exporting the video: Check if the audio is muted, outside the video duration, or if there was an error during the export process. If necessary, replay the project and export the video again.
7. Conclusion
Adding music to videos using CapCut and noise filtering are useful operations that improve sound quality, create emotion, and enhance the professionalism of your content. With just a few simple steps, you can add background music, adjust volume, cut and splice audio, and reduce unwanted background noise right on your phone or computer. Combine editing tools appropriately, choose suitable music, and carefully check the audio before exporting the video to create polished, more engaging footage.

















VIP Products








Best Selling Products
Windows 10 & 11 Pro Key
36 USD
Upgrade genuine Capture One account
120 USD
Capcut Pro 1 Year
39 USD
ChatGPT Plus Account (GPT-4)
16 USD
Upgrade Duolingo Super
29 USD
Adobe Photoshop Copyright - Full App
120 USD
Genuine Cheap Canva Pro
39 USD
Adobe Premiere Pro Account
99 USD
MidJourney Account
29 USD
Plugin Retouch4me
69 USD
Copyright Adobe Lightroom Account
59 USD
Genuine Adobe Illustrator account
99 USD
Upgrade Genuine Office 365
49 USD
Autodesk All App Account Copyright
120 USD
Freepik Premium Account
59 USD