Best Selling Products

Freepik Premium Account
59 USD

Copyright Adobe Lightroom Account
59 USD

Genuine Adobe Illustrator account
99 USD

Windows 10 & 11 Pro Key
36 USD

Adobe Premiere Pro Account
99 USD

Adobe Photoshop Copyright - Full App
120 USD

Upgrade Duolingo Super
29 USD

MidJourney Account
29 USD

Upgrade genuine Capture One account
120 USD

Plugin Retouch4me
69 USD

Genuine Cheap Canva Pro
39 USD

Upgrade Genuine Office 365
49 USD

Autodesk All App Account Copyright
120 USD

Capcut Pro 1 Year
39 USD

ChatGPT Plus Account (GPT-4)
16 USD
A detailed guide to installing Office on a MacBook, from A to Z.
Nội dung
- 1. Preparation before installation
- 2. Check your macOS version and chip.
- 3. Handling security alerts
- 4. Open the Office installer.
- 5. Opening Office for the first time
- 6. Log in and activate Office
- 7. Update Office after installation.
- 8. Notes for ensuring Office runs smoothly
- 9. Troubleshooting Office not opening errors
- 10. Frequently Asked Questions
- Do MacBook M1, M2, and M4 models have the same Office suite installed?
- Do I need to disable security to install Office?
- Is it possible to use the old version of Office on the new macOS?
- Should I log in before or after installation?
Are you looking for instructions on installing Office on your MacBook Air, MacBook M1, M2, or M4? This article will guide you through the entire process in detail.
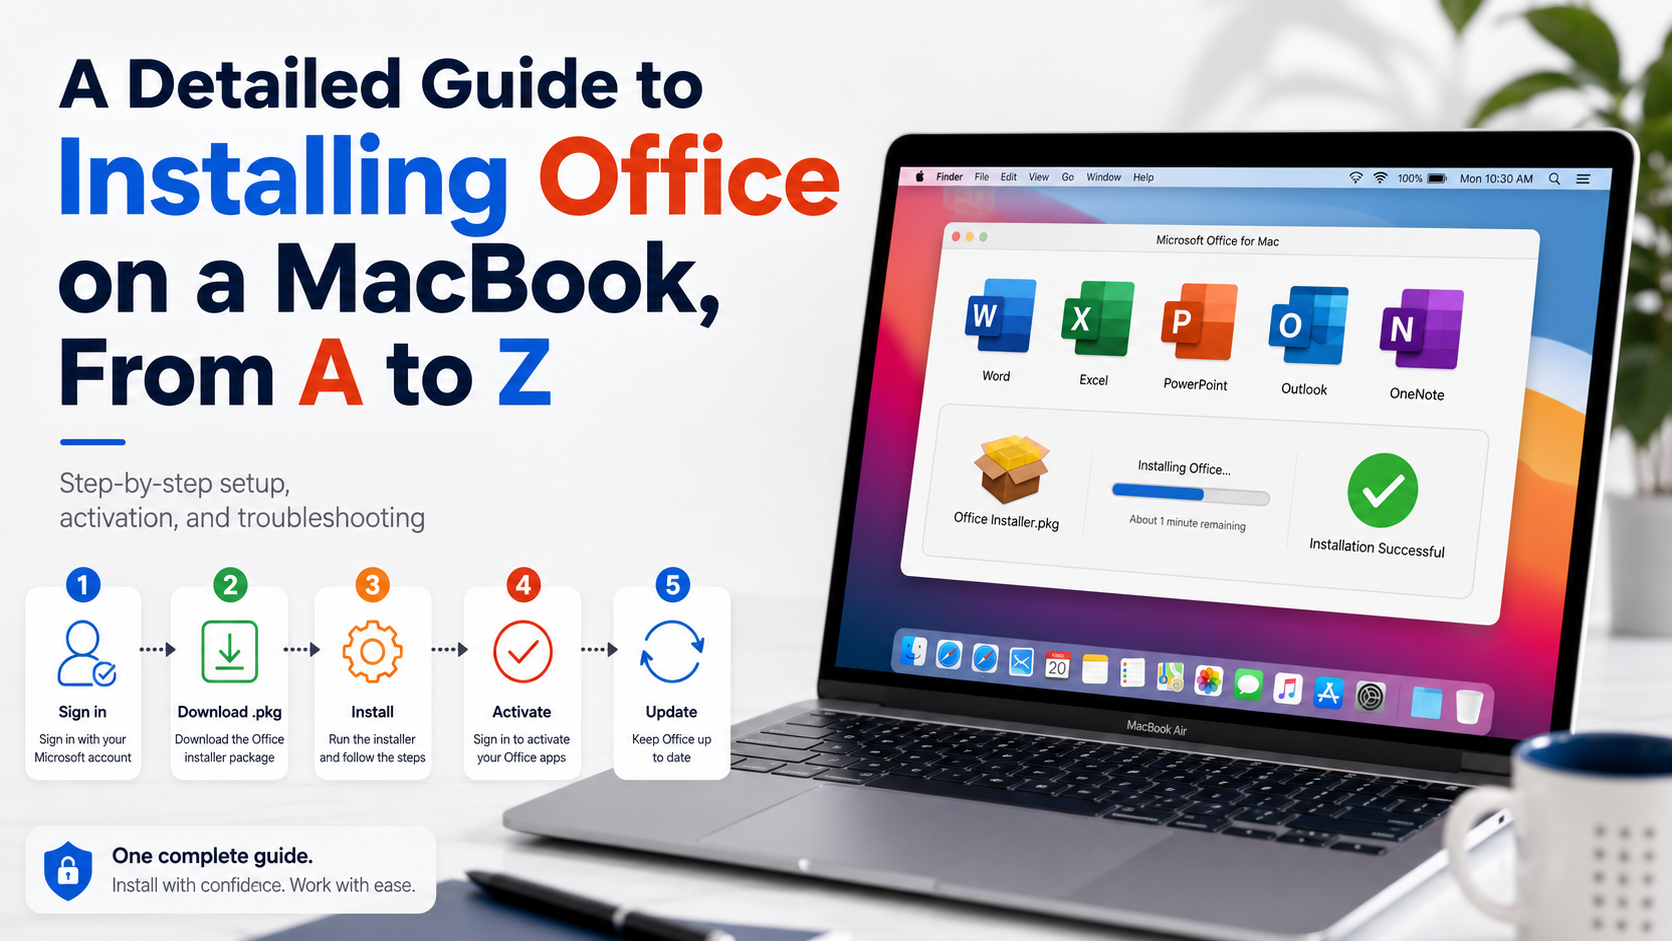
1. Preparation before installation
Before you begin, you need to check two important pieces of information: which version of macOS your MacBook is running and what type of chip it uses .
To check, click the Apple icon in the upper left corner of the screen, then select About your Mac . Here you can see your macOS version and hardware information.
If the machine uses Intel, the information will show the Intel processor. With newer MacBook models, you may see Apple Silicon such as M1, M2, or M4.
This step is crucial because the Office version needs to be compatible with the operating system and hardware architecture. Using an outdated or incompatible installer may result in the application failing to install, freezing upon opening, or malfunctioning.
You should also check your free storage space before installing. If your drive is nearly full, the installation process may be interrupted or cause macOS to run slower.
2. Check your macOS version and chip.
This is the first step in the installation process.
Click Apple → About Mac . Then note down your macOS version and chip name.
For example, the machine might use the Apple M1 chip and a corresponding version of macOS. For MacBooks using the M1, M2, or M4, it's advisable to prioritize the latest version of Office that is supported by Microsoft to take full advantage of Apple Silicon's performance.
Identifying the correct configuration also makes troubleshooting easier. When searching for solutions on Microsoft support or the Mac user community, information about the macOS version and chip is often crucial data for identifying the cause.
This step should not be skipped just because you think all versions of Office are the same. Compatibility between the software and the operating system can directly affect the installation and usage process.
3. Handling security alerts
In some cases, macOS may display a warning when you open the installer. This usually happens when the app comes from a source outside the App Store or macOS cannot verify the developer according to its current privacy policy.
If you encounter this situation, open System Settings , select Privacy & Security , and then check the area related to the application that is being blocked by the system.
If macOS displays an option to allow opening the application, only do so if you are certain the installer comes from a trusted source and is compatible with your machine.
The important point is that you shouldn't completely disable macOS security mechanisms just to install Office . Disabling system-wide security can increase the risk to your computer.
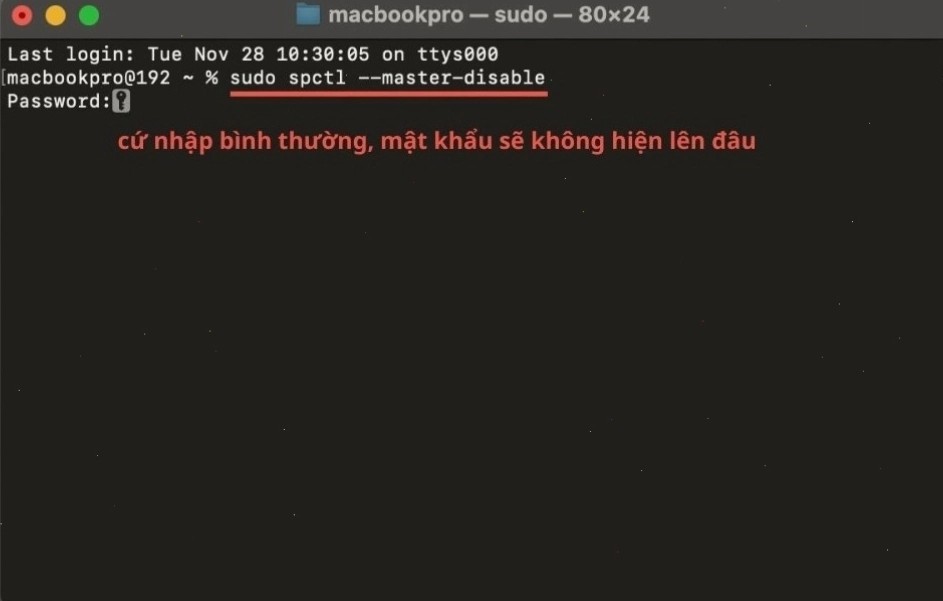
If the installer requires the use of the Terminal, carefully read the instructions and warnings before proceeding. Do not run commands from unknown sources simply because they are shared on the internet.
If you are prompted to run a Terminal command, verify the command source and understand what the command does before pressing Enter.
4. Open the Office installer.
After checking your computer and preparing the appropriate installation files, you can begin the installation process.
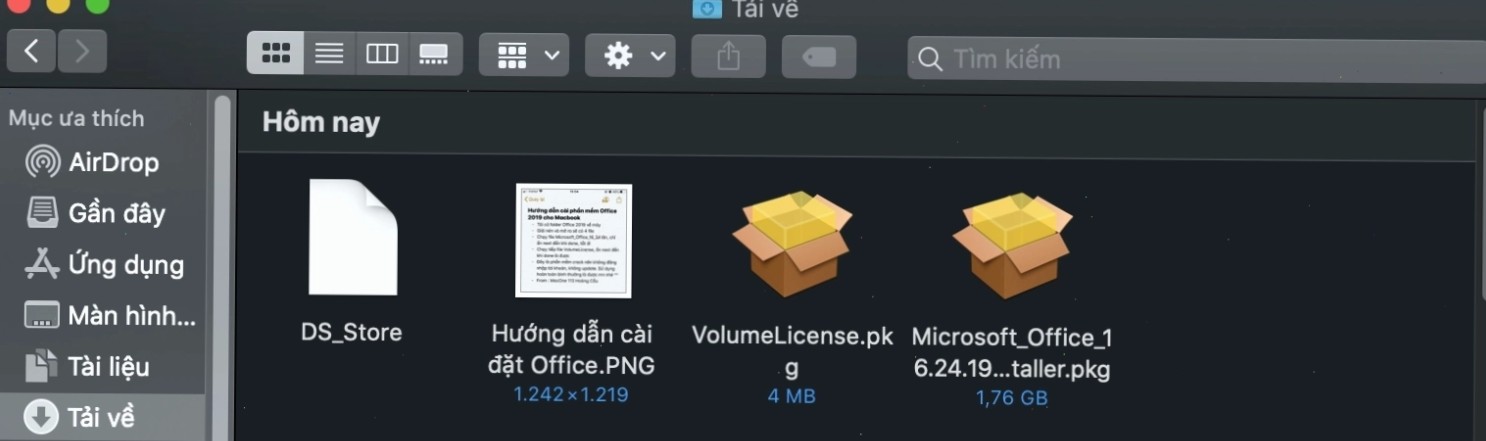
The Office installer for Mac typically uses a format compatible with the macOS installer. After downloading, open the installer file and follow the on-screen instructions.
Typically, you will go through the following steps in order: Continue → Agree → Install
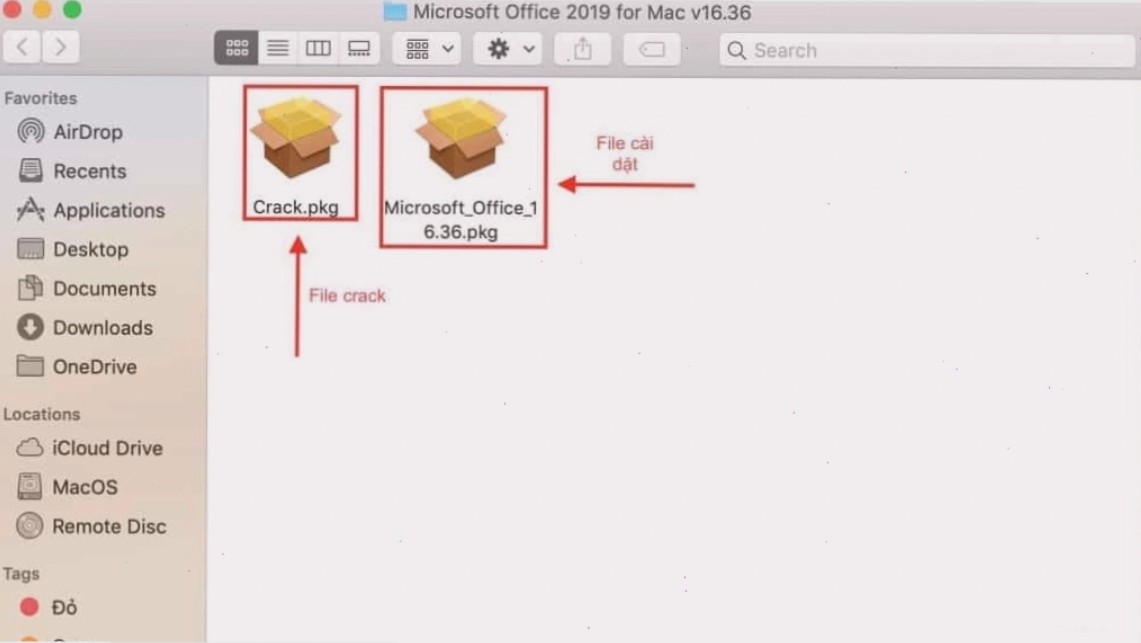
Depending on the installation package and version of Office, the interface may vary slightly.
When the system prompts you for your MacBook password, enter your login password to allow the installer to make the necessary changes.
During the installation process, do not shut down your computer or force close the installer. If the installer requires a network connection to download additional components, do not disconnect abruptly.
Wait until the installer indicates that the process is complete.
After installation, Office will be placed in the Applications folder along with applications such as Word, Excel, and PowerPoint, depending on the version you installed.
5. Opening Office for the first time
Once the installation is complete, open Finder → Applications .
Here you can find Microsoft Word , Microsoft Excel , or Microsoft PowerPoint .
Open an application, such as Word, to perform the initial configuration.
Upon first opening, Office may request certain access permissions or display information related to its terms of service. You should read the displayed content and only grant the permissions necessary for the application to function.
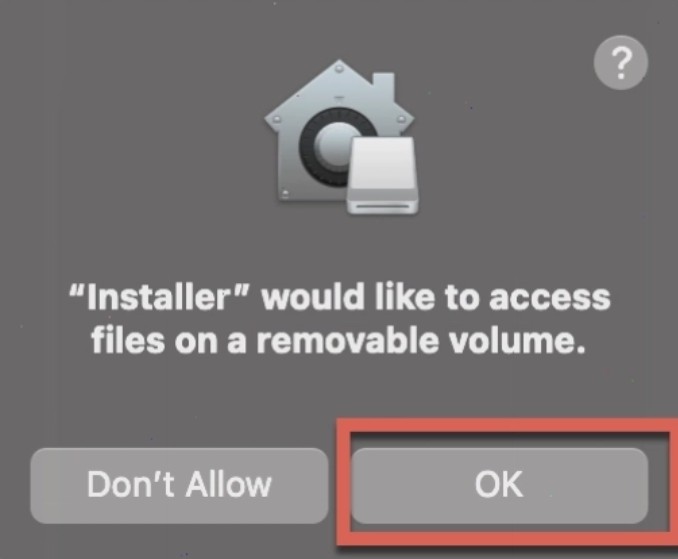
In some cases, the application may also require an internet connection or updates to necessary components.
If your MacBook uses an M1, M2, or M4 chip, this is also a good time to check if your current version of Office supports Apple Silicon.
Using a modern and supported version of Office will help minimize performance or compatibility issues.
6. Log in and activate Office
After opening Word or Excel, the next step is to log in to your Microsoft account to activate the license.
If you are using Microsoft 365 or a valid Office license, choose the option to sign in and use your purchased or licensed Microsoft account for Office .
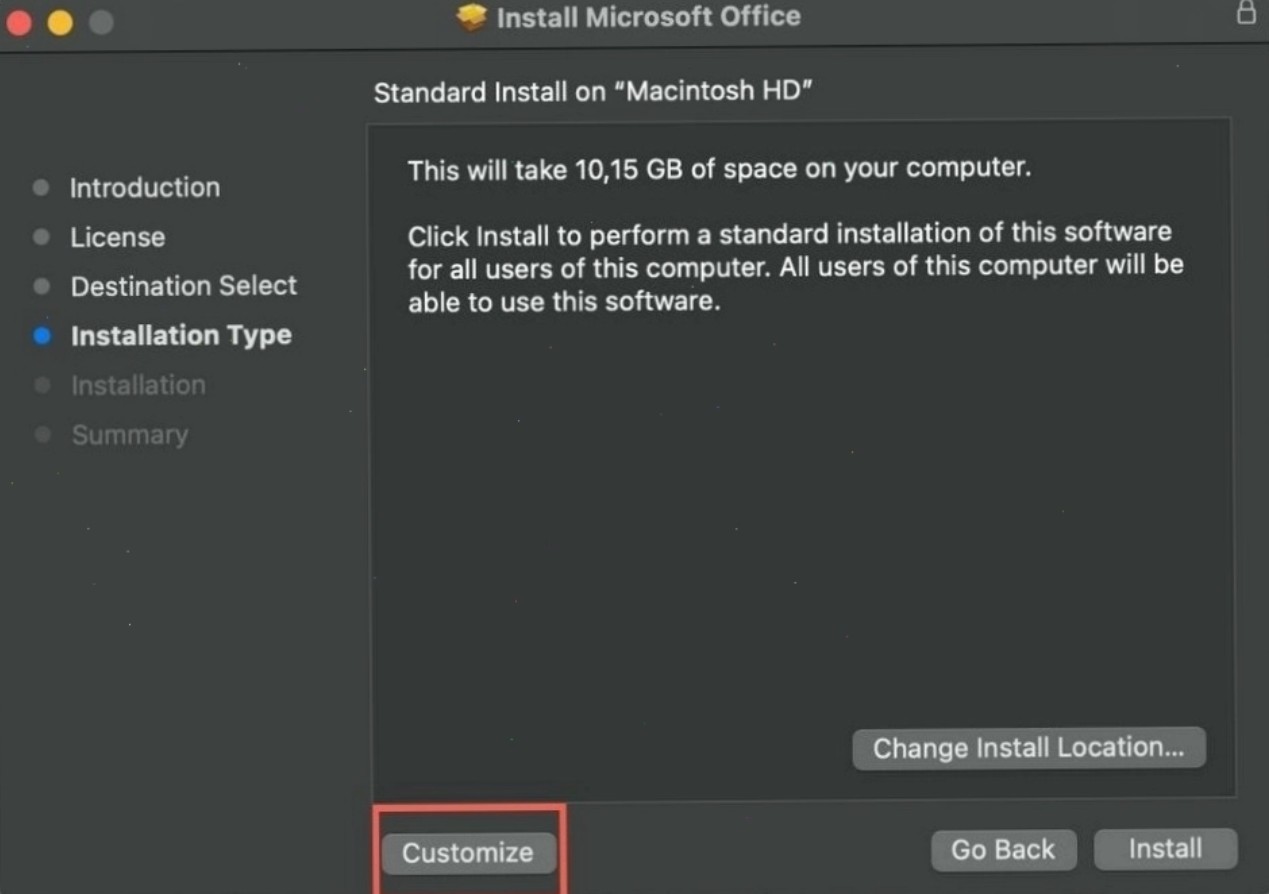
After successful verification, Office will check the license associated with the account.
If the activation process is complete, the application will display the corresponding license status.
For users who only need to read or perform some basic tasks, usability may depend on the Office version and account status. However, to use all features, you should activate it with a legitimate account that has a valid license.
Avoid using activation tools from unknown sources. Besides copyright issues, these tools may contain malware or cause unwanted changes to your system.
7. Update Office after installation.
After installation and activation, you should check for updates.
Open an Office application such as Word or Excel, then find the Microsoft Office update check area. Depending on the version, this function may be performed through the built-in update tool.
The update offers many benefits, especially for MacBooks running the newer macOS.
Updates can fix bugs, improve compatibility, optimize performance, and resolve issues related to login or display.
For MacBook Airs or models using M1, M2, and M4 chips, using a newer version of Office is especially important. A version optimized for Apple Silicon can help the application run more efficiently than trying to use an outdated version of Office.
After the update is complete, you should restart your MacBook. This is a simple step, but it can help the system fully recognize the newly installed or updated components.
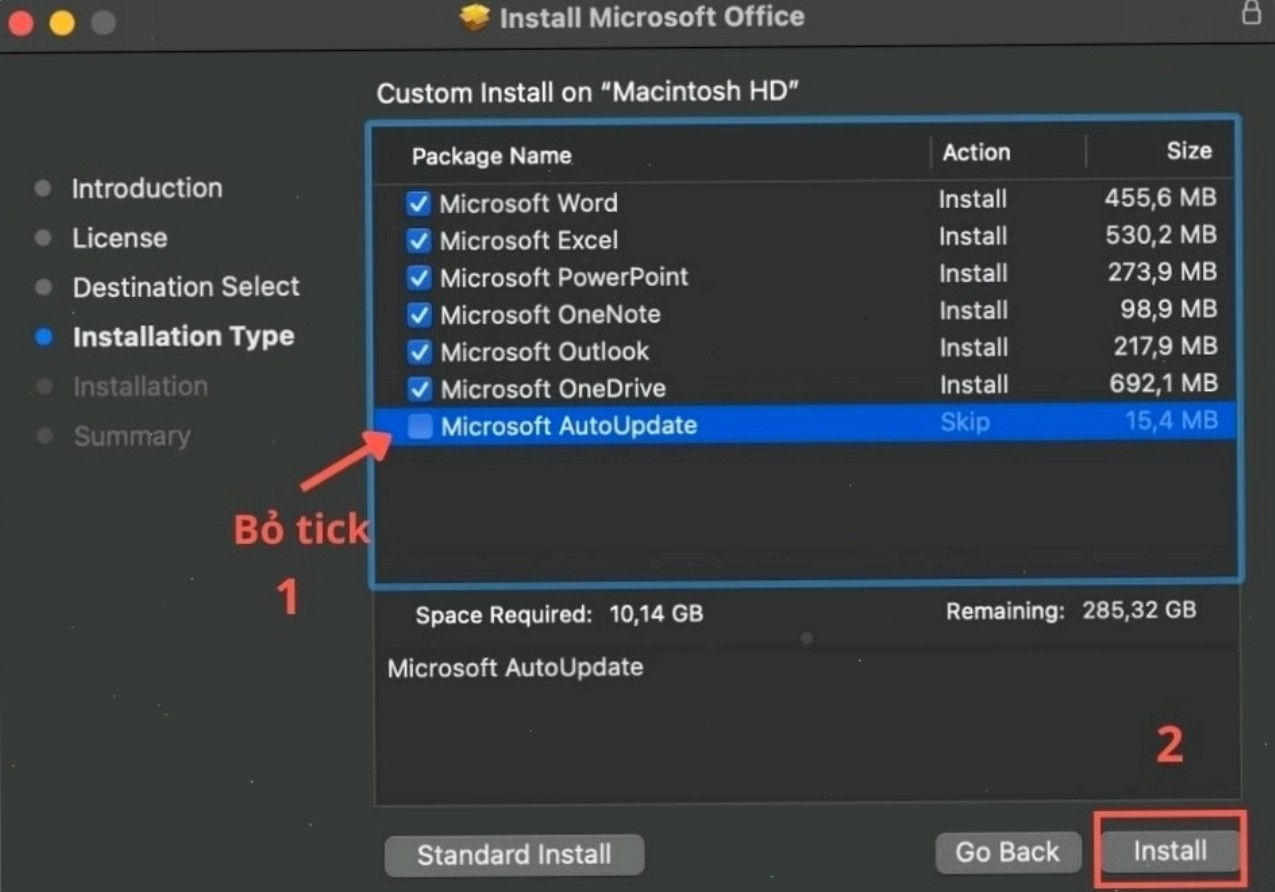
8. Notes for ensuring Office runs smoothly
One of the common reasons why Office crashes on MacBooks is that users install multiple different versions on the same machine.
If your computer previously had an older version of Office installed but the installation failed, you should uninstall the old version before reinstalling. Overwriting multiple versions can cause conflicts between components or create activation errors.
In addition, make sure your MacBook has enough storage space. Don't start the installation when the drive is nearly full.
With Apple Silicon machines, it's best to prioritize the latest version of Office that's compatible with the Apple Silicon architecture. This is especially important if you're using a MacBook M1, M2, or M4.
If macOS blocks the app, address the warning in the appropriate Privacy & Security section . You shouldn't disable system-wide security just to bypass a settings warning.
A simple trick is to restart your MacBook after the Office installation and update is complete . Then, reopen Word or Excel for a final check.
9. Troubleshooting Office not opening errors
If Word, Excel, or PowerPoint won't open after installation, first try closing the application completely and then reopening it from the Applications folder .
If it still doesn't work, check your macOS version and the version of Office you're using. An outdated version of Office may not be compatible with newer macOS versions.
Next, check System Settings → Privacy & Security to see if macOS is blocking the app.
If your computer previously had a different version of Office installed, you may need to uninstall the old version before reinstalling it.
If you need to reinstall, prioritize the official installer and the version compatible with your current macOS, rather than searching for modified or pre-activated installers on the internet.

10. Frequently Asked Questions
Do MacBook M1, M2, and M4 models have the same Office suite installed?
In terms of the basic process, the answer is yes. You still check macOS, download the compatible installer, install it, open Word or Excel, log in, and update.
The main difference lies in the compatibility of the Office version with the Apple Silicon architecture and the version of macOS being used.
Do I need to disable security to install Office?
You shouldn't turn off security completely.
If macOS warns that an app is blocked, verify the installer source first. Only grant permissions to the app when you are certain it is a safe and legitimate installer.
Is it possible to use the old version of Office on the new macOS?
Possibly, but not always stable.
An outdated version of Office may encounter font errors, login errors, activation errors, or crash unexpectedly when running on a newer version of macOS. Therefore, if possible, prioritize a supported and regularly updated version of Office.
Should I log in before or after installation?
You should complete the installation first, then open Word or Excel and sign in with your Microsoft account to activate it.
This process allows for copyright verification to take place after the application has been fully installed.
Following these steps will ensure a safe and stable Office installation process for your MacBook , minimizing common errors during use.





















VIP Products








Best Selling Products
Freepik Premium Account
59 USD
Copyright Adobe Lightroom Account
59 USD
Genuine Adobe Illustrator account
99 USD
Windows 10 & 11 Pro Key
36 USD
Adobe Premiere Pro Account
99 USD
Adobe Photoshop Copyright - Full App
120 USD
Upgrade Duolingo Super
29 USD
MidJourney Account
29 USD
Upgrade genuine Capture One account
120 USD
Plugin Retouch4me
69 USD
Genuine Cheap Canva Pro
39 USD
Upgrade Genuine Office 365
49 USD
Autodesk All App Account Copyright
120 USD
Capcut Pro 1 Year
39 USD
ChatGPT Plus Account (GPT-4)
16 USD