Best Selling Products
Windows 10 & 11 Pro Key
36 USD

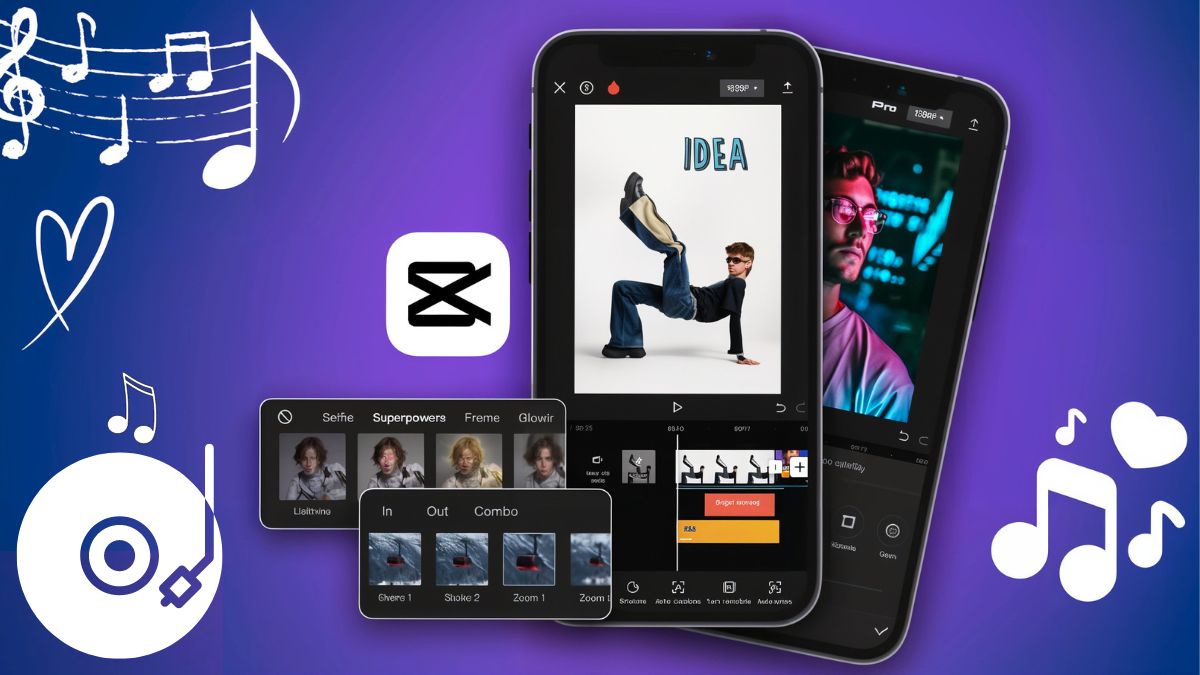
Capcut Pro 1 Year
39 USD
Genuine Adobe Illustrator account
99 USD
Genuine Cheap Canva Pro
39 USD
Plugin Retouch4me
69 USD
Upgrade genuine Capture One account
120 USD

Adobe Premiere Pro Account
99 USD
Adobe Photoshop Copyright - Full App
120 USD

Copyright Adobe Lightroom Account
59 USD
Upgrade Genuine Office 365
49 USD

MidJourney Account
29 USD

Upgrade Duolingo Super
29 USD
Autodesk All App Account Copyright
120 USD

ChatGPT Plus Account (GPT-4)
16 USD

Freepik Premium Account
59 USD
A simple and detailed guide to converting text to audio using CapCut.
Nội dung
- 1. What is text-to-speech in CapCut?
- 2. Benefits of using the CapCut text-to-speech feature
- 3. Instructions on converting text to audio using CapCut on your phone.
- 3.1. Step 1: Open CapCut and create a new project
- 3.2. Step 2: Select the add text feature
- 3.3. Step 3: Enter the content to be converted into audio.
- 3.4. Step 4: Select the text-to-speech feature
- 3.5. Step 5: Choose a suitable voice
- 3.6. Step 6: Listen and adjust the audio.
- 3.7. Step 7: Export the video after completion.
- 4. How to convert text to audio using CapCut on a computer.
- 4.1. Step 1: Launch CapCut on your computer
- 4.2. Step 2: Add text to the timeline
- 4.3. Step 3: Use the Text-to-Speech tool
- 4.4. Step 4: Create the voiceover and adjust the duration.
- 4.5. Step 5: Finalize and save the video
- 5. Tips to make the AI voiceover on CapCut sound more natural and engaging.
- 8. Conclusion
In the process of creating video content, voiceovers play a crucial role in conveying the message and engaging viewers. However, not everyone is confident in recording their own voice or has the equipment to produce high-quality audio. This is why CapCut''s text-to-speech feature is gaining popularity. With just a few simple steps, you can transform text into natural-sounding, easy-to-listen-to voiceovers without direct recording. In this article, let''s explore how to convert text to audio using CapCut, the detailed steps, and tips to make your video voiceover more appealing.
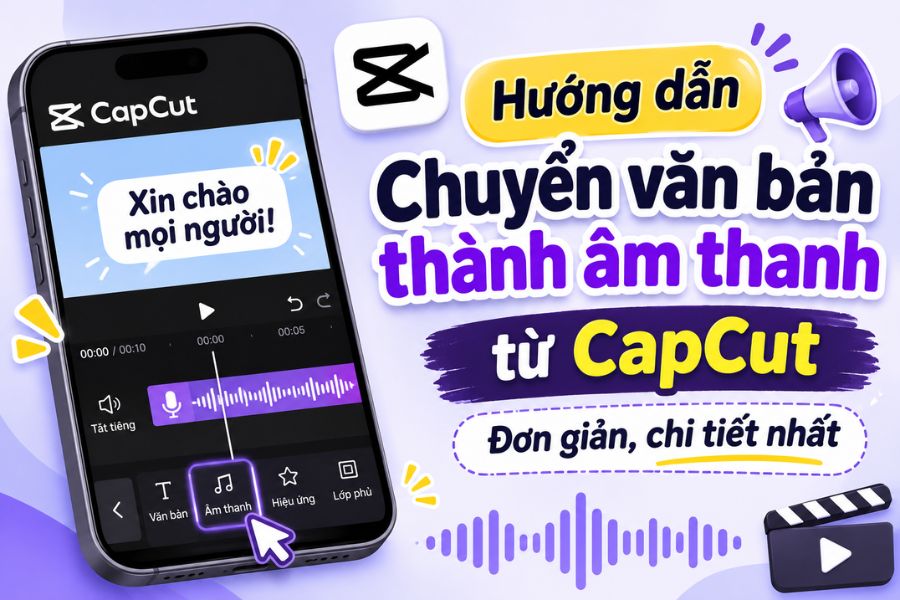
1. What is text-to-speech in CapCut?
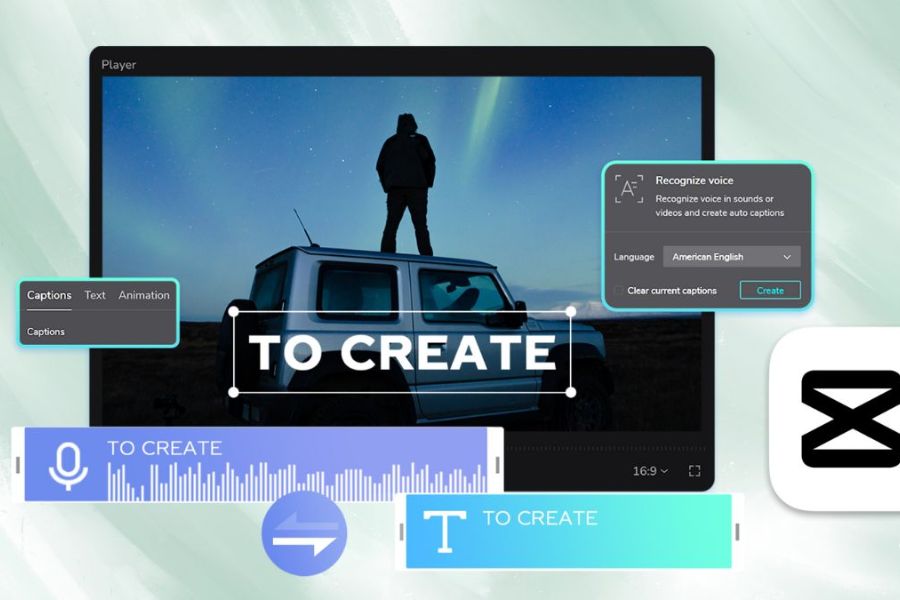
Text-to-speech is a feature that uses AI technology to convert text content into speech. Instead of manually recording each sentence, users simply input the content they want to read, select a suitable voice, and let CapCut automatically process it. The software then creates an audio clip that can be directly inserted into a video.
This feature is especially useful for those who frequently create TikTok videos, YouTube Shorts, product introduction videos, or knowledge-sharing content. You can choose from various voice styles depending on your purpose, from a gentle, expressive voice to a clear, assertive one.
One notable advantage is that users don't need professional recording skills. CapCut supports a fast voice-over creation process, saving content production time and making it easy to edit when changes to the dialogue are needed.
2. Benefits of using the CapCut text-to-speech feature
More than just an automated voice-over tool, Text to Speech on CapCut makes the video editing process more flexible. Below are some of the key benefits you can take advantage of.
-
Save recording time: You don't need to prepare microphones, a studio, or record multiple times to get the perfect voiceover. Simply input your content, choose your voice, and wait for CapCut to process it. This is especially convenient when you need to produce many videos in a short amount of time.
-
Diverse voice options: CapCut offers a variety of voice styles depending on the version and supported language. This allows you to choose a voice that suits your video style, target audience, and the message you want to convey.
-
Easy synchronization with visuals: After creating the audio, you can adjust its position, duration, and integrate it with the footage on the timeline. This creates a better connection between the visuals and the dialogue in the video.
-
Suitable for a wide range of content types: This feature can be applied to tutorial videos, storytelling, product reviews, service introductions, educational videos, or entertainment content.
-
Easy to edit as needed: If you want to change the dialogue, you simply edit the text and recreate the audio. You don't need to re-record the entire content like with traditional methods.
3. Instructions on converting text to audio using CapCut on your phone.
CapCut on mobile has an intuitive interface, suitable even for beginners in video editing. You can use it directly on Android or iPhone by following these steps.
3.1. Step 1: Open CapCut and create a new project
First, open the CapCut app on your phone. On the main interface, select "New project" to start creating a video. Next, choose one or more images or videos from your device's library and then tap "Add".
If you only want to create a voiceover for later use, you can still create a simple project with any background image. Once complete, CapCut will take you to the editing interface with the timeline at the bottom of the screen.
3.2. Step 2: Select the add text feature
In the editing interface, find and click on the Text option in the toolbar. Next, select Add text to open the content input box.
Now, enter the text you want to convert to speech. This could be an introduction, a story, product information, or narration for a video. You should carefully check your spelling, punctuation, and phrasing before continuing to minimize pronunciation errors.
3.3. Step 3: Enter the content to be converted into audio.
After opening the text box, proceed to enter the entire content you want to create a voiceover for. To make the sound natural and easy to listen to, divide the content into sentences of appropriate length and use commas and periods appropriately.
For longer passages, you can break them down into smaller sections instead of typing everything at once. This makes editing easier and allows for better control over the narration time for each scene.
3.4. Step 4: Select the text-to-speech feature
Once you've finished entering the content, click on the text layer you just created on the timeline. In the toolbar at the bottom, find and select the Text to Speech option.
CapCut will display a list of available voices for you to choose from. Depending on the app version, region, and supported languages, the list of voices may vary. You should listen to a few options before deciding to find the voice that best suits your video content.
3.5. Step 5: Choose a suitable voice
This is a crucial step in determining the audio style of your video. If you're creating a knowledge-sharing, tutorial, or informational video, prioritize a clear, moderate-paced voiceover. For storytelling or entertainment videos, expressive voices will help viewers focus more easily.
After selecting your desired voice, press confirm to allow CapCut to begin processing. The time it takes to generate the audio may vary depending on the text length and the application's performance.
3.6. Step 6: Listen and adjust the audio.
Once the conversion is complete, press play to listen to the entire audio clip. Pay attention to pronunciation, rhythm, pauses, and the consistency between the dialogue and the visual content.
If you find the voiceover sounds unnatural, you can go back and edit the text, add punctuation, or break down long sentences before recreating the audio. Additionally, adjust the volume so the voice is clear enough and not drowned out by background music or sound effects.
3.7. Step 7: Export the video after completion.
Once you're satisfied with the voiceover, you can proceed to add background music, transition effects, subtitles, and other visual elements. Review the video from beginning to end to ensure the audio matches the video.
Finally, tap the Export button in the upper right corner of the screen. Depending on your upload needs, you can choose the appropriate resolution and frame rate. Once the export is complete, the video will be saved to your device and ready to share on TikTok, Facebook, or YouTube.
4. How to convert text to audio using CapCut on a computer.
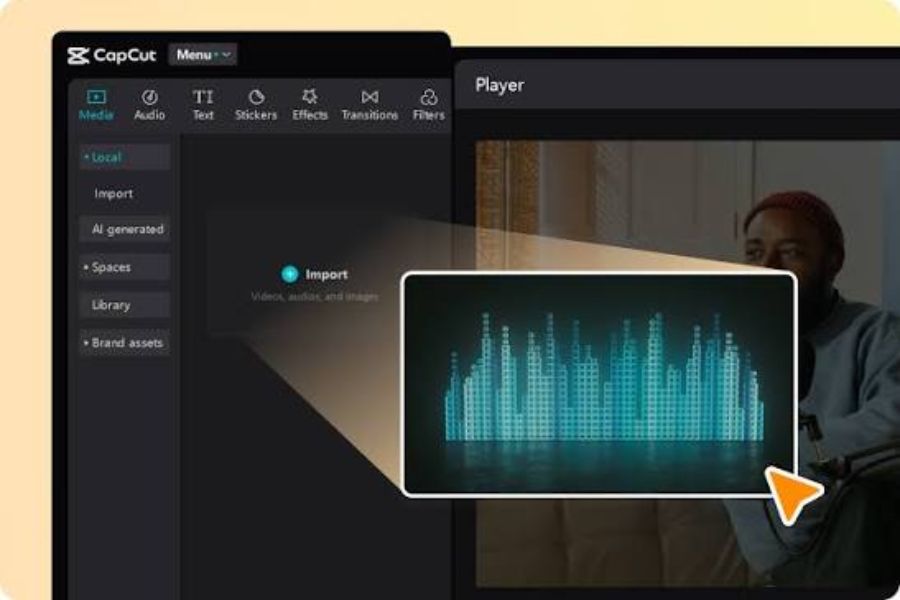
In addition to the mobile version, the PC version of CapCut also supports automatic voiceover creation tools, making it more convenient for users to edit videos with a lot of content. The process is relatively simple.
4.1. Step 1: Launch CapCut on your computer
Open CapCut on your computer and log in to your account if prompted. On the main interface, select New project to begin editing. Next, import images or videos from your computer into the Media library.
Next, drag the files you need down to the timeline to organize the content. If you don't have a complete video yet, you can create a new project and add the images after you've finished the audio.
4.2. Step 2: Add text to the timeline
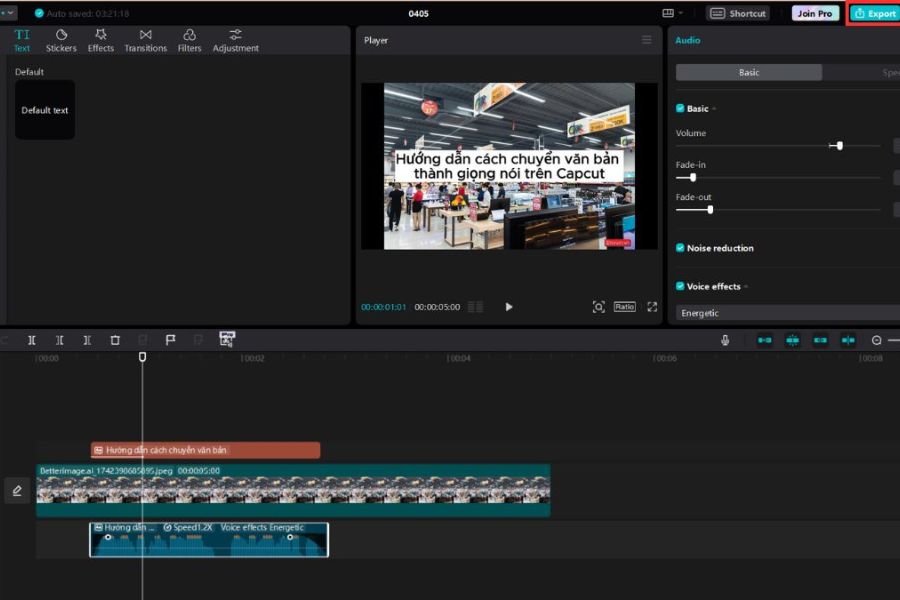
On the toolbar, find the Text option, then select the Add Default Text option. A text layer will appear on the timeline for you to edit.
Enter the text you want to convert to audio into the text box. You should use clear language, avoid illegible symbols, and check for spelling errors before converting.
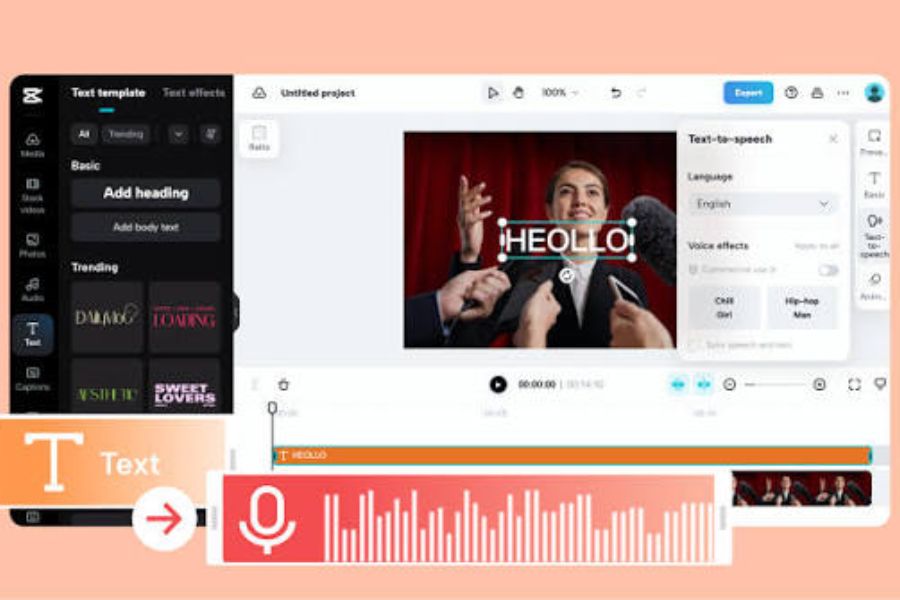
4.3. Step 3: Use the Text-to-Speech tool
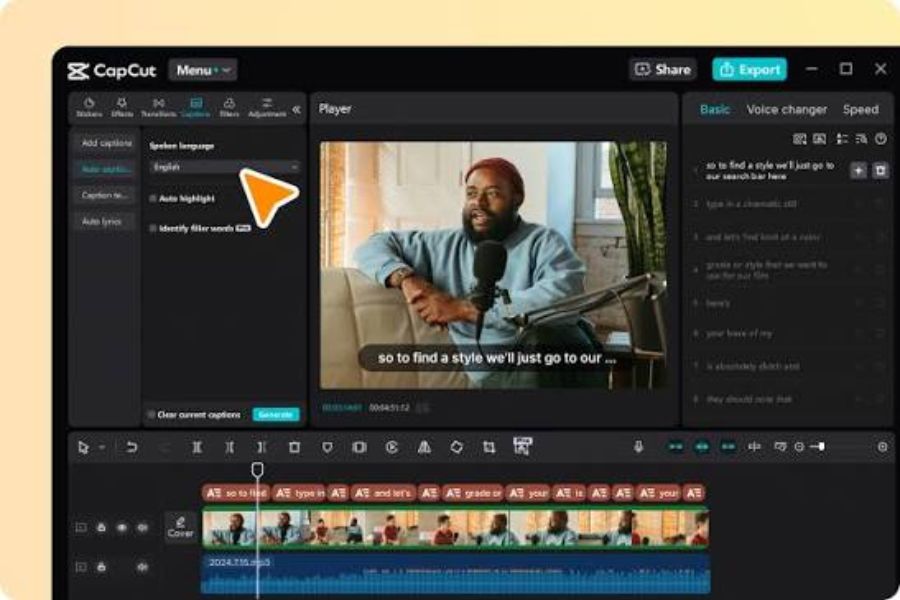
After entering the content, select the text layer on the timeline. In the customization panel, find the Text to Speech feature to open the list of voice options. Depending on the version of CapCut, the display location of the feature may vary.
Choose the language and voice that best suits the content you're creating. If the video is aimed at a Vietnamese audience, prioritize using a Vietnamese voiceover and test it for clarity before implementing it.
4.4. Step 4: Create the voiceover and adjust the duration.
After selecting the voice, press the create or confirm button for CapCut to process the text. Once complete, the audio segment will be added to the timeline as a separate layer.
You can lengthen, shorten, or move the audio segment to synchronize with the visuals. If the dialogue is longer than the video footage, adjust the image display time or divide the content into segments to create a more consistent video rhythm.
4.5. Step 5: Finalize and save the video
Next, you can add background music, transition effects, subtitles, or decorative elements to make the video more lively. Don't forget to adjust the volume between the voiceover and the background music to ensure the dialogue is always clear.
After reviewing all the content, select Export to export the video. You can customize the file name, save location, resolution, and format as needed. Once complete, the video will be saved to your computer for use or uploading to social media platforms.
5. Tips to make the AI voiceover on CapCut sound more natural and engaging.
Although text-to-speech technology is constantly evolving, the quality of the voiceover still depends heavily on how you prepare your content and choose your settings. The following tips will help make your video's narration easier to listen to.
-
Write content in a way that resembles natural conversation: Instead of using overly long sentences or jargon, prioritize a relatable and clear style. A well-written paragraph will automatically sound more natural.
-
Use punctuation appropriately: Periods, commas, and question marks help the tool identify pauses. If the text lacks punctuation, the reading voice may sound rushed and difficult to follow.
-
Choose a voiceover based on the topic: Not every voice is suitable for every type of content. Advertising videos, storytelling, tutorials, and knowledge-sharing videos should have different voice styles to create a consistent feel.
-
Adjust your reading speed: If the voice is too fast, viewers may not be able to grasp the information. Conversely, a speed that is too slow will make the video less engaging. You should experiment to find the right pace.
-
Use appropriate background music: Background music makes videos more emotional and lively. However, the music volume should be lower than the narrator's voice so that viewers are not distracted while listening to the content.
-
Check the pronunciation of proper names: English words, brand names, place names, or technical terms may sometimes be mispronounced by the AI. You should listen again and try adjusting the spelling if necessary.
8. Conclusion
CapCut's text-to-speech tool is a convenient solution for creating voiceovers for videos without direct recording. With its user-friendly interface, numerous voice options, and flexible integration with editing tools, CapCut is suitable for both novice content creators and experienced video producers. Hopefully, with this detailed guide, you can easily convert text to speech, choose the right voice, and create videos with clear, natural-sounding audio that will engage viewers.

















VIP Products




Best Selling Products
Windows 10 & 11 Pro Key
36 USD
Capcut Pro 1 Year
39 USD
Genuine Adobe Illustrator account
99 USD
Genuine Cheap Canva Pro
39 USD
Plugin Retouch4me
69 USD
Upgrade genuine Capture One account
120 USD
Adobe Premiere Pro Account
99 USD
Adobe Photoshop Copyright - Full App
120 USD
Copyright Adobe Lightroom Account
59 USD
Upgrade Genuine Office 365
49 USD
MidJourney Account
29 USD
Upgrade Duolingo Super
29 USD
Autodesk All App Account Copyright
120 USD
ChatGPT Plus Account (GPT-4)
16 USD
Freepik Premium Account
59 USD