Best Selling Products

Autodesk All App Account Copyright
120 USD

Adobe Photoshop Copyright - Full App
120 USD

Upgrade Genuine Office 365
49 USD

Upgrade Duolingo Super
29 USD

Copyright Adobe Lightroom Account
59 USD

MidJourney Account
29 USD

Plugin Retouch4me
69 USD

Genuine Adobe Illustrator account
99 USD

Upgrade genuine Capture One account
120 USD

Capcut Pro 1 Year
39 USD

Windows 10 & 11 Pro Key
36 USD

Genuine Cheap Canva Pro
39 USD

Freepik Premium Account
59 USD

ChatGPT Plus Account (GPT-4)
16 USD

Adobe Premiere Pro Account
99 USD
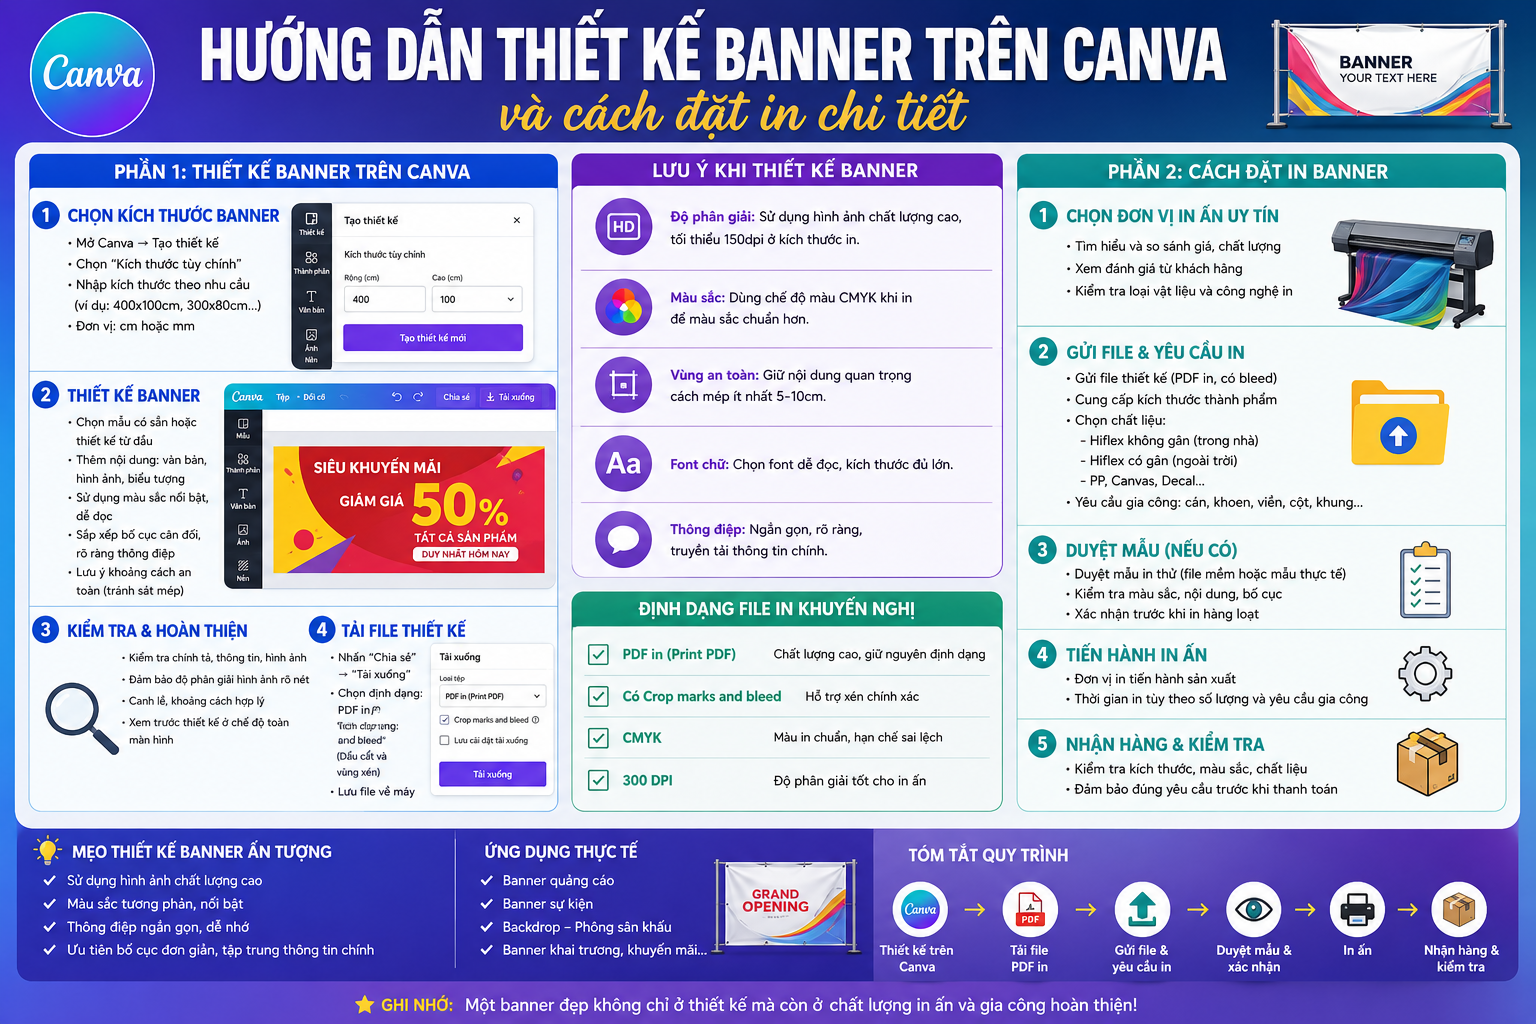
A step-by-step guide to setting up a standard large-format print design in Canva.
Nội dung
- 1. Understand the specifics of large format printing.
- 2. Prioritize vector graphics.
- 3. Choose the appropriate resolution.
- 4. Design based on viewing distance
- 5. Set up bleed and safe zone.
- 6. Setting the size in Canva
- 7. Understanding the limitations of Canva
- 8. Font control
- 9. Check before exporting the file.
Designing for large format printing on Canva isn''t simply about enlarging an existing design, because images, text, and graphics can become blurry or pixelated when the size is increased.
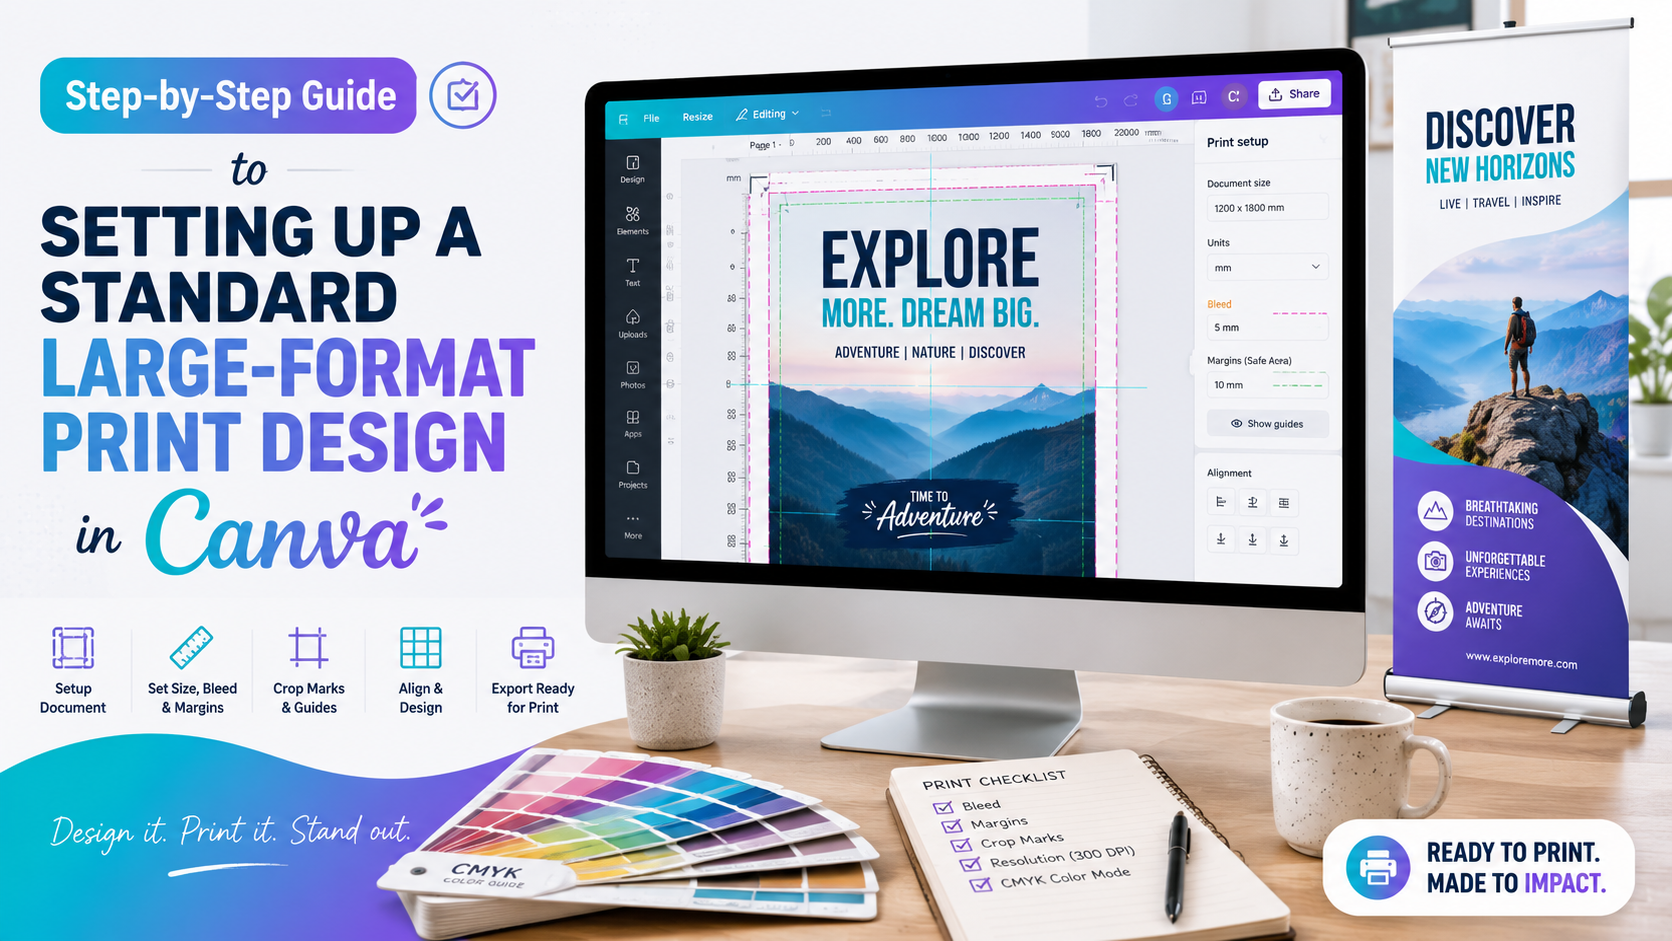
1. Understand the specifics of large format printing.
The first difference between conventional printing and large-format printing lies in the size of the finished product and the viewing distance .
A business card is typically held in hand and read from a distance of a few dozen centimeters. Meanwhile, a roll-up banner can be seen from two or three meters. Outdoor billboards can even be viewed from much greater distances.
Therefore, you can't apply the design principles of business cards or flyers to a product that's several meters wide and simply increase its size.
When designing in Canva, first determine exactly what the final product is, its size, and where it will be placed. For example, exhibition banners, event backdrops, shop signs, and vehicle decals all have different requirements.
Defining these factors from the outset helps you choose the appropriate canvas size, design ratio, and content layout.
2. Prioritize vector graphics.
One of the most important principles when preparing large-format print files is understanding the difference between vector and raster .
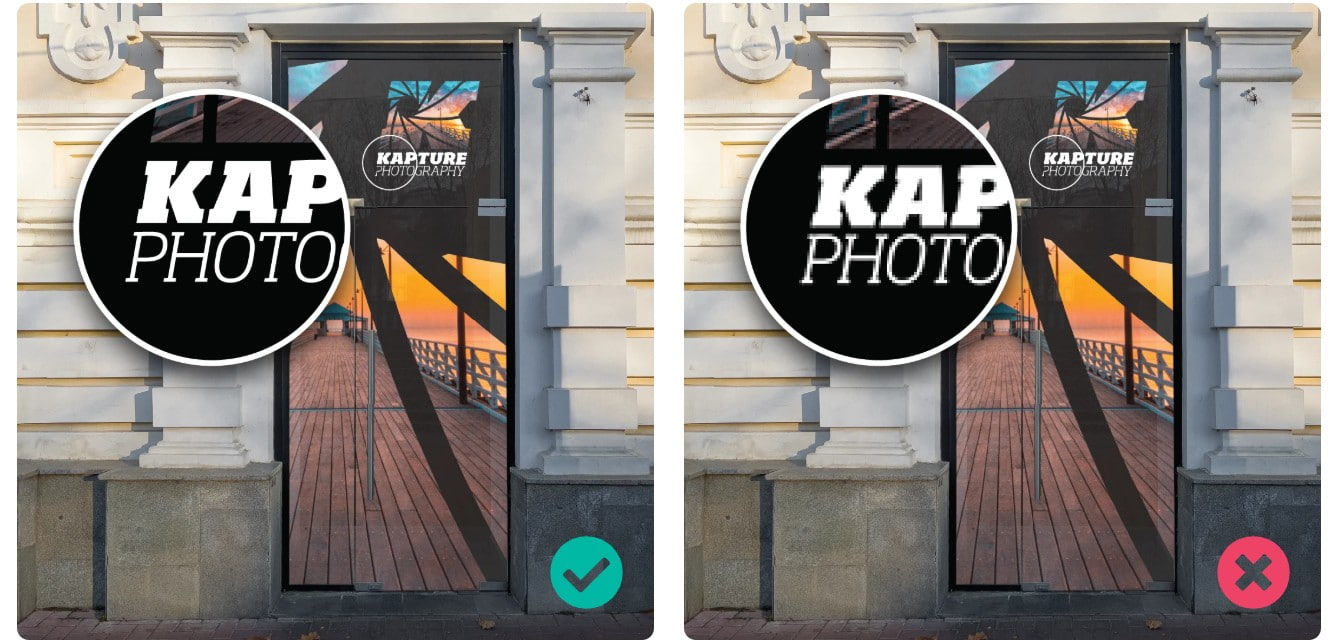
Vector graphics are made up of lines, points, and shapes based on mathematical formulas. Because of this, they can be enlarged or reduced without losing sharpness.
Conversely, raster images like JPEG and PNG are made up of pixels. When the image size increases beyond the capabilities of the original resolution, the pixels are stretched and the image begins to blur or pixelate.
For large-format printing, logos, icons, text, and illustrations that can be created as vectors should be used in vector format whenever possible.
For example, a vector logo can be used on business cards, banners, signs, or vehicle graphics while maintaining sharp lines. This is why professional vector files are often preferred for large-format print projects.
However, photographs are a different case. Photographs are inherently raster images, so they cannot be converted to vector images in the usual way while retaining their original characteristics. Instead, it is necessary to ensure that the image resolution is appropriate for the size and viewing distance of the product.
3. Choose the appropriate resolution.
A common misconception is that the larger the product, the higher the resolution of the design file should be. In reality, this isn't entirely true.
With large-format printing, products are often viewed from a distance, so the resolution requirements may be lower compared to products viewed from a close distance.
Depending on the finished product size and viewing distance, artwork at approximately 100–150 DPI at actual size can usually adequately meet many large-format printing needs.
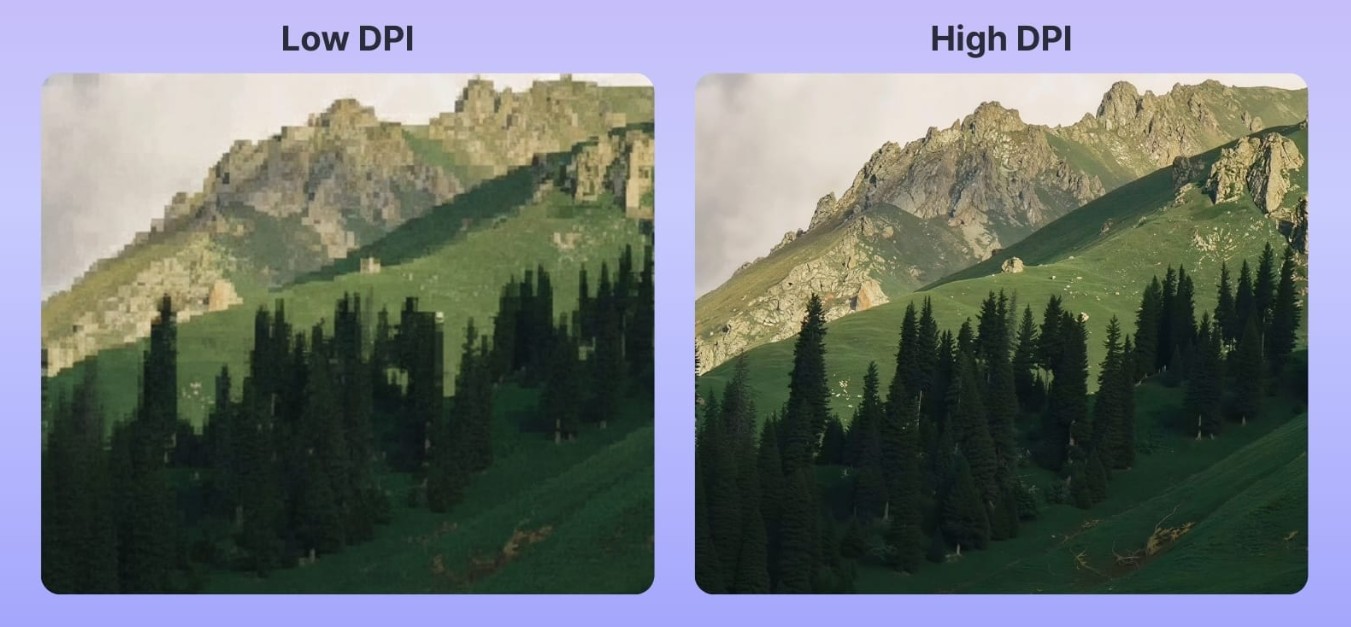
This also helps avoid creating excessively large files, which can make editing, exporting, or uploading them to the system difficult.
For example, if a design is too large for Canva or a computer to process, it can be scaled down, such as to 50% of the final product size , while adjusting the resolution accordingly to ensure a comparable output.
It's important to agree on the specifications with the printing company before starting, especially if the project is particularly large. Don't automatically choose the highest resolution just because you think it will always produce a better print.
4. Design based on viewing distance
The distance from the viewer to the product directly determines the font size and the amount of information that should be included in the design.
A business card can use small font because the reader holds the product right in front of their eyes. Meanwhile, a banner placed at the entrance of an event needs a headline large enough for viewers to recognize the content from several meters away.
As the viewing distance increases, increase the headline size, use stronger color contrast, and simplify the message.
A good banner should convey the main information in just a few seconds. Passersby don't have much time to stop and read a long paragraph.
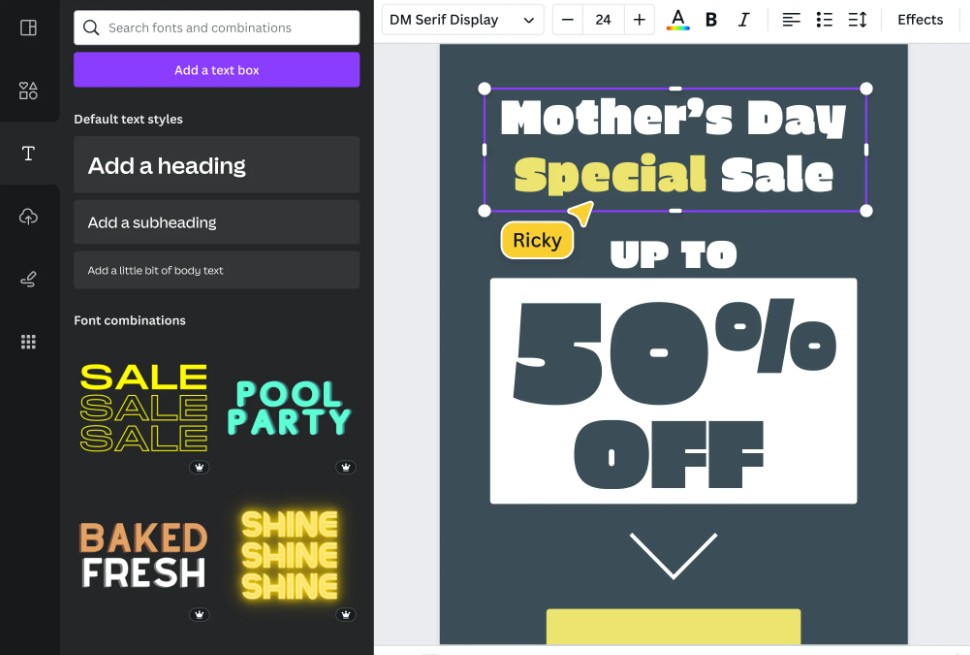
Therefore, instead of cramming too much content into a large design, identify the most important message. The brand name, product, program, offer, or call to action should be prioritized in terms of size and placement.
In Canva, you can build a clear hierarchy by using large headings, smaller subheadings, and reasonable spacing between elements.
5. Set up bleed and safe zone.
Bleed refers to an extended design area that goes beyond the finished product size to avoid white borders during cutting. However, for large-format products, in addition to bleed, designers must also pay special attention to the safe zone .
The reason is that many large-sized products are not only cut but also undergo other finishing processes.
For example, banners can be hemmed, grommets can be punched, pockets can be created for inserting rods, or a hanging system can be used. These elements can obscure or reduce the visible area of the design.
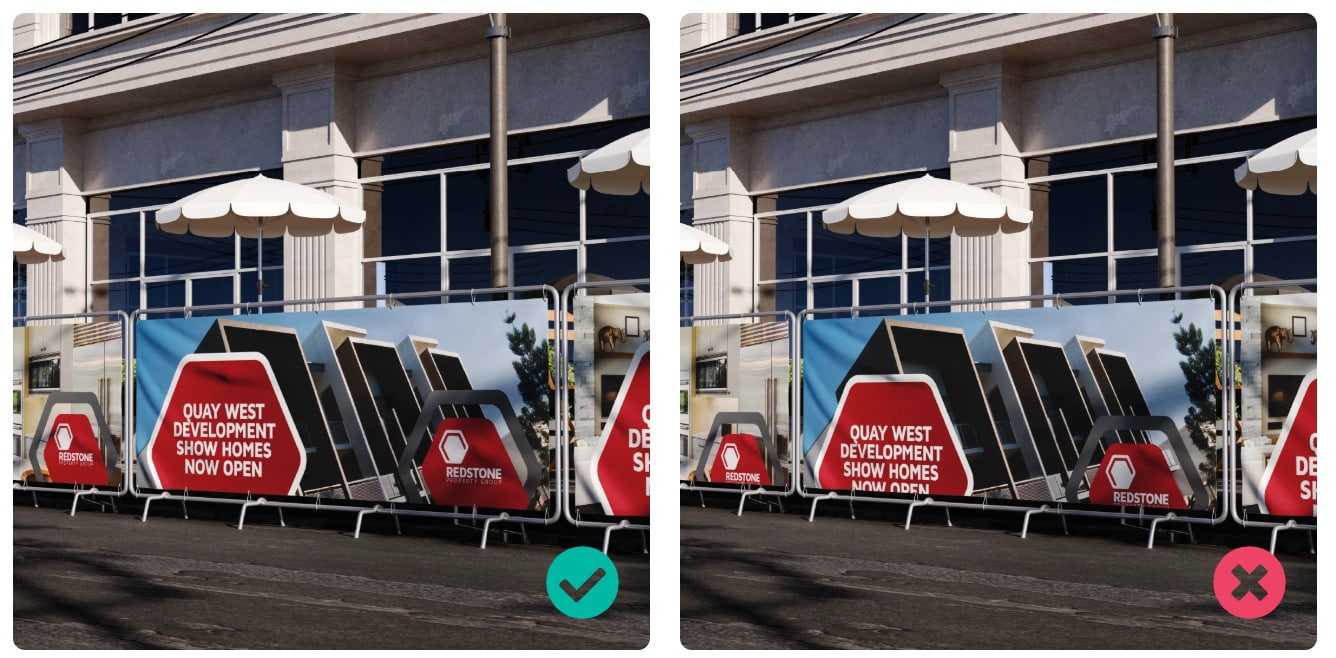
Therefore, logos, titles, phone numbers, website addresses, or other important information should not be placed too close to the edge.
When designing in Canva, ensure that important elements are deep enough within the final product size. The background and images that need to be fully covered can be dragged outside the cropping area to create bleed.
However, the specific safe zone distance is not always the same. Banners with eyelets, banners with stitched edges, or products using pole pockets may have different finishing requirements.
Therefore, before finalizing the file, check the product specifications with the printing company.
6. Setting the size in Canva
After determining the final product dimensions, create the design in Canva with the appropriate dimensions.
If the product dimensions fall within the limits supported by Canva, you can directly enter the desired width and height when creating the design.
However, for very large products, Canva may not allow creating canvases at the actual size. In that case, scaling down is necessary.
For example, if the design needs to be printed at a very large size, you can work at a 1:2 ratio , which is 50% of the finished product size. When submitting the file, you need to clearly state the design ratio so that the printing company can process it correctly.
It's important to maintain the correct width-to-height ratio. If the design is stretched unevenly when scaled up, images, logos, and geometric elements may become distorted.
Therefore, before you begin, record the finished product dimensions and design proportions. For example:
Finished product size: 400 × 200 cm
Scale ratio: 1:2
Design file size: 200 × 100 cm
This setup makes it easier for designers and printers to understand exactly how the file needs to be processed.
7. Understanding the limitations of Canva
Canva is a convenient design tool suitable for a wide range of projects. Users can quickly create banners, posters, standees, backdrops, and other promotional materials without needing complex professional software.
However, Canva still has limitations when working with extremely large canvas designs.
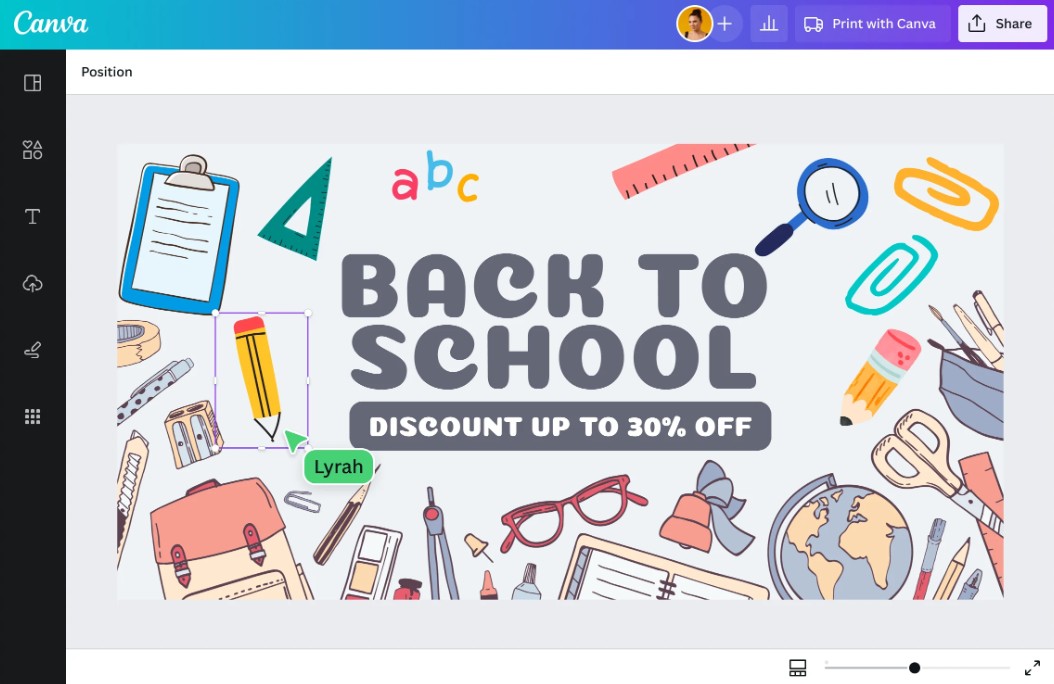
An excessively large canvas can exceed the platform's size limits, forcing users to design at a reduced scale. Additionally, many designs exported from Canva may contain raster elements. This means that logos or text may not necessarily retain their professional vector characteristics when used at very large sizes.
That doesn't mean Canva isn't suitable for large-format print design. On the contrary, Canva remains an effective choice for many projects. The key is for users to understand the tool's limitations and choose the right approach.
If the product requires extremely high precision, professional vector graphics, or exceptionally large dimensions, specialized design software or prior consultation with the printing company may be necessary.
8. Font control
If submitting a PDF file, ensure the font is embedded within the document following the appropriate file export procedure. If providing the original design file from software such as Adobe Illustrator, the font should be outlined or included as required by the printing company.
If the font is not processed correctly, the printing unit's computer may not recognize the original font. In that case, the system may automatically replace it with a different font.
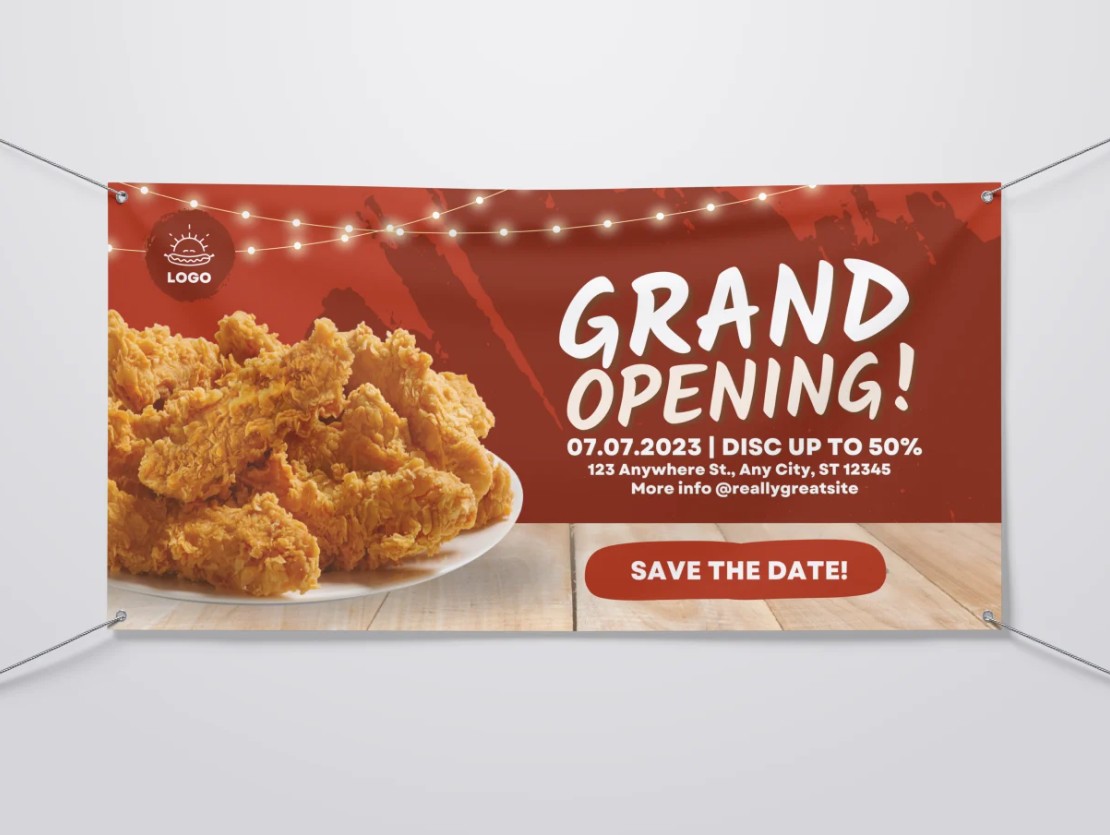
As a result, the font style, line width, character spacing, and even the entire layout can be changed.
For a large-format design, this problem is even more noticeable because the headline and typography are often very large.
Therefore, before sending the file, check the font and confirm with the printing company whether they need a complete PDF or the original design file.
9. Check before exporting the file.
Before exporting your Canva design for printing, perform a final check.
First, confirm that the dimensions and proportions are accurate for the final product. Next, check that the image is sharp enough at the intended size.
Try to visualize the product from a distance where a customer would actually see it. If this is a banner placed several meters away from the viewer, make sure the headline and important information are readable from that distance.
Next, inspect the safe zone, bleed, and areas that may be obscured by eyelets, seams, or mounting systems.
Finally, check the spelling, logo, phone number, website, colors, and font.
If the product is very large or being printed in large quantities, it is advisable to send the file to the printing company for review before production.
Canva can certainly meet many large-format design needs, as long as users understand the tool's limitations and prepare files properly. For exceptionally large products, consider designing at a reduced scale and agreeing on specifications with the printing company from the outset.





















VIP Products








Best Selling Products
Autodesk All App Account Copyright
120 USD
Adobe Photoshop Copyright - Full App
120 USD
Upgrade Genuine Office 365
49 USD
Upgrade Duolingo Super
29 USD
Copyright Adobe Lightroom Account
59 USD
MidJourney Account
29 USD
Plugin Retouch4me
69 USD
Genuine Adobe Illustrator account
99 USD
Upgrade genuine Capture One account
120 USD
Capcut Pro 1 Year
39 USD
Windows 10 & 11 Pro Key
36 USD
Genuine Cheap Canva Pro
39 USD
Freepik Premium Account
59 USD
ChatGPT Plus Account (GPT-4)
16 USD
Adobe Premiere Pro Account
99 USD