Best Selling Products

Genuine Adobe Illustrator account
99 USD

Capcut Pro 1 Year
39 USD

Adobe Premiere Pro Account
99 USD

Windows 10 & 11 Pro Key
36 USD

MidJourney Account
29 USD

Upgrade Duolingo Super
29 USD

Plugin Retouch4me
69 USD

Upgrade Genuine Office 365
49 USD
Autodesk All App Account Copyright
120 USD
Adobe Photoshop Copyright - Full App
120 USD

Genuine Cheap Canva Pro
39 USD

Freepik Premium Account
59 USD
Copyright Adobe Lightroom Account
59 USD
Upgrade genuine Capture One account
120 USD

ChatGPT Plus Account (GPT-4)
16 USD
Camera Self-Timer and 5 Effective Ways to Make the Most of It
Nội dung
The self-timer mode is available on almost every camera model today, from compact cameras and mirrorless cameras to DSLRs. Many people only consider it a feature for selfies or group photos, but in reality, its applications are much broader. Essentially, the self-timer is a preset delay between the moment you press the shutter button and the moment the shutter actually operates. This brief delay helps you handle situations that ordinary shooting methods may struggle with, from eliminating camera shake to including yourself in the frame. Below are five ways to use the self-timer to noticeably improve your photo quality.
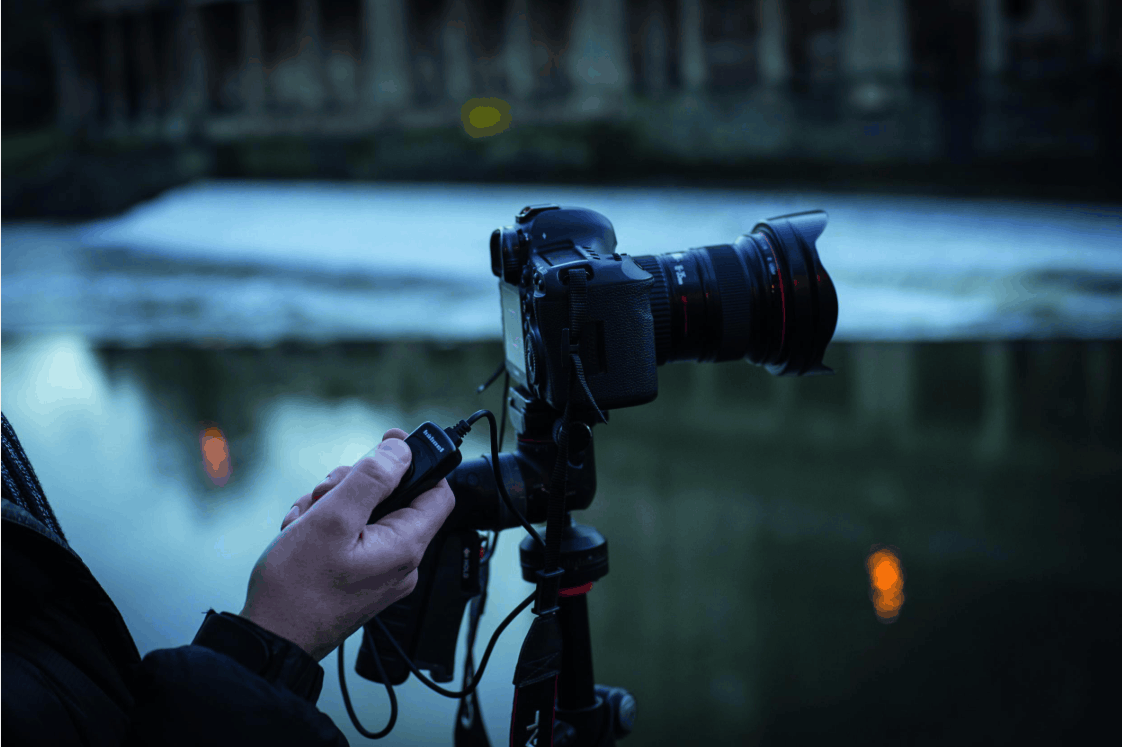
1. More Stable Close-Up Photography
Close-up photos, especially macro shots of flowers, insects, or small details, are extremely sensitive to vibrations. At close shooting distances, the depth of field is already shallow, and even a slight movement when you press the shutter button can shift the focus area, causing important details to become blurry. This is why many photographers mount their cameras on tripods when taking close-up shots.
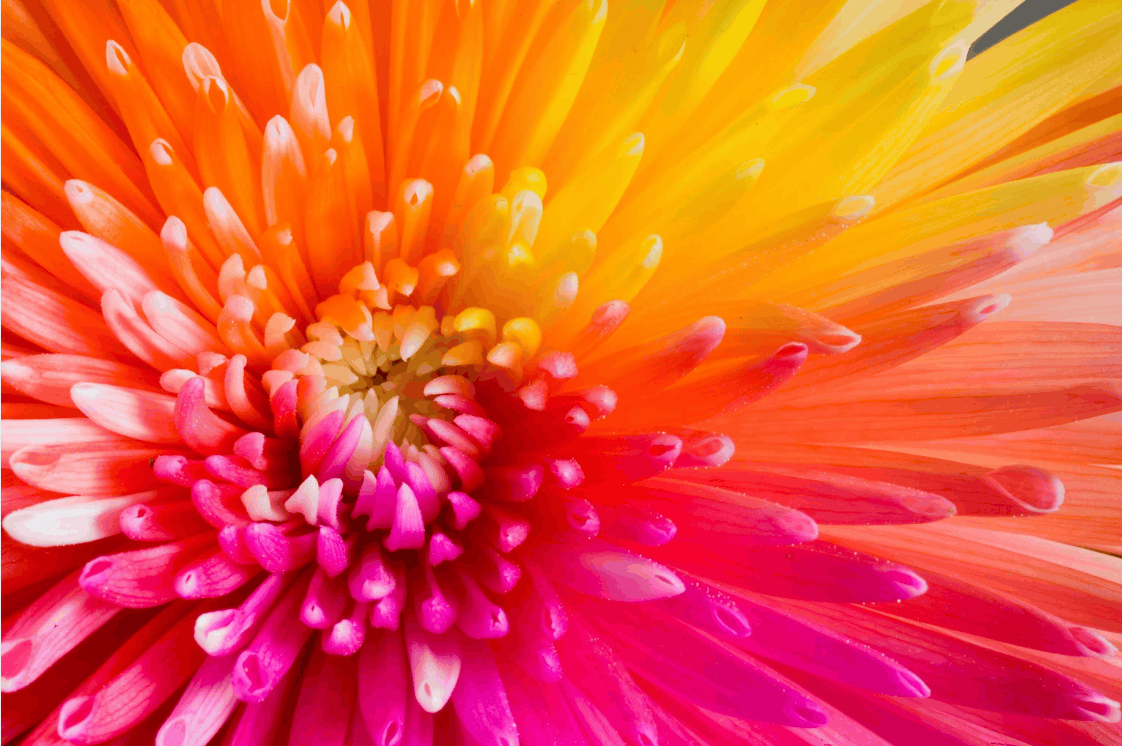
However, even when using a sturdy tripod, pressing the shutter button directly with your finger still transfers a small amount of vibration to the camera body. The traditional solution is to use a remote shutter release cable, but not everyone carries this accessory with them. At this point, the self-timer mode becomes an effective and completely free alternative. You simply need to place your camera on a tripod or a stable surface, turn on the self-timer, and press the shutter button. By the time the shutter operates, your hand will have been away from the camera for a while, meaning there is no longer any contact that could cause vibration.
One small tip is that you do not necessarily have to use the default 10-second delay. For the purpose of preventing camera shake, waiting too long will only slow down your workflow, especially when shooting outdoors in windy conditions and photographing a subject that is swaying. Most cameras provide shorter delay options, usually 2 seconds, which is enough for vibrations caused by pressing the shutter button to disappear while still allowing you to work efficiently. Check your camera's menu to find these short self-timer options.
2. Self-Portraits and Group Photos
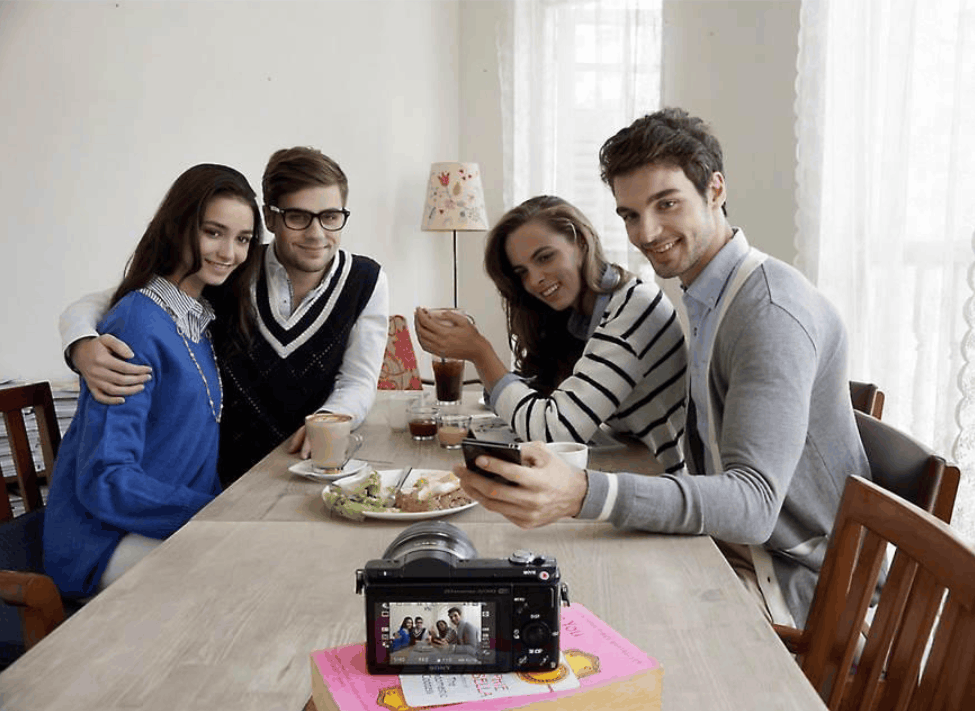
This is the most popular application of the self-timer mode and also the simplest way to take natural-looking portraits. Instead of having to hold the camera at arm's length, resulting in an awkward angle and a tense expression, you can place the camera in your desired position, turn on the self-timer, press the shutter button, and then step into the frame. The delay gives you time to stabilize your posture, adjust your outfit, and prepare a comfortable expression before the shutter operates. The result is a photo with an intentional composition rather than a selfie limited by the length of your arm.
For group photos, the self-timer is equally useful. During family gatherings, trips, or parties with friends, the person holding the camera is often the one missing from the photo. By arranging everyone in position, leaving some space for yourself, turning on the self-timer, and quickly stepping into the frame, you can ensure that you are also included in the shared memory. This method also helps you avoid asking strangers to hold your camera for you, which can waste time explaining what to do and may result in disappointing photos. It can even involve risks when handing an expensive device to someone you do not know.
To make this method effective, choose a self-timer setting that suits the number of people and the distance you need to move. If the group is large and you have to walk around several people, a 10-second delay will be more comfortable. Many modern cameras also have a continuous self-timer mode that takes several shots after a single press, giving you more choices of expressions and eliminating frames in which someone has their eyes closed.
3. Capturing Sharp Photos in Low Light
When lighting is poor, the camera needs a longer exposure time to capture enough light. A slow shutter speed means that even the slightest vibration will be recorded as a blur in the photo. This is a situation where the self-timer works just as effectively as it does in close-up photography, but the consequences of camera shake can be even more noticeable.
Imagine that you are walking through a shady forest in autumn, where the light is almost completely blocked by the tree canopy, and you want to take close-up photos of clusters of mushrooms growing beneath the leaves. The shutter speed may become very slow, and pressing the shutter button by hand will almost certainly make the photo blurry. If you place your camera on a tripod, or even simply rest it on a small bag placed on the ground, and then use the self-timer to activate the shutter, you can eliminate the most common source of vibration. Just like before, you do not need to wait too long. A delay of around 2 to 3 seconds is enough to ensure that the camera is completely stable before the exposure begins.
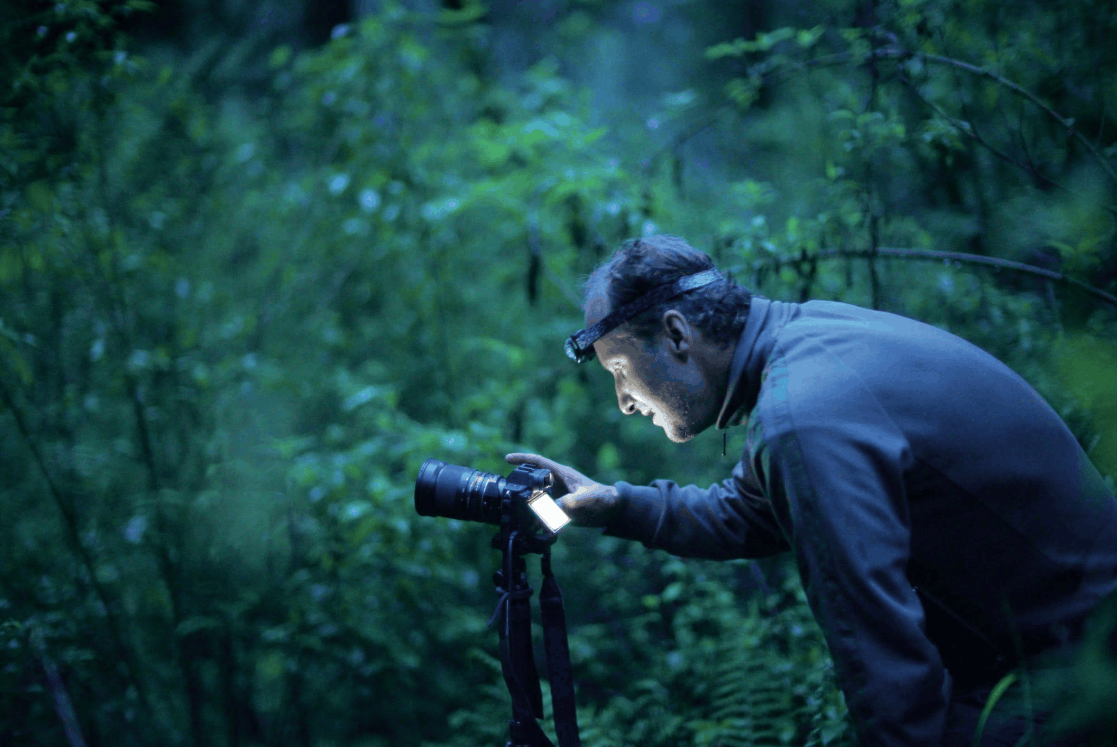
This technique also works well for many other genres, such as night photography, architectural photography at sunset, and low-light interior photography. Combining the self-timer with a sturdy tripod allows you to keep the ISO sensitivity low, thereby reducing image noise and preserving image detail.
4. Checking the Focus Point
The self-timer helps you do many things, but it also introduces an easily overlooked issue: focusing. When taking a self-portrait, at the moment you press the shutter button, you are standing behind the camera, and there is no one in the frame. The camera will automatically focus on the nearest object or the object with the highest contrast, which is usually the background behind you. As a result, when you step into position, you may discover that you are blurry while the background is sharp.
The solution is quite simple. First, determine where you will stand, then point the camera at an object located at the same distance, such as a chair or a bottle of water. Half-press the shutter button to lock focus, keep it pressed, and reposition the camera to restore your desired composition. Then press the button all the way down to activate the self-timer and run into position. Another method is to switch to manual focus after locking focus so that the camera does not automatically readjust it.
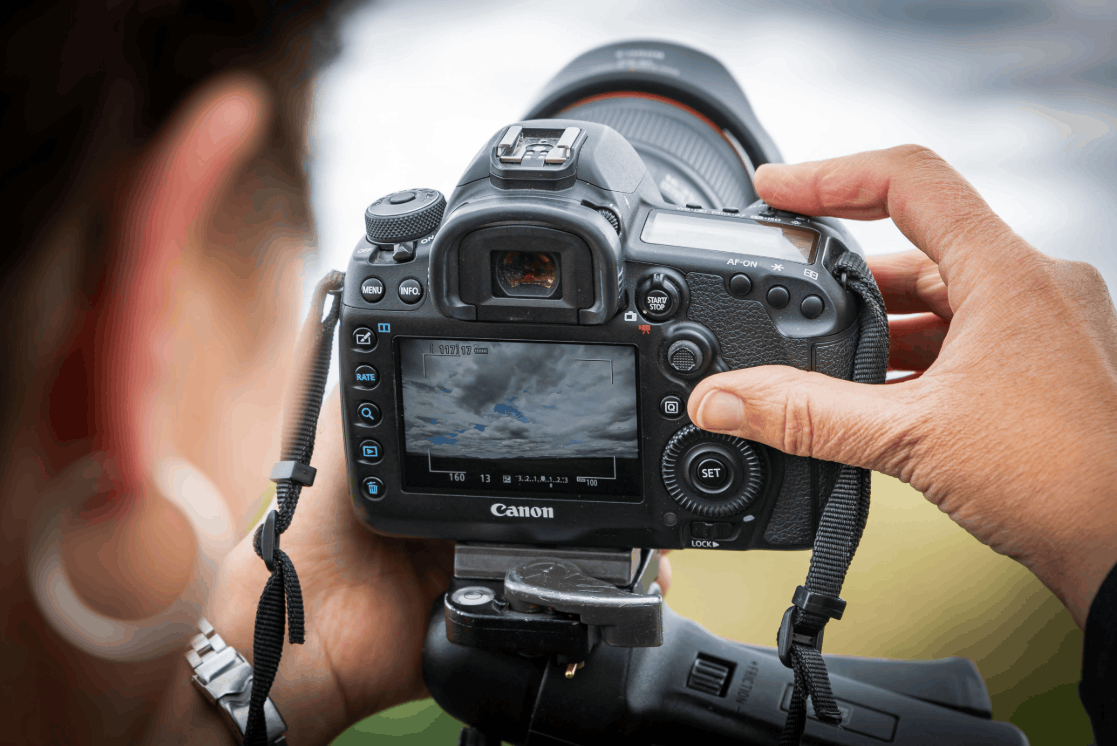
For group photos, this problem is easier to handle. If you plan to stand in the middle of the group, focus on someone standing at the edge because their distance from the camera is similar to yours. Conversely, if you are going to stand at the edge of the group, focus on the person standing in the middle. This method ensures that the entire group, including you, remains within the focus area. Using a slightly smaller aperture, such as f/5.6 or f/8, also helps increase the depth of field and provides an additional safety margin for minor focusing errors.
5. Checking the Edges of the Frame
The final thing to keep in mind is the overall composition, especially the edges of the frame. When using the self-timer, you often have to place the camera on a temporary surface such as a table, chair, railing, or the ground, and you will not have an opportunity to readjust it after running into the frame. Therefore, every compositional mistake needs to be carefully checked before pressing the shutter button.
A common mistake occurs when taking group photos at a restaurant or bar and using a nearby table to support the camera. If the camera is set to a wide angle, the lens may capture the edge of the table at the bottom of the frame, creating an unattractive obstructing line in the photo. The solution is to move the camera as close to the edge of the table as possible while ensuring that it remains balanced and is not at risk of falling onto the floor. Always prioritize the safety of your equipment before thinking about composition.
The second issue is camera height. When placed on a low surface, the shooting angle is often too low compared with the eye level of the group, resulting in people's heads being cut off, their feet being missing, or too much of the ceiling taking up the frame. If you encounter this situation, you can slightly tilt the camera up or down by placing a small object underneath it, such as a wallet, notebook, or hat, to ensure that everyone fits comfortably within the frame. With cameras featuring a flip-out screen or a preview function via a smartphone, you can also check the frame before stepping into position, significantly reducing the time spent on trial and error. Taking a test shot and quickly reviewing it on the screen is always more worthwhile than discovering mistakes after everyone has already dispersed.
6. Conclusion
The self-timer mode may seem simple, but when used correctly, it is a very effective tool in any photographer's skill set. From keeping the camera stable when shooting close-ups and in low-light conditions to including yourself in memorable moments, everything starts with a small setting in the camera menu. More importantly, paying attention to details such as the focus point and the edges of the frame is essential, because that is where small mistakes often occur. Take a few minutes to familiarize yourself with the self-timer settings on your camera, experiment in different situations, and you will soon see how this familiar feature can help you take much sharper photos with greater control.
















VIP Products





Best Selling Products
Genuine Adobe Illustrator account
99 USD
Capcut Pro 1 Year
39 USD
Adobe Premiere Pro Account
99 USD
Windows 10 & 11 Pro Key
36 USD
MidJourney Account
29 USD
Upgrade Duolingo Super
29 USD
Plugin Retouch4me
69 USD
Upgrade Genuine Office 365
49 USD
Autodesk All App Account Copyright
120 USD
Adobe Photoshop Copyright - Full App
120 USD
Genuine Cheap Canva Pro
39 USD
Freepik Premium Account
59 USD
Copyright Adobe Lightroom Account
59 USD
Upgrade genuine Capture One account
120 USD
ChatGPT Plus Account (GPT-4)
16 USD