Best Selling Products

Upgrade Duolingo Super
29 USD
Upgrade genuine Capture One account
120 USD
Adobe Premiere Pro Account
99 USD
Autodesk All App Account Copyright
120 USD
Plugin Retouch4me
69 USD

ChatGPT Plus Account (GPT-4)
16 USD
Upgrade Genuine Office 365
49 USD
Genuine Cheap Canva Pro
39 USD
Adobe Photoshop Copyright - Full App
120 USD
Genuine Adobe Illustrator account
99 USD

Freepik Premium Account
59 USD
Capcut Pro 1 Year
39 USD

MidJourney Account
29 USD
Windows 10 & 11 Pro Key
36 USD
Copyright Adobe Lightroom Account
59 USD
CapCut Color Correction Formula for Stunning Photos and Videos, Easy to Apply for Beginners
Nội dung
- 1. A compilation of beautiful CapCut color correction formulas for photos and videos.
- 1.1. Formula for adjusting the color of a clear blue sky with white clouds
- 1.2. Formula for adjusting the color of natural outdoor scenes
- 1.3. Classic Vintage Color Correction Formula
- 1.4. Formula for elegant and sophisticated color correction.
- 1.5. Gentle color correction formula for beach travel photos
- 1.6. Formula for adjusting colors to warm, muted tones
- 2. Instructions on how to adjust CapCut colors using built-in filters
- 3. Instructions on adjusting CapCut colors using the customization tool.
- 4. Tips for adjusting CapCut colors to look more beautiful and natural.
- 5. Upgrade CapCut in Sadesign for a more convenient editing experience.
- 6. Conclusion
A beautiful photo or captivating video depends not only on the shooting angle but also on the color scheme. With CapCut, you can easily transform ordinary images into visually stunning films, ranging from fresh and gentle styles to nostalgic vintage or sophisticated muted tones. If you''re unsure where to start, check out the CapCut color correction formulas below. The parameters are presented clearly and are easy to apply, even for beginners. Let''s explore them with Sadesign!
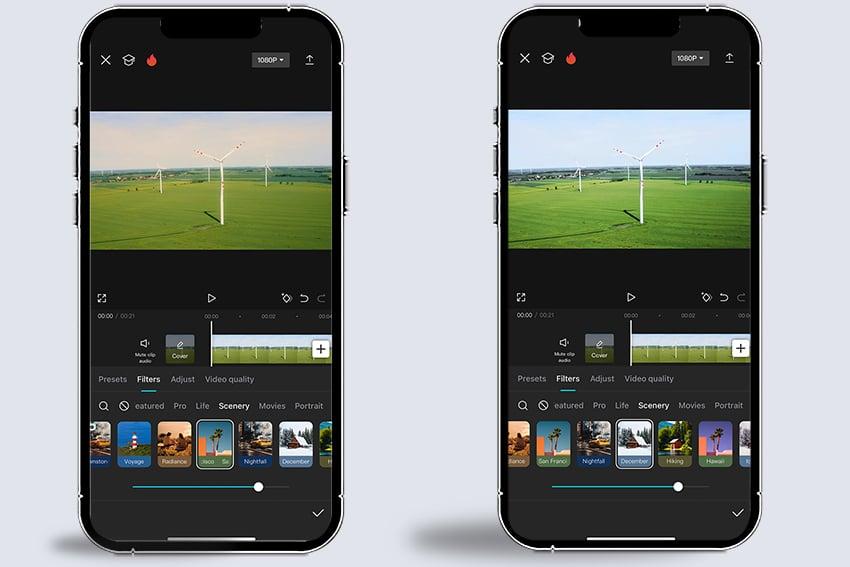
1. A compilation of beautiful CapCut color correction formulas for photos and videos.
Each color grading style brings a unique feel to images and videos. Depending on the context, lighting, and personal preference, you can choose the appropriate formula to create a harmonious overall effect. Below are 6 beautiful CapCut color grading formulas that you can save and use when needed.
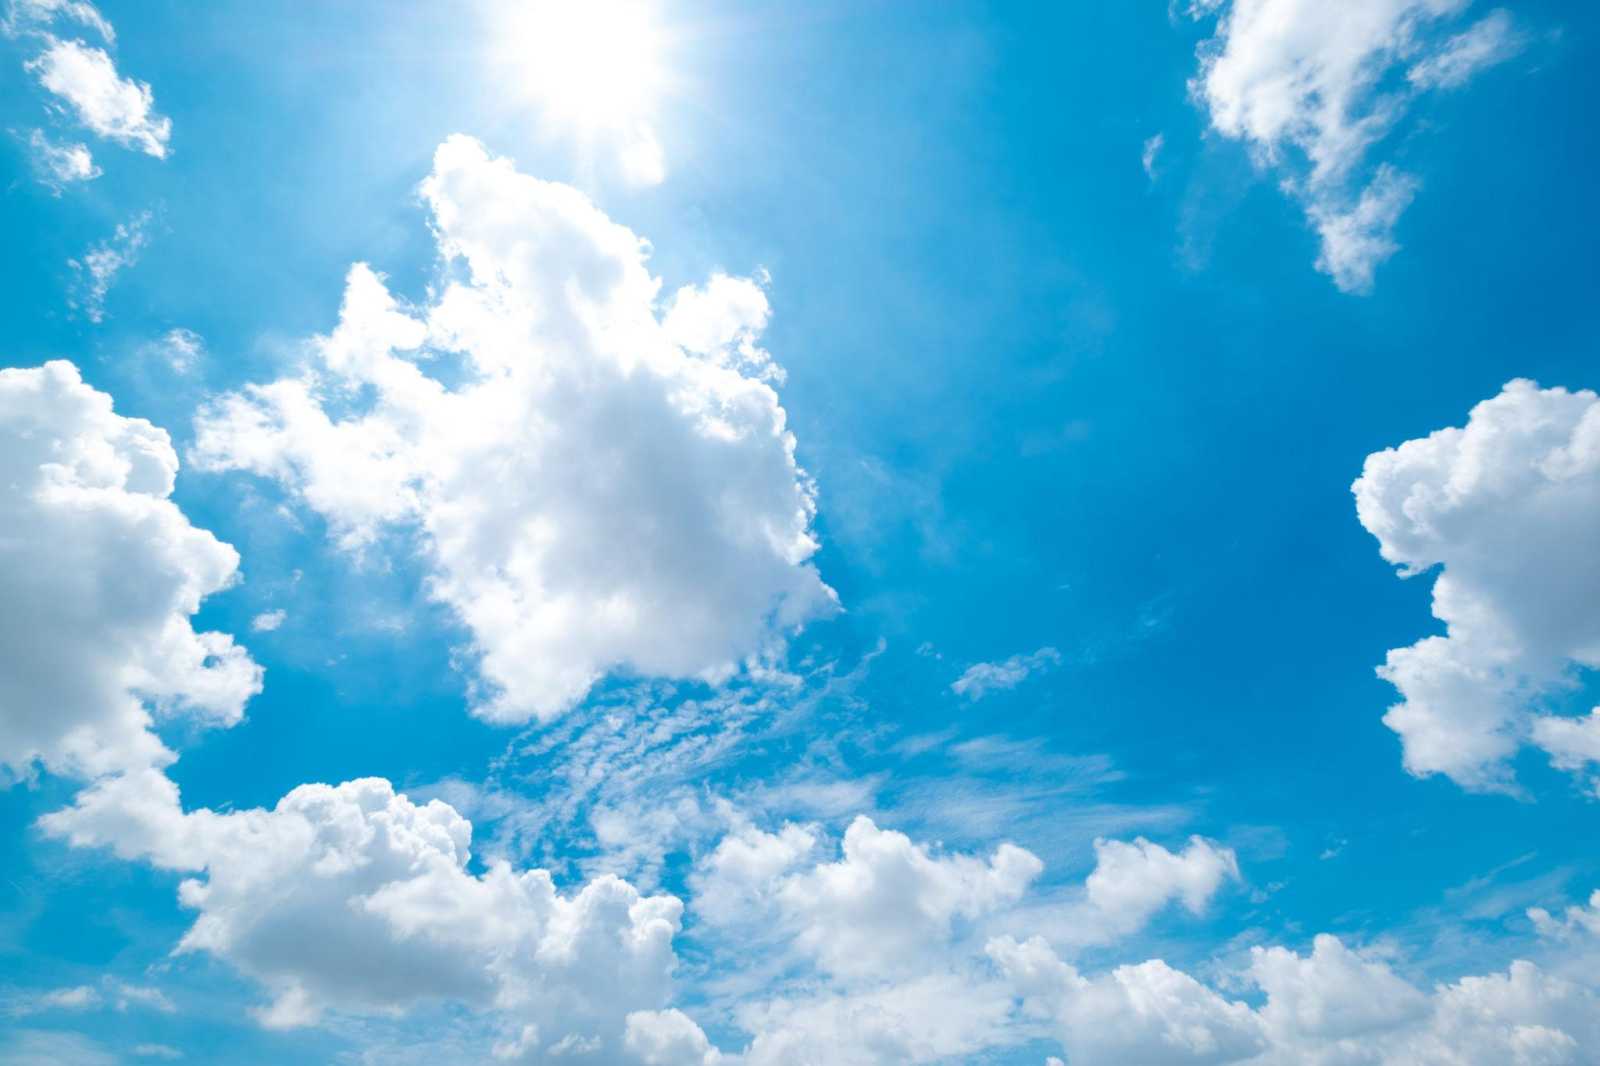
1.1. Formula for adjusting the color of a clear blue sky with white clouds
Photos with blue skies and white clouds will stand out even more when the color tones are adjusted correctly. This technique focuses on making the sky bluer, increasing saturation, and reducing brightness to create depth in the image. This is a suitable option for landscape photos, outdoor shots, or videos capturing sunny days.
Suggested color correction parameters:
-
Brightness: -20.
-
Contrast: +31.
-
Saturation level: +50.
-
Exposure: -38.
-
Focus: +21.
-
Highlights: -28.
-
Temperature: -15.
-
Tone: -25.
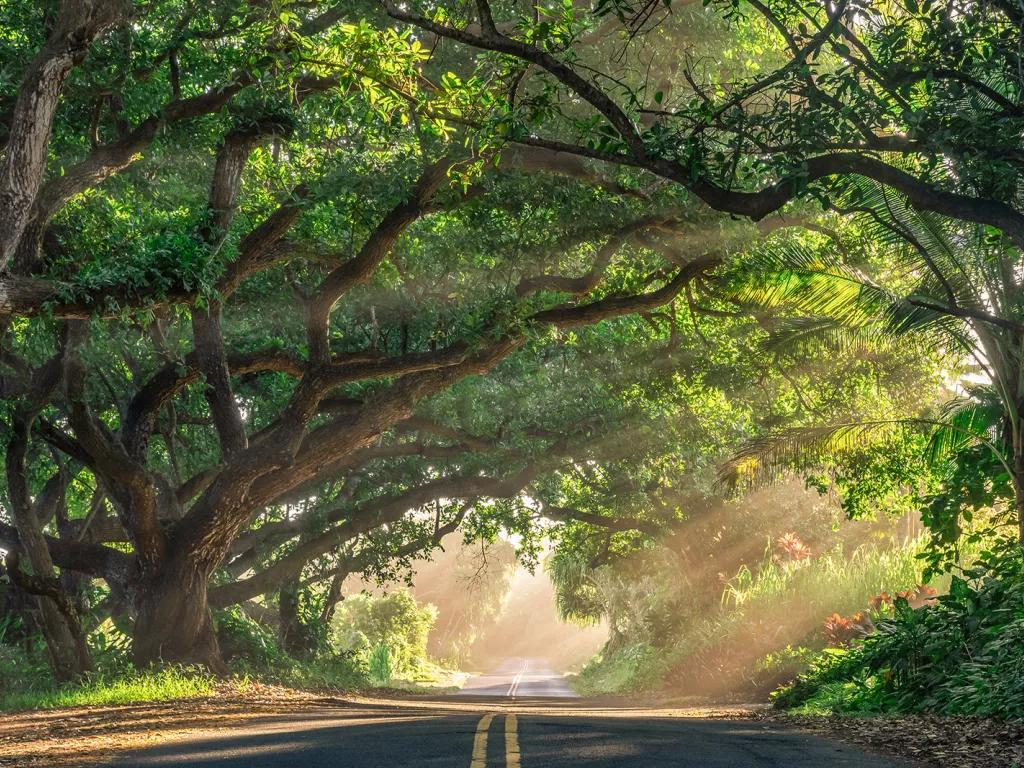
1.2. Formula for adjusting the color of natural outdoor scenes
If you frequently take photos while out and about, strolling around, or traveling, you can try this outdoor color correction technique. The color tone is adjusted towards bolder tones, making the scenery clearer and more appealing. In particular, a high focus setting helps highlight details in the frame.
Suggested color correction parameters:
-
Brightness: -50.
-
Contrast ratio: -50.
-
Saturation level: +30.
-
Exposure: -35.
-
Focus: +100.
-
Highlights: -50.
-
Tone: +25.
1.3. Classic Vintage Color Correction Formula
Vintage style always has a unique appeal thanks to its nostalgic, gentle, and somewhat romantic feel. This technique helps to tone down colors, reduce strong contrast, and create a look similar to photos taken with a film camera. You can use it for portraits, cafe photos, street scenes, or travel videos.
Suggested color correction parameters:
-
Brightness: -50.
-
Contrast ratio: -50.
-
Saturation level: +20.
-
Exposure: -20.
-
Focus: +50.
-
Highlights: -50.
-
Tone: -20.

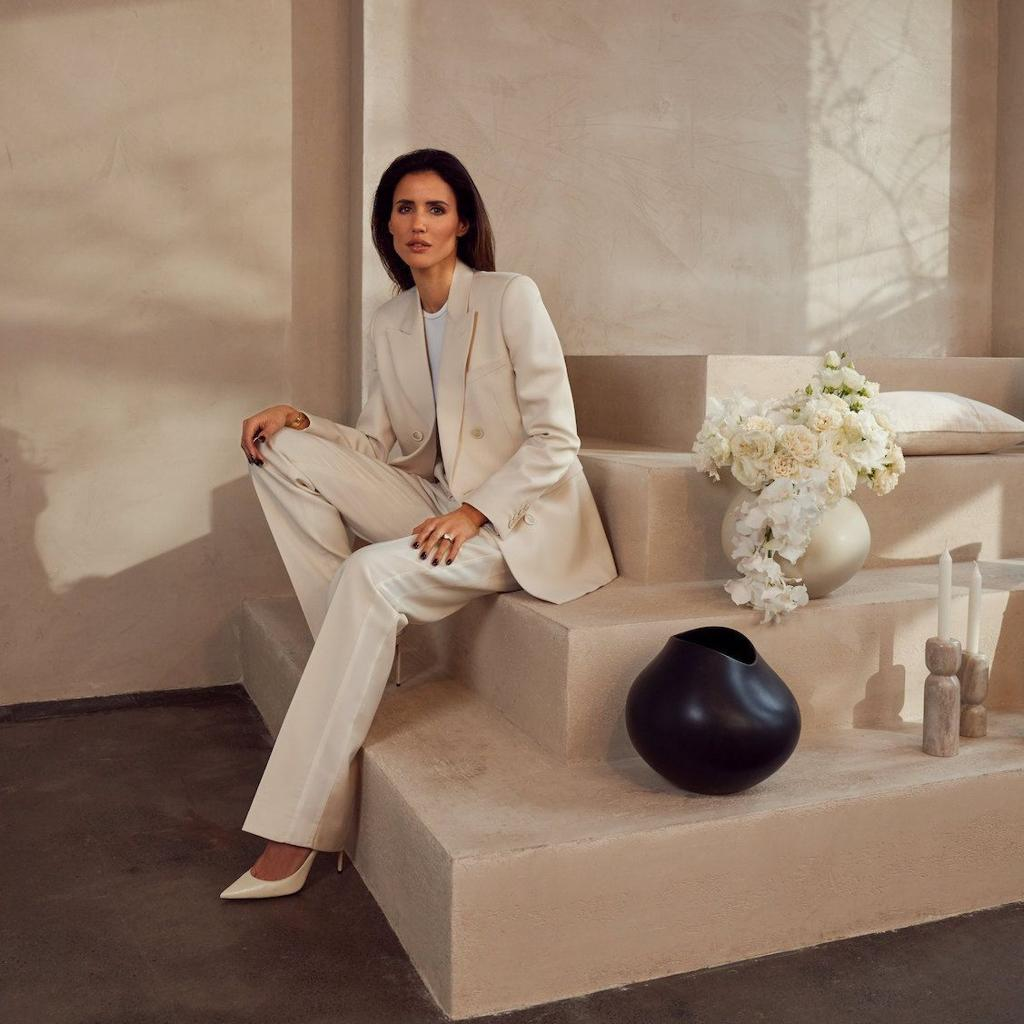
1.4. Formula for elegant and sophisticated color correction.
If you prefer elegant, deep, and not overly vibrant images, you should try a muted color palette. This formula combines low saturation with relatively high sharpness, helping the image retain its subtlety. Besides portraits, you can also apply this to fashion videos, cosmetics, or photo shoots at cafes.
Suggested color correction parameters:
-
Brightness: -30.
-
Contrast ratio: -35.
-
Saturation level: +8.
-
Exposure: +20.
-
Focus: +80.
-
Highlights: +20.
-
Seeds: +21.
-
Blur: +20.
1.5. Gentle color correction formula for beach travel photos
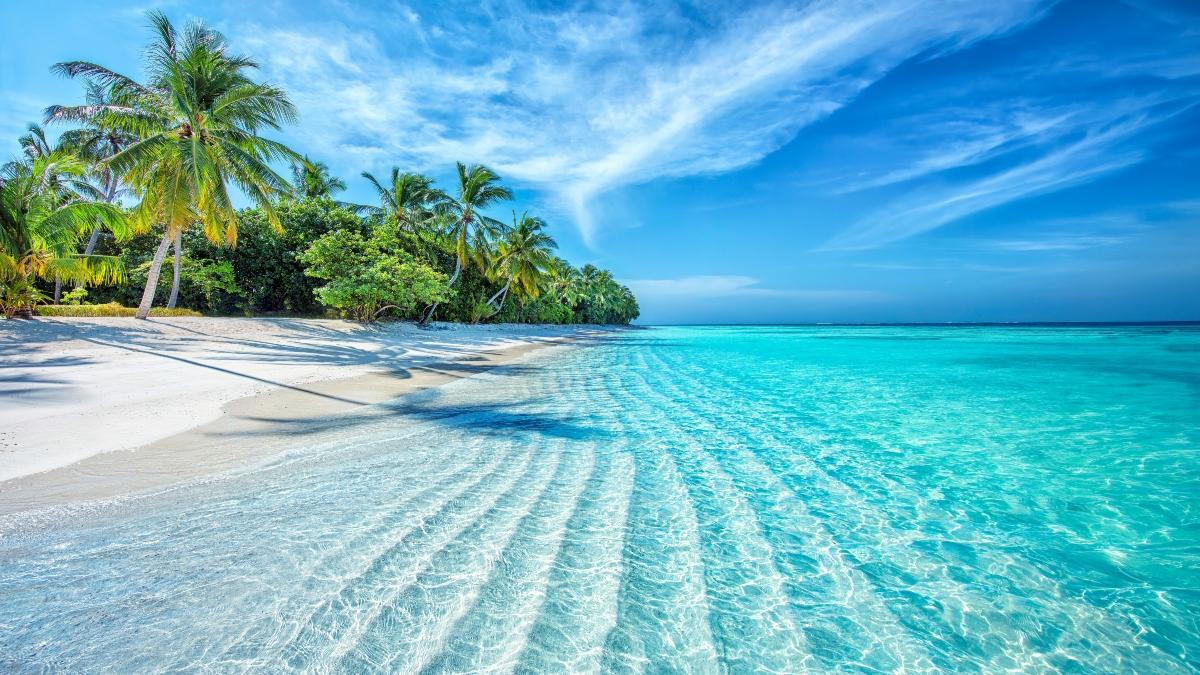
Beach trips often feature bright sunlight and the blue of the water and sky. To make the images look softer, you can reduce highlights, increase sharpness, and add a touch of grain. This color scheme creates a natural, relaxing feel, perfect for trip recap videos or summer photo albums.
Suggested color correction parameters:
-
Brightness: -50.
-
Contrast ratio: -50.
-
Saturation level: +20.
-
Exposure: +12.
-
Focus: +100.
-
Highlights: -25.
-
Seeds: +25.
1.6. Formula for adjusting colors to warm, muted tones
The muted and warm color palette is perfect for those who love a cinematic style or want to create a sense of intimacy in their images. Reducing brightness, contrast, and highlights softens the colors, while the grain effect adds a nostalgic touch. You can use this formula for coffee shop videos, street photography, or everyday moments.
Suggested color correction parameters:
-
Brightness: -50.
-
Contrast ratio: -50.
-
Saturation level: +20.
-
Exposure: -50.
-
Focus: +100.
-
Highlights: -50.
-
Tone: -20.
-
Seeds: +20.

2. Instructions on how to adjust CapCut colors using built-in filters
If you're unfamiliar with adjusting individual parameters, using built-in filters is a simple way to refresh your photos and videos. CapCut offers many filter groups with different styles, saving you time while still creating eye-catching colors. Here are the steps:
-
Step 1: Open the CapCut app on your phone and select "New Project".
-
Step 2: Select the photo or video you want to color adjust from your device's library, then tap Add.
-
Step 3: In the toolbar at the bottom of the screen, find and select the Filters option.
-
Step 4: Explore the filter groups and choose a color tone that matches your desired style.
-
Step 5: Adjust the filter intensity if needed, then press the checkmark to confirm.
-
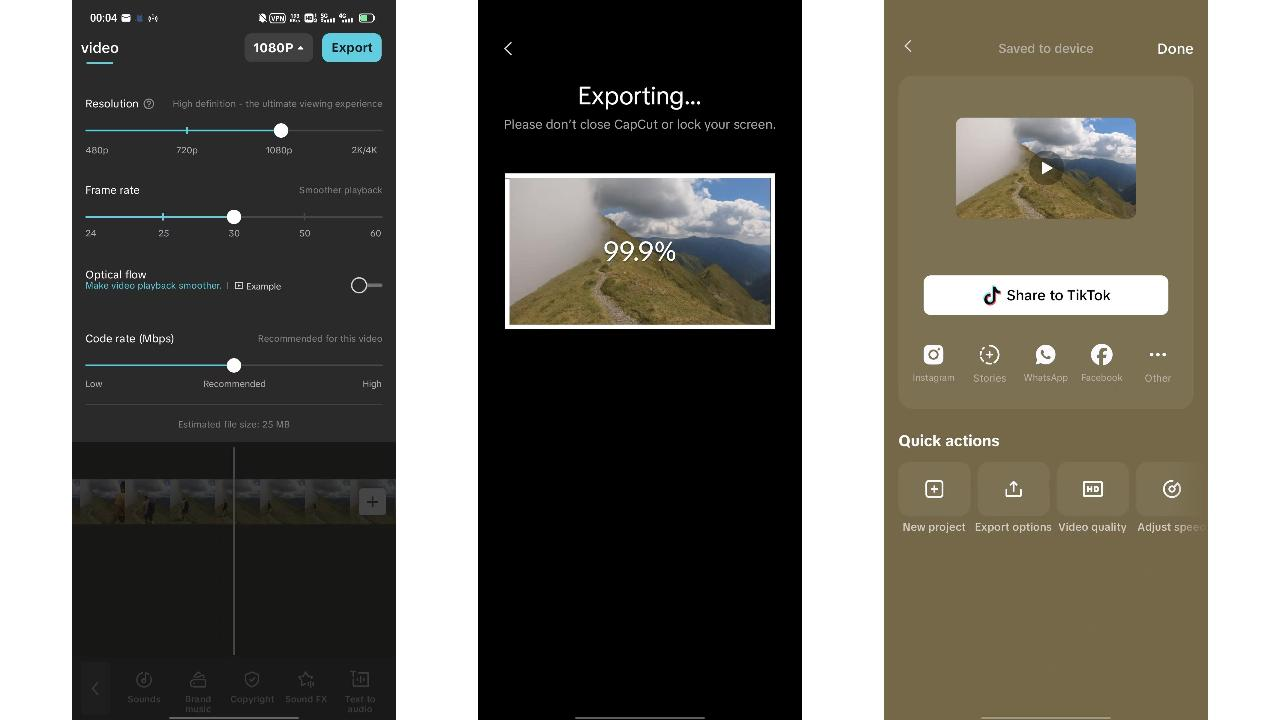
Step 6: Tap the video export icon in the upper right corner to save the finished product to your device.
3. Instructions on adjusting CapCut colors using the customization tool.
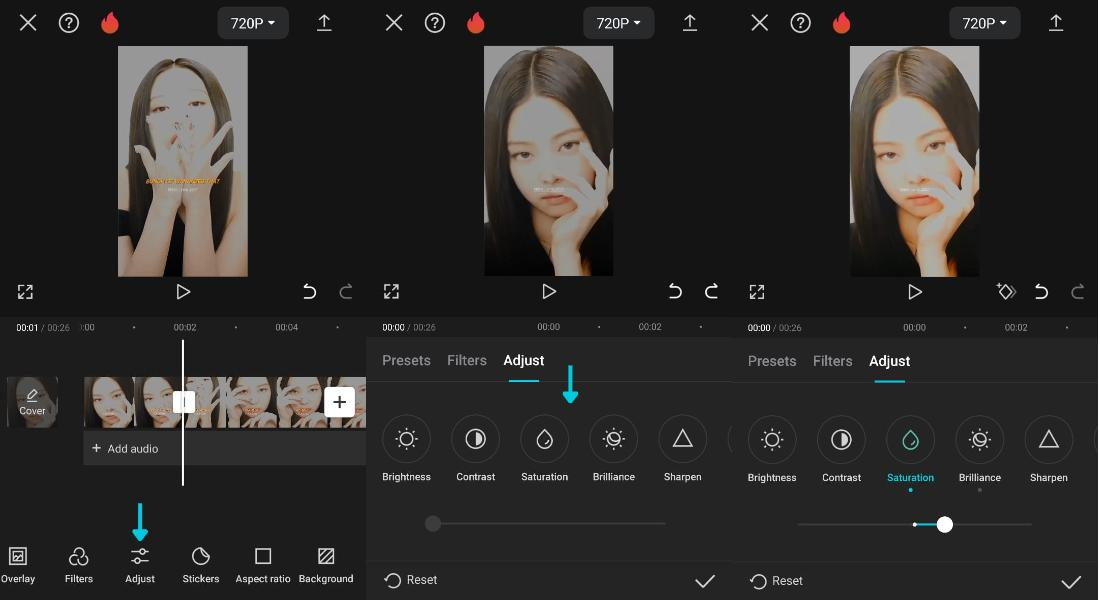
If you want to create your own style instead of relying on pre-made filters, you can use the Customize tool. This allows you to control the colors in more detail and easily apply the formulas shared above.
Here are the specific steps to follow:
-
Step 1: Access CapCut, select New Project to begin editing.
-
Step 2: Select the photo or video you want to adjust the colors of from your library and then click Add.
-
Step 3: Tap on the video or image in the timeline, then find the Adjust or Customize option, depending on your app version.
-
Step 4: Adjust parameters such as brightness, contrast, saturation, exposure, temperature, sharpness, and grain according to the desired formula.
-
Step 5: Observe the results on the preview screen and compare them to the original image to check for changes.
-
Step 6: Click the checkmark to confirm the parameters you have just edited.
-
Step 7: Continue to refine any remaining content if needed, then press Export to save the video to your device.
4. Tips for adjusting CapCut colors to look more beautiful and natural.
Knowing the formula alone isn't enough; how you use the parameters also greatly affects the quality of the final product. The following tips will help you avoid overly saturated, unnatural, or inconsistent colors across different shots.
-
Prioritize light balance first: Adjust brightness and exposure so the frame isn't too dark or overexposed.
-
Avoid excessive saturation: Overly vibrant colors can make skin tones and scenery look unnatural.
-
Pay attention to color temperature: Increasing the temperature generally creates a warmer feeling, while decreasing it gives the image a cooler tone.
-
Adjust the sharpness appropriately: Excessive sharpness can reveal noise and make the image look dull.
-
Maintain color consistency: If the video has multiple shots, try to maintain the same color style so that the overall effect doesn't feel disjointed.
-
Test on multiple screens: Display colors may vary between phones, tablets, and computers. Therefore, you should review the final product before uploading.
5. Upgrade CapCut in Sadesign for a more convenient editing experience.
If you frequently create TikTok videos, Reels content, or advertising materials, using CapCut with its suitable features will make the creative process more convenient. You can check out Sadesign's CapCut upgrade service to choose a package that meets your personal or professional editing needs.
Sadesign offers affordable upgrade services, an easy-to-understand support process, and convenient payment options. Their dedicated support team also helps users answer questions during use. This is a place you can consider if you want to optimize your video editing experience and explore additional features to suit your content creation needs.
6. Conclusion
With the CapCut color correction formulas shared in this article, you can easily transform your photos and videos into various styles, from clear and classic to elegant or warm and sophisticated. If you're a beginner, try applying the available parameters and then adjusting them flexibly according to the actual image quality. With a little time spent experimenting, you can create beautiful, unique images without using overly complex editing software.









VIP Products

Best Selling Products
Upgrade Duolingo Super
29 USD
Upgrade genuine Capture One account
120 USD
Adobe Premiere Pro Account
99 USD
Autodesk All App Account Copyright
120 USD
Plugin Retouch4me
69 USD
ChatGPT Plus Account (GPT-4)
16 USD
Upgrade Genuine Office 365
49 USD
Genuine Cheap Canva Pro
39 USD
Adobe Photoshop Copyright - Full App
120 USD
Genuine Adobe Illustrator account
99 USD
Freepik Premium Account
59 USD
Capcut Pro 1 Year
39 USD
MidJourney Account
29 USD
Windows 10 & 11 Pro Key
36 USD
Copyright Adobe Lightroom Account
59 USD